
What started out as a simple project, turned out to be well… an extremely frustrating experience. Let me explain.
A special friend wanted me to install some floating shelves above her sideboard. Seemed like a job that I could pull off fairly simply, as I’d had some previous experience installing floating shelves. See my post Floating Shelf.
She wanted long, solid shelves, different from what I’d previously done. So, I needed to do some research on what brackets to use.
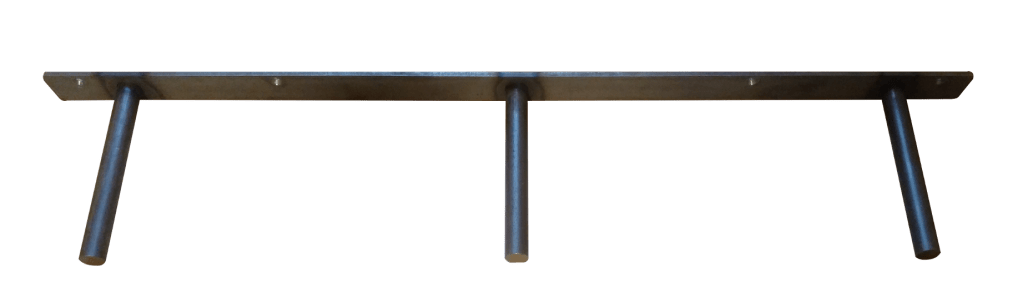
I decided to use the type of bracket shown below. A 2′ wide length of steel with the mounting posts for the shelf already welded in place. I figured all I’d have to do is level them out, and use toggle straps to mount the brackets to the wall.
This is where my problems began. I never really thought to look behind the sideboard wall until after I had ordered the brackets. Behind the wall was a bathroom, and directly where I wanted to attach the shelves, the bathroom wall was cutout and shelves were installed. There was no way that I could use toggle straps.
After many cold beverages, I came up with a plan. First, I had to remove the shelves. Fortunately, I did not damage anything.


My solution was to back the brackets with wood. I drilled holes for the bracket bolts and counter-sunk holes for washers. Here is the top bracket wooden-bracing installed. You can see the bolt, washer and nut detail..


This worked out pretty well. The top and bottom brackets were now level and secure. I’ll need to put backing up to cover the wooden bracing and add some shelves too. Yep, another project.

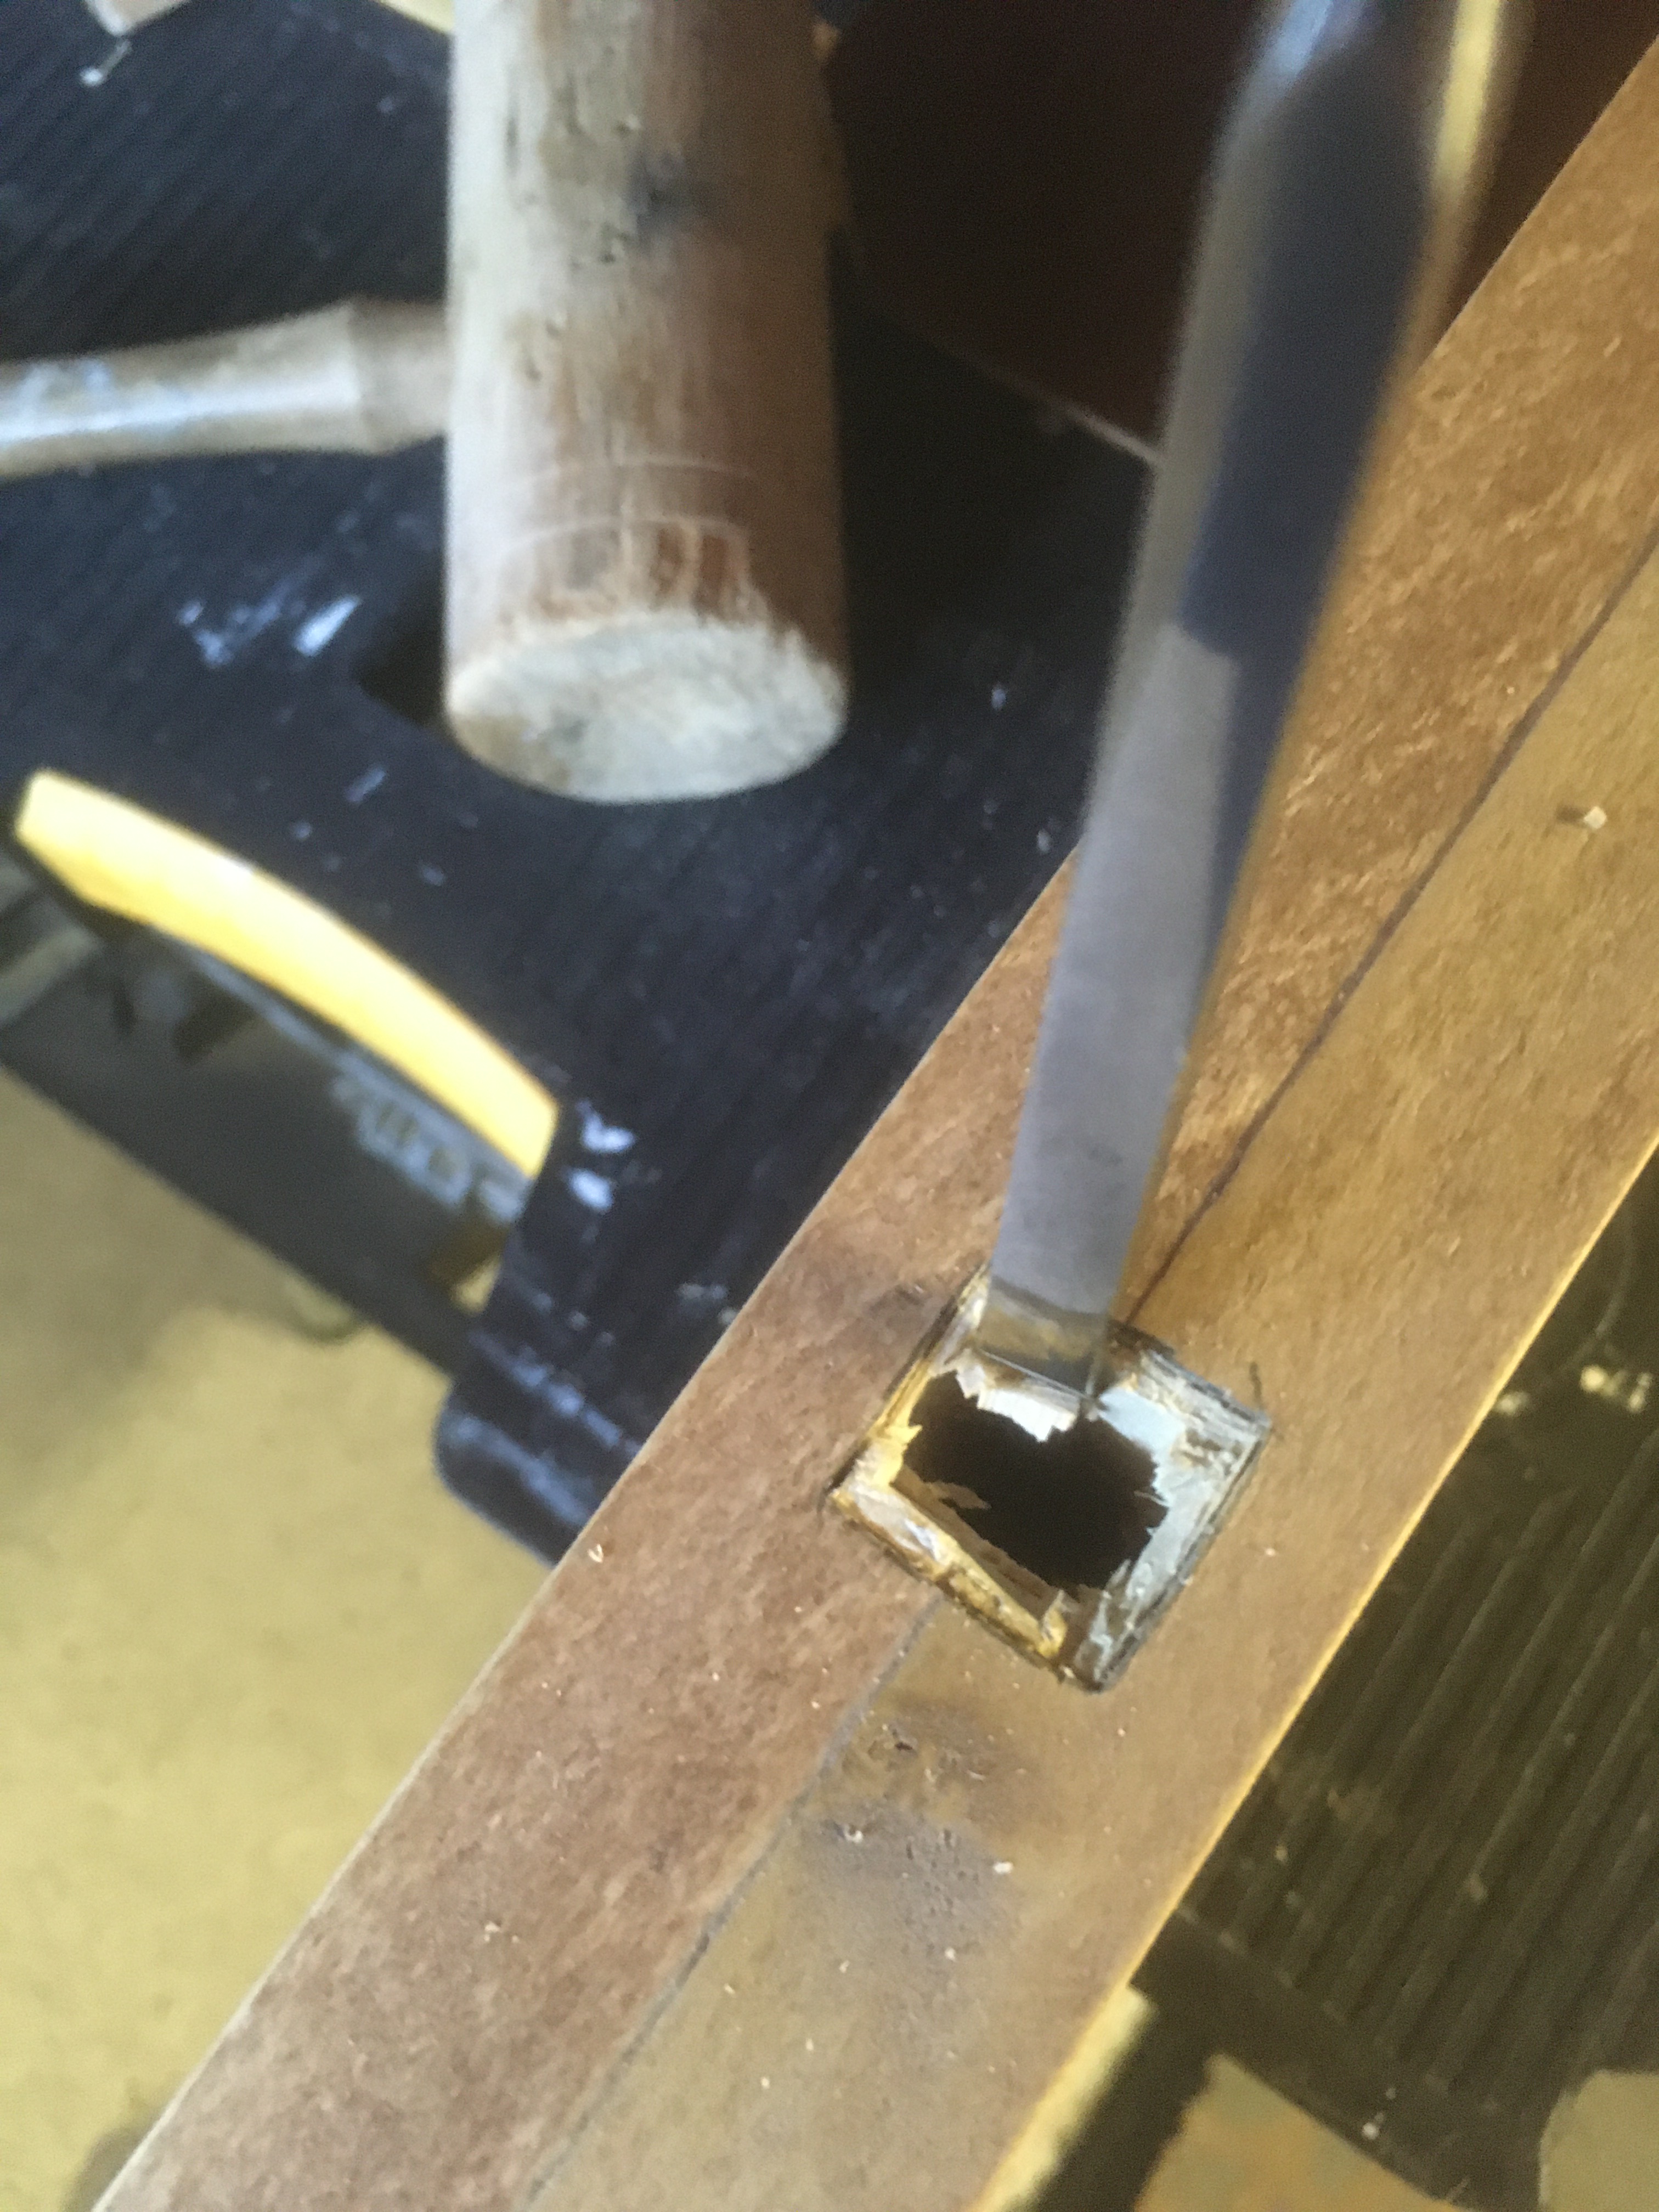
Now for the easy part… NOT! I thought that I would be able to drill 6″ long holes into the side edge of some pine shelves, which I had already fabricated and stained. You can see the two shelves positioned on top of the bracket posts.
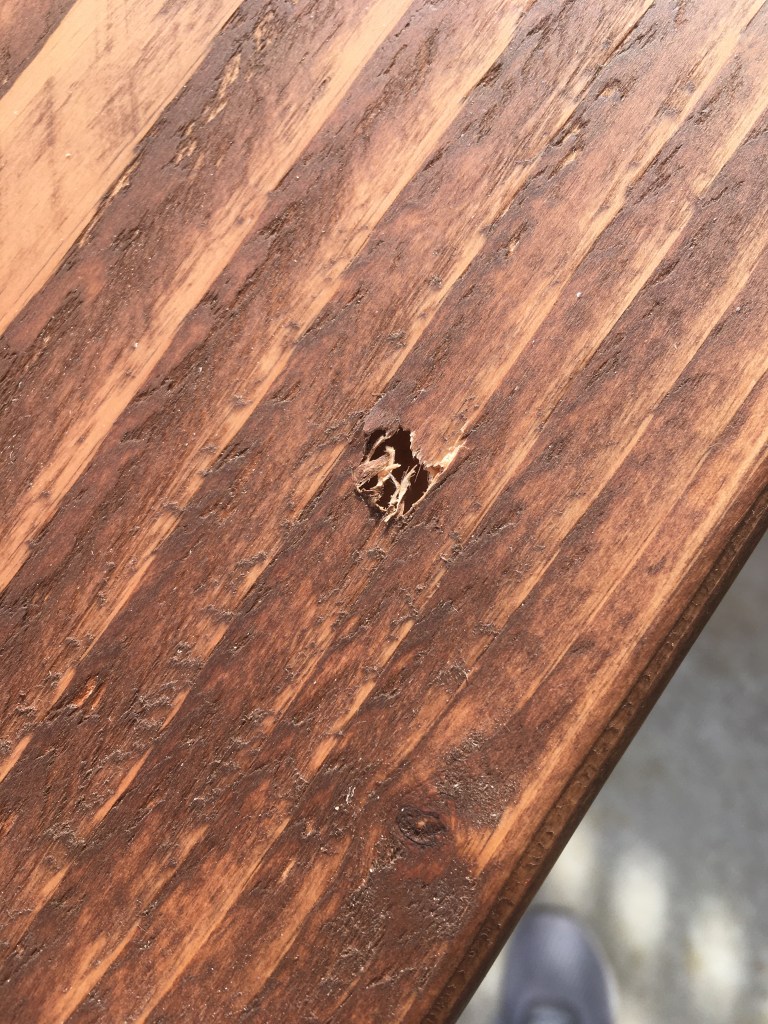
I used a small steel guide to keep my drill bit straight. The first hole went okay. However, the second hole drifted and I wound up blowing out the side of the shelf. Result: The shelf was ruined. All the cutting, sanding, and staining was time and money wasted. Yep, I was just a little bit frustrated! If you plan to do shelves like this, find a friend with a drill press.
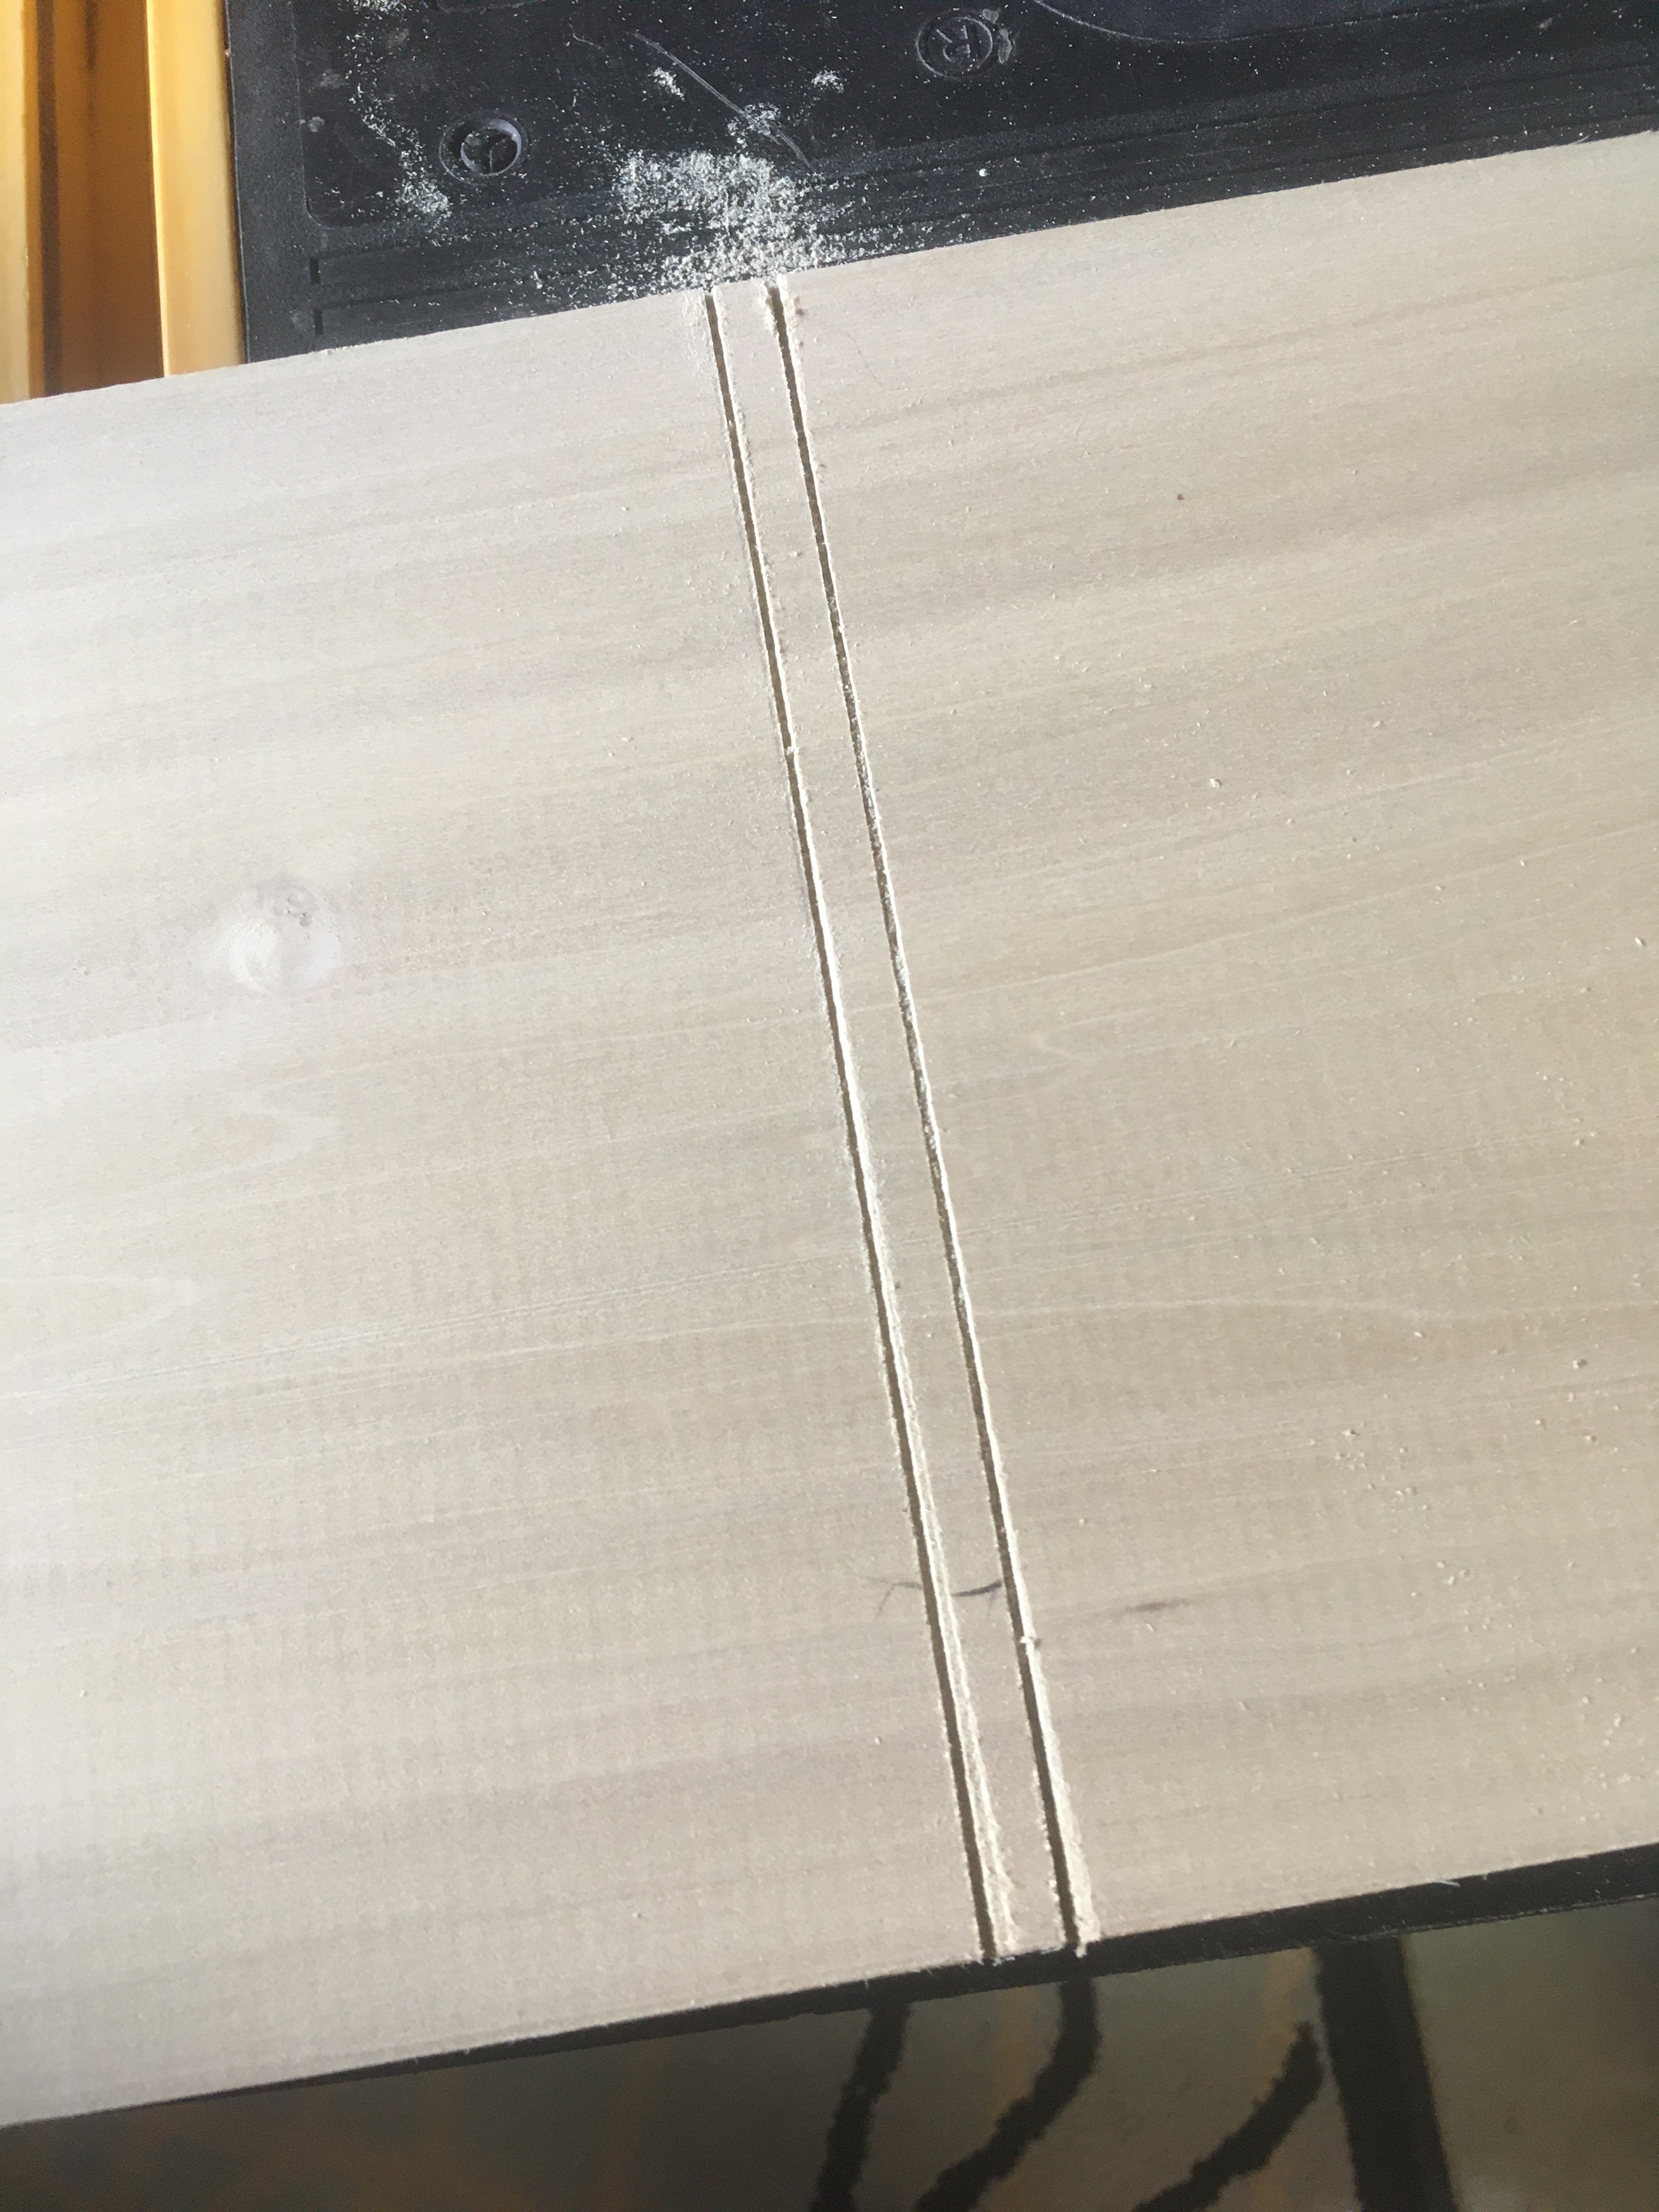
Okay, more beverages required. A new shelf plan evolved. I would use poplar wood, gouge out top and bottom grooves, test, and then glue them together. Poplar was more expensive than pine, but with this new plan no drilling was required.
I laid the boards on top of the bracket posts and marked off their locations. I then made cut marks and slowly gouged out the slots. It took a lot of time, and fit testing, but it worked! Of course, a router would be the way to do this job quickly.

I glued the boards together and notched out and made plugs for the exposed slots on the front of the shelves – 3 on the bottom and 2 on the top shelf.

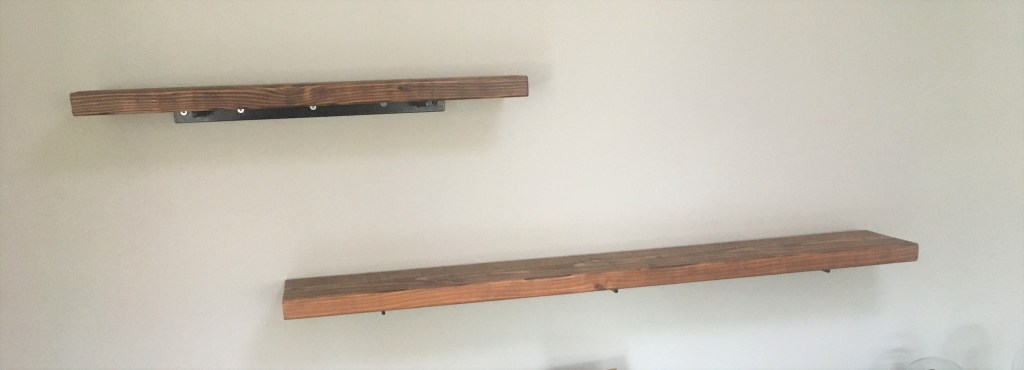
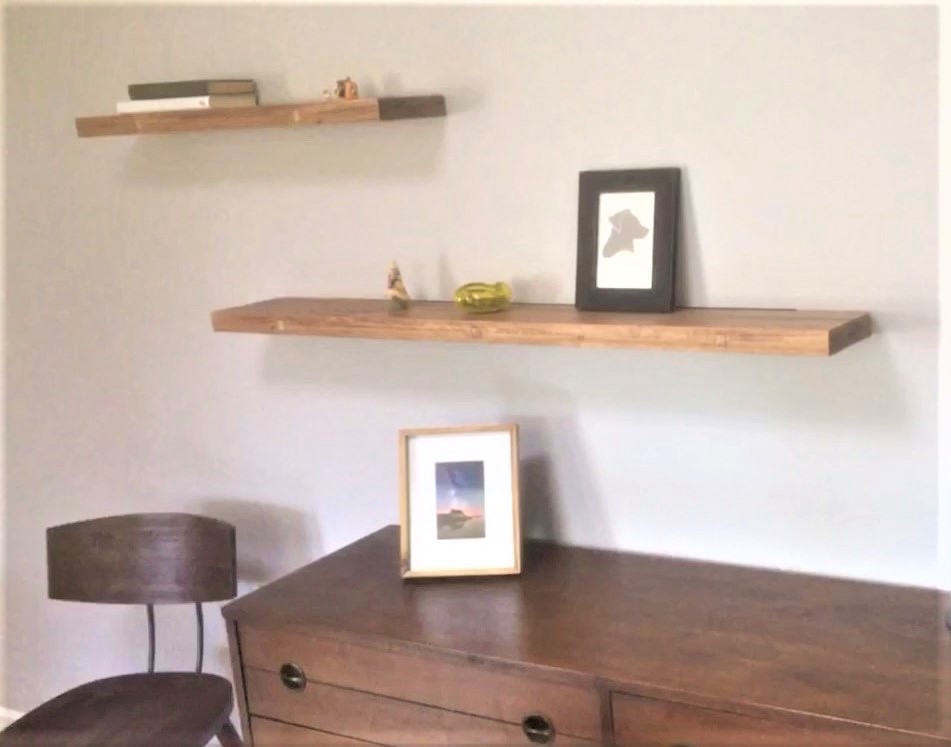
I then stained and poly-coated the shelves. The shelves slide right on the brackets and look great!
I got a lot out of this project: 1) Gotta get a router, 2) Gotta get a friend with a drill press, and 3) Gotta get more cold beverages!
