When I was young, I dreamed of being a professional baseball player. I did the Little League thing and played local-park baseball. I never really got beyond that point in my baseball career. I was a pretty good ball player, but not exceptional.
However, I never lost my love for the game. I still consider baseball my favorite sport, but do not really keep up with the game as I’d like.
My uncle, who lived on the East Coast, loved baseball, especially the NY Yankees. He kept stats on every player, in every league, for decades. He had stacks of stats, and could quote them on demand; I just couldn’t do that.
At one point, I really thought that baseball might happen for me, not as a player, but as a motivational coach in the dugout. No fame, no glory, just helping players perform optimally. I still have this dream today.
My “Dugout Dream,” is to teach players how to relax before going to bat, using my simple method of producing Alpha Waves (AlphaWAVE Relaxation / Performance Improvement Disk). I’d never go to bat, but I’d help the player that did. I’d never play the field, but remain in the dugout. I’d be pretty happy with that Dugout Dream!
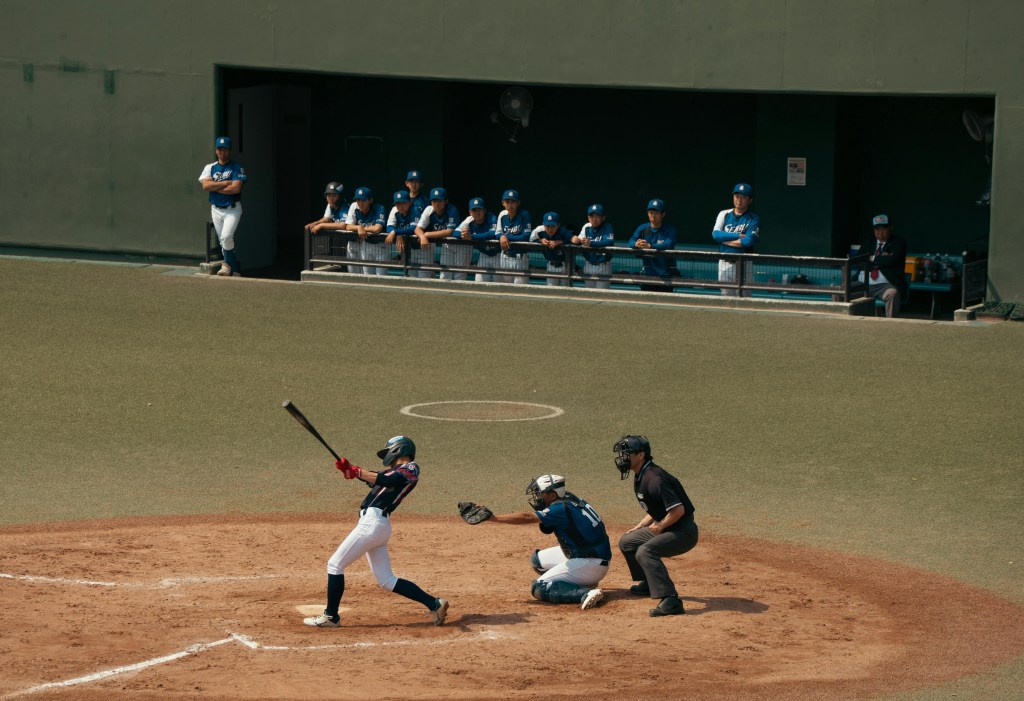
I’d work with the player(s) for an hour a day, for two weeks. Then in the dugout, prior to batting, we’d go over the process. I’d do this for every player, at every at bat, and at every game.
At the end of the season, each player would improve their batting average by a minimum of 3.7%, most likely more. Now that may not sound like a lot, but it adds up. Especially when a player(s) gets a clutch hit, in a crucial instance, that wins the game.
None of this has ever happened, but not for lack of trying. I have sent countless letters to minor league team owners and managers, asking for a tryout. Let me do Zoom trainings (for free) with a couple of players, and let’s see how their batting improves over a season.
To date, no one has given me a chance; but I’ll keep trying. Because one day, I know the coach who does will be happy to present me with a pennant winning ring!
I just have to keep swinging the bat, and eventually I will hit a home run… even if it is from the dugout!