The Flux Capacitor

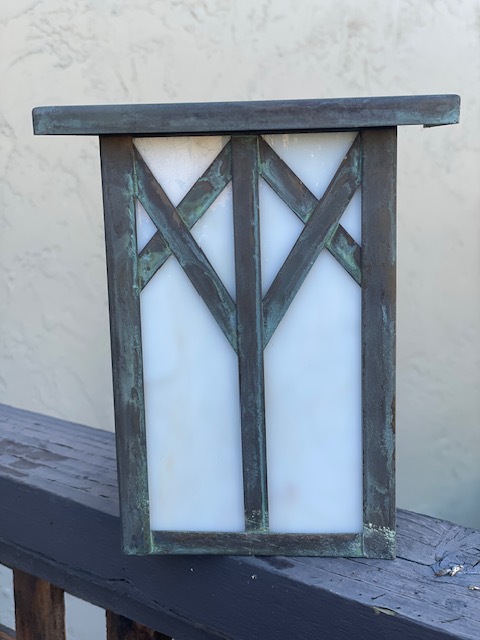
A few years ago, I converted my 30-plus-year-old mountain bike to electric (eBike Build), a really fun project!

Because my battery holder design looked like a giant capacitor, I added a ‘Flux Capacitor‘ decal to each side, a nod to a classic 1980’s movie. Do you know which movie it is?

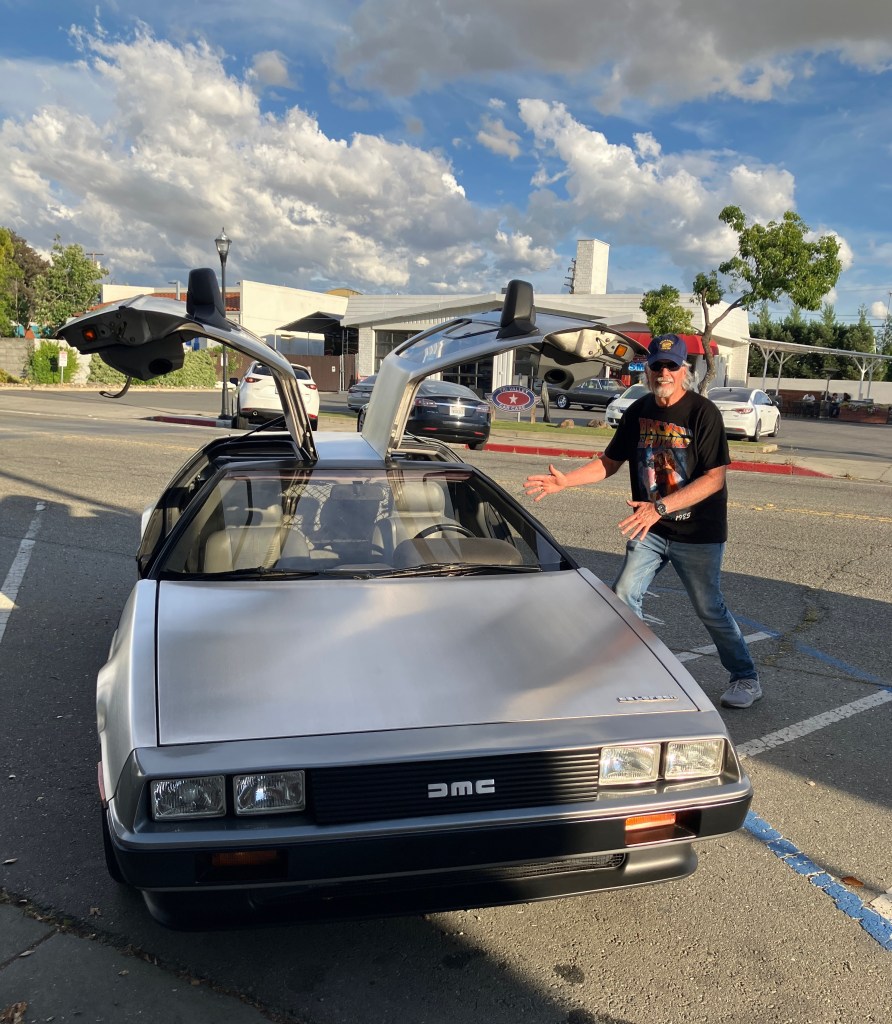
Recently, I went to a classic movie night, you guessed it, I saw “Back To The Future.” They even had a Delorean outside the theater for pictures – a very cool Car! This old guy (below) asked me take his picture for him, which, of course, I did. The theater was packed, and the movie, well… it is still a Great movie!

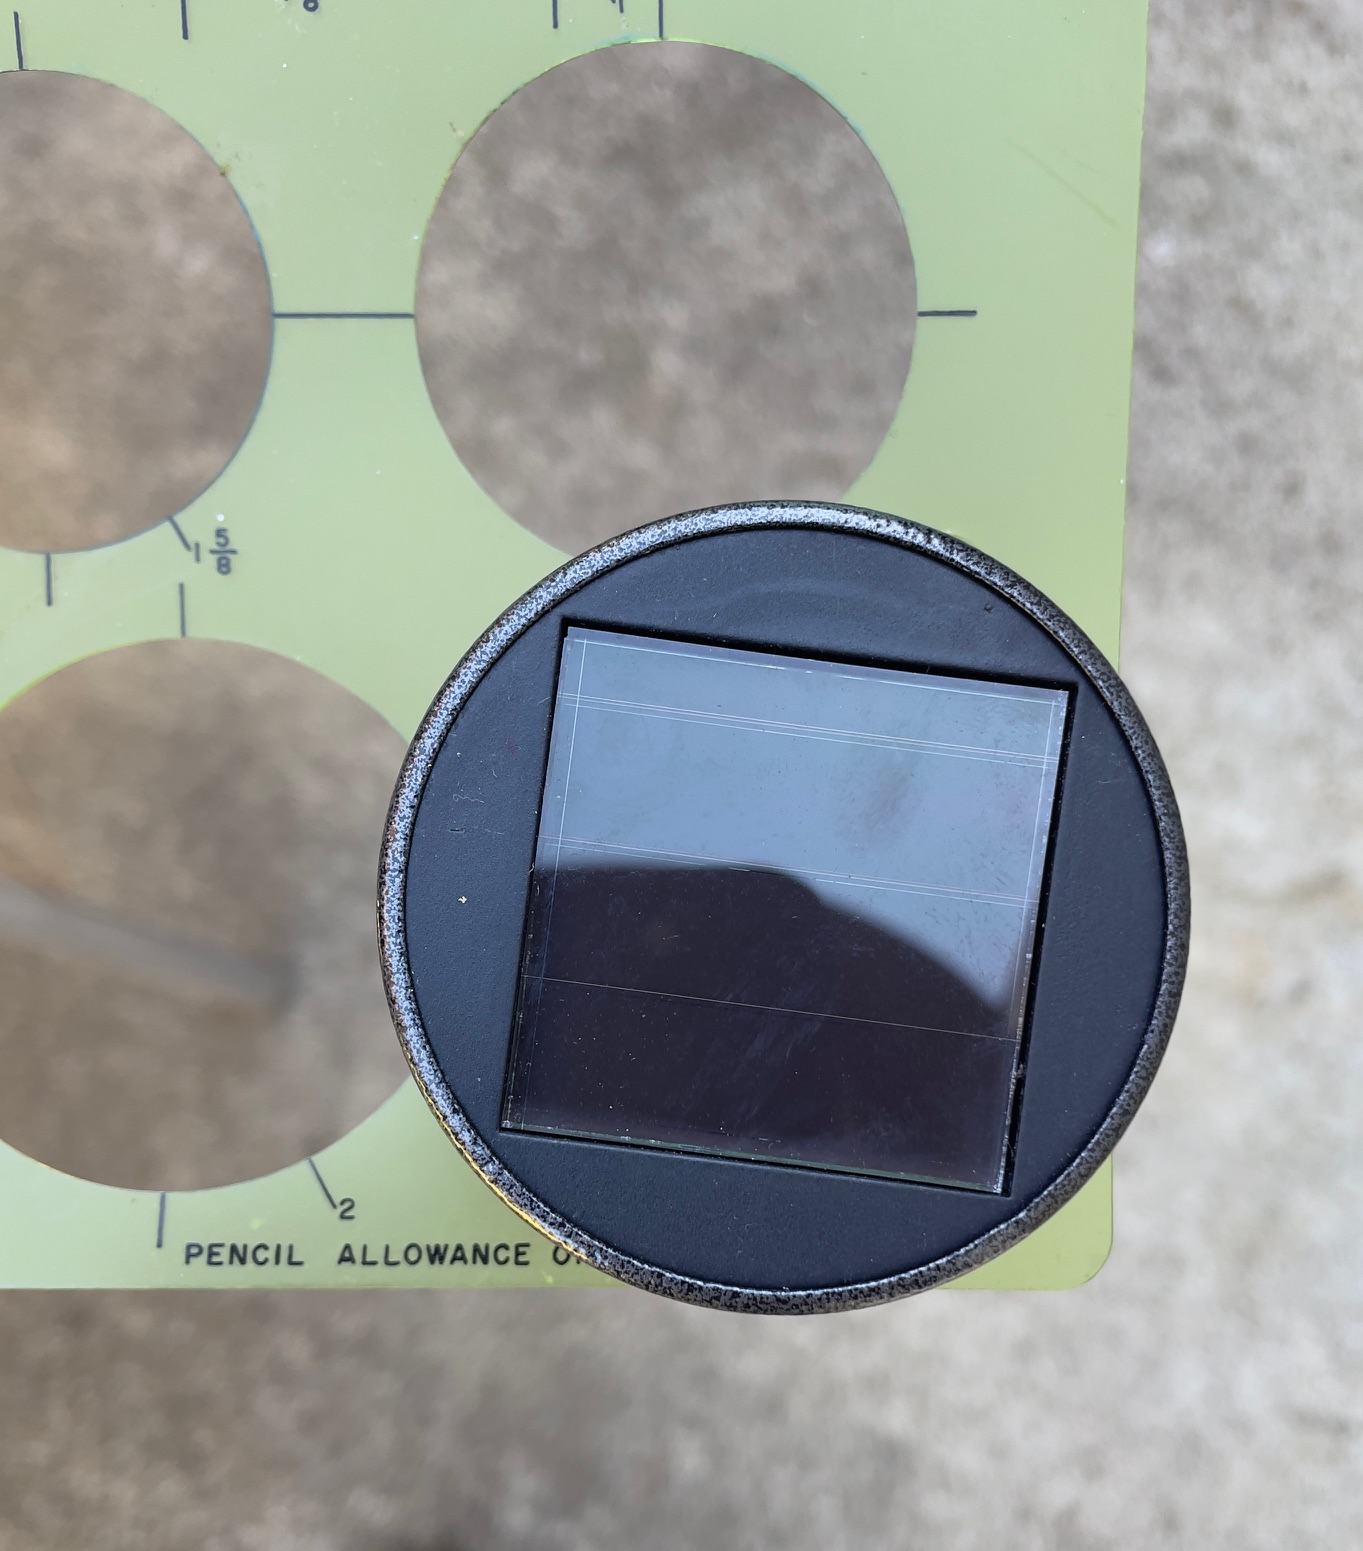
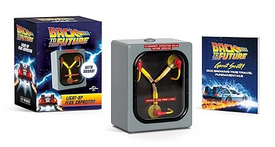
After the movie, it dawned on me that my bike had an energy storage device (battery), but not a Flux Capacitor. I wondered if they might make a small, movie prop Flux Capacitor. A quick search, and behold… a 3 inch Flux Capacitor, complete with light and sound. Perfect! I bought one.

After some thought on the best place to mount it on the bike… eureka, it looked fabulous. Now, when I ride down the street, the bike really turns heads, especially at dusk!

If they show the movie next year at classic night, I think I’ll put on a gray wig, a lab coat, and park my bike right next to the Delorean.

Imagine, a time traveling car and bike together. “Great Scott Marty!

Decorative Solar Fence Lights

I wanted to put some solar lights on three of my garden fence posts. Most of what I found to purchase was plastic, not very visually appealing, and would not hold up well in the summer sun.

While shopping in a large hardware store, I found some electrical outdoor lights that I really liked. They were on sale for $5.00 dollars each. Plus, they were made of brass and copper, ideal for the weather.

However, they were not solar, but I could not resist the price. So I bought three of them.

I had also purchased three solar lights (that you stick in the ground) from a local discount store. My plan was to insert these into the top of each light, and then attach them to the fence posts.

I modified each outdoor light by first removing the electrical light socket and accompanying wiring. Pretty quick and easy.

I measured the diameter of the solar light using a circle template. However, you could also tie some wire or string around it to determine the circumference, and then measure across it to determine the hole diameter.

I needed a hole in the top of each outdoor light, to drop the solar light into. I drilled a 1/4″ hole in the center of each, and then used my circle template to outline the 1 and 7/8″ hole to cut. I used a nibbler to ‘bite’ off the metal, until I had the correct sized hole. A nibbler is not expensive, and easy to use when cutting thin metals. It is a slow process however.

Once the holes were cut, I simply dropped in the solar lights.

I hung each light on the fence posts. Here is one of the lights at night.

Bring some light into your garden at night!