A few years ago, I converted my 30-plus-year-old mountain bike to electric (eBike Build), a really fun project!
Because my battery holder design looked like a giant capacitor, I added a ‘Flux Capacitor‘ decal to each side, a nod to a classic 1980’s movie. Do you know which movie it is?
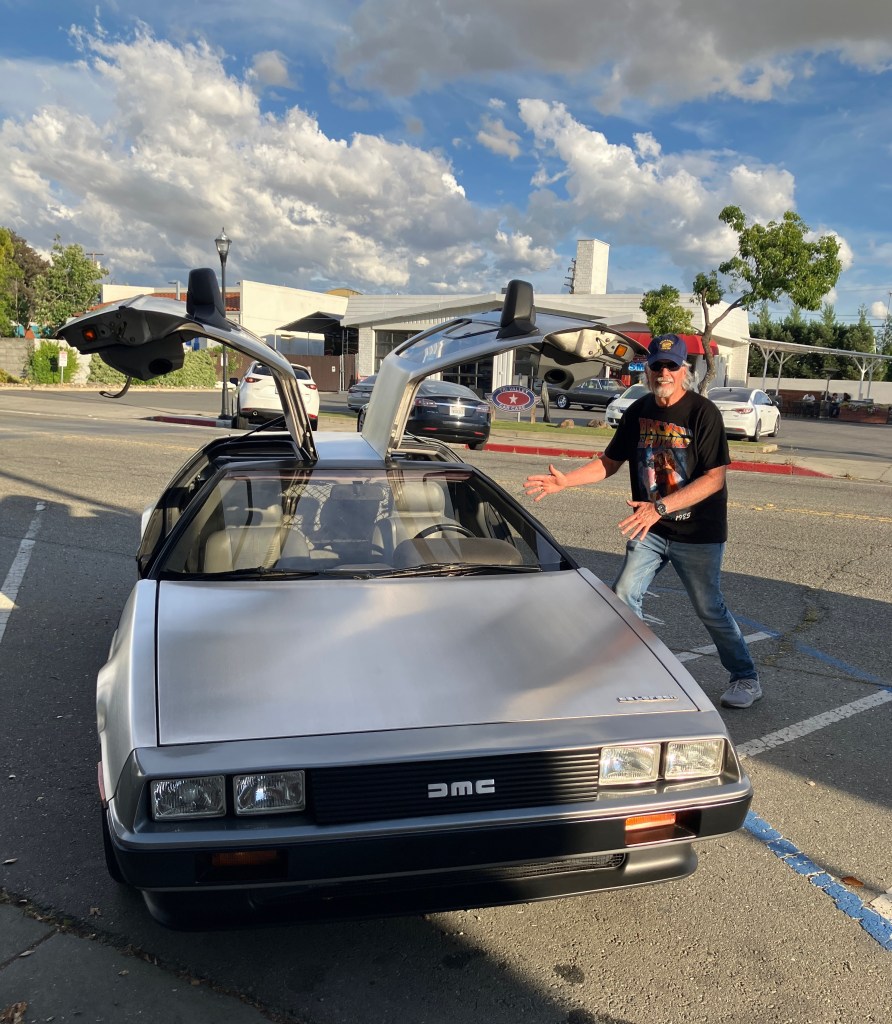
Recently, I went to a classic movie night, you guessed it, I saw “Back To The Future.” They even had a Delorean outside the theater for pictures – a very cool Car! This old guy (below) asked me take his picture for him, which, of course, I did. The theater was packed, and the movie, well… it is still a Great movie!
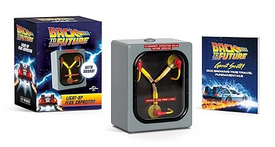
After the movie, it dawned on me that my bike had an energy storage device (battery), but not a Flux Capacitor. I wondered if they might make a small, movie prop Flux Capacitor. A quick search, and behold… a 3 inch Flux Capacitor, complete with light and sound. Perfect! I bought one.
After some thought on the best place to mount it on the bike… eureka, it looked fabulous. Now, when I ride down the street, the bike really turns heads, especially at dusk!
If they show the movie next year at classic night, I think I’ll put on a gray wig, a lab coat, and park my bike right next to the Delorean.
Imagine, a time traveling car and bike together. “Great Scott Marty!“
This year, for the holidays, we decided to build a Christmas village. I intended to add only a lighted lamp post, but as usual there was more to the story.
As we searched a couple of hobby stores, I also saw some dollhouse furniture. Then it hit me… I needed to build a wardrobe, with a scene in it from “The Lion, the Witch, and the Wardrobe” by C.S. Lewis.
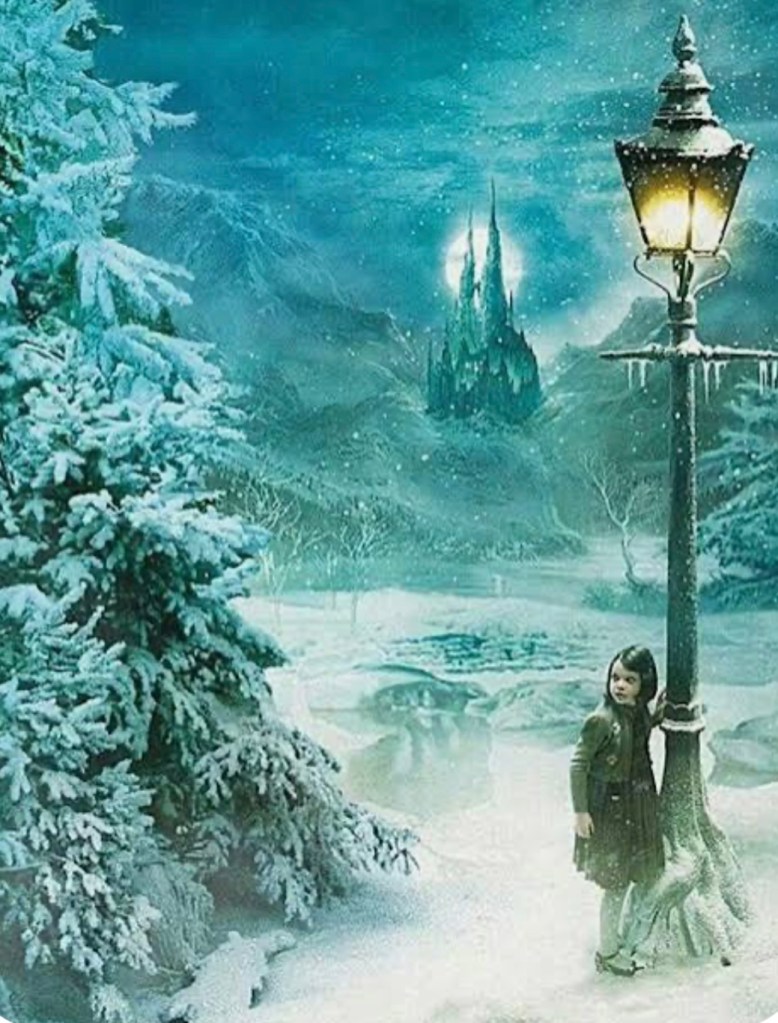
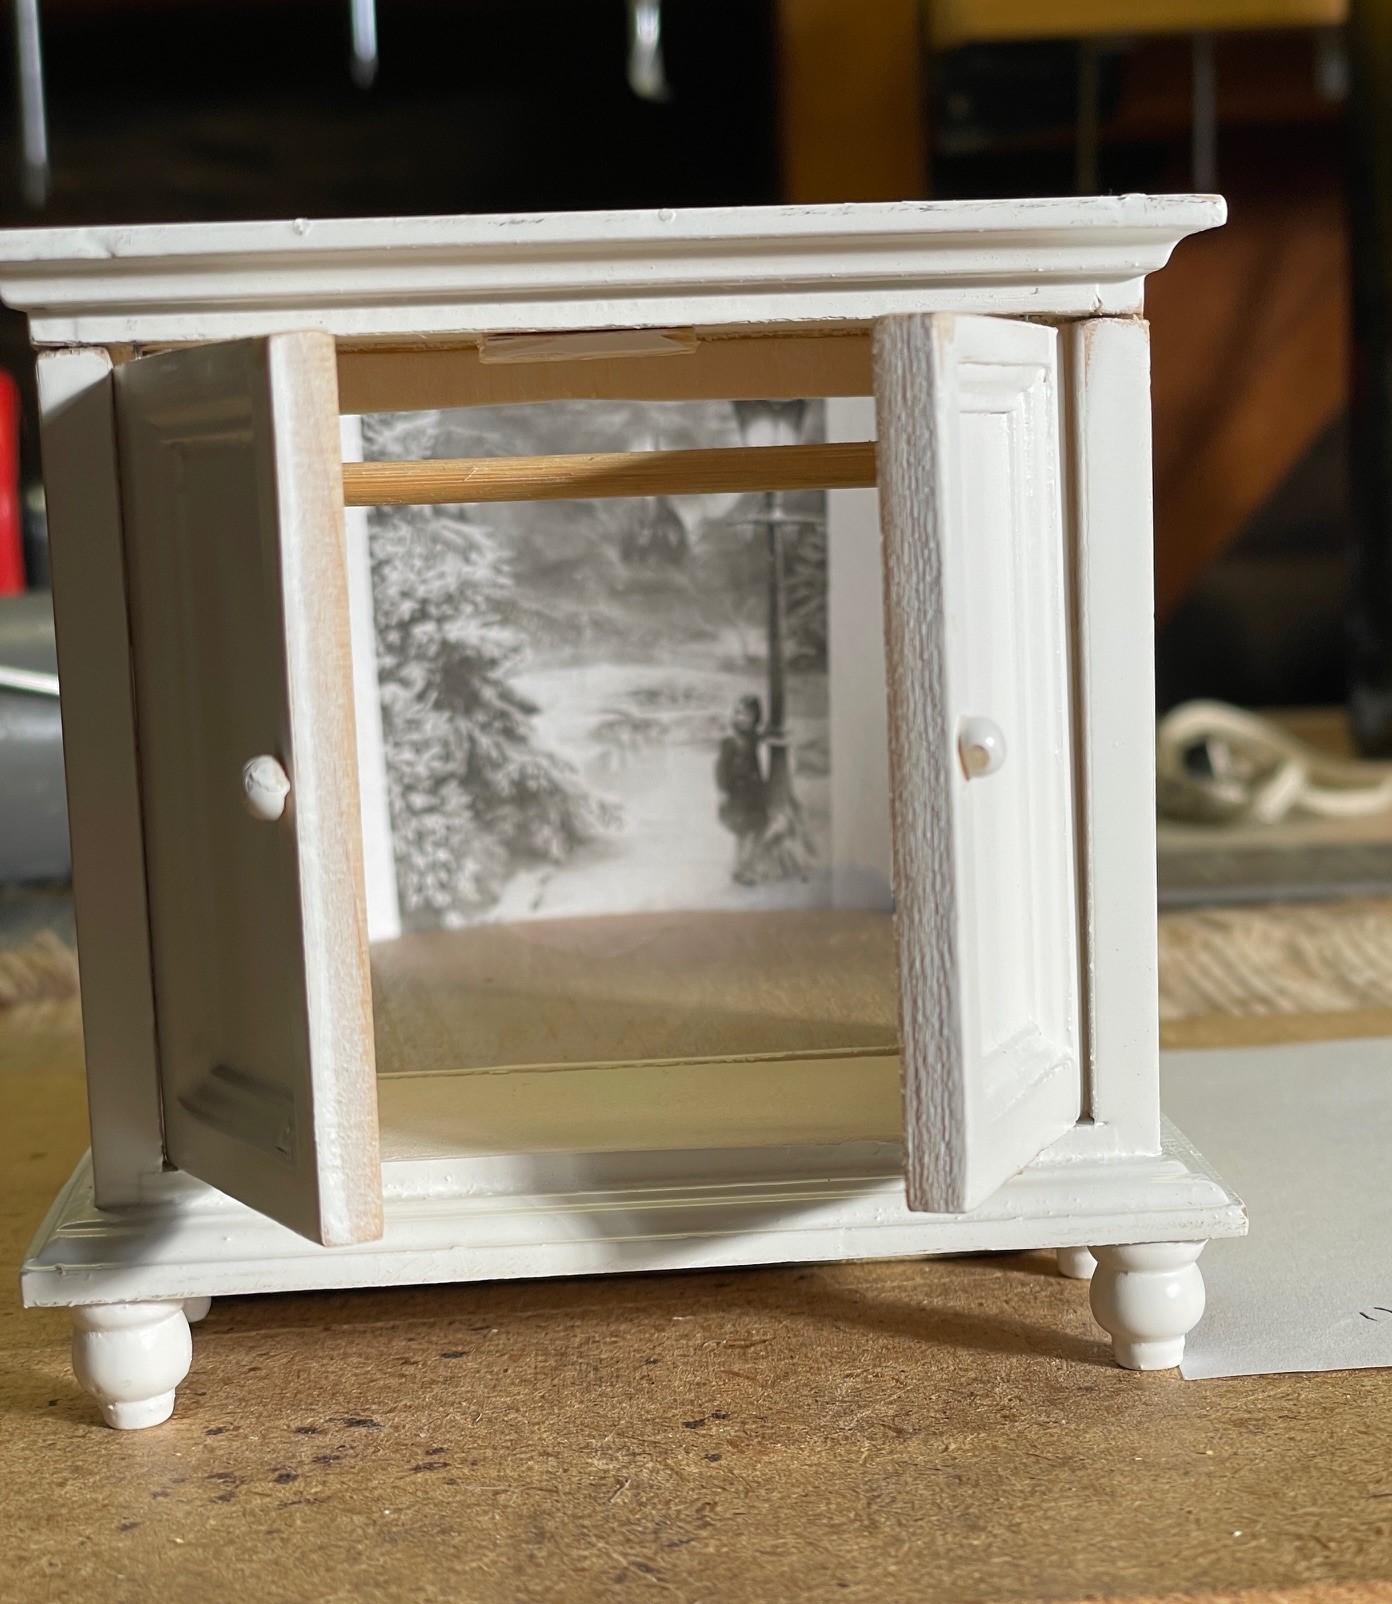
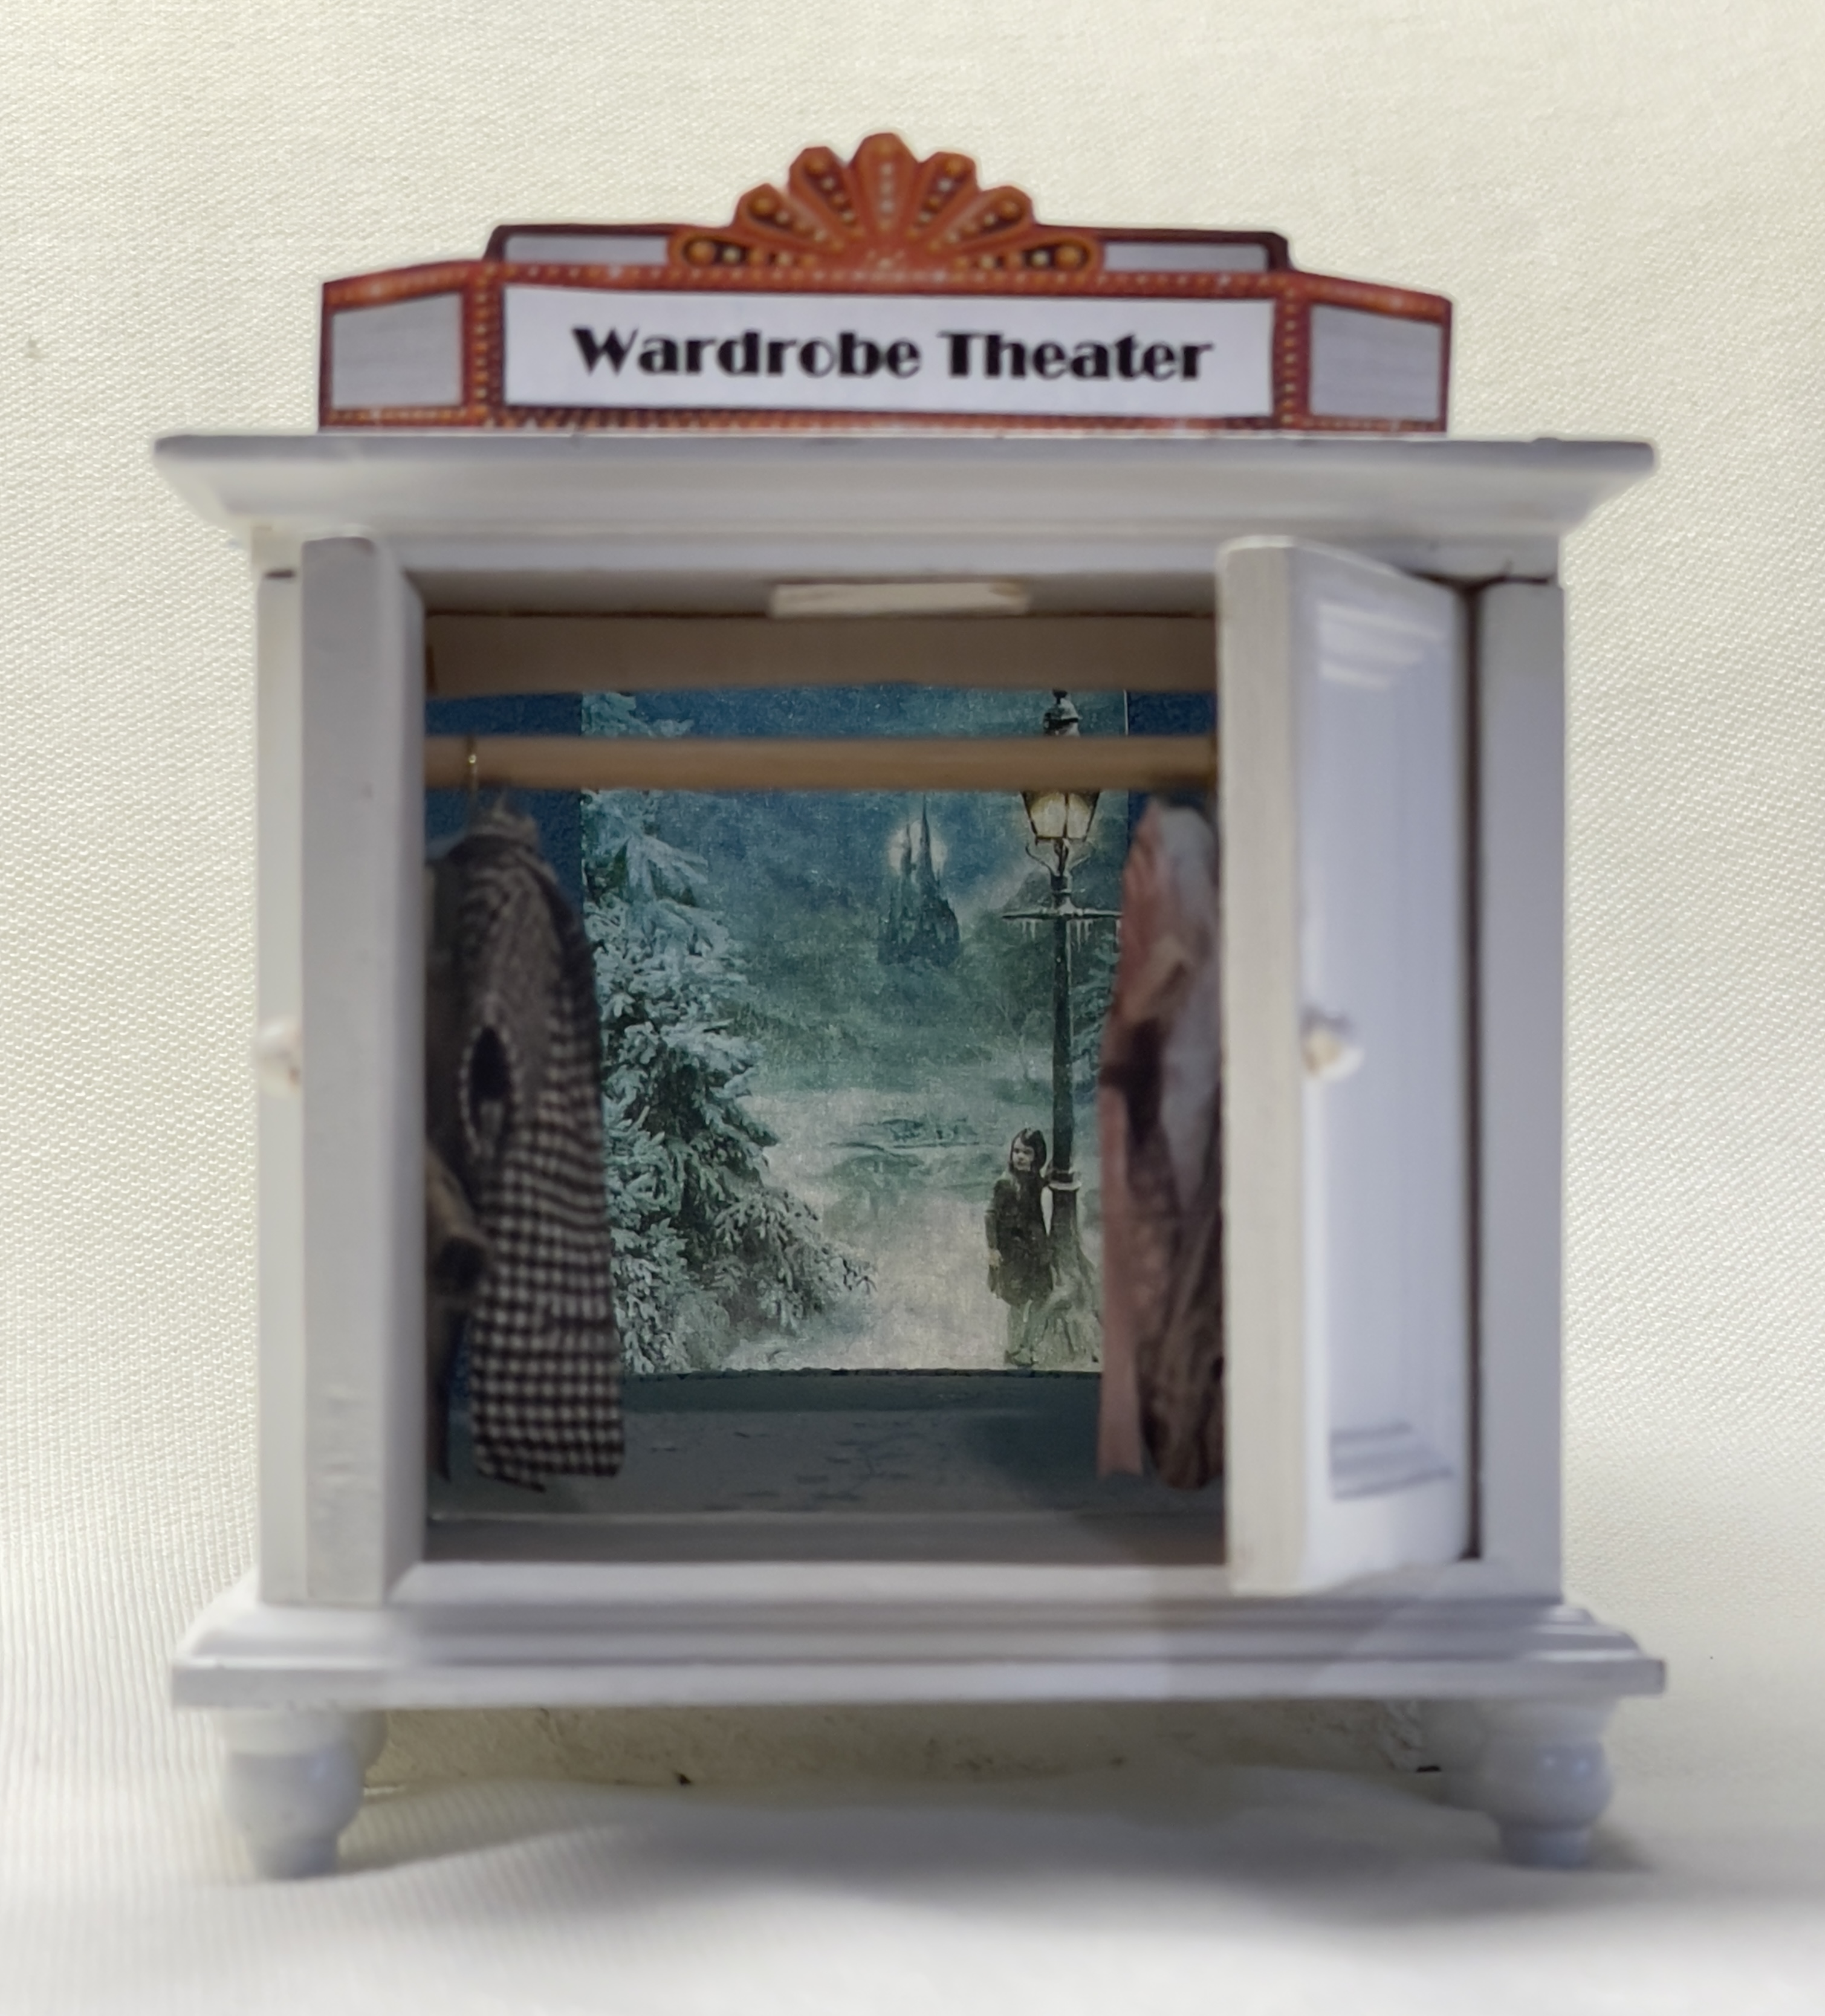
As you can see, the scene shows a child holding onto a lamp post, with a castle in the distance and a snowy backdrop. The child, Lucy, has actually found that the wardrobe not only holds coats, but is also a portal to another world… ‘Narnia.’
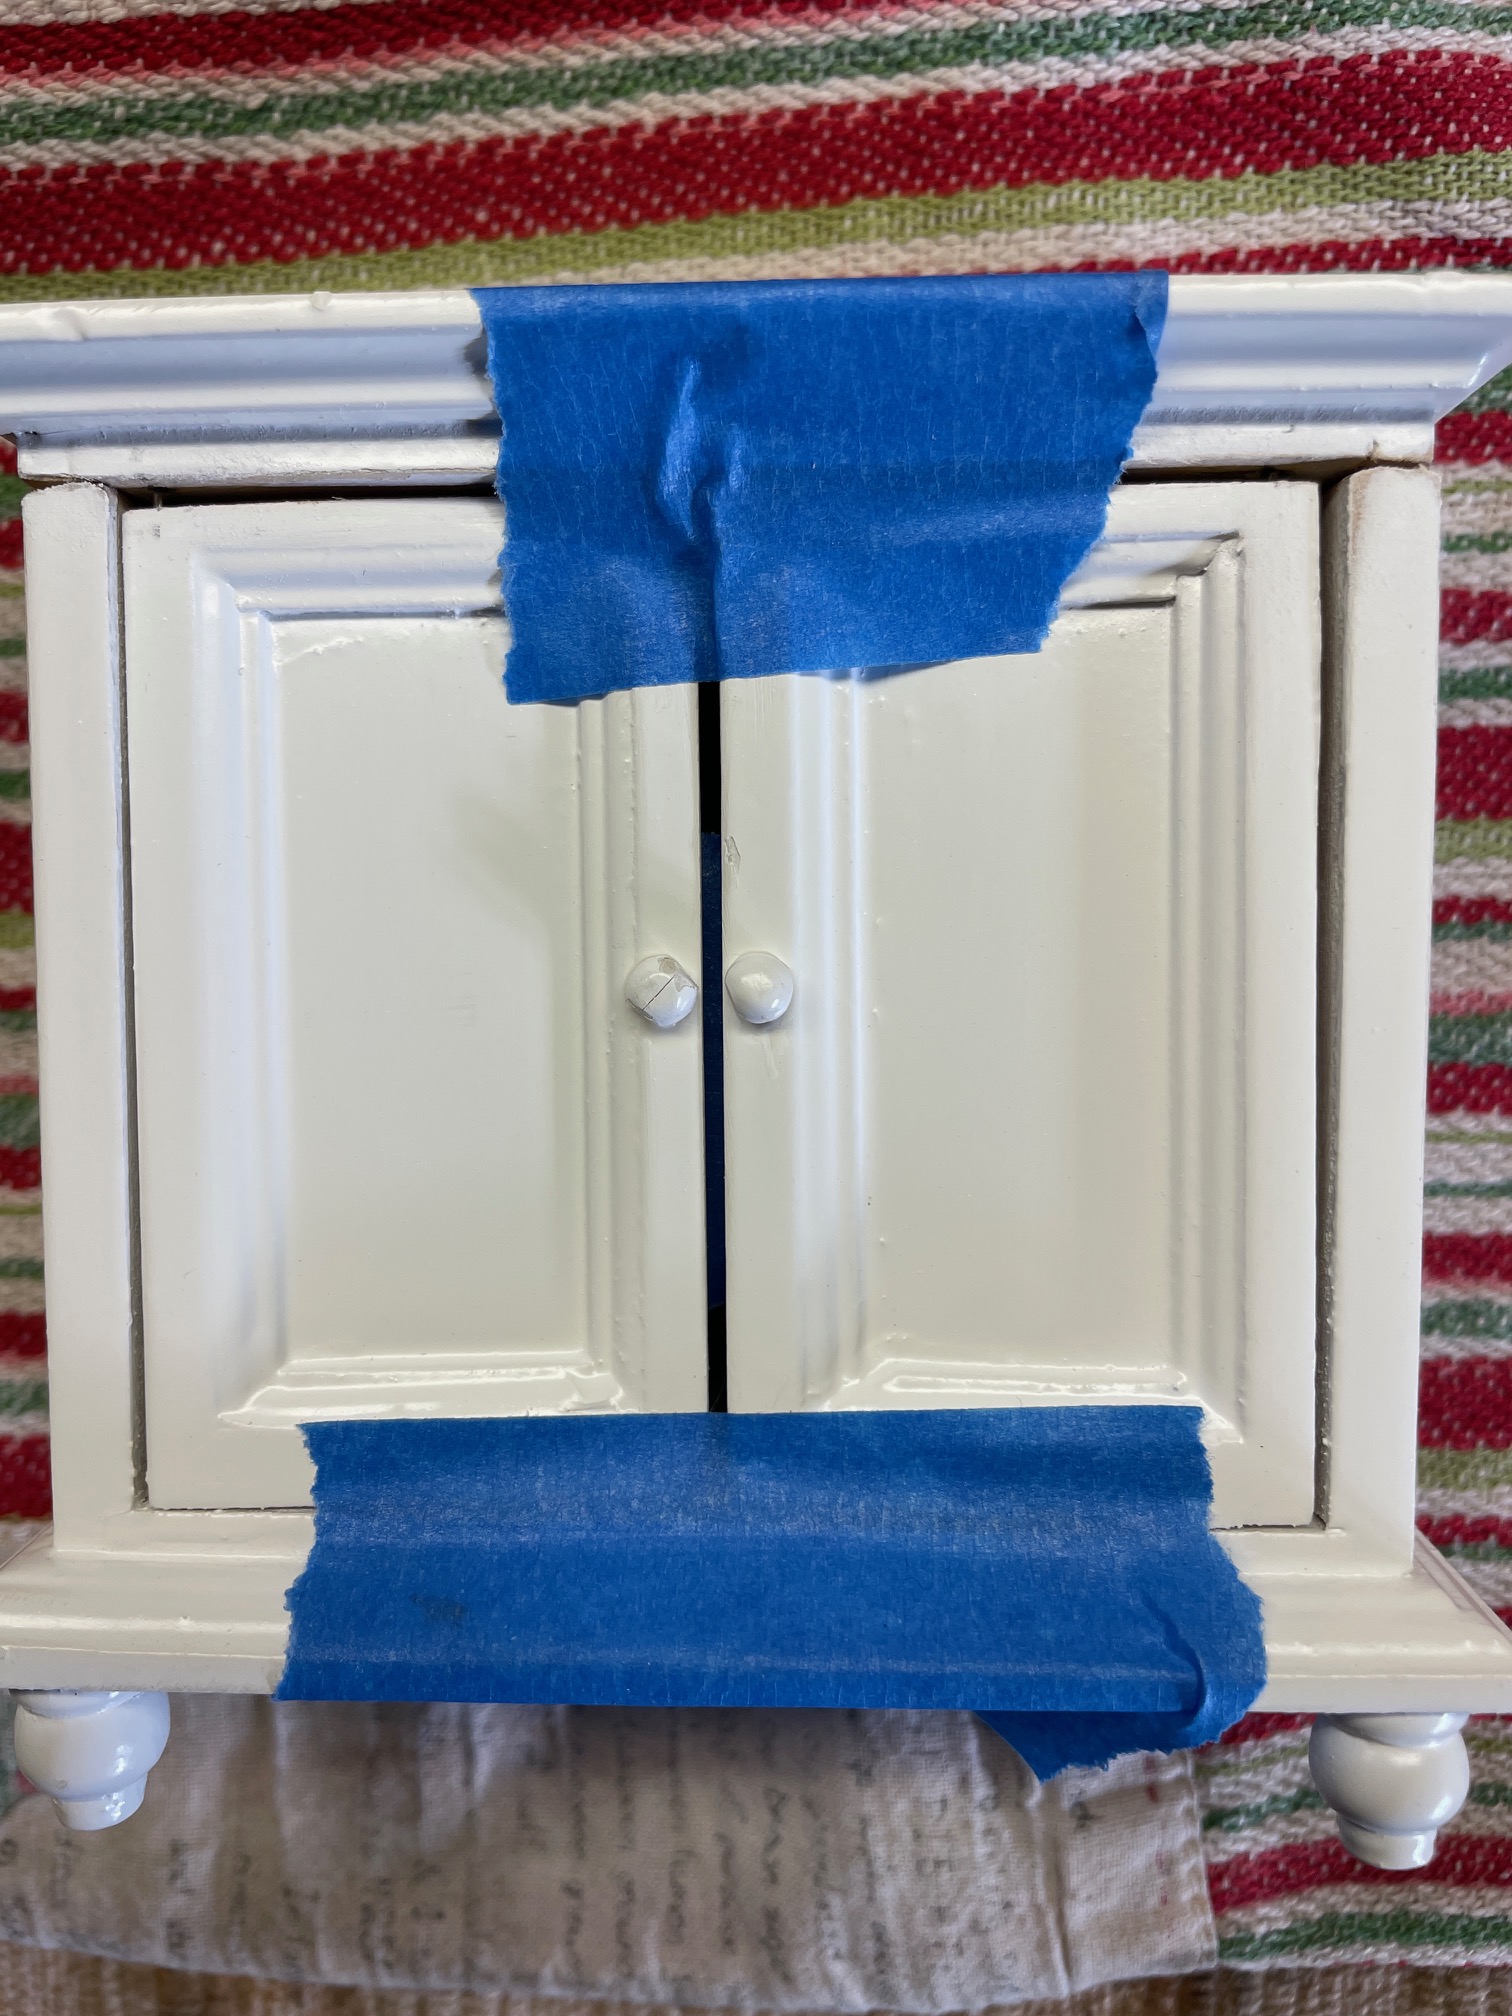
So I did buy the lamp post, but also wound up buying a doll house wardrobe too, which was much larger than I wanted, thus the project began.
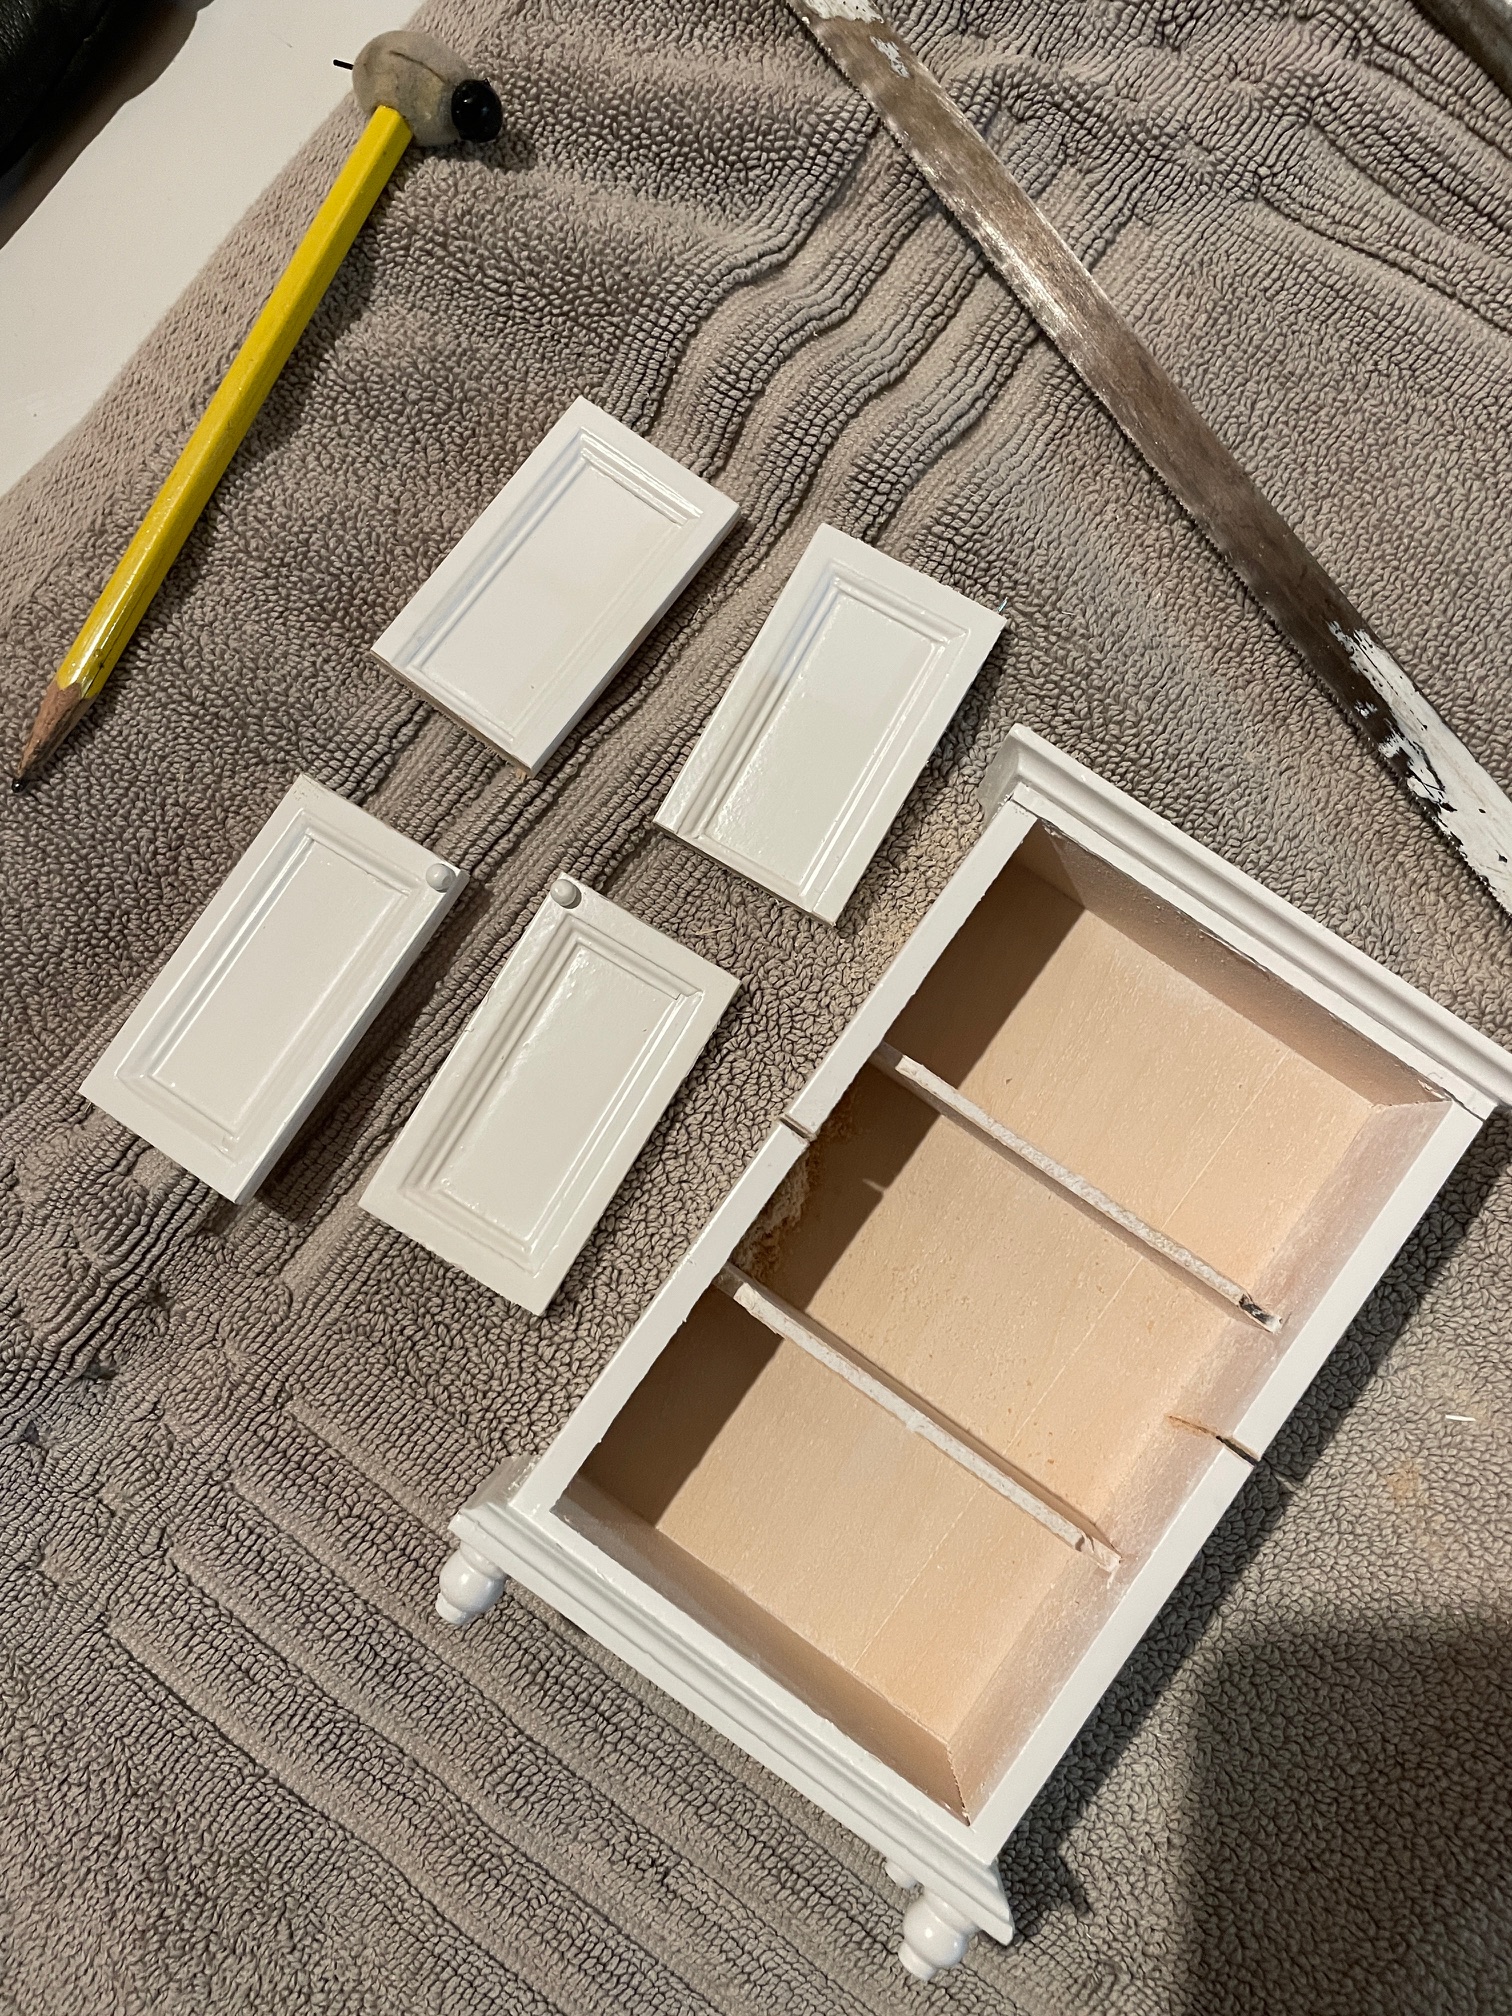
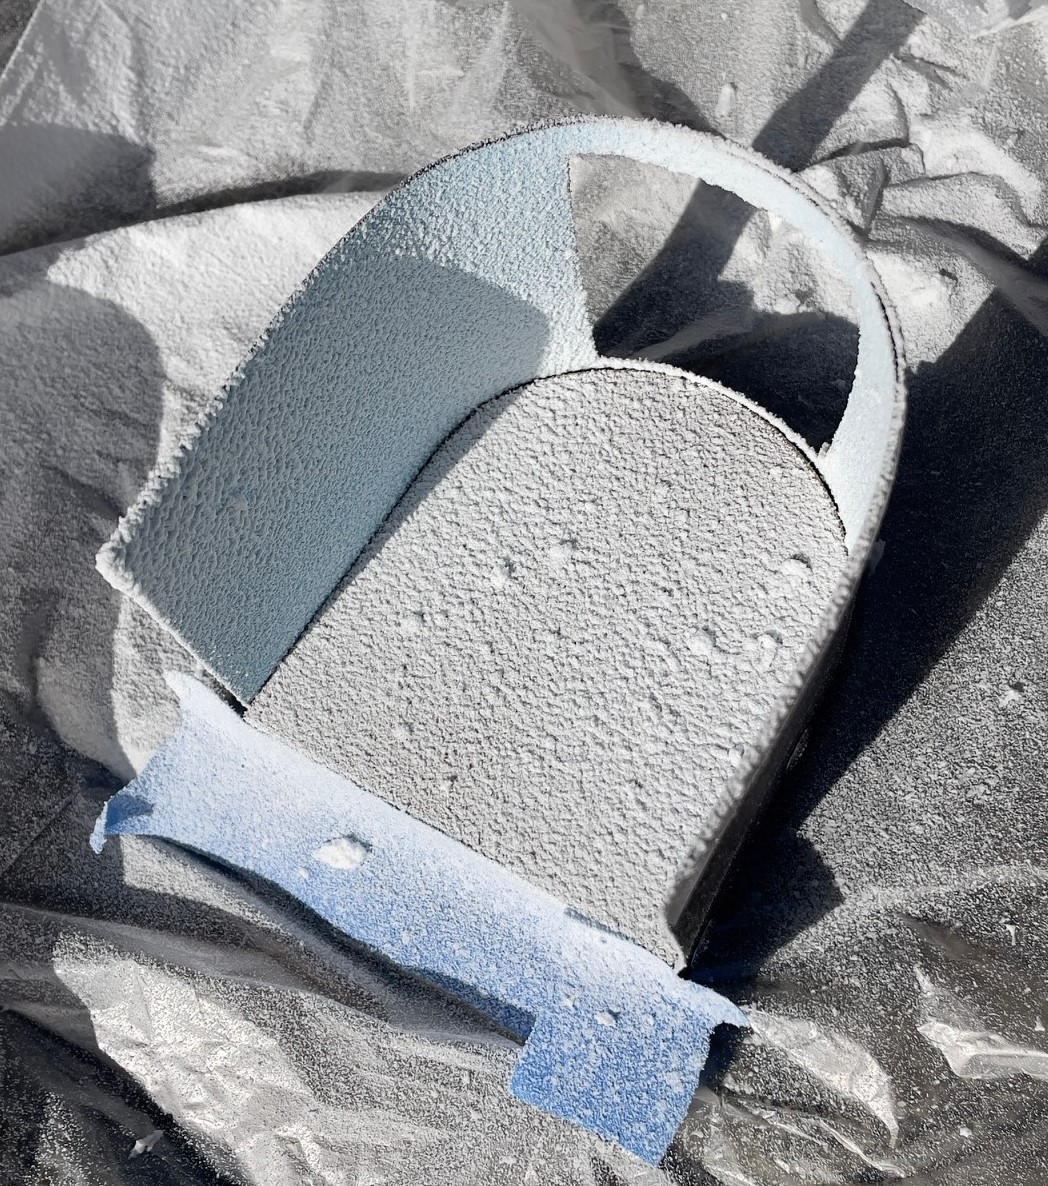
The wardrobe had four doors and was too tall. I decided to cut it in half, remove the shelves, and once cut, reinstall two of the doors, and glue on the top piece. Once the glue cured, I cut an opening in the back of the wardrobe. The wardrobe now measured 4″W x 4″H x 2″L. Surprisingly, for balsa wood, it turned out pretty well.
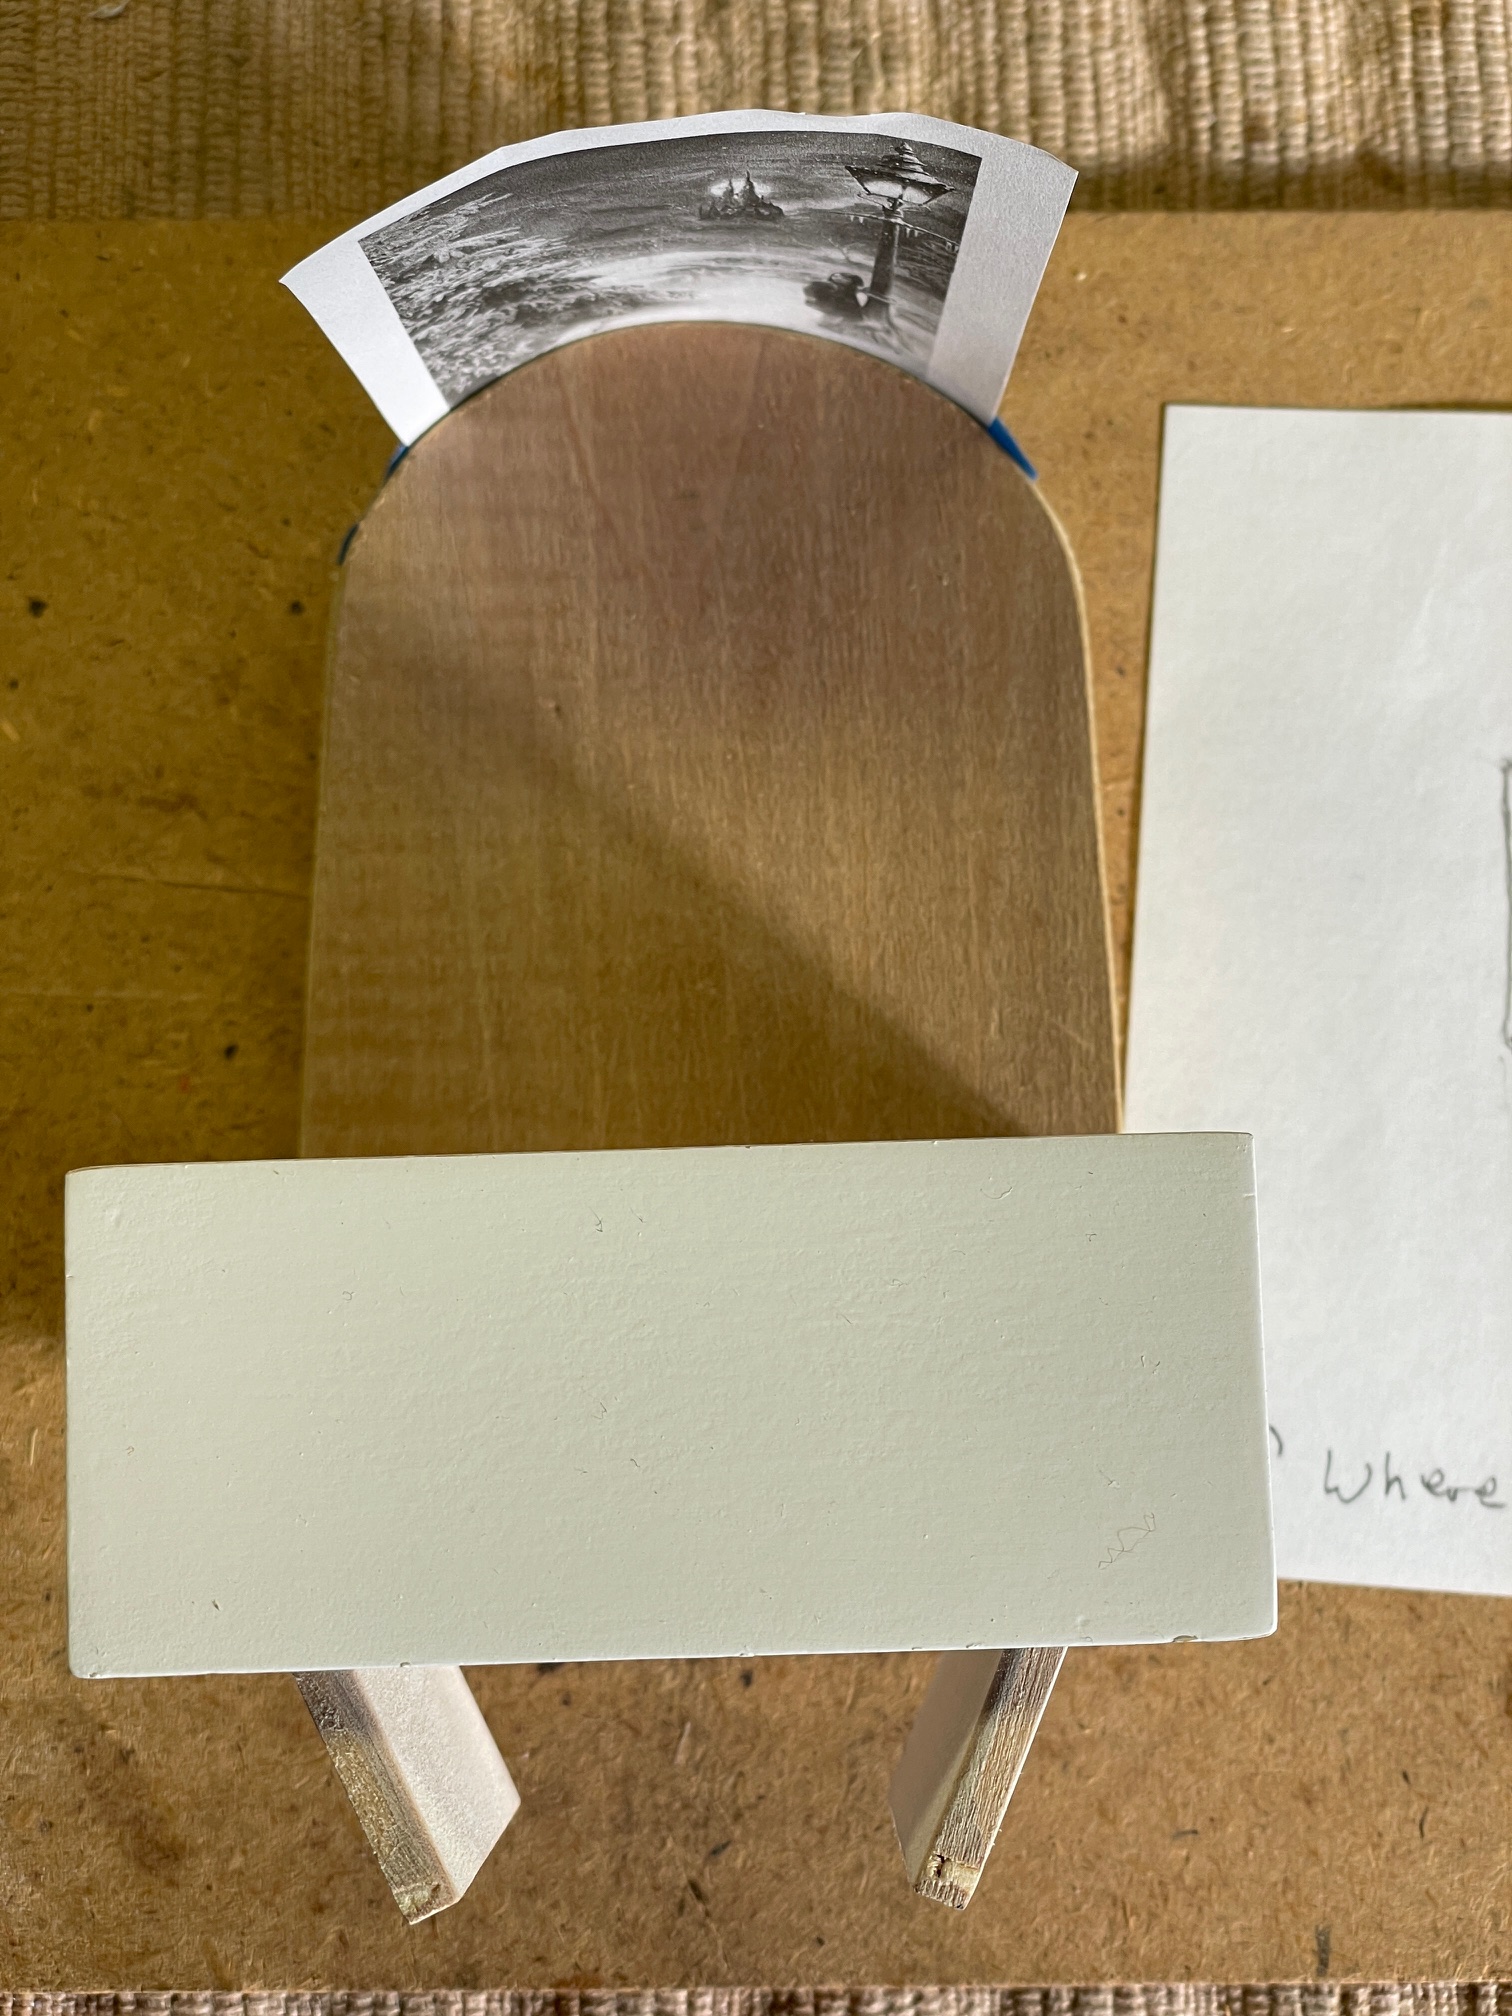
I needed a stage to go behind the wardrobe. I fashioned about a 3″ long stage from a piece of scrap wood, and curved the back end, where the scene would be attached. I added a clothes hanger pole, and temporarily attached a black and white image of the scene to get an idea of what the front view would look like.
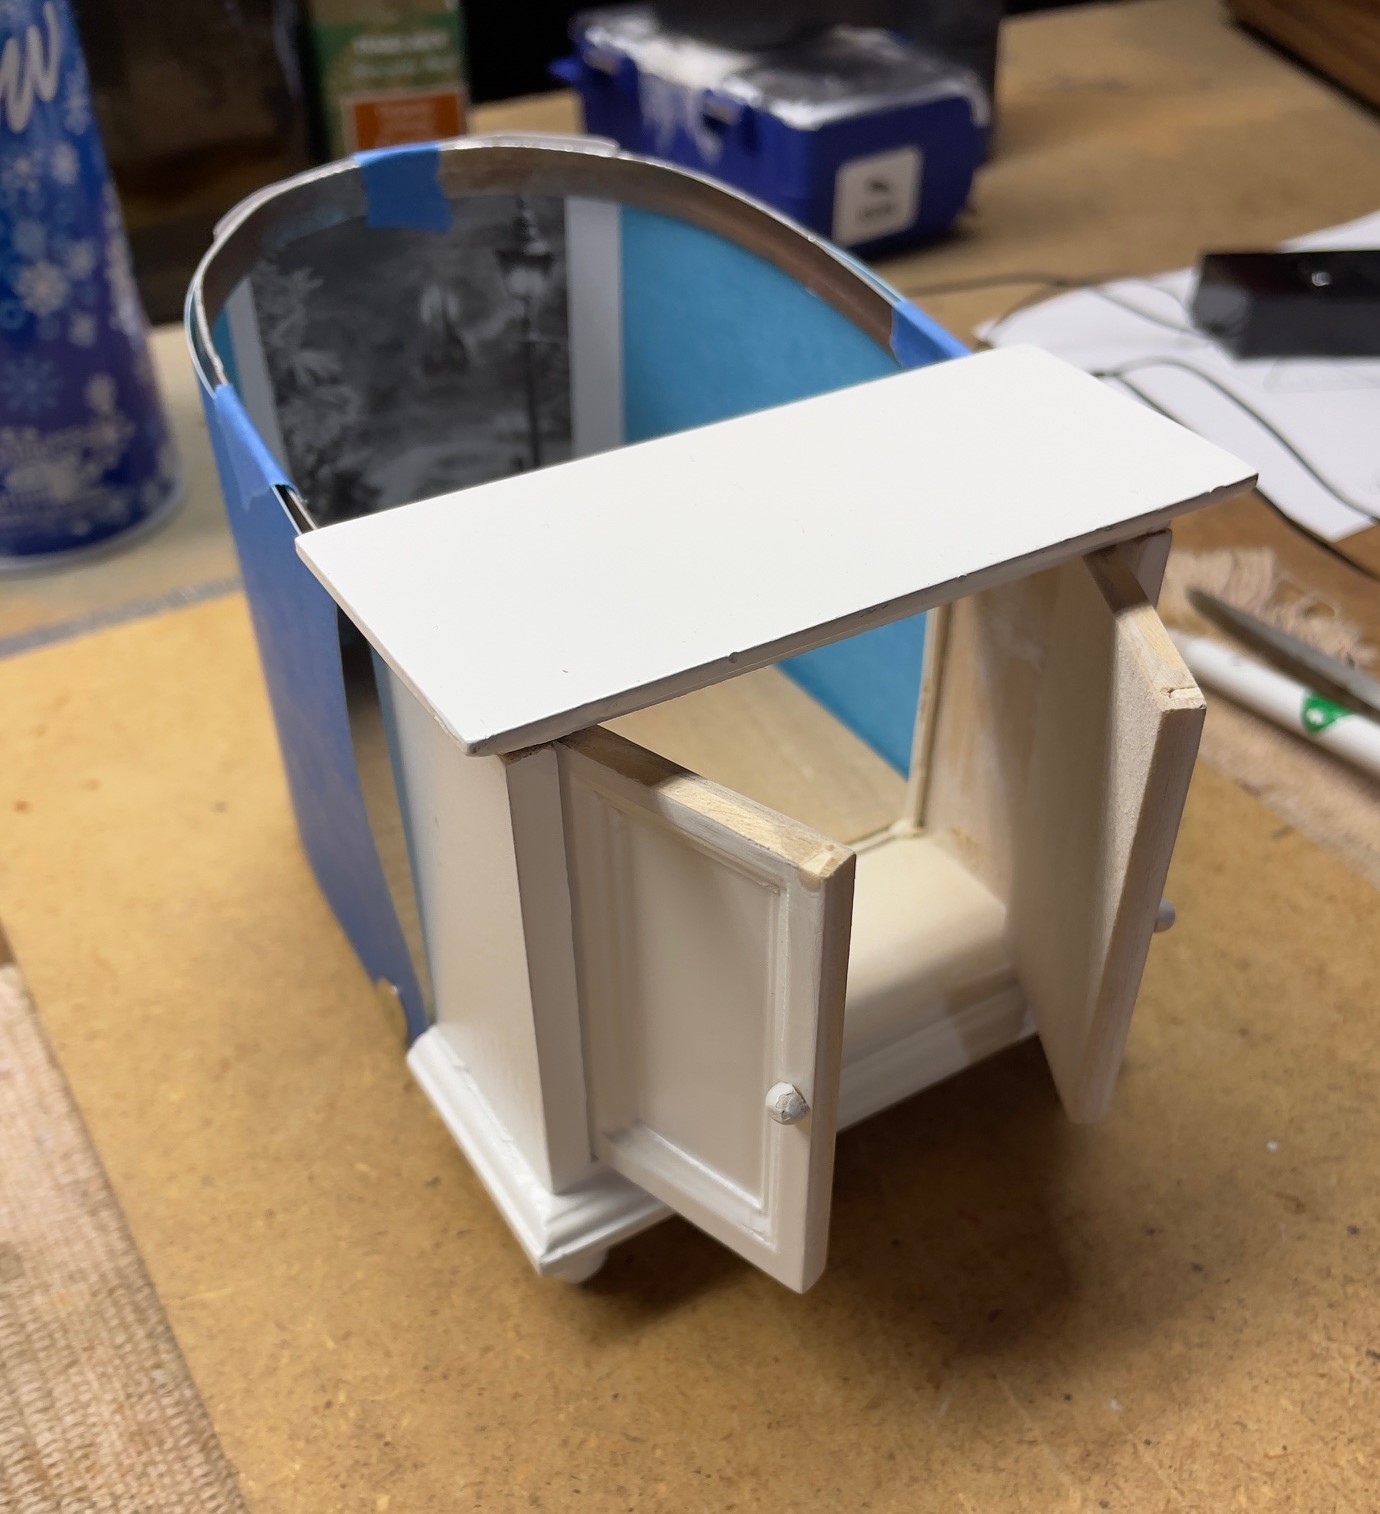
I added sides to the stage, and cut out an opening in the back to attach the scene. Once that was completed, I painted the inside with spray on Christmas tree snow.
While building this project, I began to think how interesting it would be to design and build special effects for theater or film companies. Ah, “Perchance to Dream,” which of course I did. I envisioned myself as a ‘Props Master’ working for Lucas Films. Wow, now that’s a dream – I mean, why dream small!
I attached two LEDs to the top of the stage, to light up the interior at night. This worked very well.
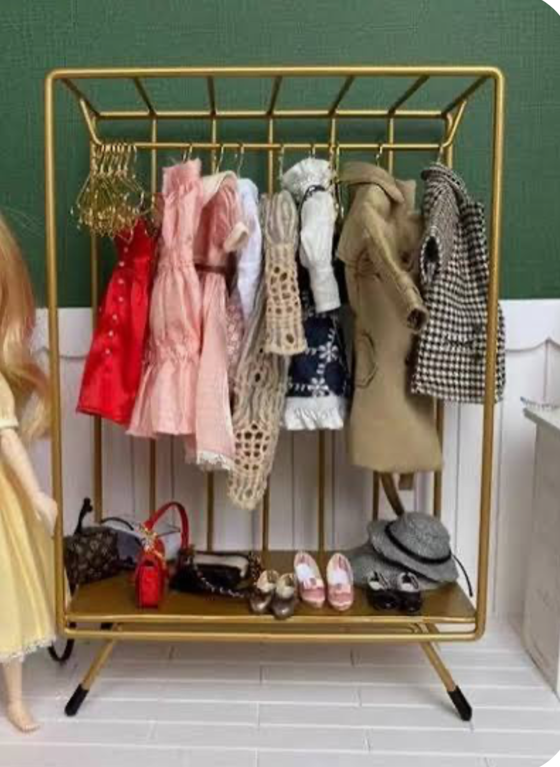
Of course, I needed some clothes to hang in the wardrobe. I found a picture of doll clothes on the web, and cut to size. I formed coat hangers, hooks really, and hung up the clothes. I also attached the final ‘color’ scene image, and added footprints in the snow.
I decided that adding the wardrobe to the village, the wardrobe itself needed a name. Every village needs a theater, thus the ‘Wardrobe Theater.’ I found a picture on the web of a marquee, and made the topper for the wardrobe.
I was very happy with the end result. I had a lot of fun designing and building this project. It turned out to be a wonderful addition to our Christmas village!