Pumpkin Beer Tasting

October is ‘pumpkin everything’ month. In this post, I will be sharing my pumpkin beer taste test with you.

I have 6 beers to review, so here we go. These are not in any particular order.

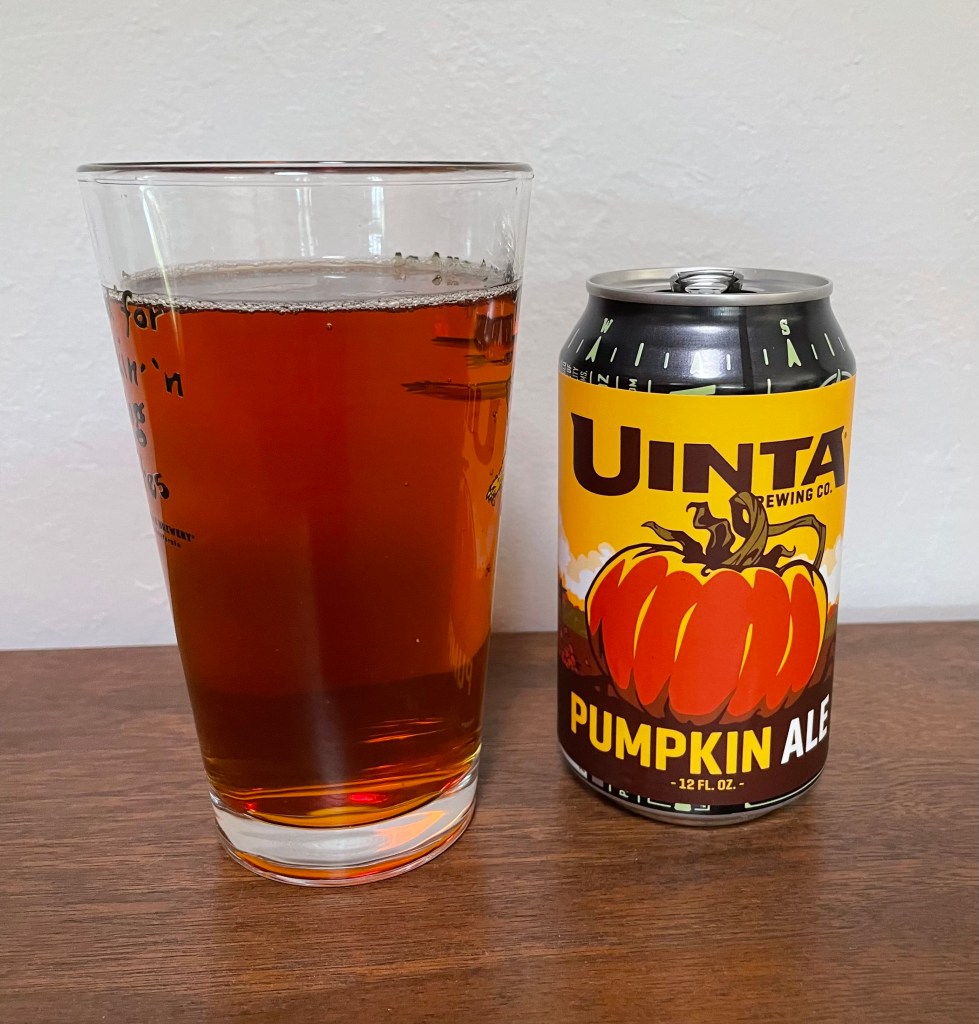
Uinta Pumpkin Ale, 5.0% ABV

I’ve had this beer from Utah for 3 years in a row. It has always had a nice pumpkin spice flavor. This year however, it seemed light on the spice content. Good, but not as good as previous years.

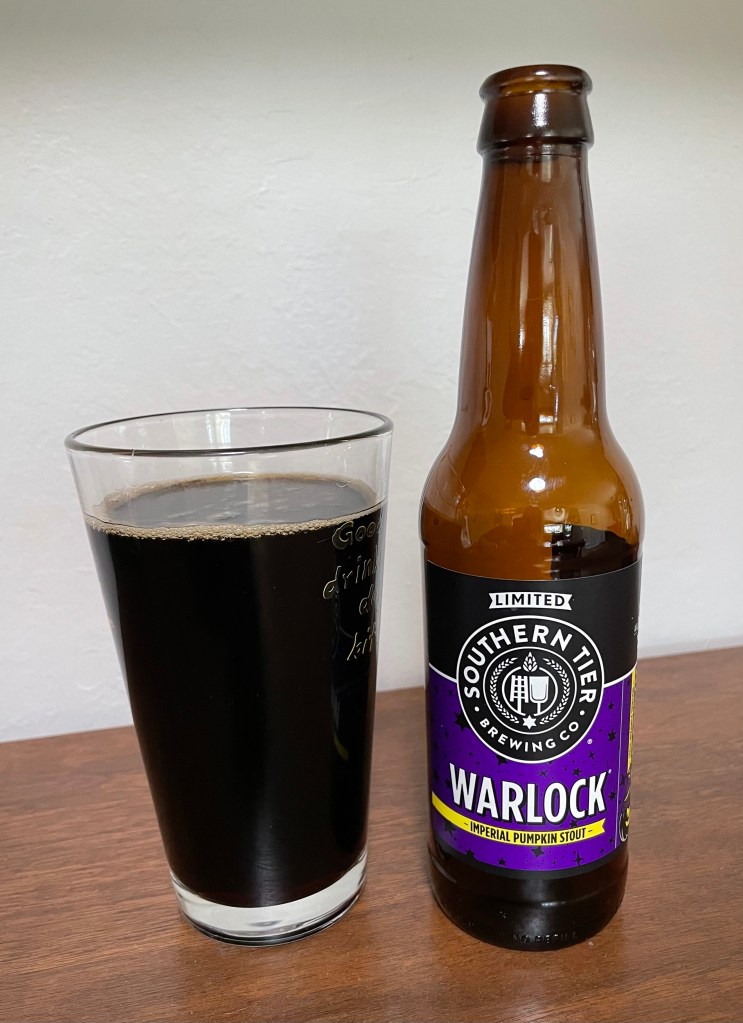
Southern Tier Warlock Imperial Pumpkin Stout, 8.6% ABV

This was my ‘first ever’ pumpkin stout. It was very flavorful, but not much pumpkin taste. It had more of a caramel note, with a hint of sweetness. I like it, but not as much as the lighter pumpkin beers. Careful, this is potent! After a couple of these you will be flying on your broom.

Elysian Night Owl Pumpkin Ale, 6.7% ABV

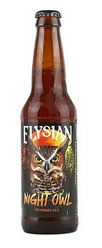
I’ve had this pumpkin beer for several fall seasons. Always consistently good, with excellent pumpkin spice flavors. It’s brewed in Washington state. If you are visiting Washington in the fall, be sure to get this on tap. It’s even better!

Buffalo Bill’s Pumpkin Ale, 6.0% ABV

The original pumpkin beer. This has been one of my favorite pumpkin beers for over 30 years. It’s hard to beat its pumpkin spice flavor! Unfortunately, after 30 years, the California brewery closed its doors this year. Not sure if it will be brewed after 2022.

New Belgium Atomic Pumpkin, 6.4% ABV

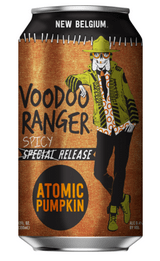
This is a different twist on pumpkin beer. Brewed in Colorado, they added a bit of ‘heat’ to the mix. I like the heat. However, not much pumpkin flavor.

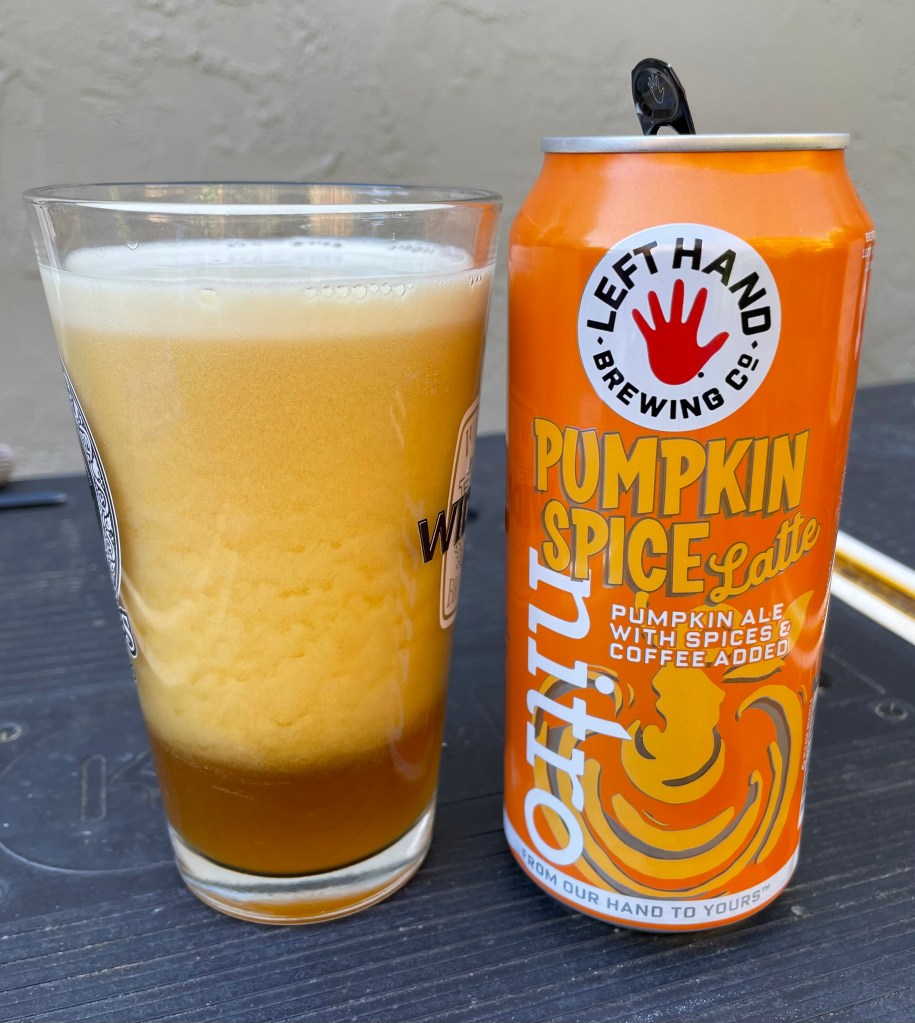
Left Hand Pumpkin Spice Latte Nitro, 7.0% ABV

This was my first year trying this pumpkin beer. I was doubtful, but it surprised me. It’s a nitro beer, so when poured, it produces a beautiful fall-color cascade. Like the cascade when a Guinness is poured.

This beer has a nice, creamy pumpkin spice flavor. I will be buying this again.

My favorites in order:

  1. Elysian Pumpkin Ale
  2. Buffalo Bill’s Pumpkin Ale
  3. Left Hand Pumpkin Spice Nitro
  4. Uinta Pumpkin Ale
  5. New Belgium Atomic Pumpkin
  6. Southern Tier Imperial Pumpkin

I guess I will just have to buy these 6 beers again next year. I want to ensure that they maintain their brewing consistency. It’s a tough job, but someone’s got to do it!

Transistor Radio Repair

Until a couple of months ago, this 1961 transistor radio had worked flawlessly. Now all I could hear was static.

Since this is one of the few items that I’ve had since childhood, I decided that I needed to perform a repair.

Other than the battery, the most likely issues are: 1) the ‘potentiometer’ for on-off / volume control is dirty; 2) the ‘variable capacitor’ for station tuning is dirty; or 3) an ‘electrolytic capacitor’ on the circuit board has dried out.

The Potentiometer, located just behind the white on-off / volume control (at the top of the radio), gets dirty over time.

Potentiometers, also known as variable resistors, have a small wiper that moves across a resistive surface. This surface gets dirty and needs to be cleaned to operate properly.

The Variable Capacitor, located behind the larger white adjustment wheel, is part of the tuning circuit. It can also become dirty over time.

The variable capacitor acts to vary the capacitance (or electronic charge) by moving plates within the component, as the tuning wheel is adjusted.

An Electrolytic Capacitor holds a charge, essentially like a small in-circuit battery. As they age, they dry out and require replacement.

I doubted that it was the battery, but since it is the easiest thing to try, I replaced it. Same issue – just static.

To proceed with the repair, I needed to remove the circuit board from the radio case. However, there was a slight problem. The earphone jack had a nut on it that required a special tool – a spanner wrench. Of course, I do not have any spanner wrenches.

I tried a small screw driver, pushing on one of the slots in the nut, but it did not even budge. I certainly did not want to crack the vintage plastic.

After two hardware store visits, I still did not have a spanner wrench that would fit the nut.

If I couldn’t buy it, then why not fabricate one. I used a paint can key and filed it down, until I had two small tips that fit exactly in the two slots on the nut. It worked perfectly!

With the circuit board out, I performed a quick inspection of all the electrical components. Everything looked good. No obvious signs of heat damage or capacitor leakage.

The next easiest step was to clean the poteniometer and variable capacitor. I used some electronic spray cleaner.

I simply sprayed a little behind each white adjustment wheel, and then turned them back and forth about ten times. I do not suggest that this is the best or only method, but it’s what I did.

Time to test to see if the cleaning worked. I reinstalled the battery, and turned on the power with volume up. I adjusted the tuning wheel and… the radio is now fixed. It sounds great too!

Just in time to listen to the World Series… just like I did in 1961.