MinYard Grape Harvest

What’s a MinYard? A mini grape vineyard of course.

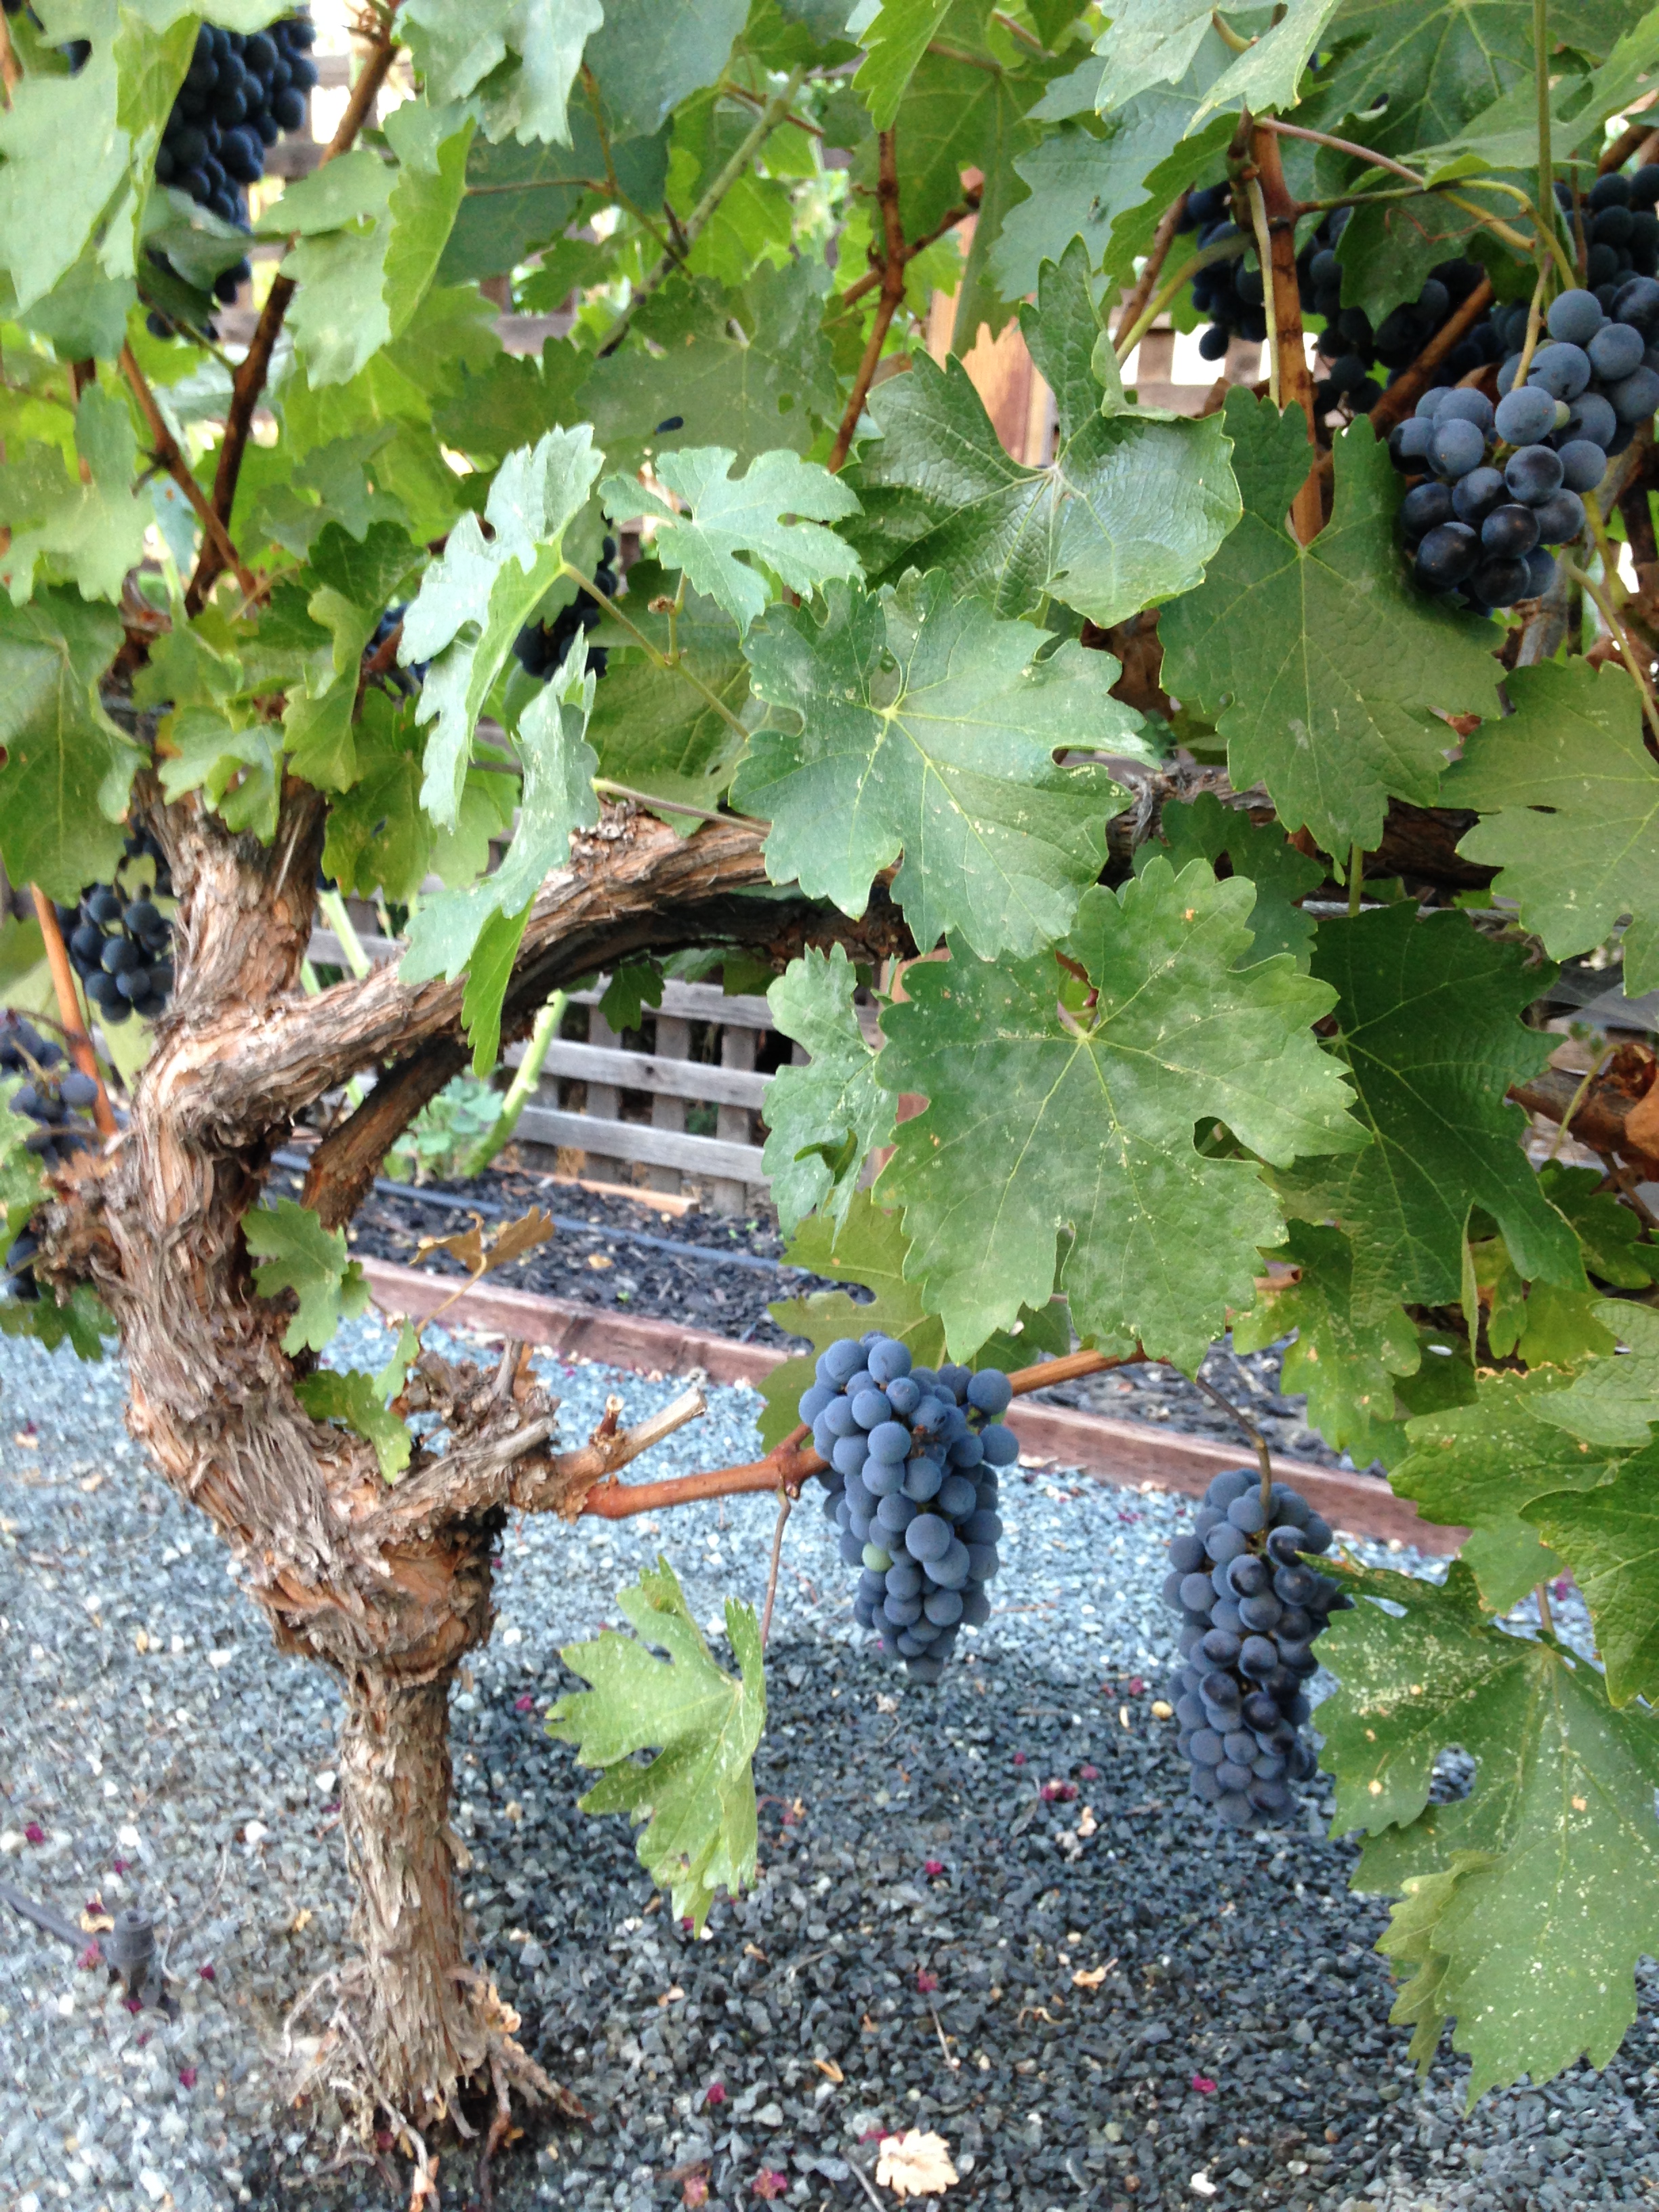
Several years ago, a good friend gave us two Cabernet grape plants. For a couple of years they grew in pots. When I redesigned the front yard, I decided a small vineyard was needed.

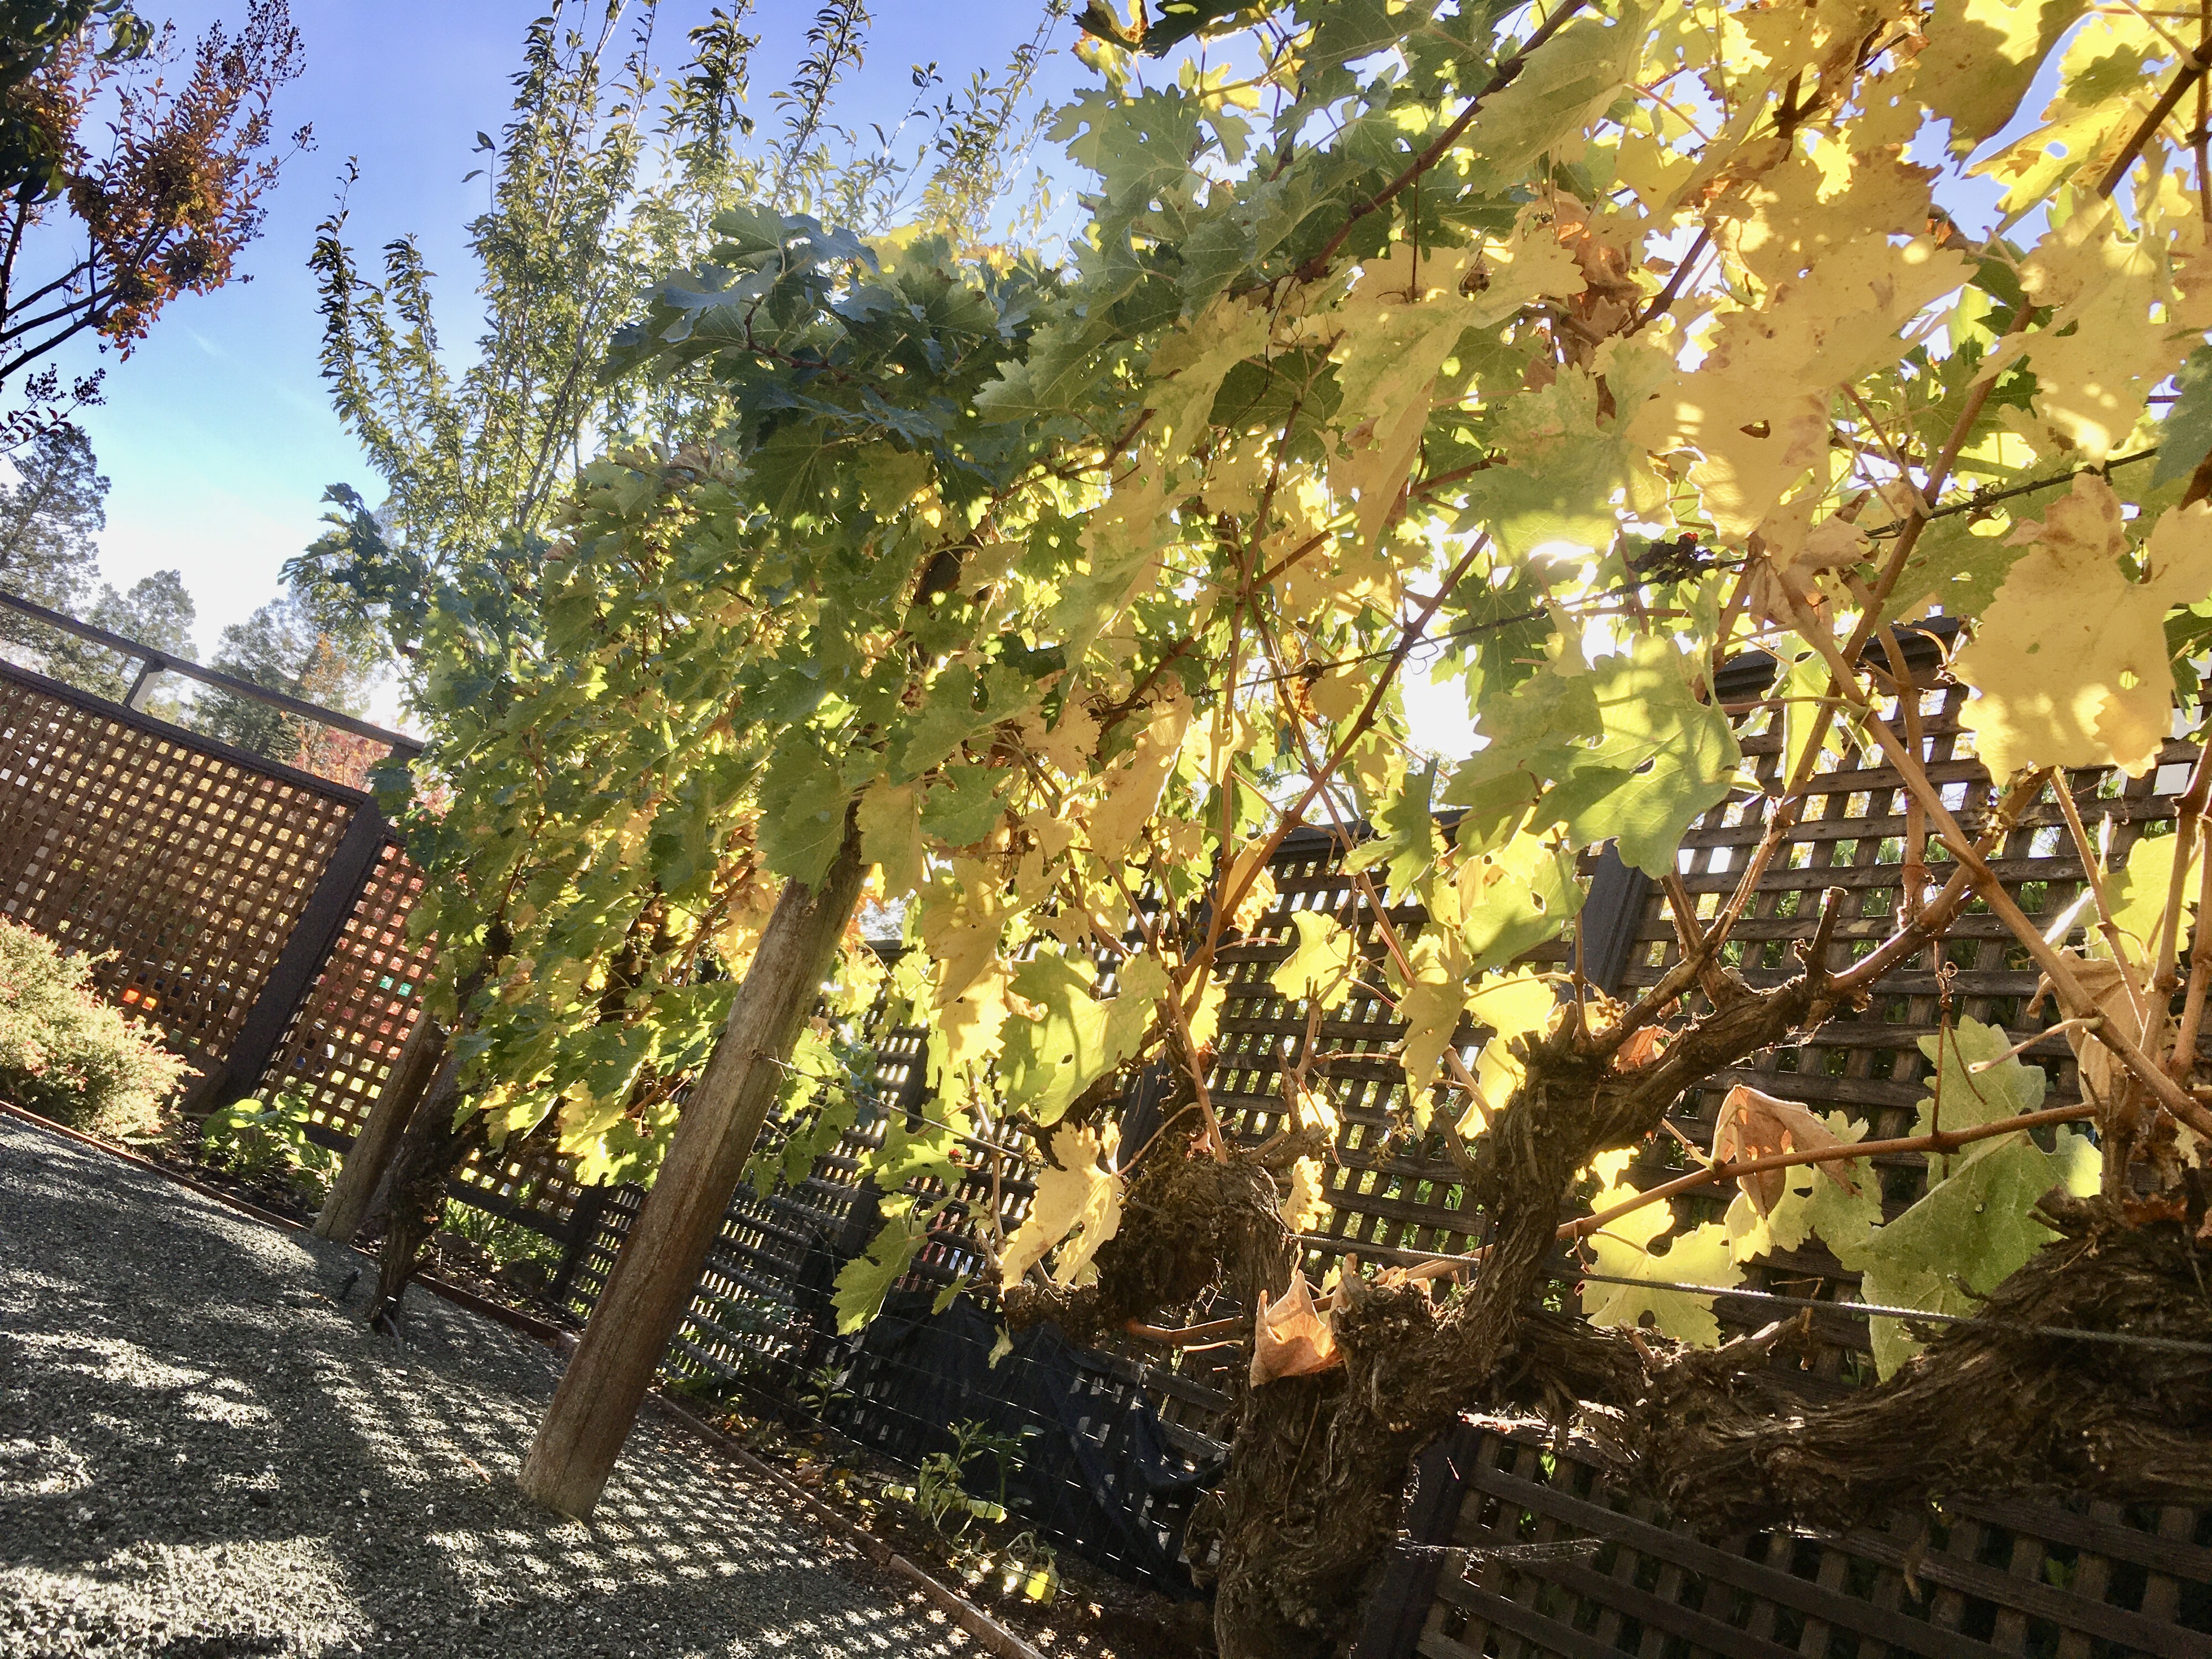
Here’s the two-plant grape MinYard in late fall. The harvest was completed in mid September.

It was a very good harvest this year. But what can you do with the wine grapes if you only have two grapevines? It’s not enough to make wine.

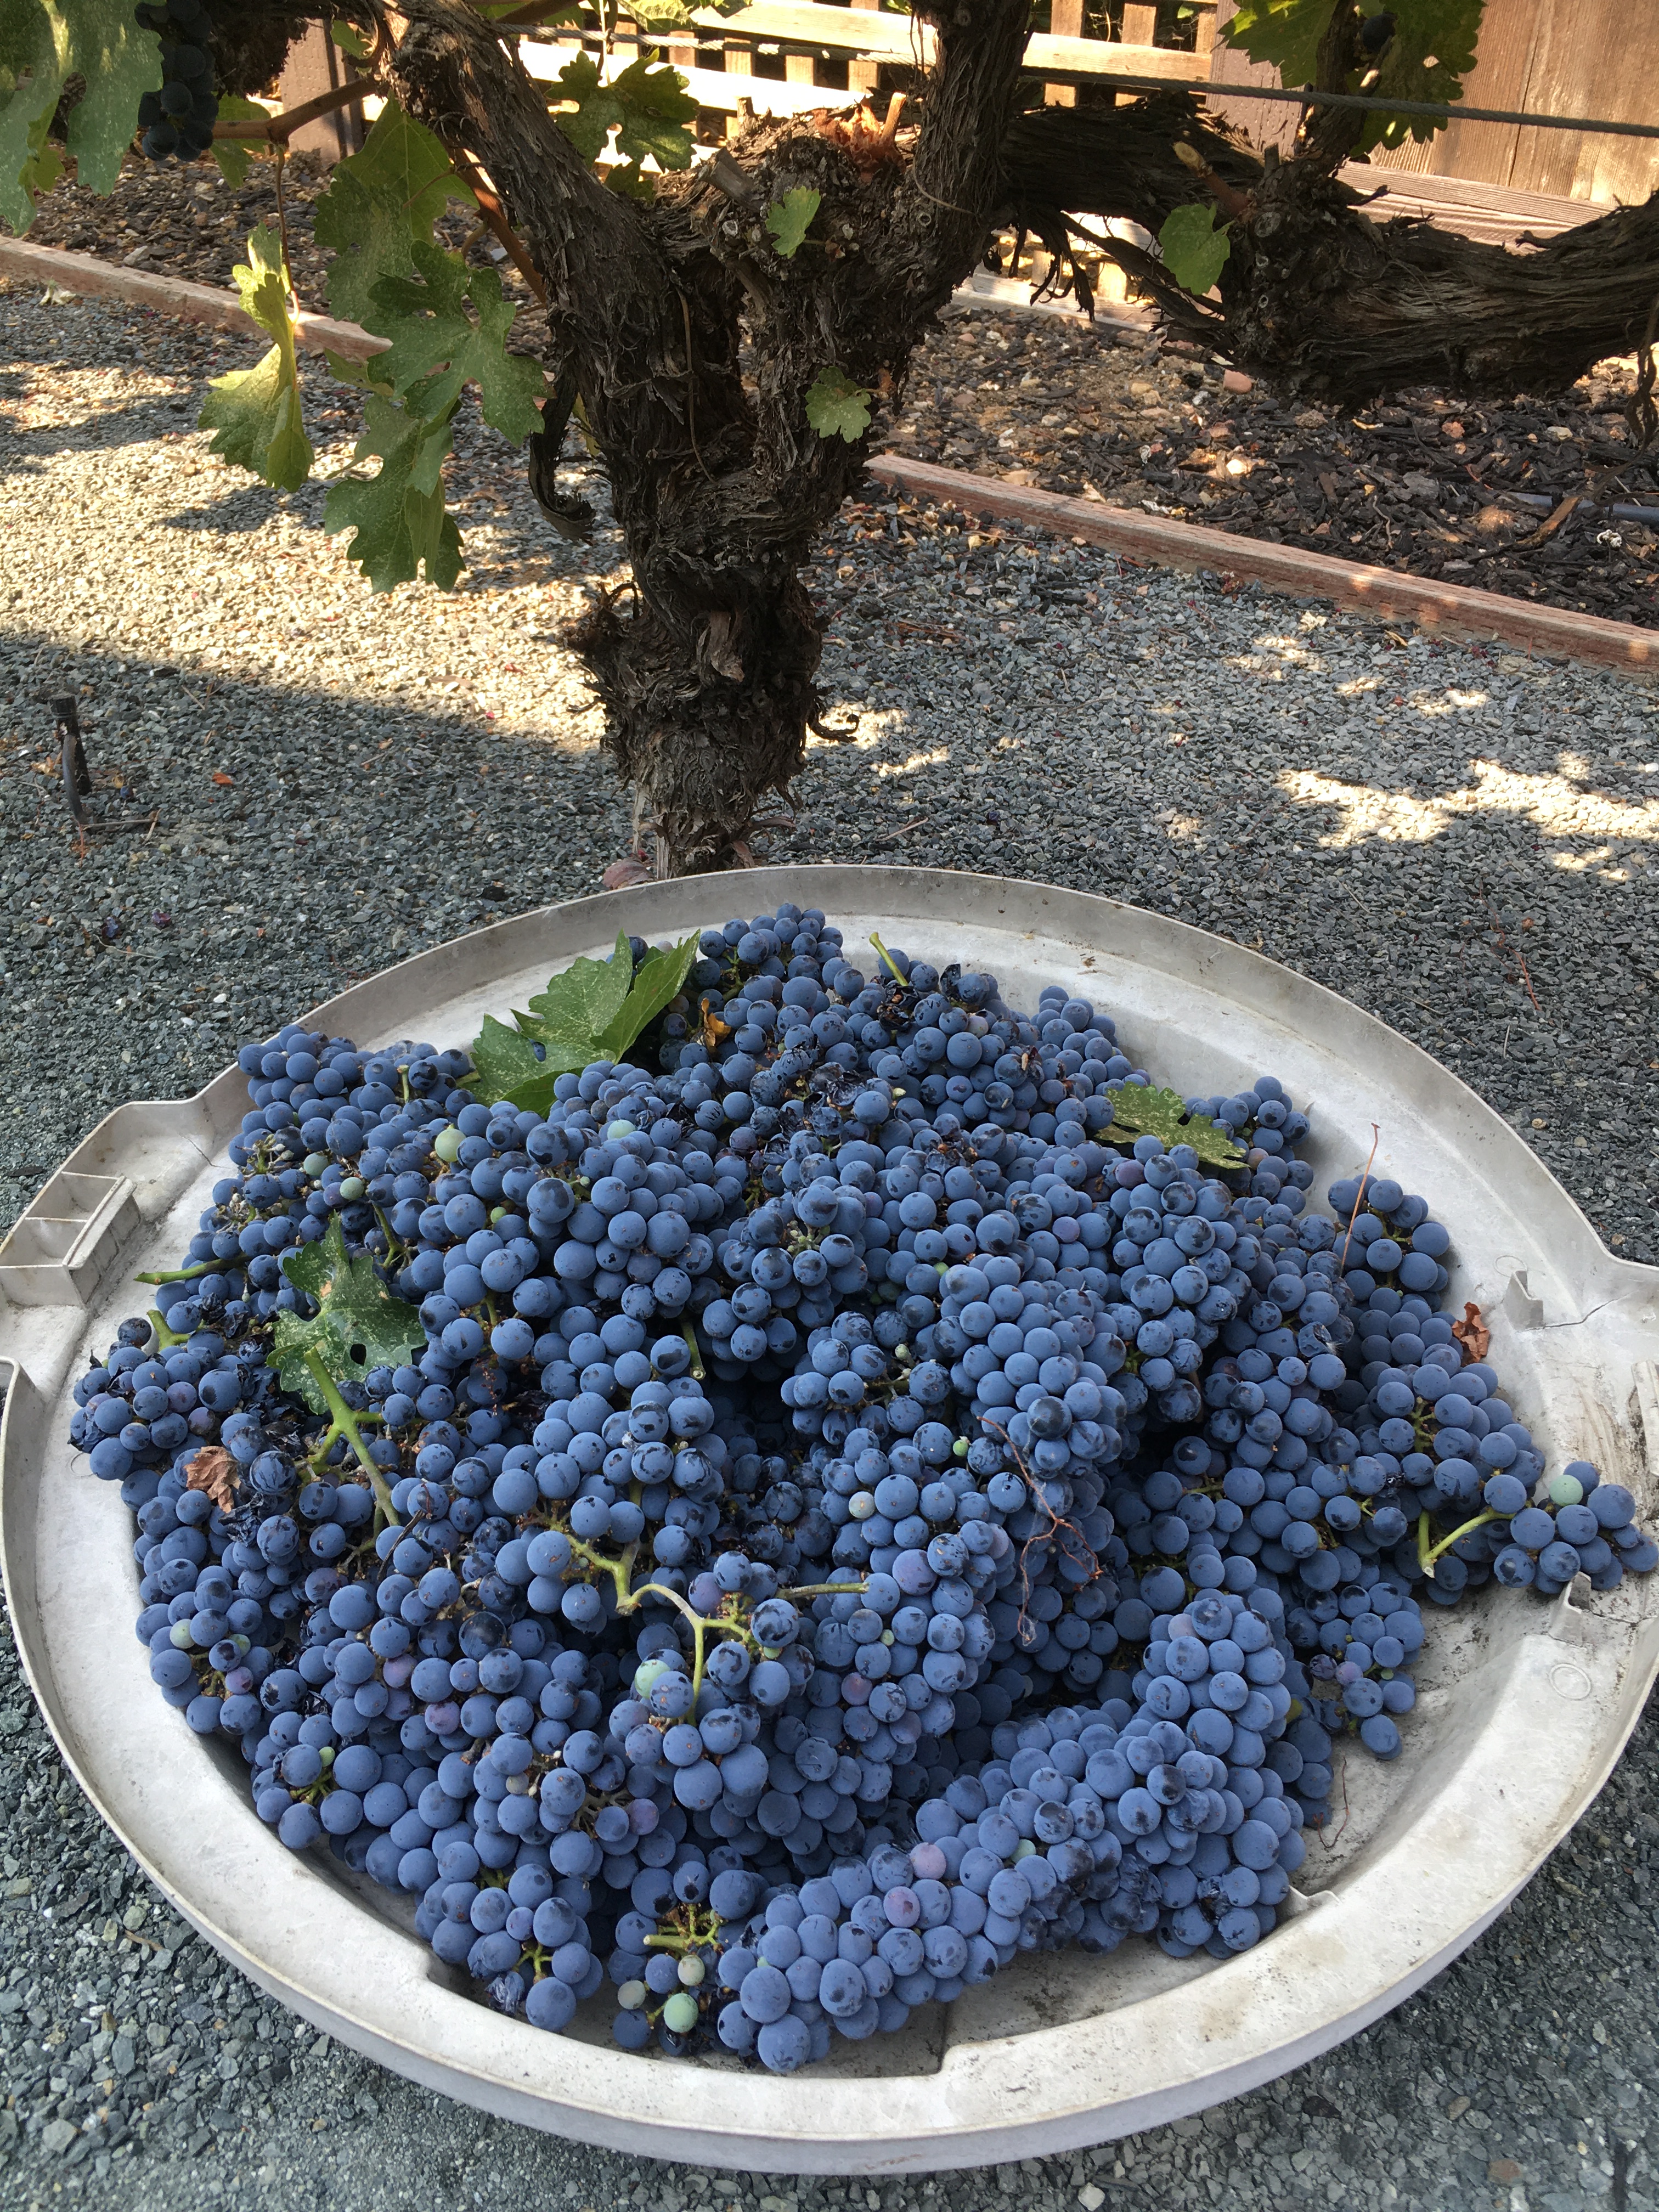
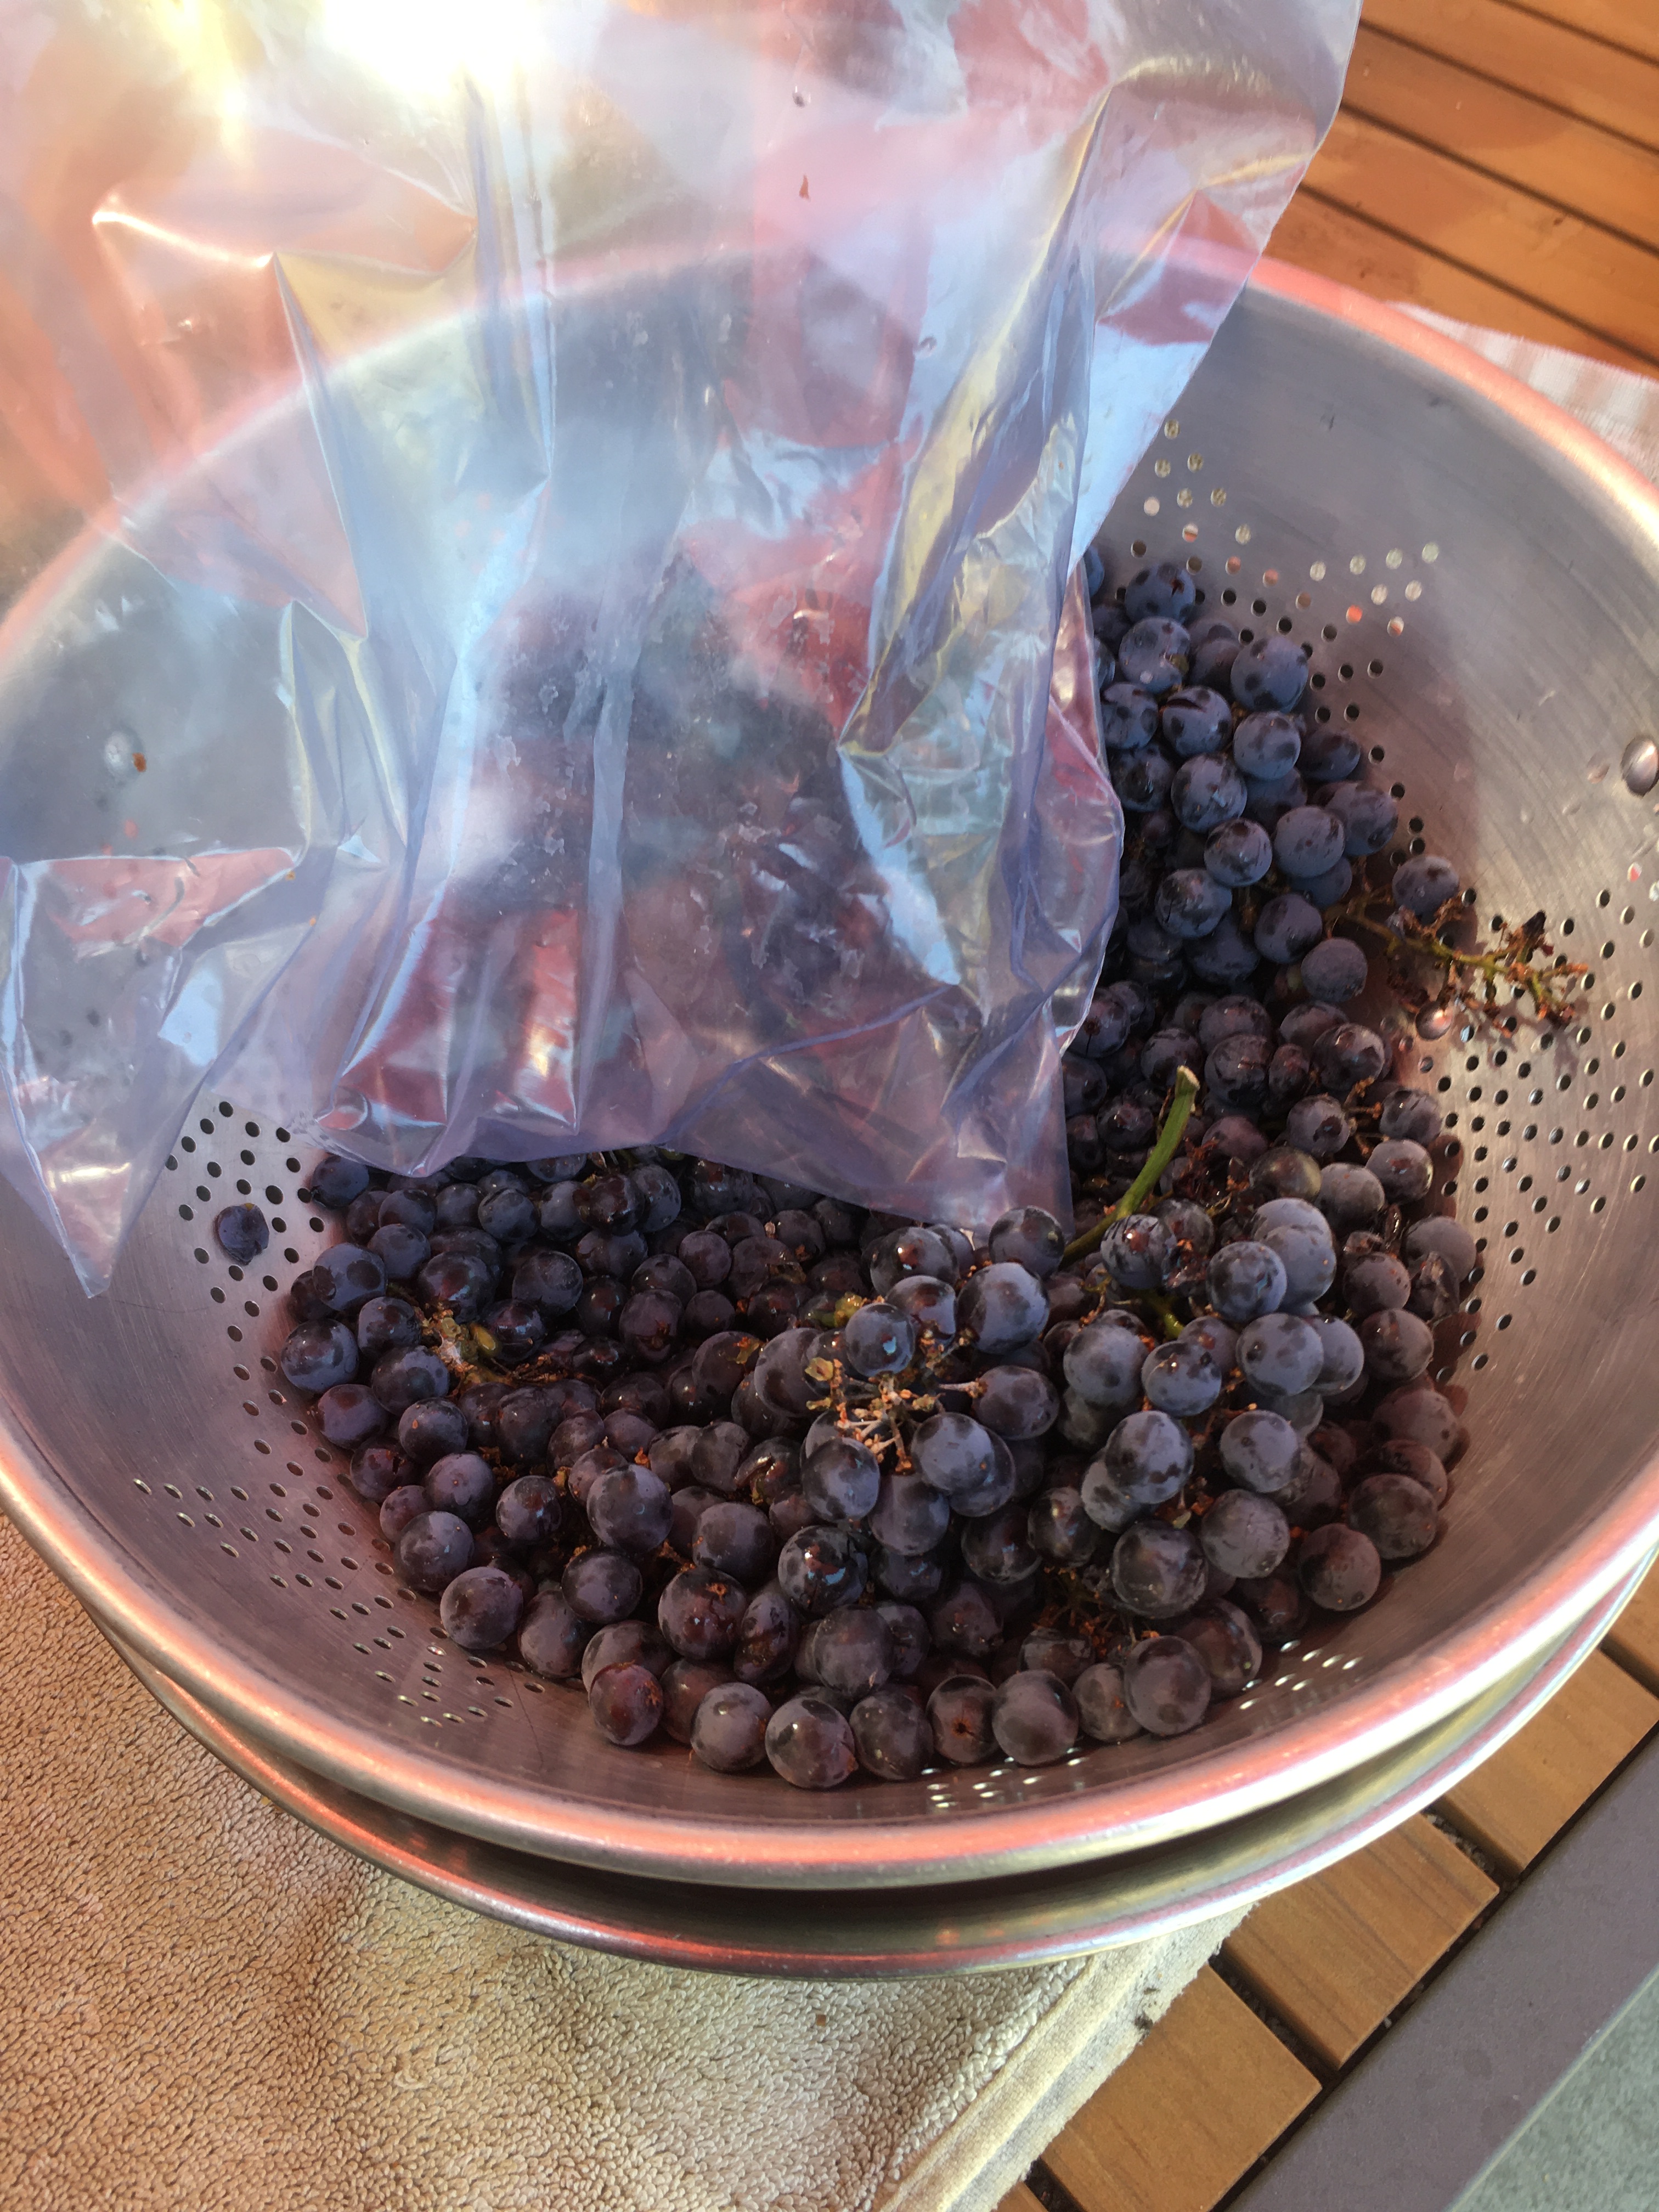
I’ll show you how I crush the grapes and what I do with the juice.

I place a catch dish below a colander, I simply use a plastic bag and my fist to crush the grapes. It is definitely a workout. I’ve been looking for a small, used grape press but have not found one as yet. Hopefully prior to the next harvest.

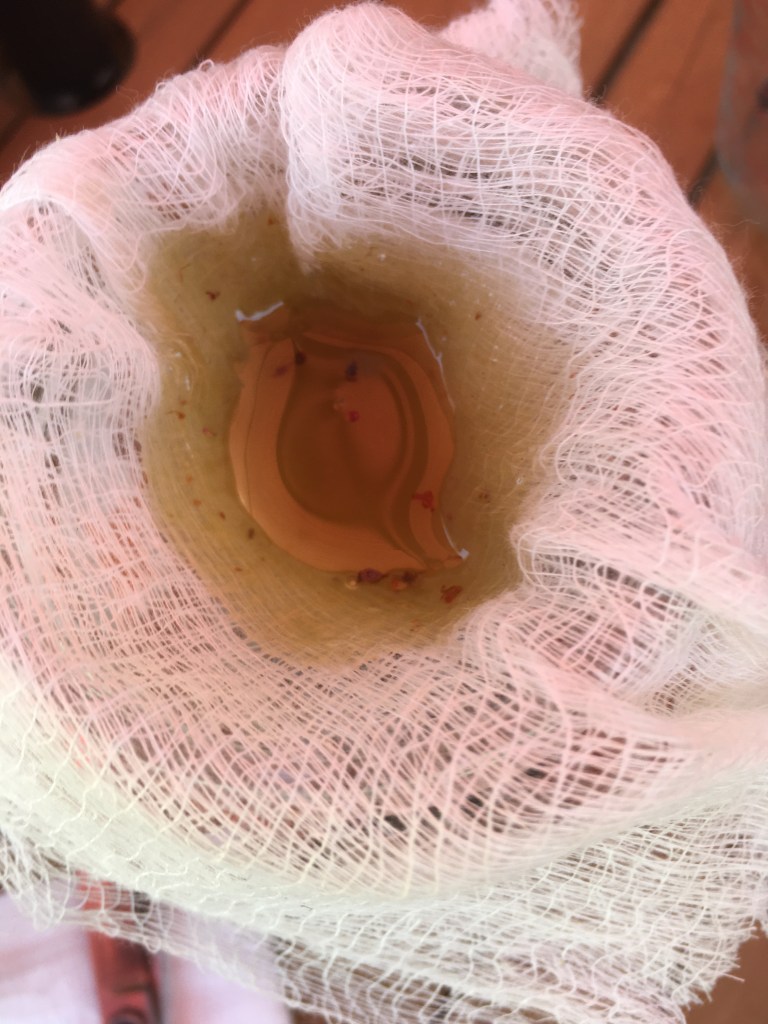
When I need a rest, I pour the juice from the catch dish through folded cheese cloth and into a pitcher. The cheese cloth acts to filter out most debris.

I was able to obtain two full pitchers of juice. I usually pour some juice into Mason jars and freeze it.

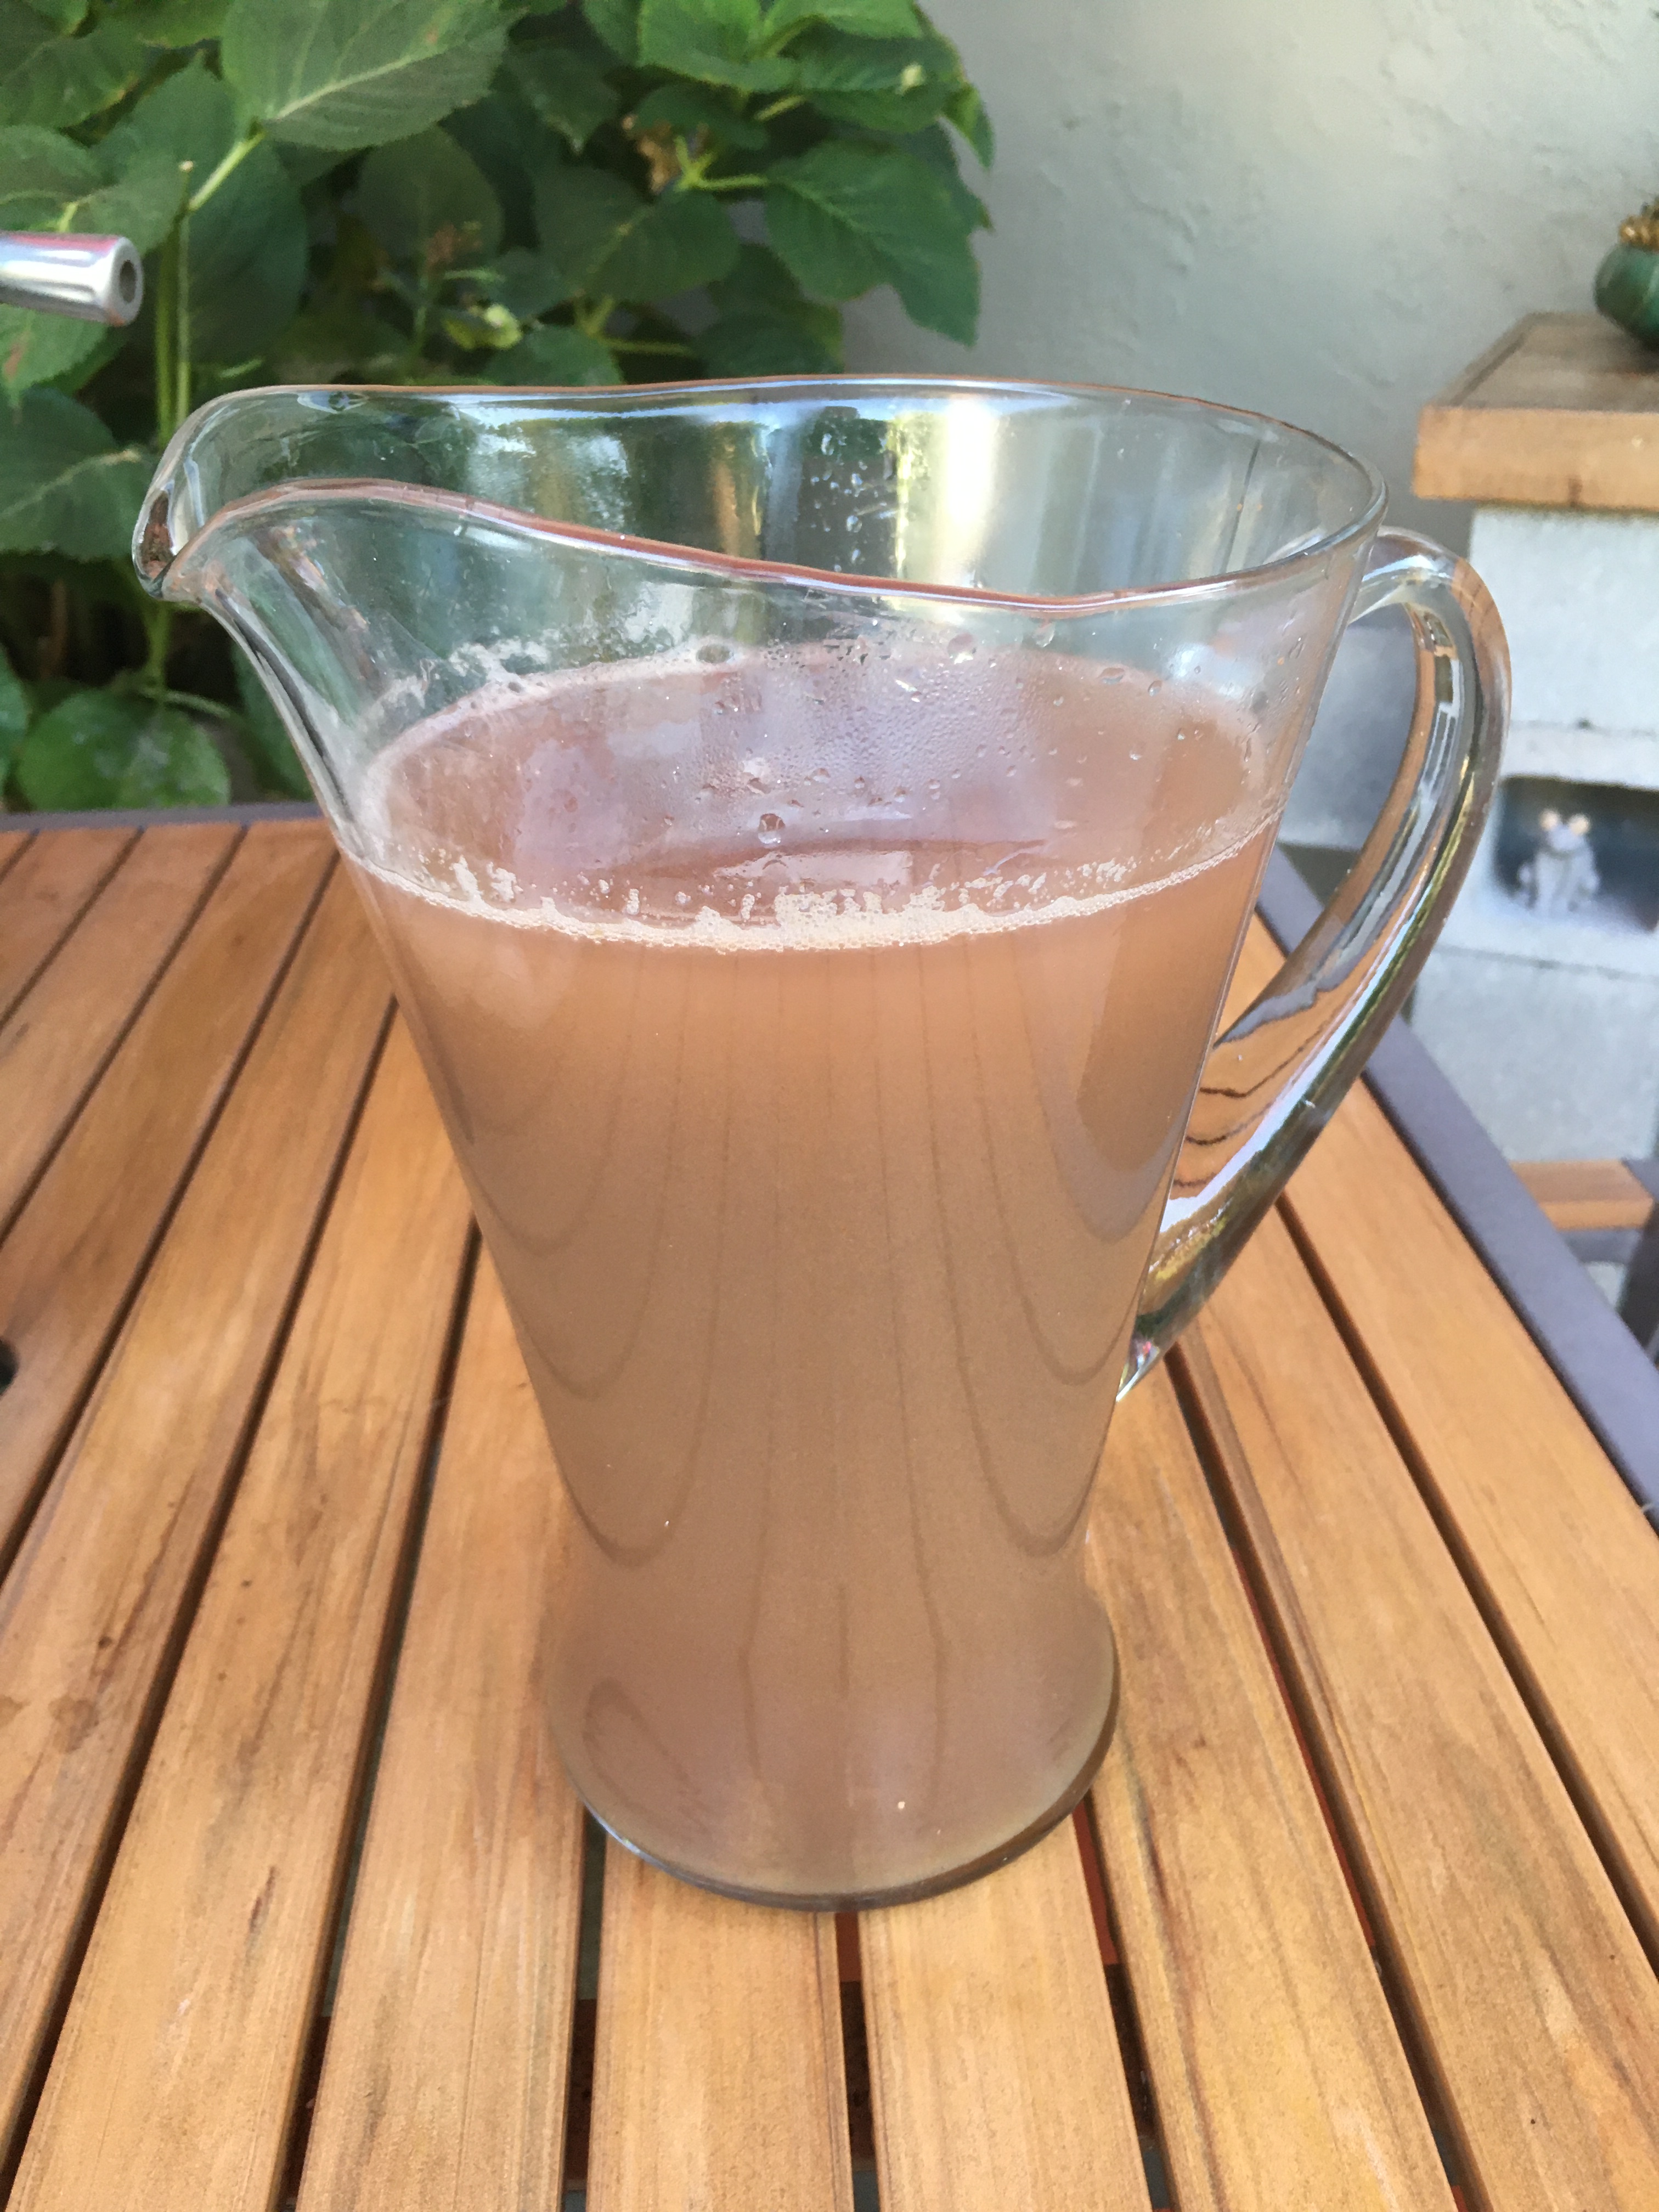
The juice can be added to a glass of water for a super energy drink. You do not need to add much, this stuff is pure power and can really rev up your motor!

I also like to freeze some grape cubes in an ice cube tray, and add the cubes to natural sparkling water. Extremely refreshing on a warm day.

If you know someone who makes wine, you can give them the juice from your vines to add into theirs. Here’s a batch of locally made wine where I added my own label. I had one of my artistic friends design it for me.

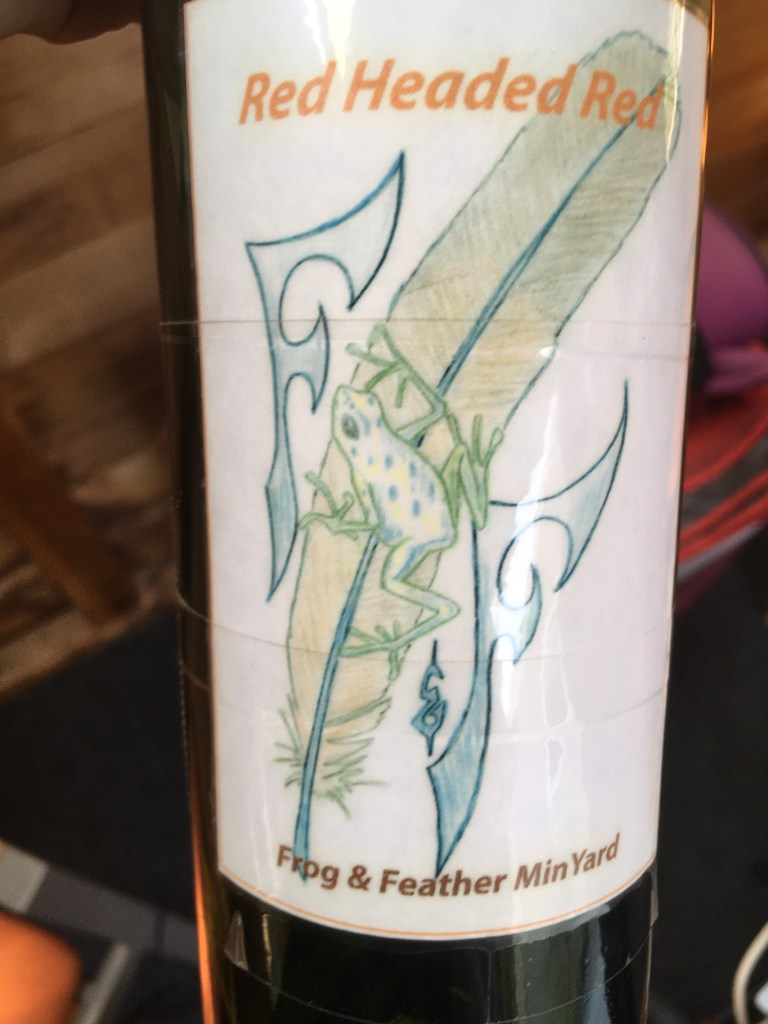
Note the MinYard name – Frog & Feather. My friend likes frogs and I like birds of prey. This was a hearty, bodacious red – just like her!

So go grab a bottle of your favorite red and share it with a friend. Wine is good for your soul. Salute!

Adding Glass to Kitchen Cabinets

Renovating a 1970’s kitchen on a small budget is not easy to do. However, that is what a friend asked me to help her accomplish.

The kitchen was extremely small and dark. Of course, my first thought was to paint the kitchen cabinets a light color. She didn’t want white, and decided that a nice blue-gray would do the trick.

Since the kitchen was so small, I suggested that some of the cabinet door centers be cut out and glass added. This would make the opening of the kitchen appear wider and add some depth as well.

I began by removing and cleaning up the cabinet doors. Next, I laid out the cut lines and drilled a hole in one corner so that the saber saw blade could be inserted.

After about 15 minutes of cutting, the door center could be removed. I saved the center piece of wood for a future project.

How to install the glass? That was my new issue. I figured that I would route out the back side of the door – only one problem, I don’t own a router. My friend had a great suggestion to just add a small edge of wood to the cutout, leaving space to support the glass.

I used some 3/8″ square pine to frame-up the cutout. I secured each piece in place with glue and small finishing nails. It actually added a nice detail to the front of the door and – no routing required!

I took the first two doors to a glass shop. My friend selected a glass pattern that she had seen years ago while visiting Ireland.

They cut and installed the glass, and interestingly, they used clear silicon to secure the glass in place. It cost about $70.00/door for the glass and labor.

Prior to hanging the doors, I refurbished the old hinges, a subject of a future post. I also installed new pull knobs, which she had previously selected.

I painted the upper cabinets 50% lighter than the bottom. I simply mixed 50/50 blue-gray with white paint. This optically makes the upper cabinets appear a little further back, making the kitchen seem larger. When you have a small space, these tricks add up!

I completed four doors in total and as you can see, it really updated the kitchen! The original estimate for new cabinets and installation was $10,000. So far, the kitchen has cost $450.00. That’s paint, knobs and glass. Of course, she got a great deal on labor!

With the money she saved, she purchased a new counter-depth refrigerator, keeping the kitchen opening as wide as possible. I think it really added to the “new” look.

Now the old countertops are next on her list. Did you know that they can be painted? A new project has been born!