Recently, I was going through some old travel photos. While looking through a folder on my computer, I came across photos of an older trip to Boston.
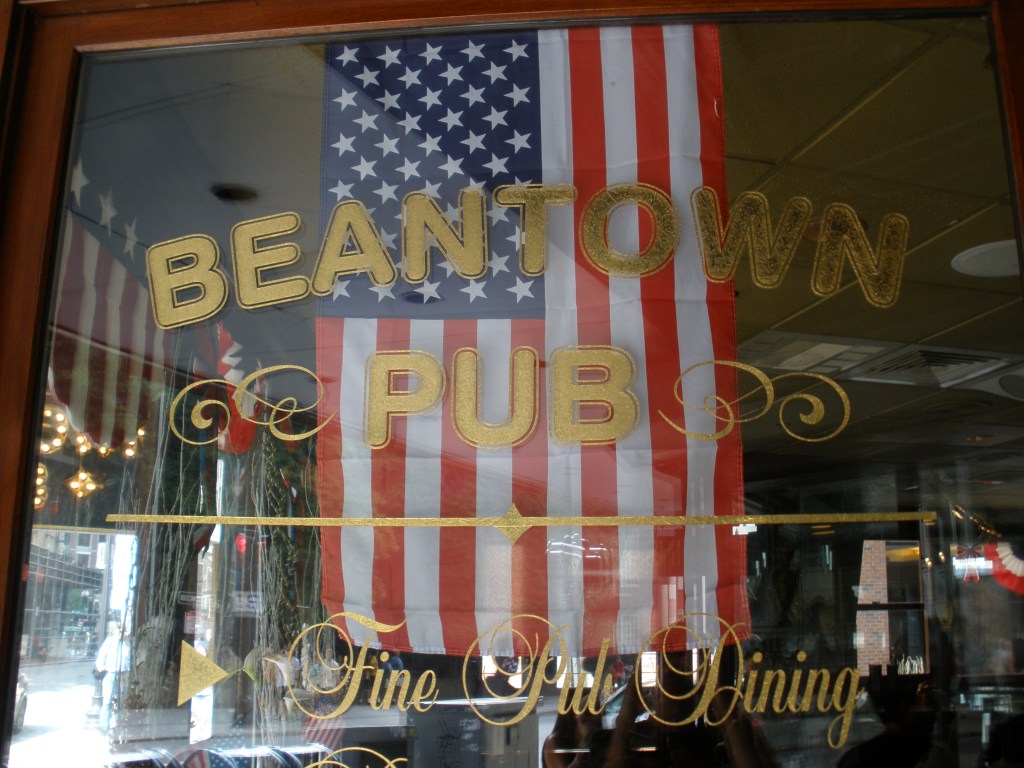
What’s not to love about Boston! What a great city. So much to do and see.

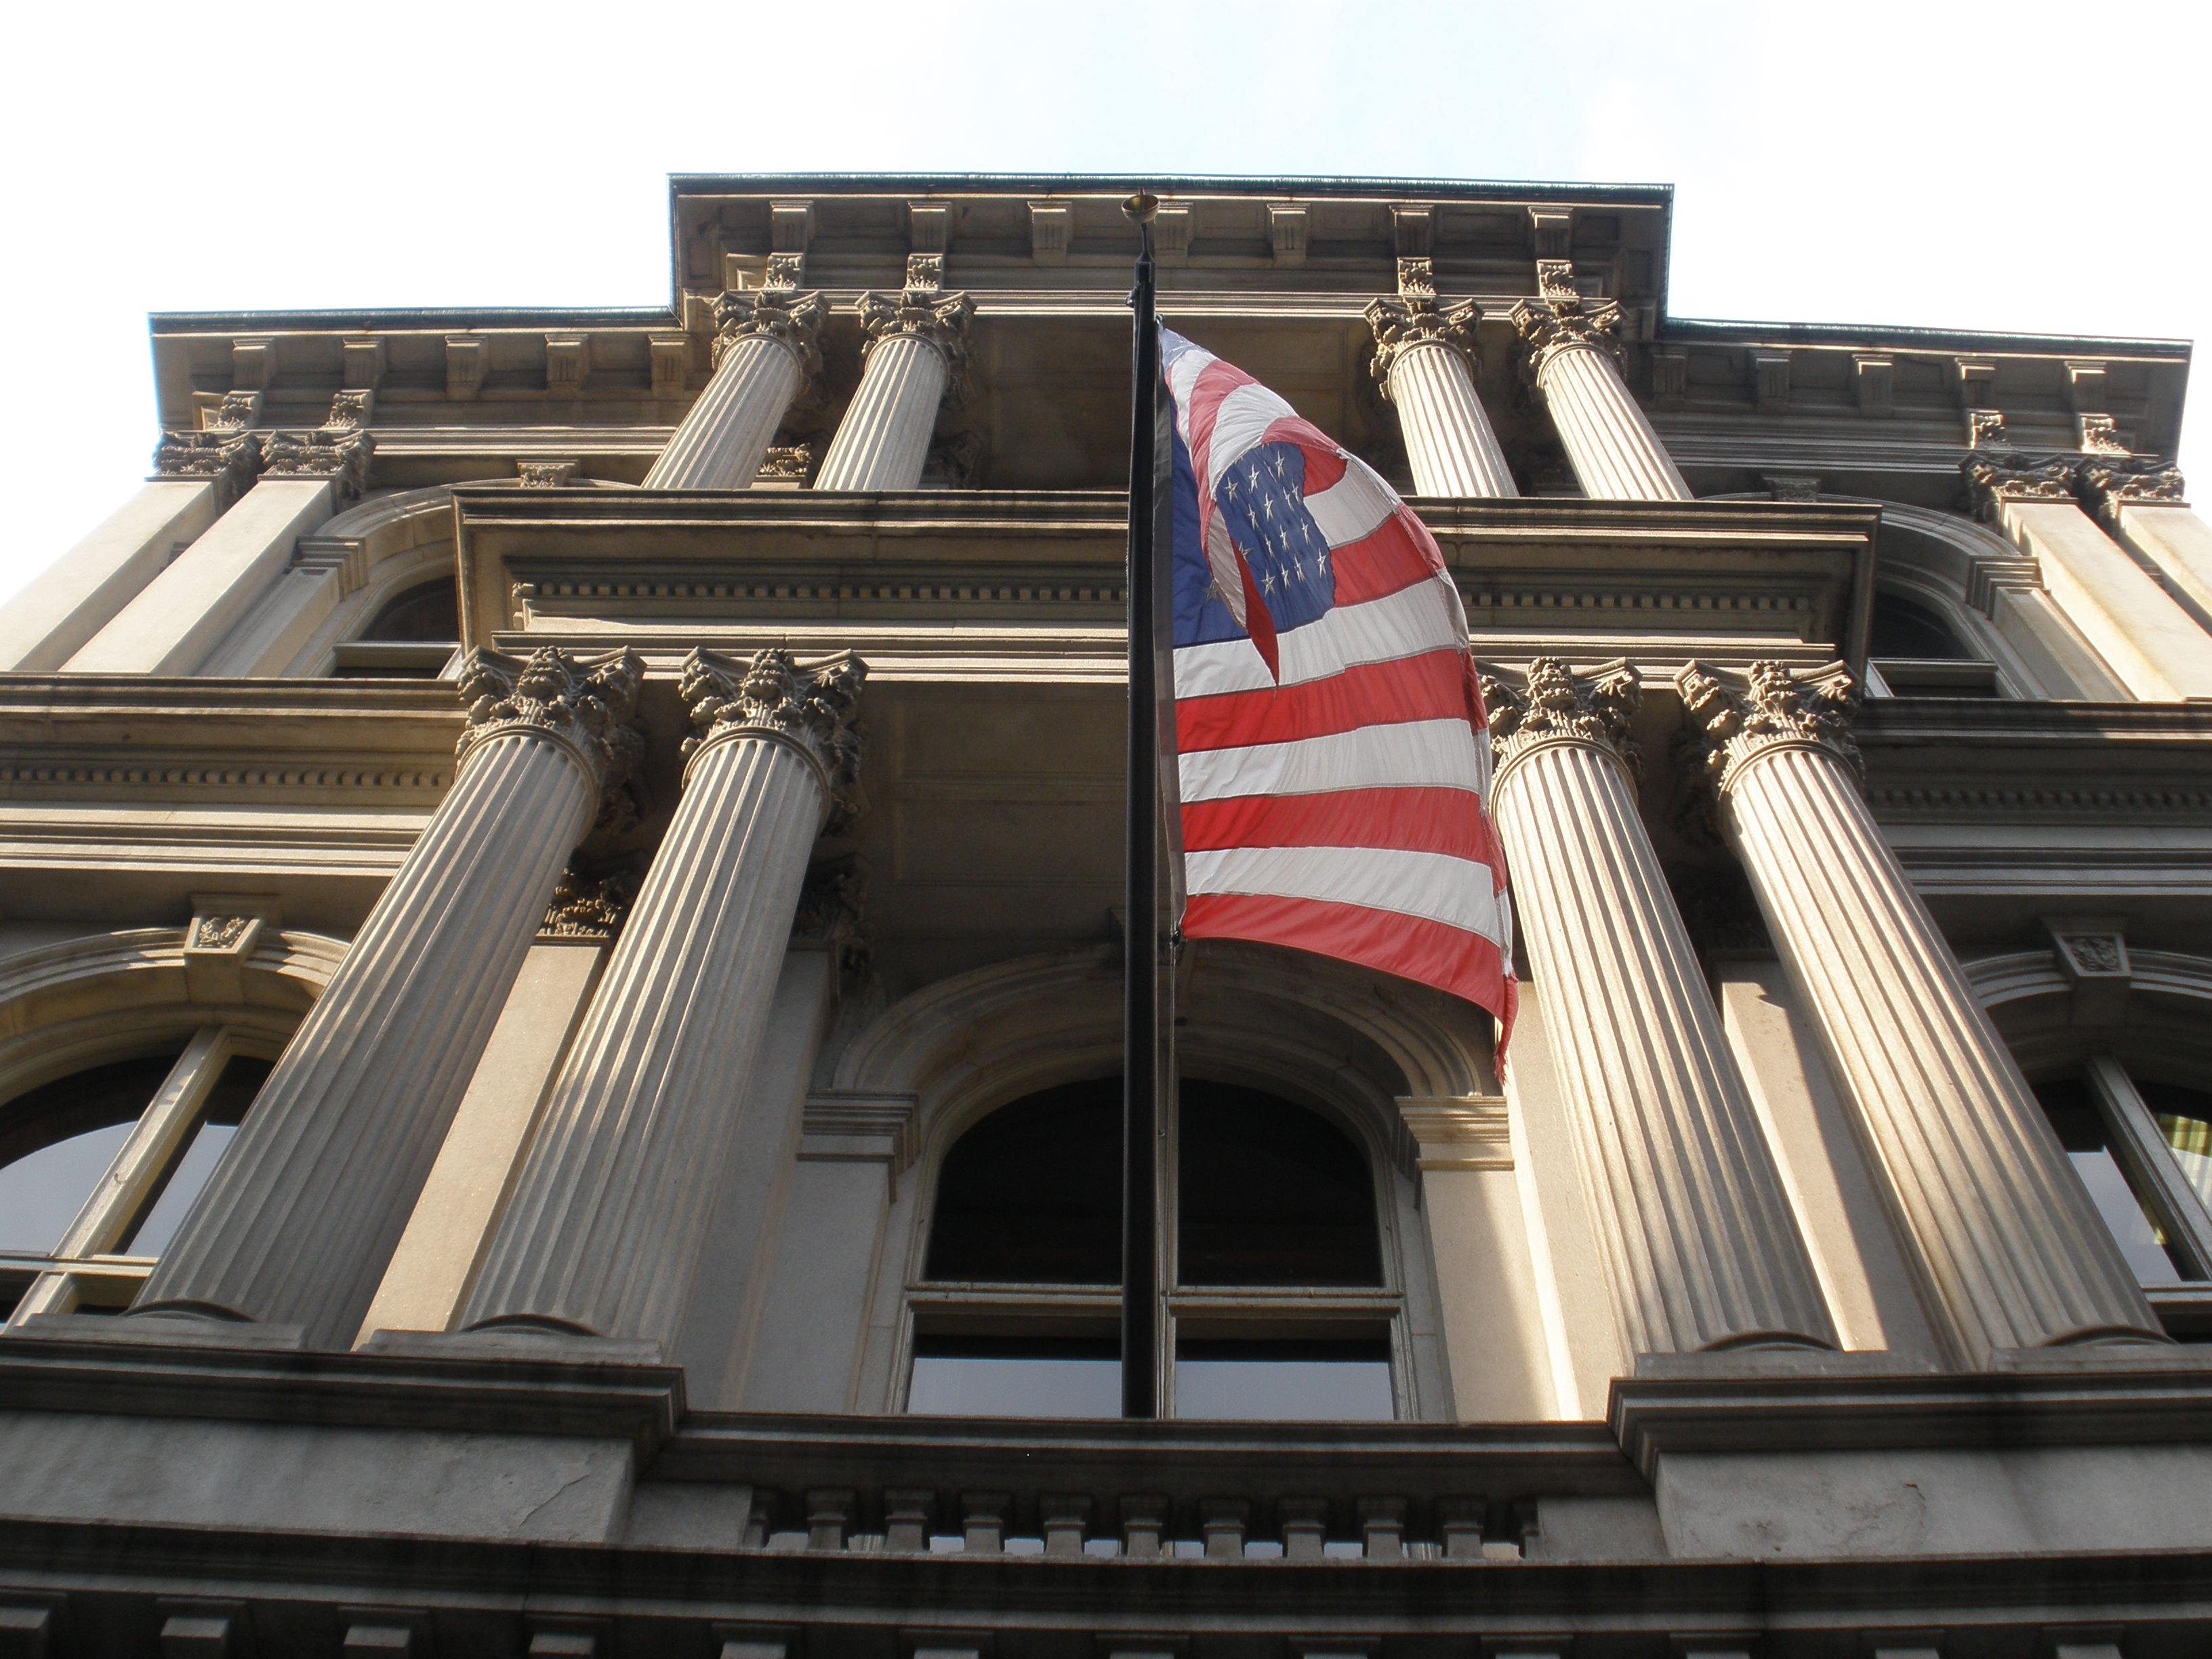
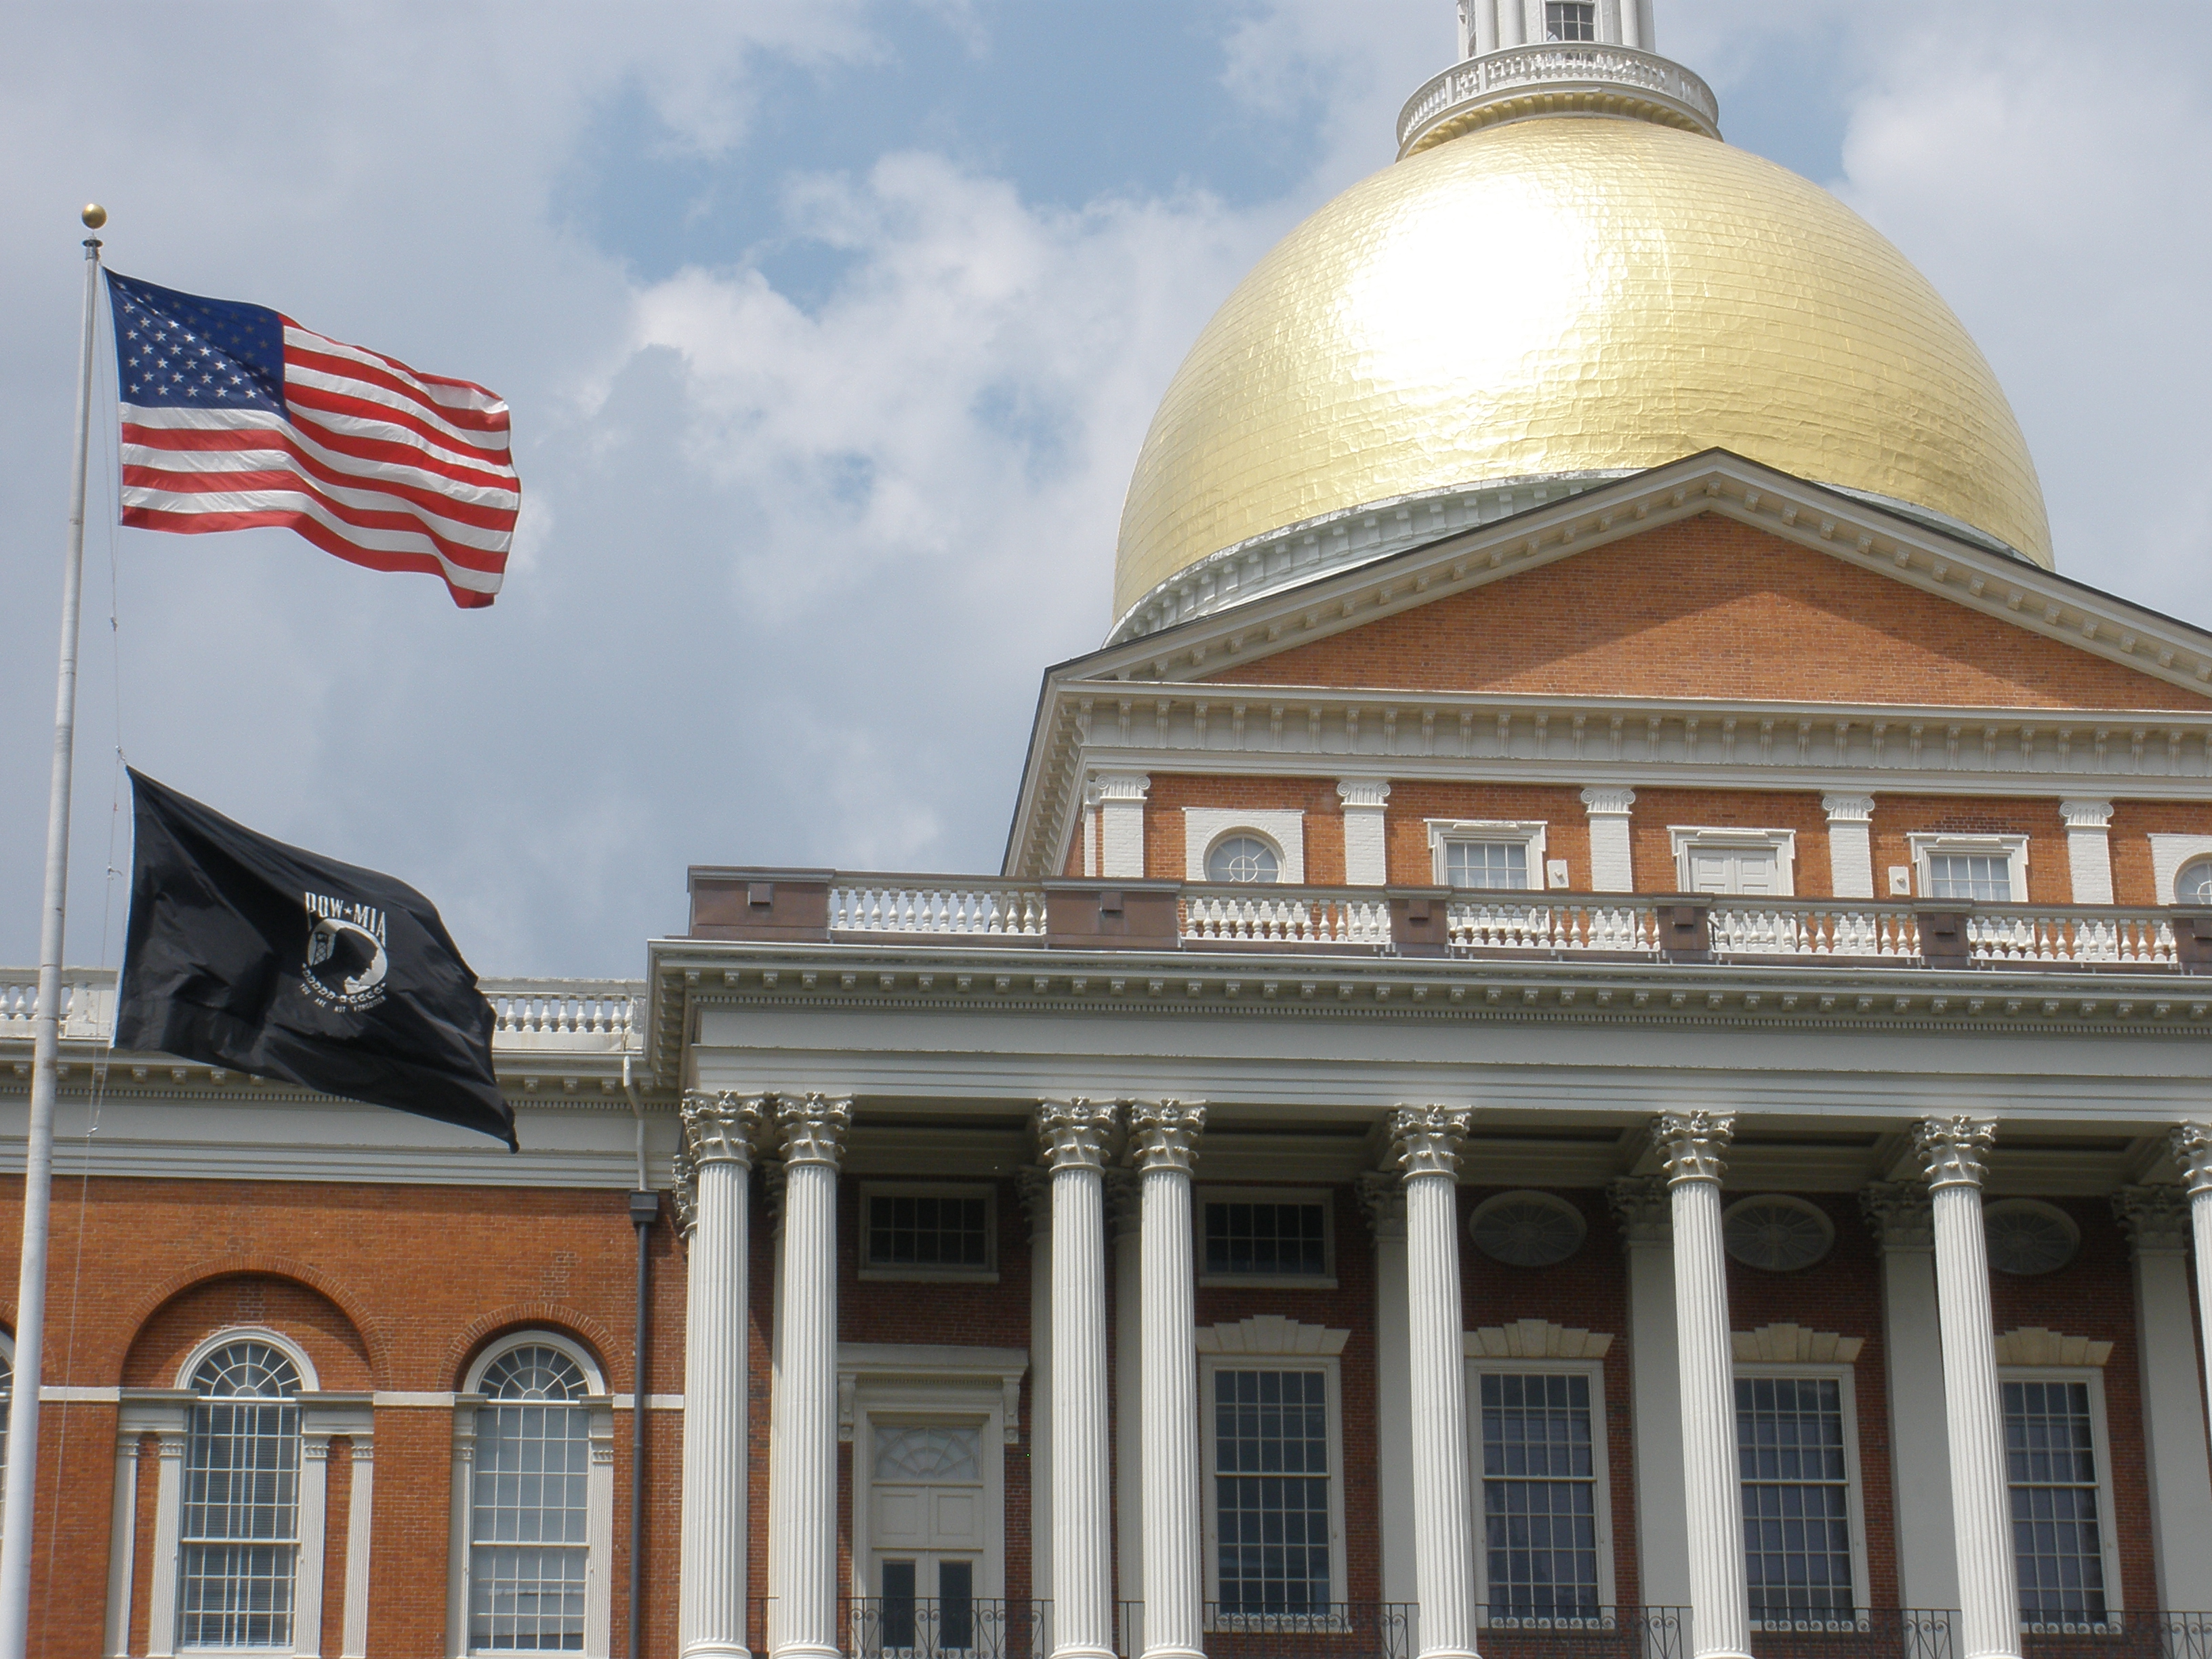
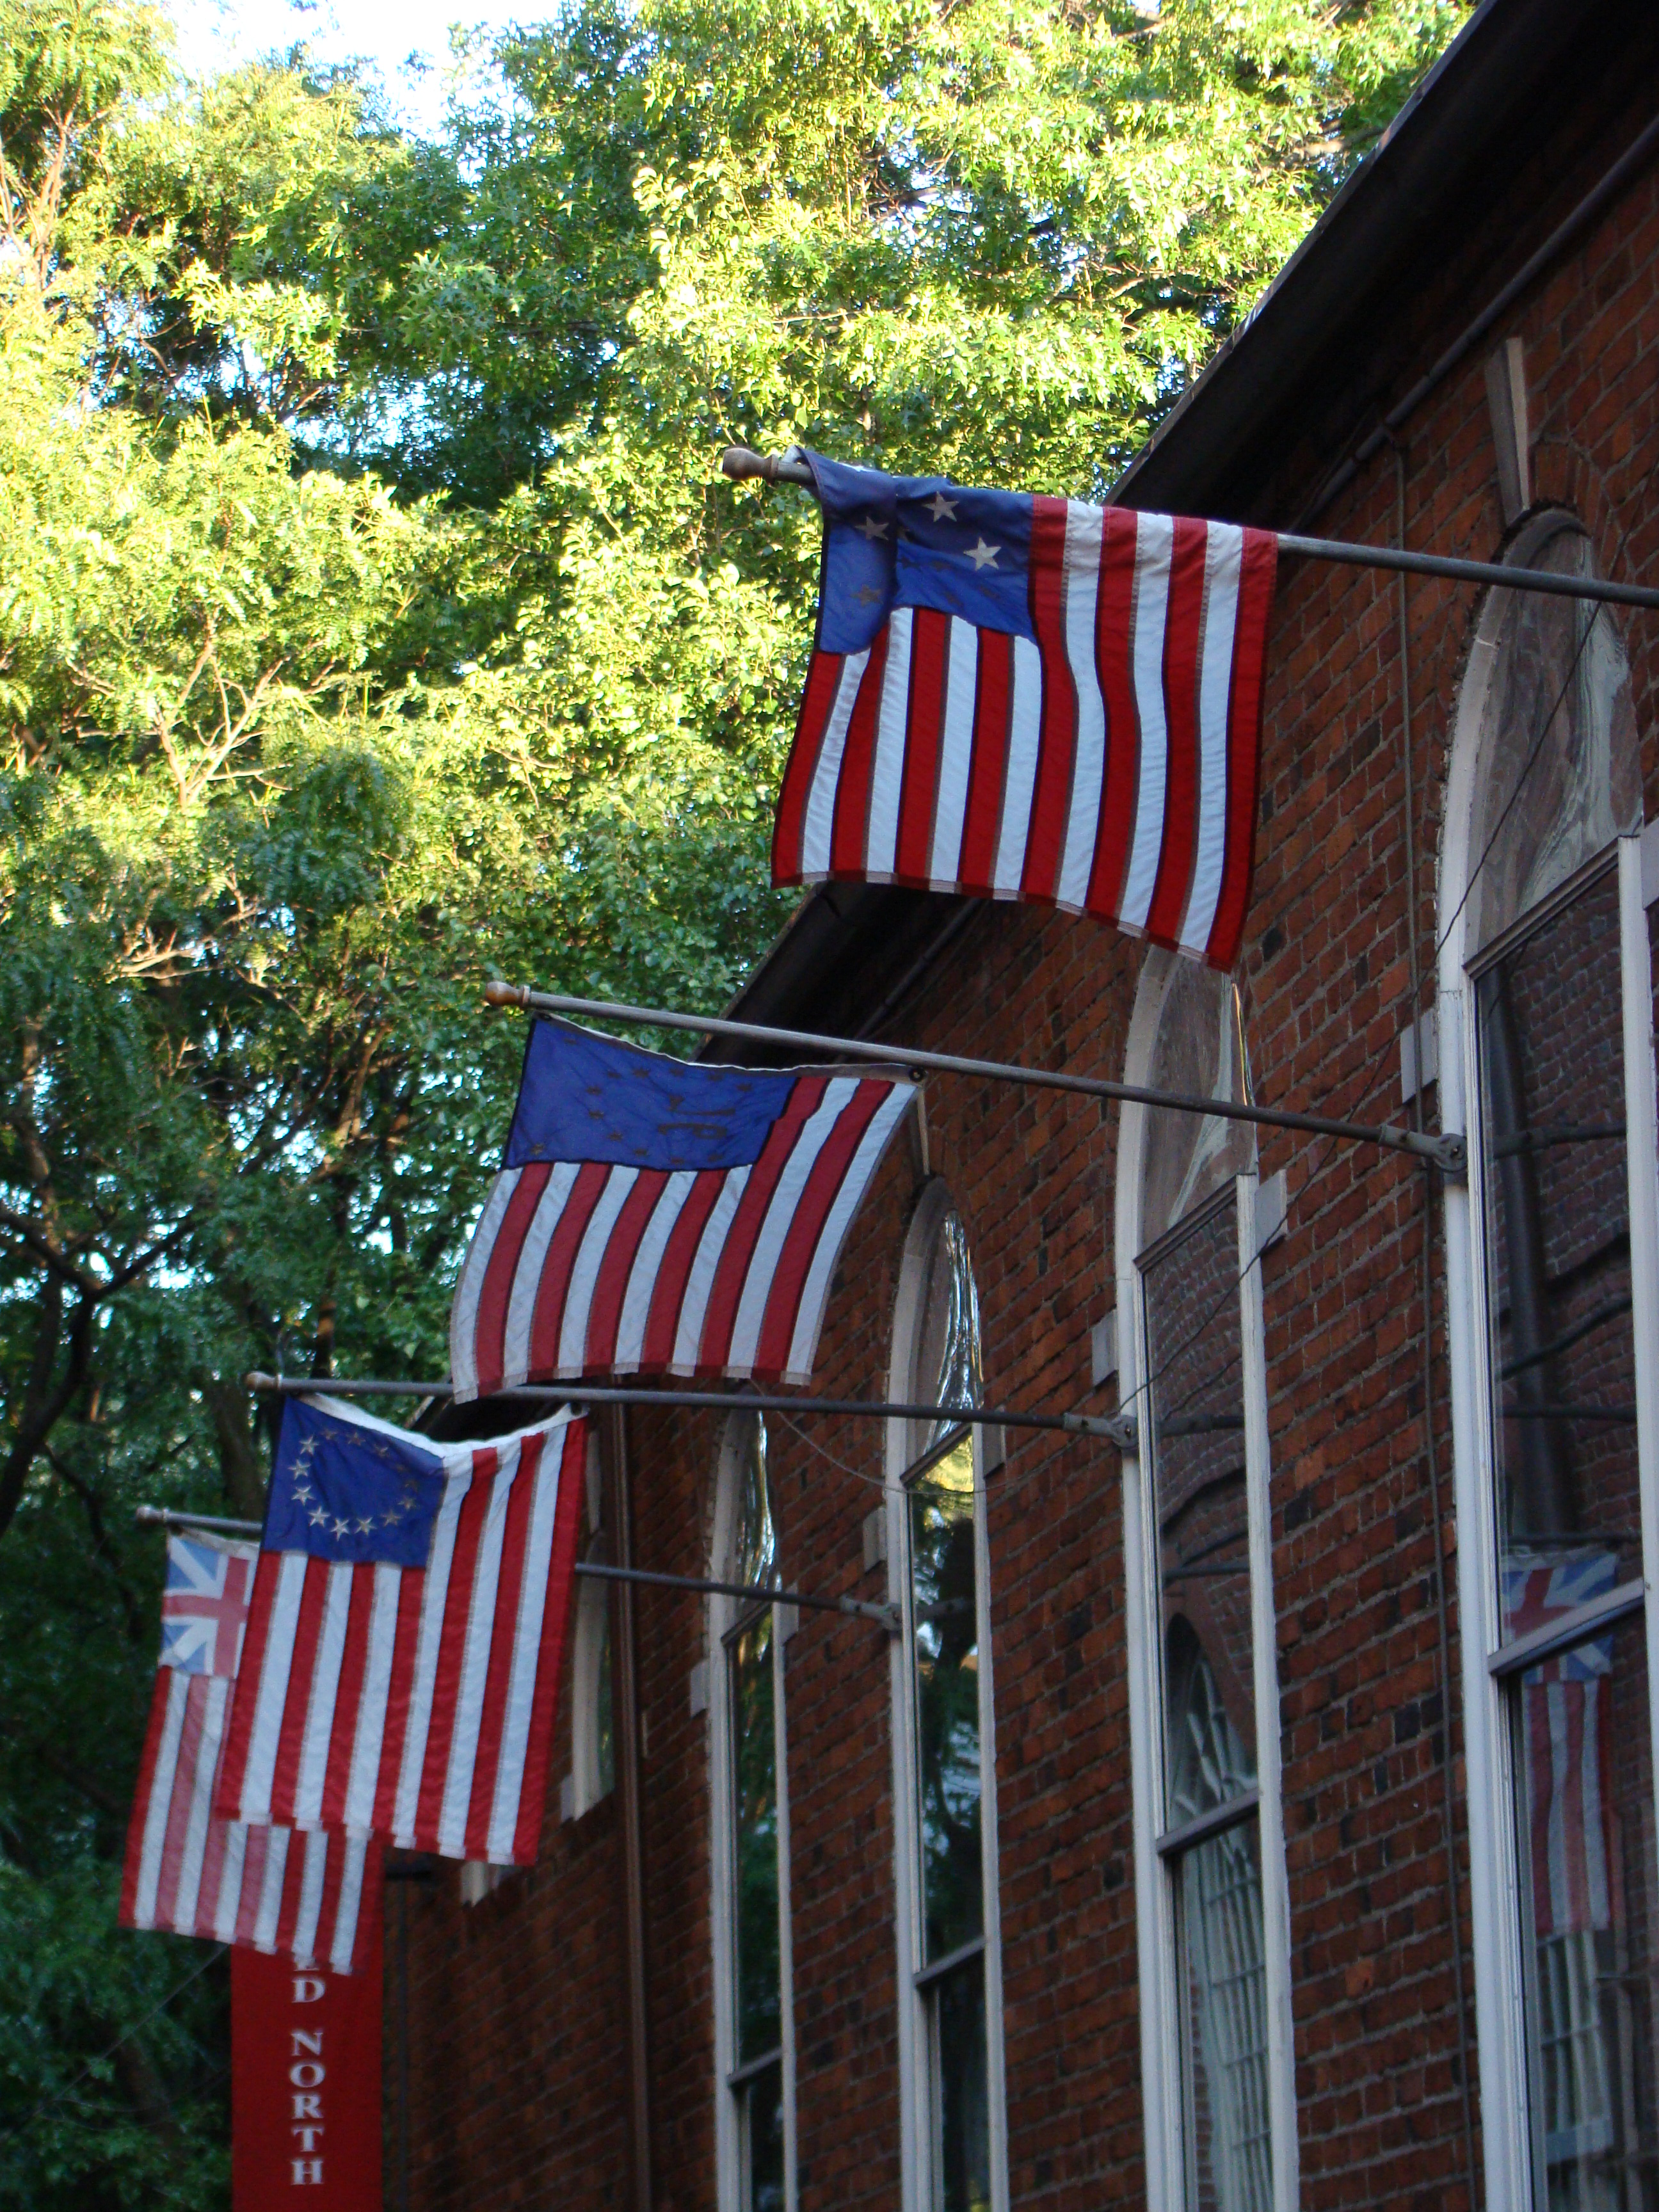
As I clicked through the pictures, I noticed that many were of the American Flag. At the time, I remember thinking that the flags were just about every where I went. It makes me wonder if that is true today? I hope so.
To me the flag represents – unity, as a nation of “ALL” people. Yes, there are rips and tears in ‘old glory,’ but we should ‘continuously’ identify the holes and work together to repair them. United we stand, divided we fall.
Here’s a song I wrote, “Red, White, and Blue… These Colors Don’t Run.” You might enjoy listening to it while viewing the pictures.


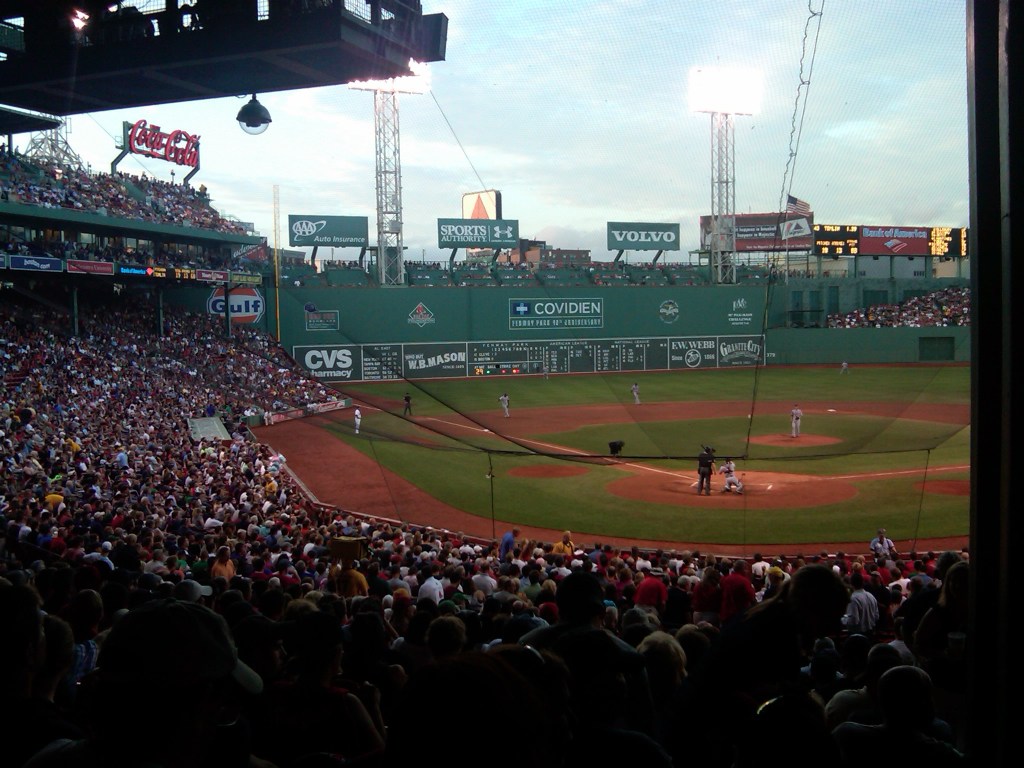
Everyone joined together for America’s favorite pastime at Fenway Park – also known as “The Green Monster.”