Building A Morris Chair

Several years ago, I decided that it was time to buy a Morris chair. I’d seen them in my craftsman books and magazines, and always wanted one.

However, most of the chairs that were in my price range were made overseas. I wanted one that was made in the USA. Of course, those were all pretty pricey.

Plus, I always thought it would be cool to sit in a chair that I made. There was only one problem — these chairs are made of oak, you need a nice table saw and other specialized tools, which I did not have.

I decided that I would see if I could find a precut kit, that required sanding, glue-up, and staining.

After looking around, I contacted a woodworker who actually taught a class on making a Morris chair. I thought about taking the class, but by the time I flew across country, paid for a hotel, meals, and the course, I could have afforded to buy the pricey USA made chair.

Instead, I asked the woodworker if he’d make me a kit. We settled on a price, and several weeks later a fifty-plus pound box showed up.

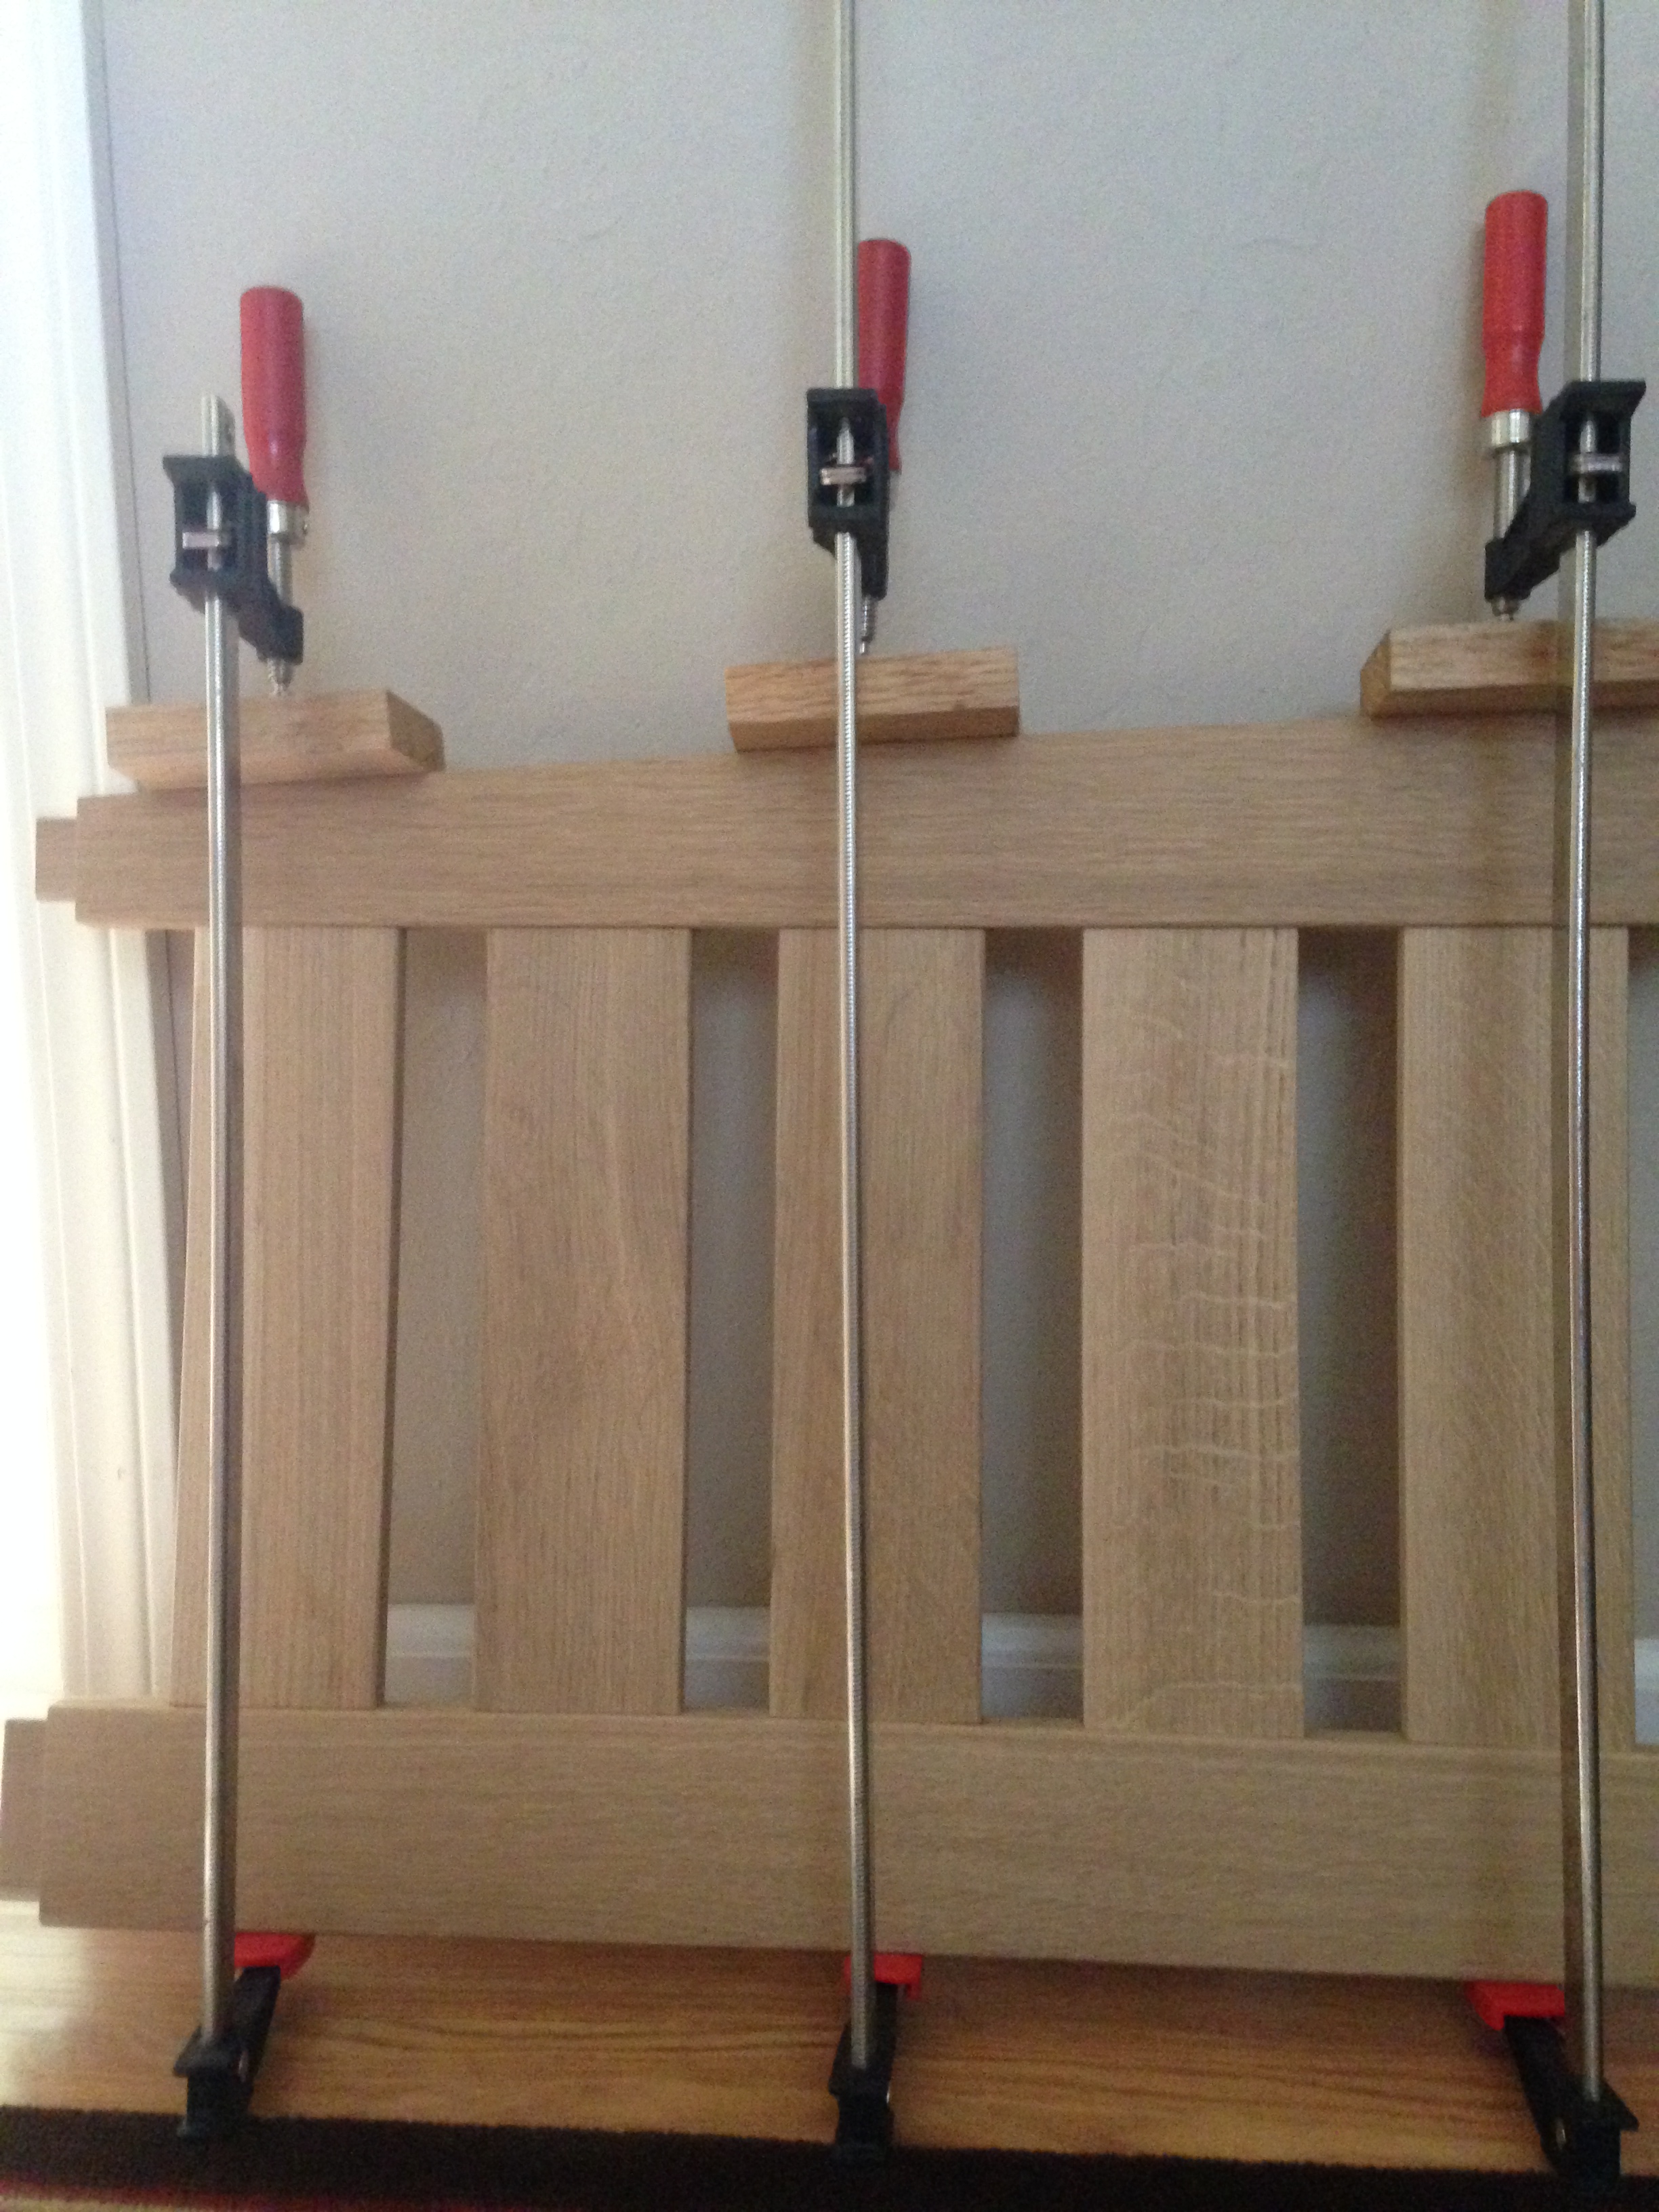
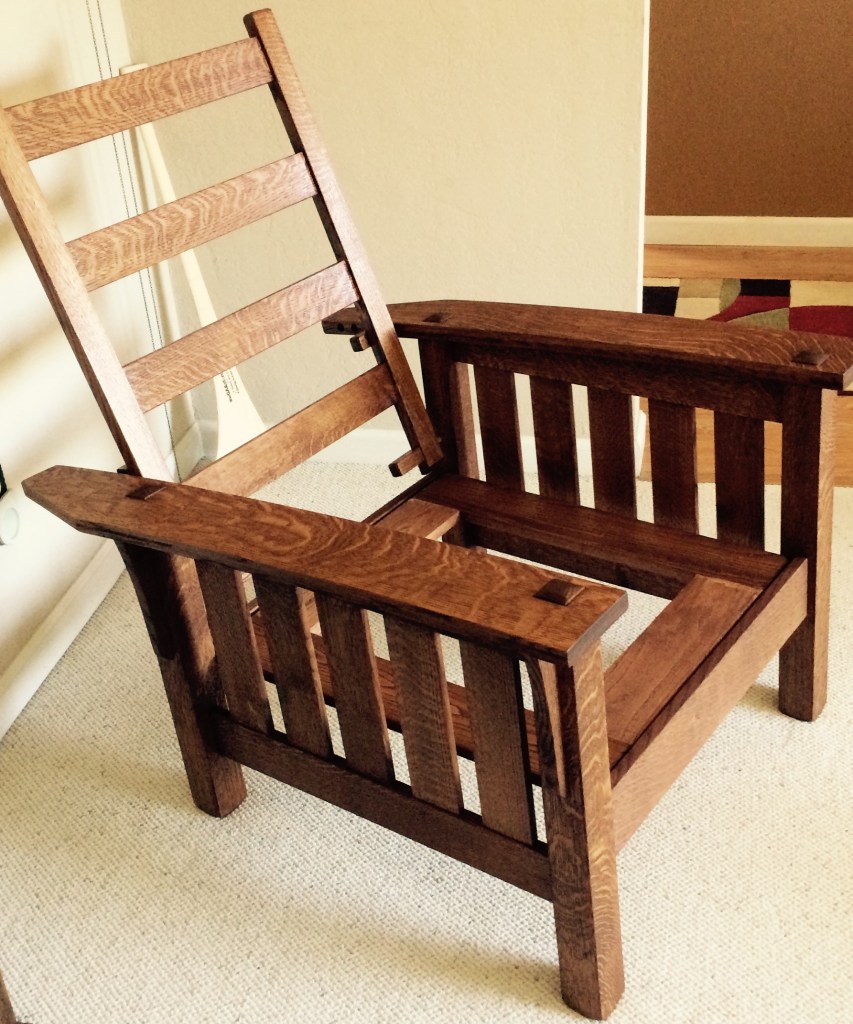
I began by sanding, lots of sanding with different paper grits. Once sanded, the assembly began. I had to invest in a number of wood clamps, but I have used them many times since.

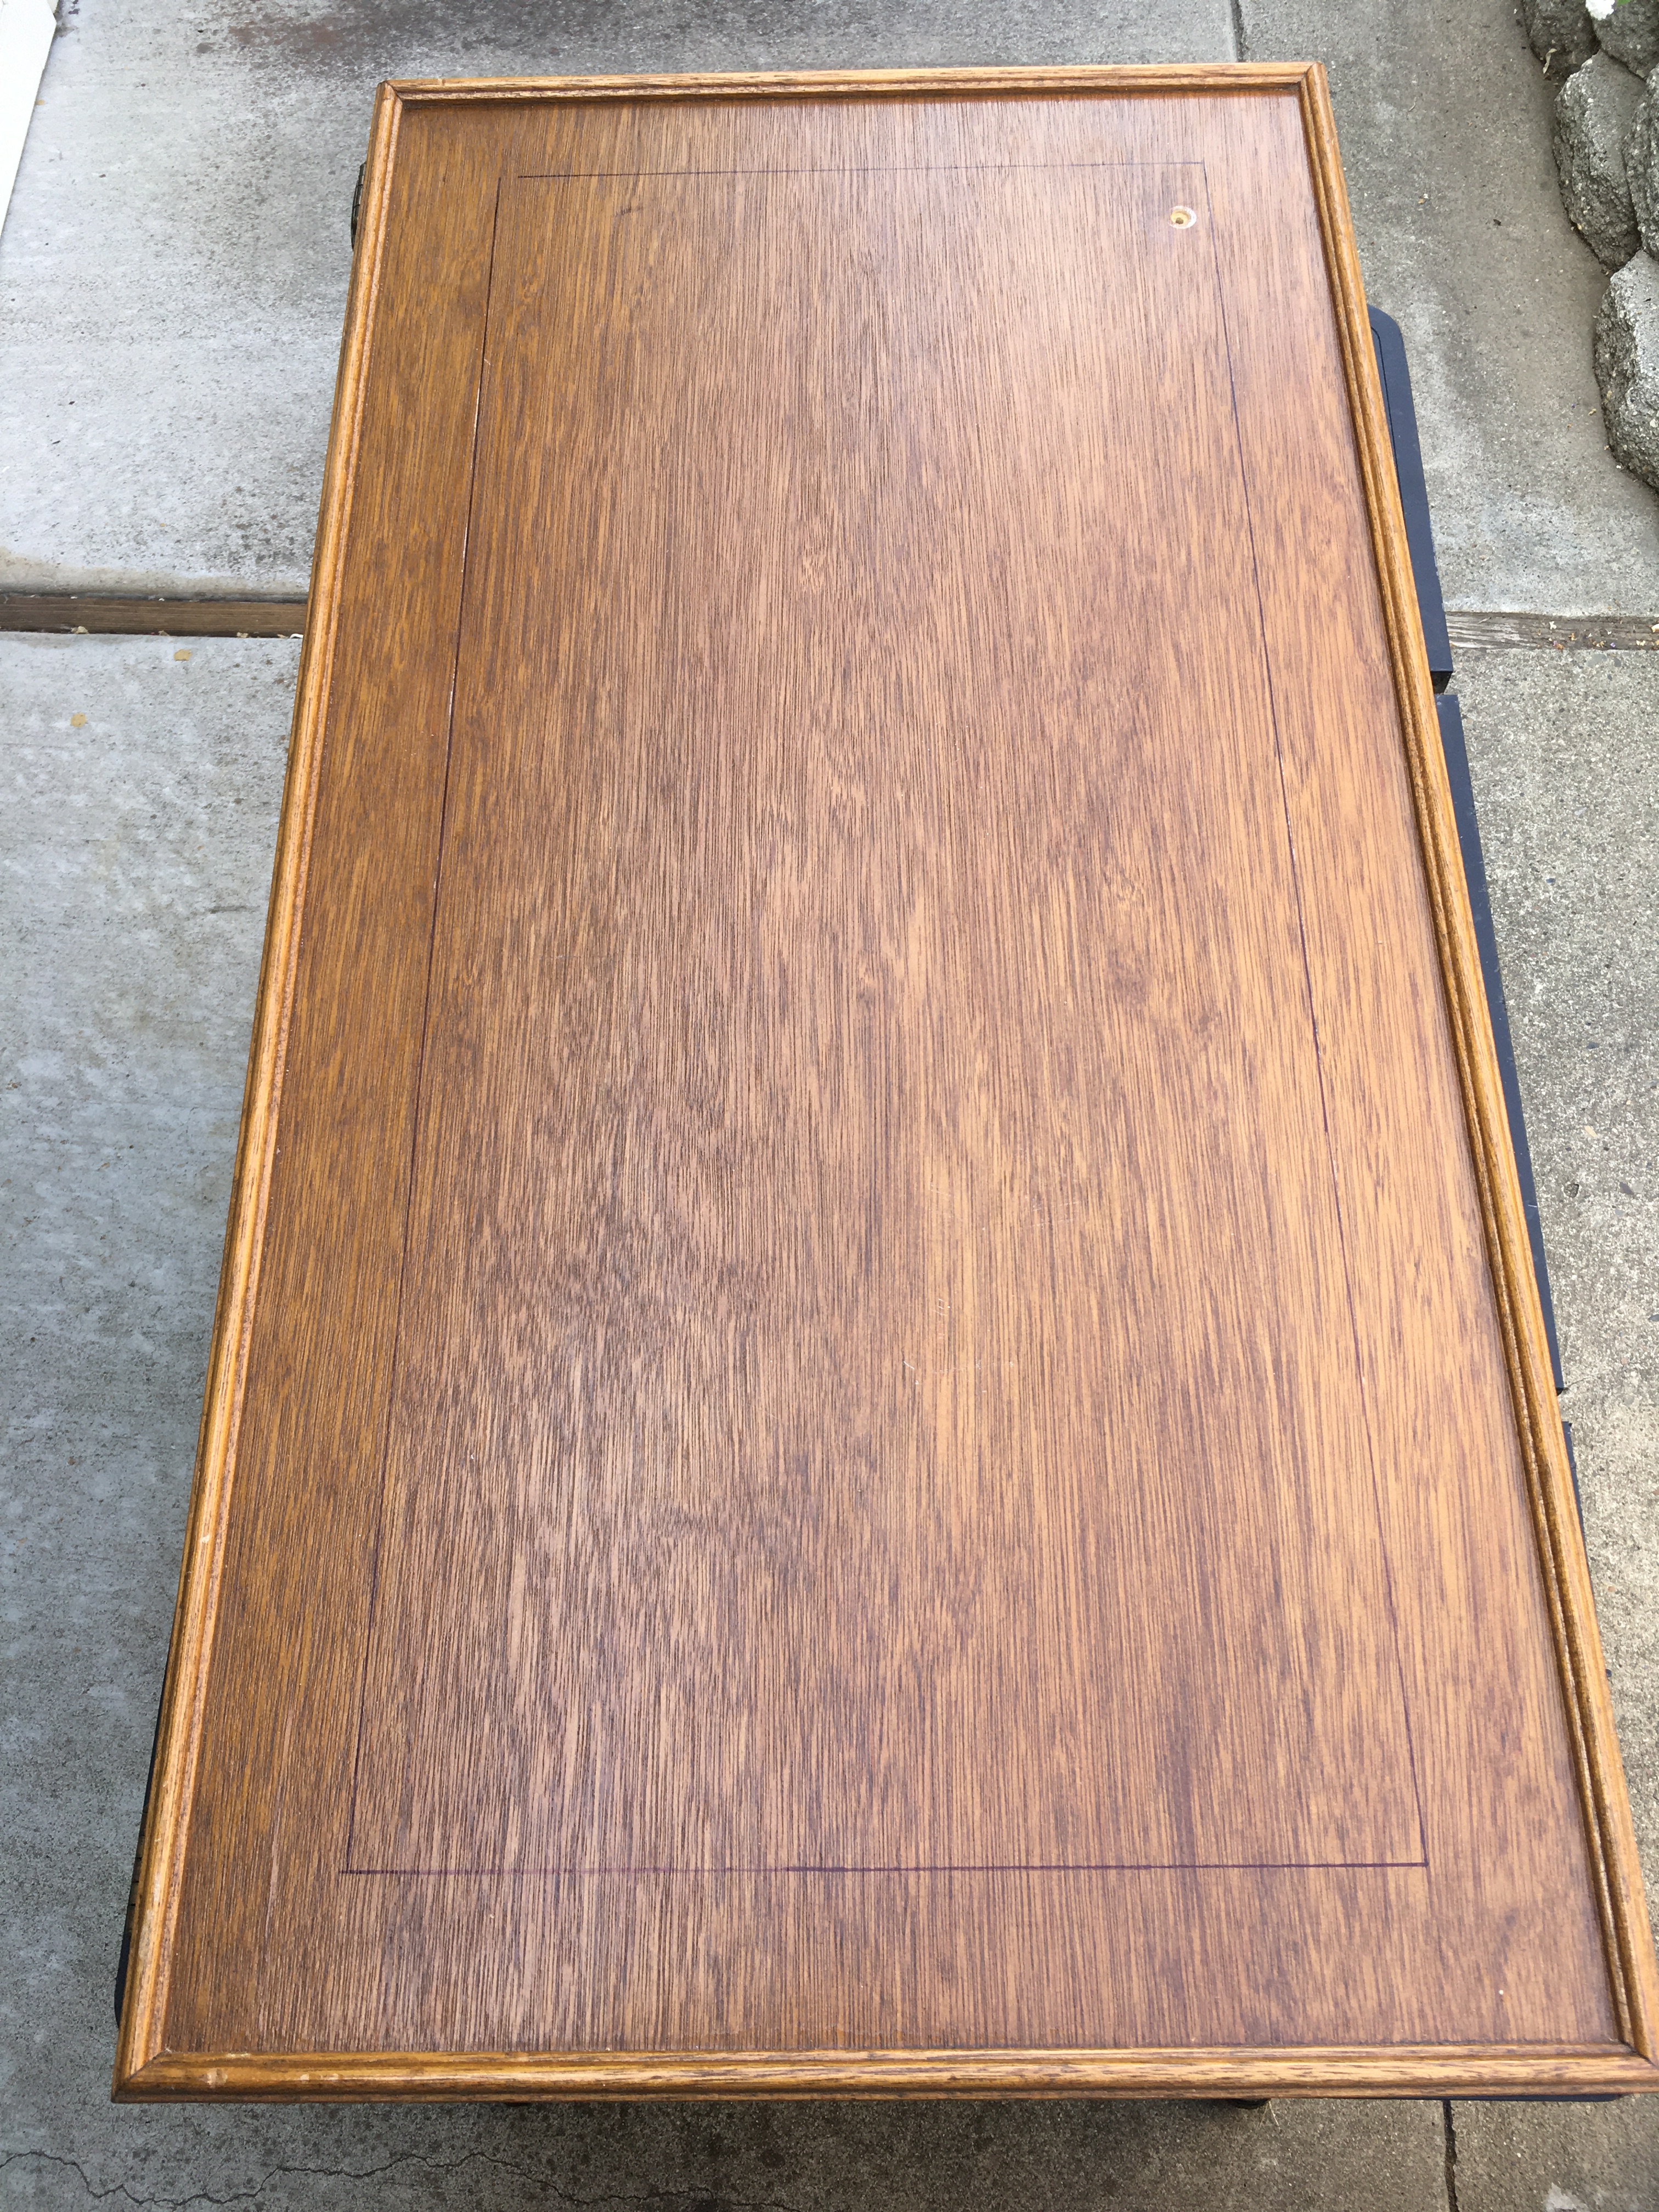
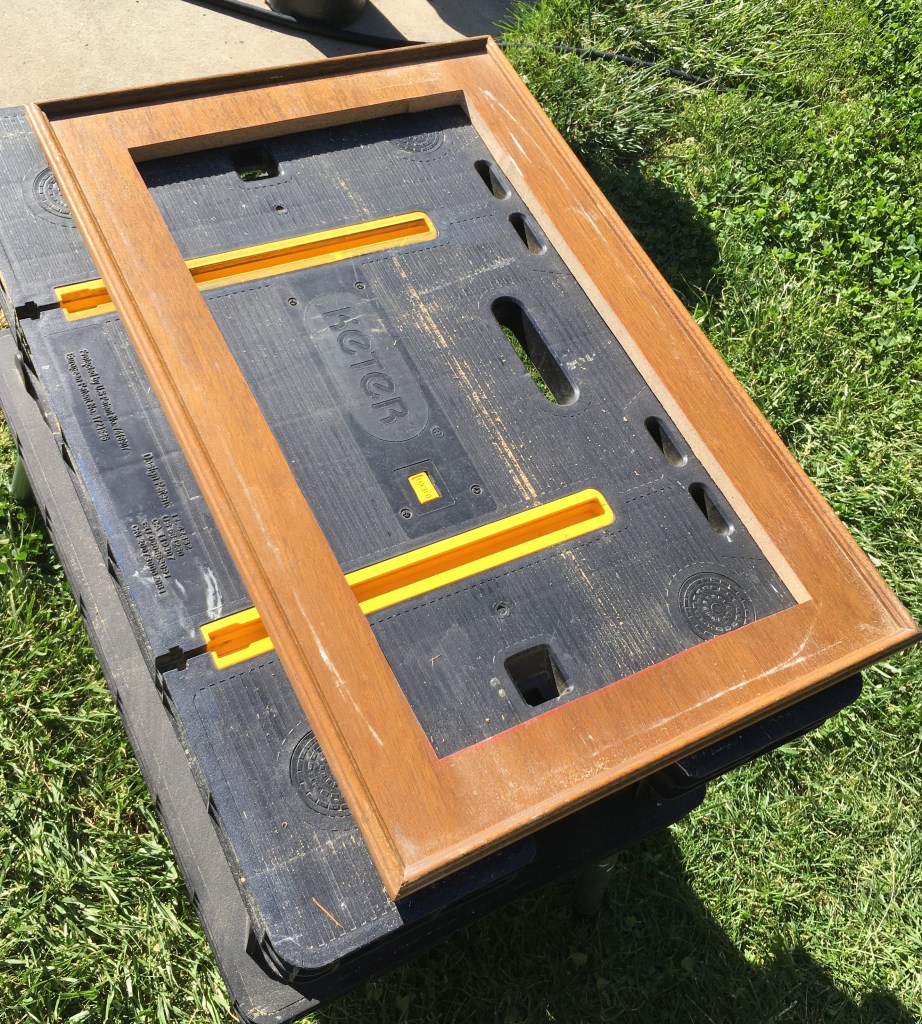
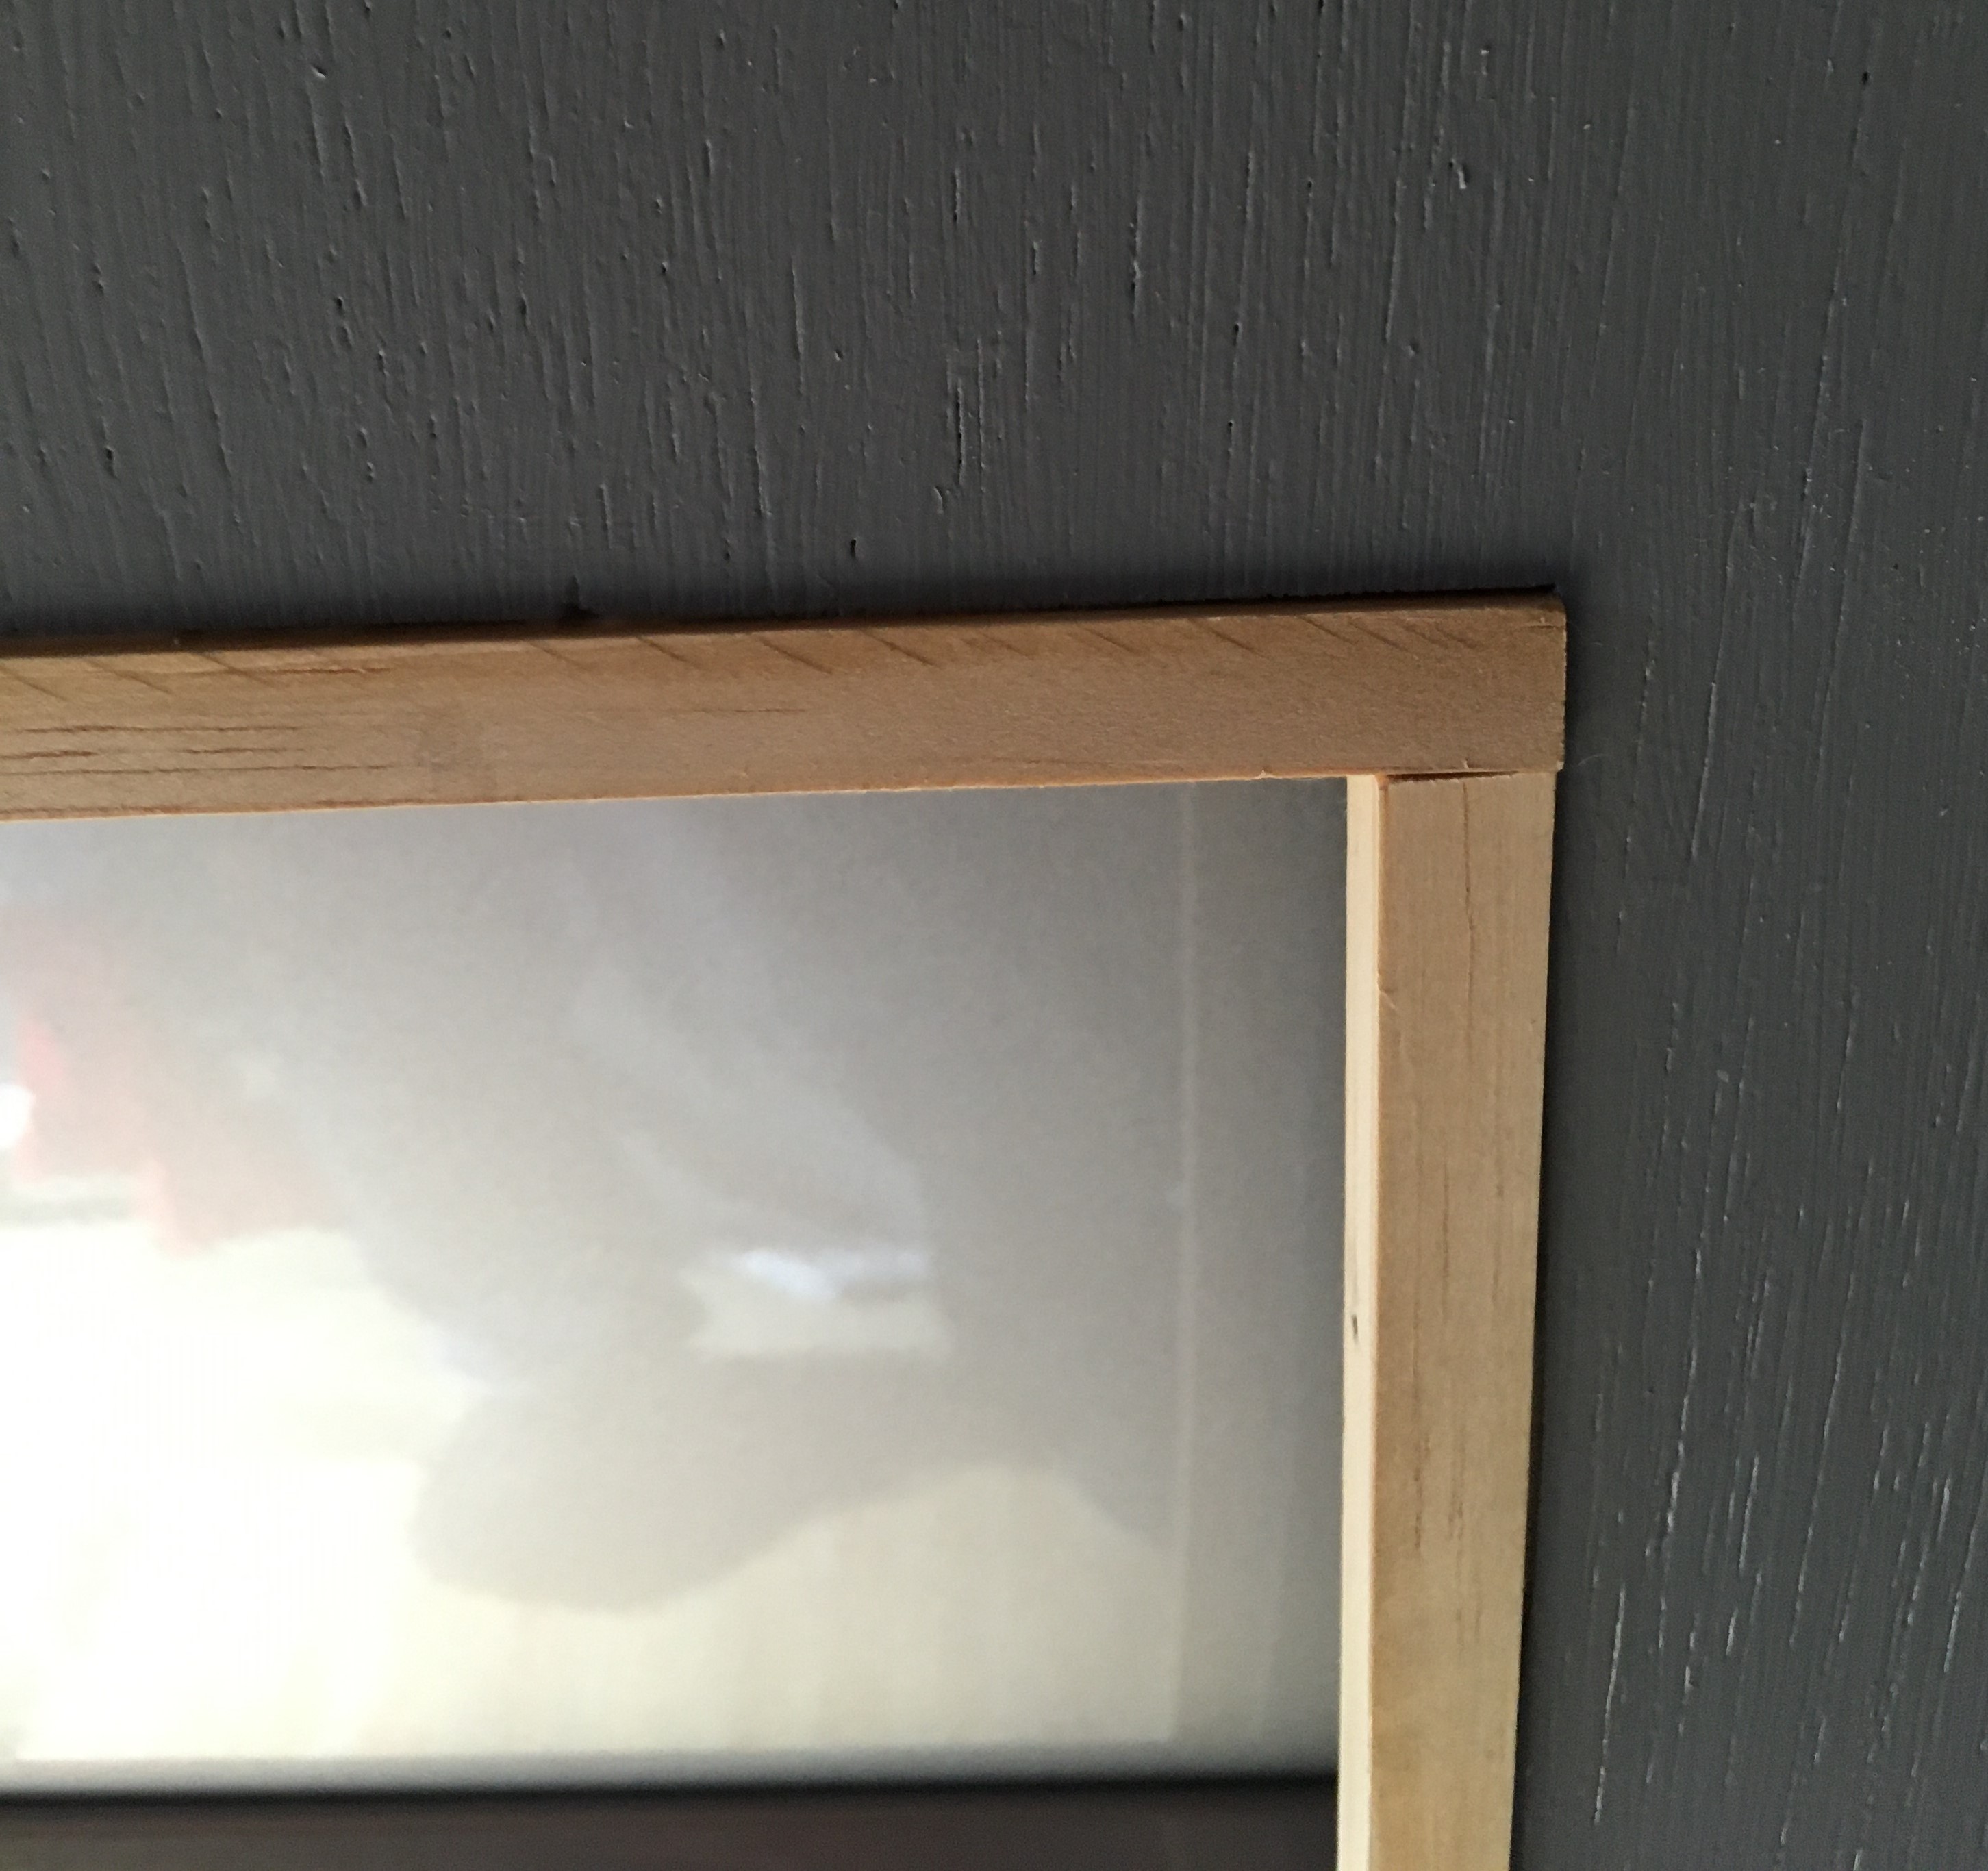
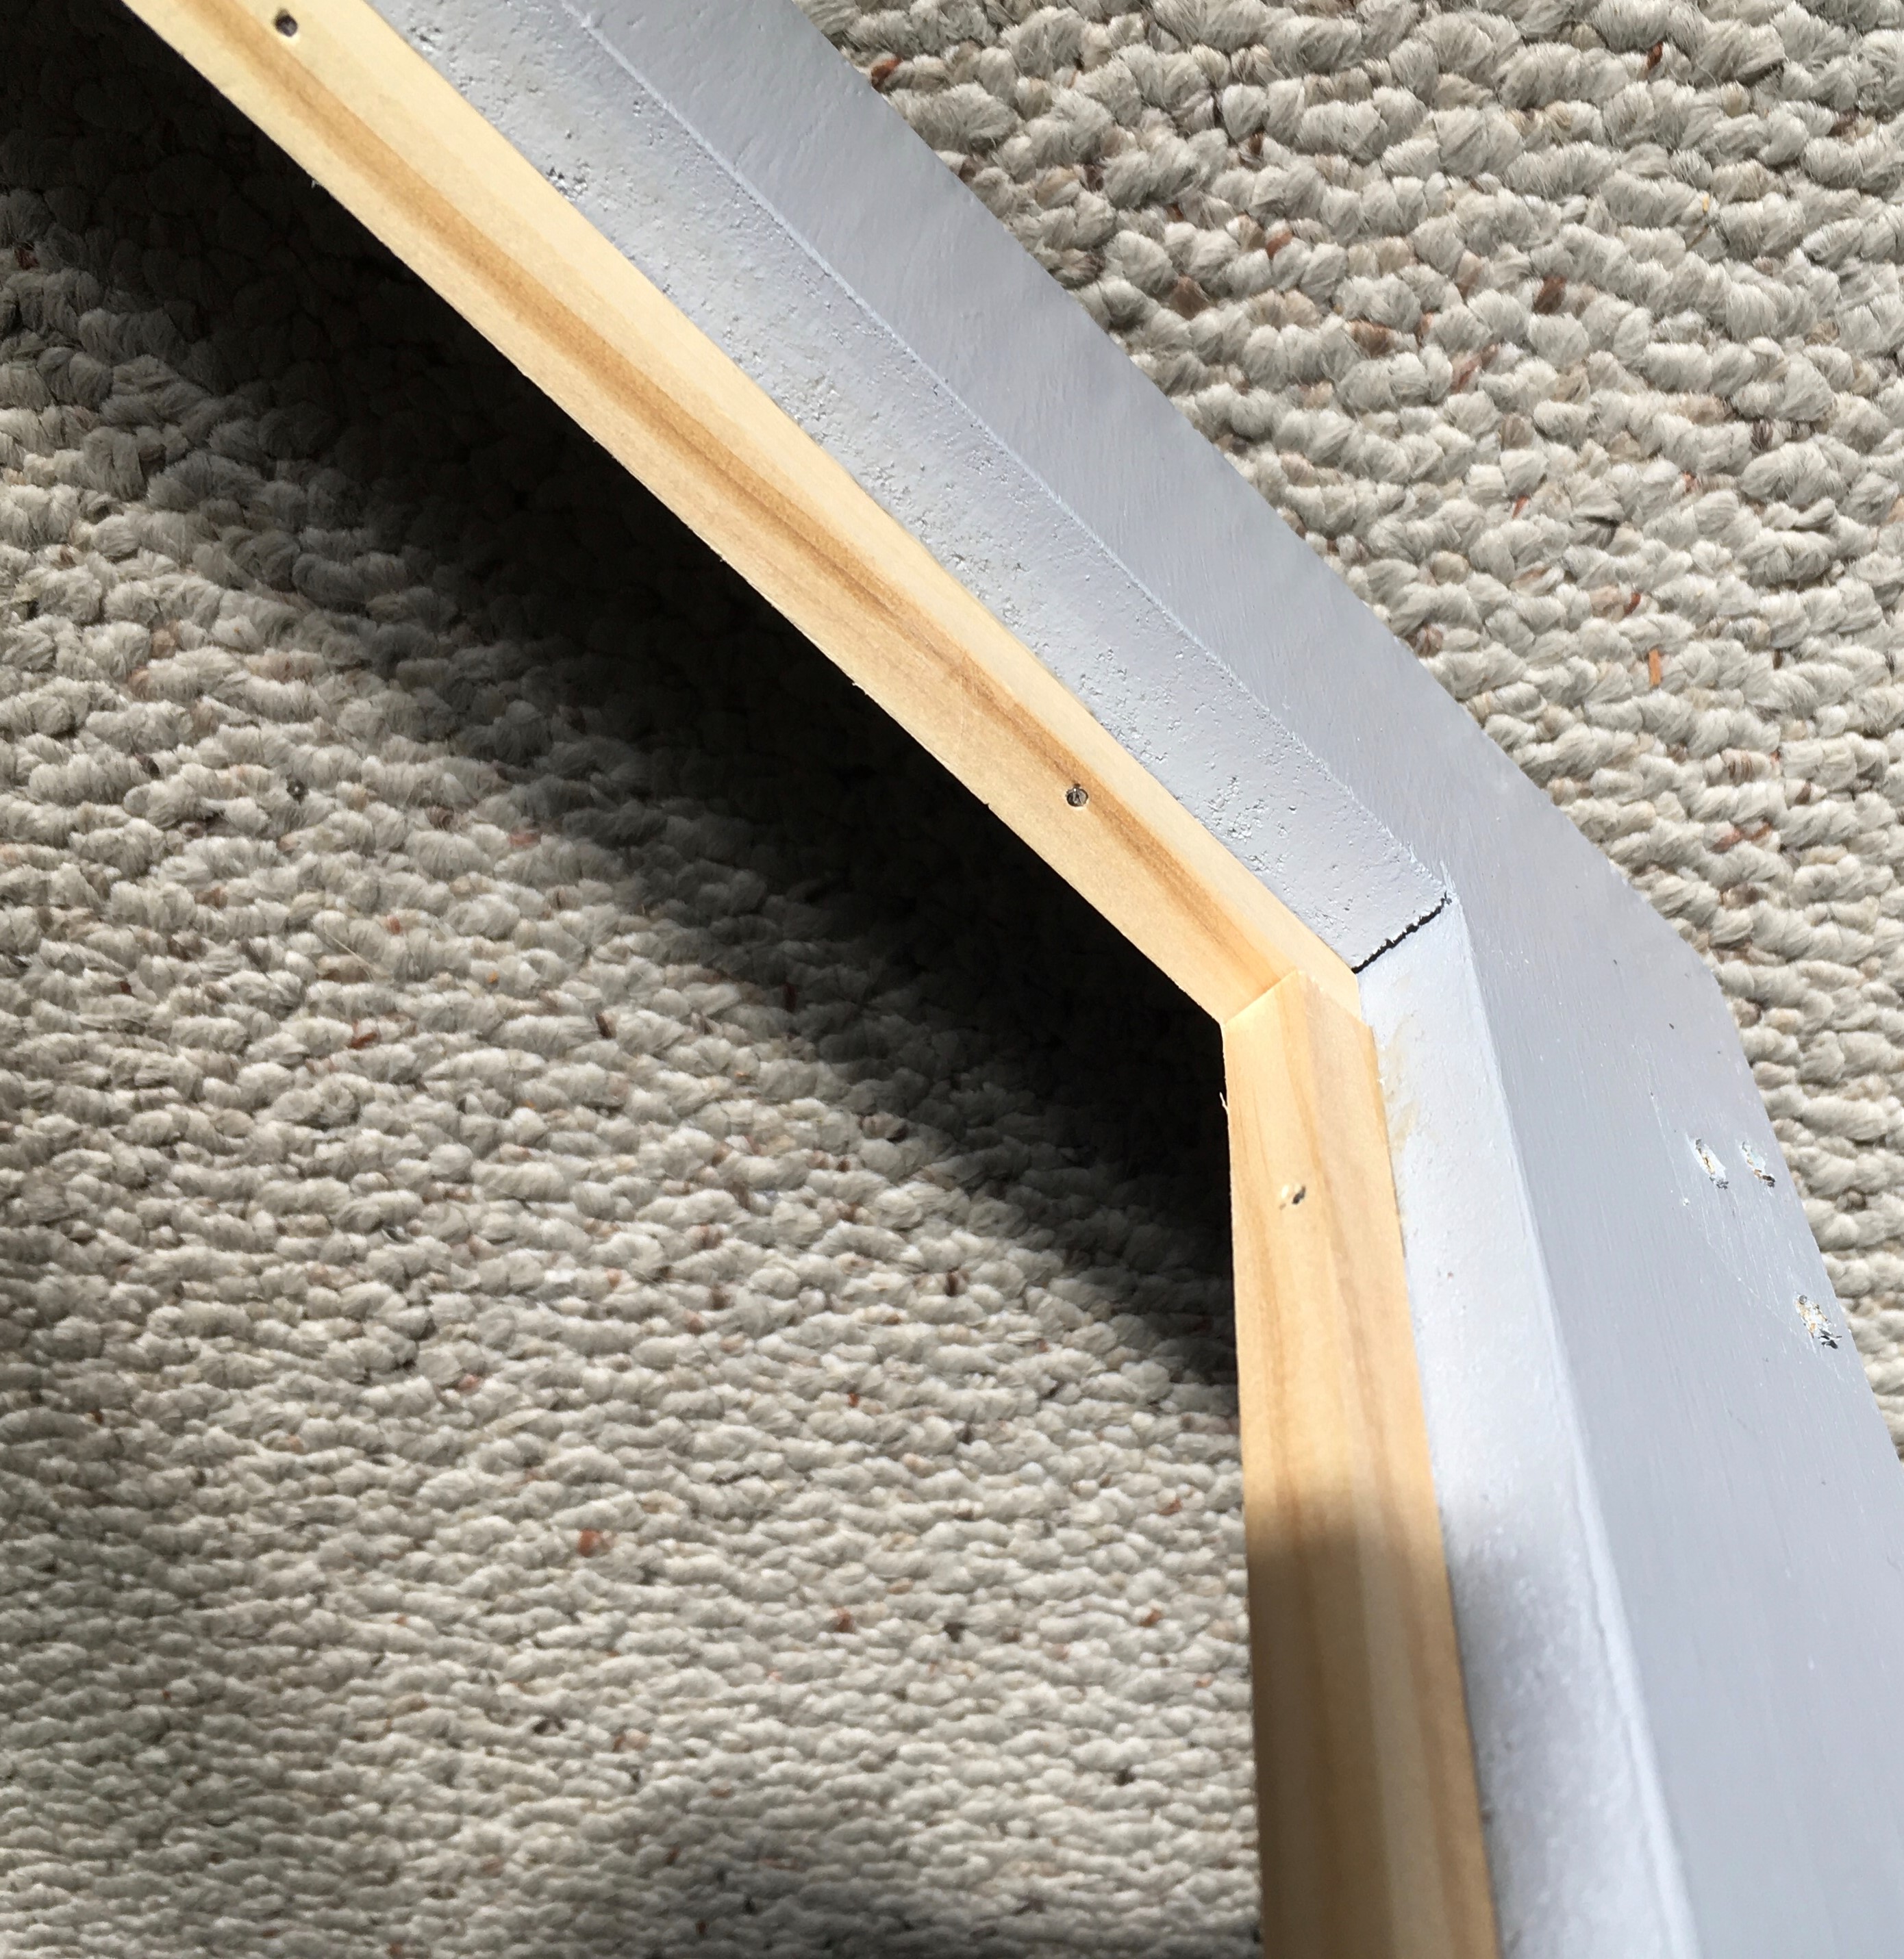
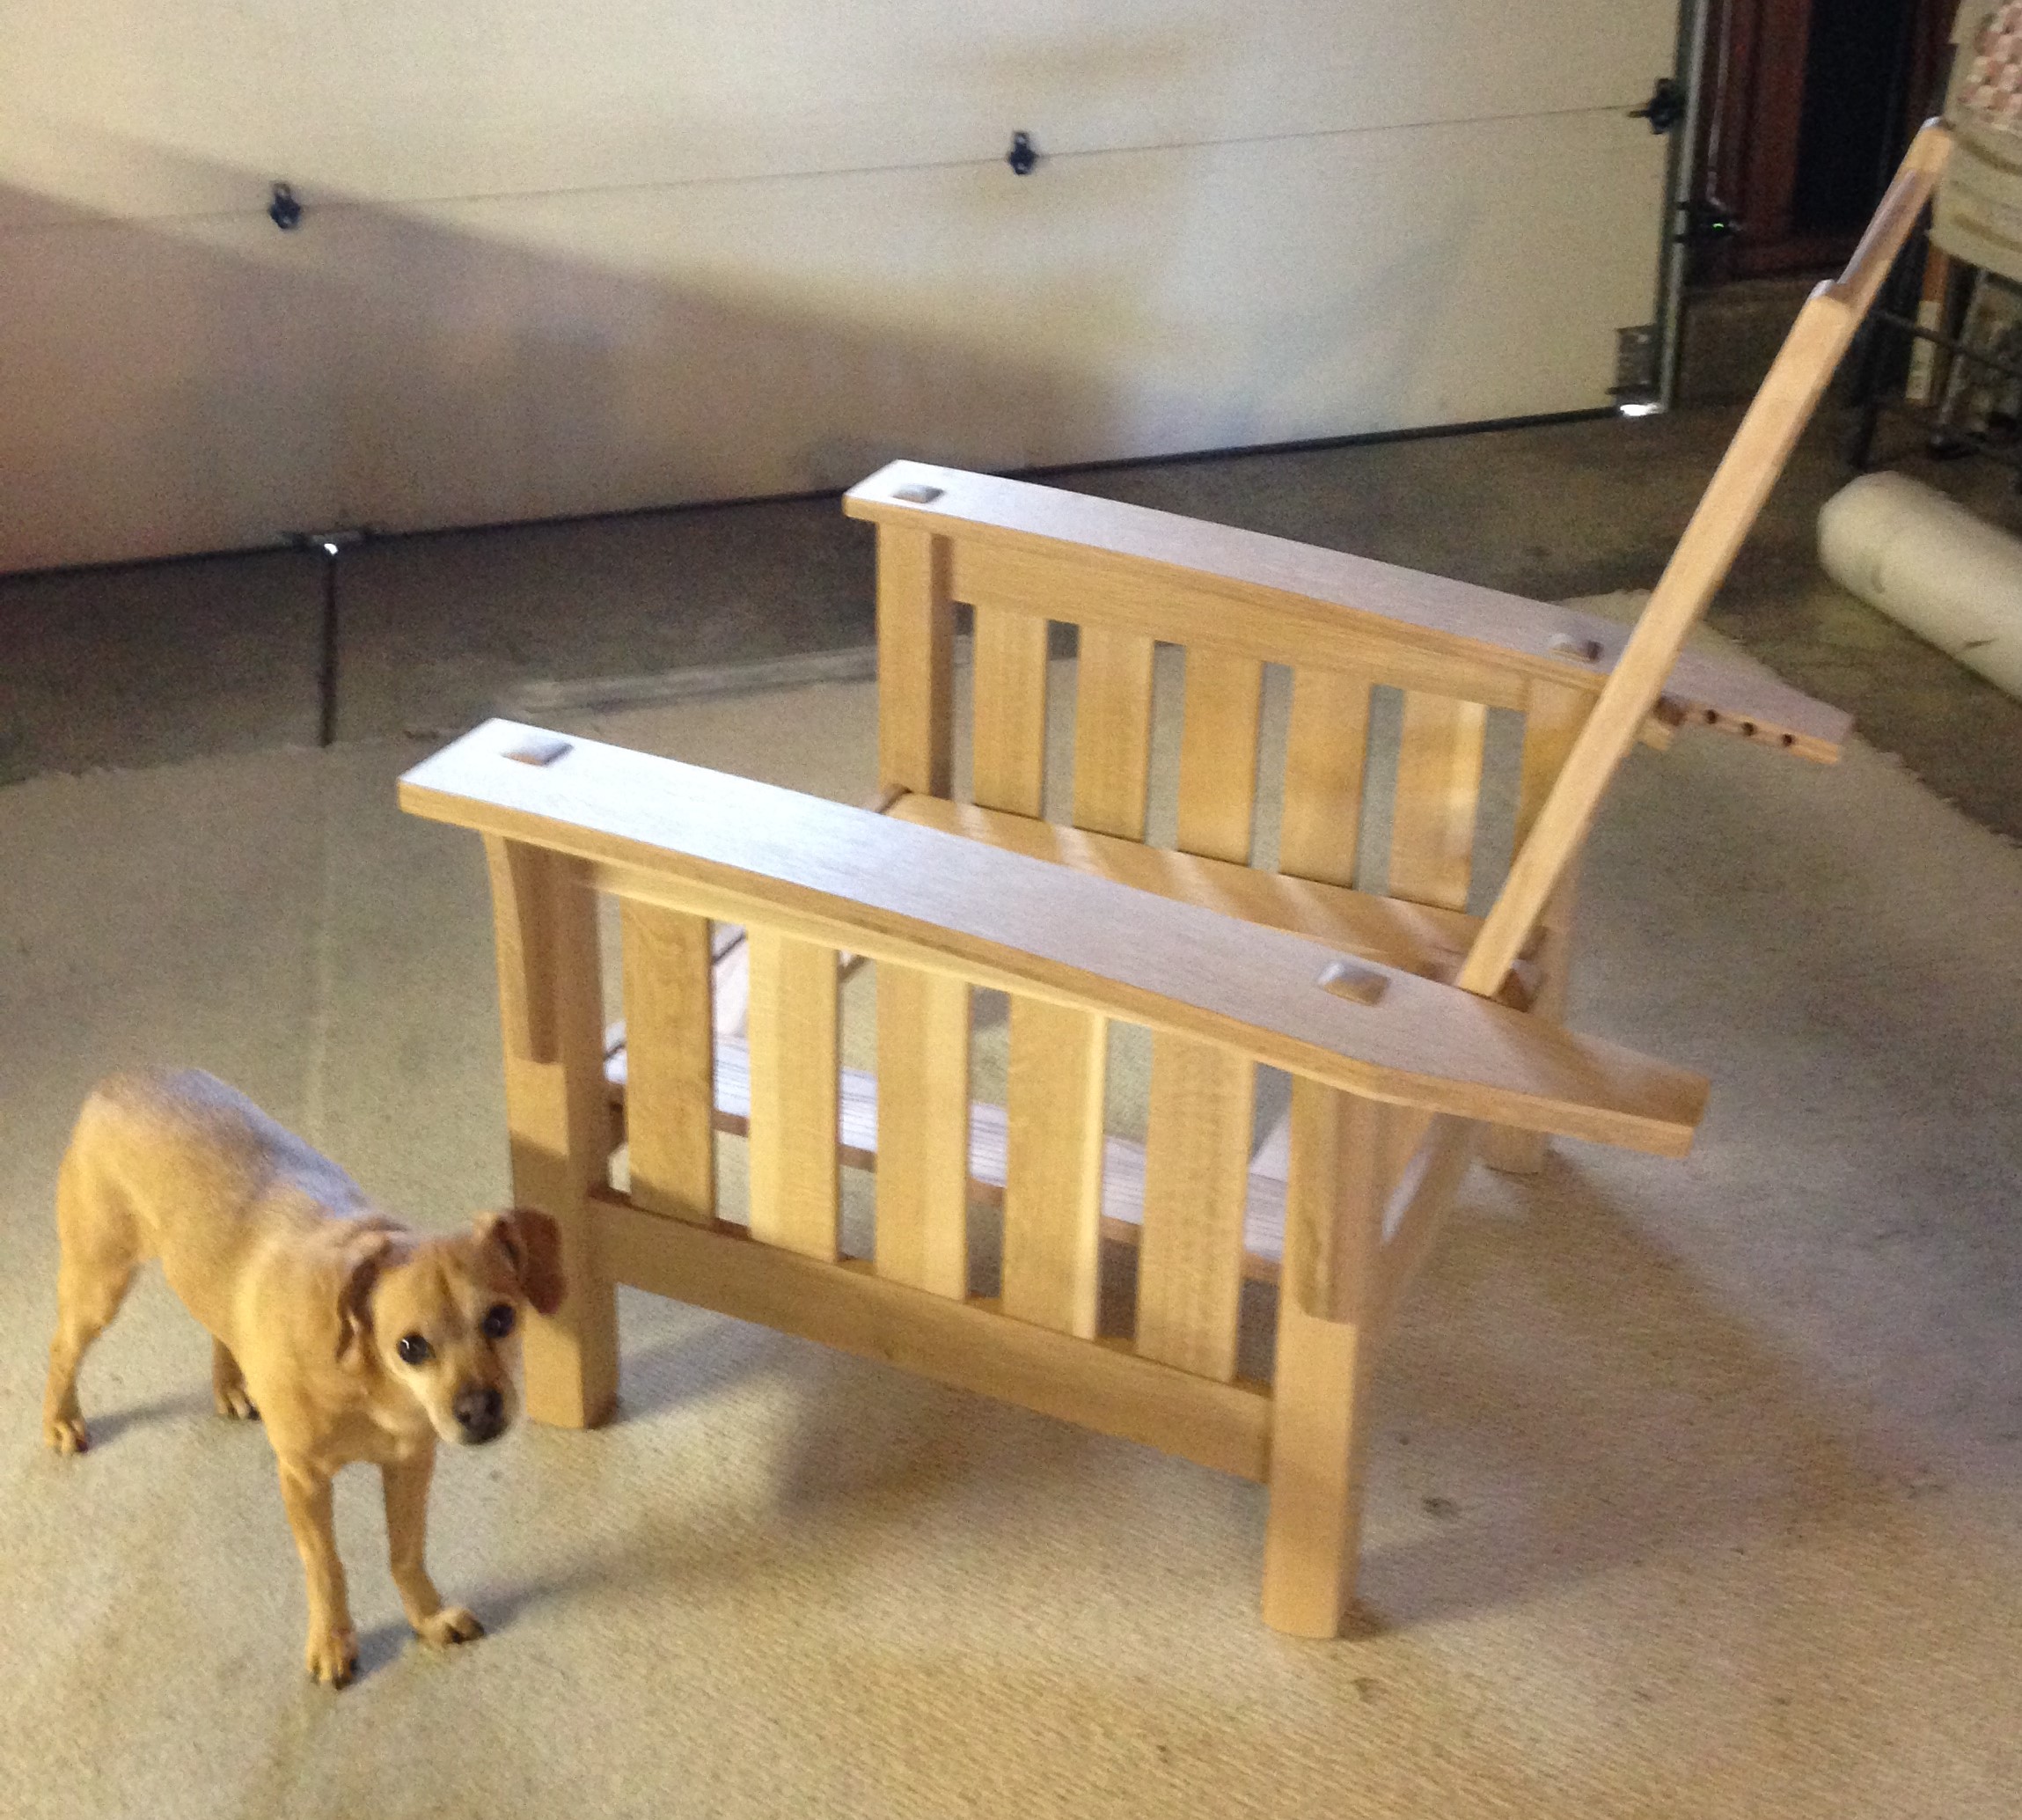
The pictures below, give you a pretty good idea of the assembly process.

Here is the chair completely glued up. Oh, the supervisor had to come over and inspect my work.

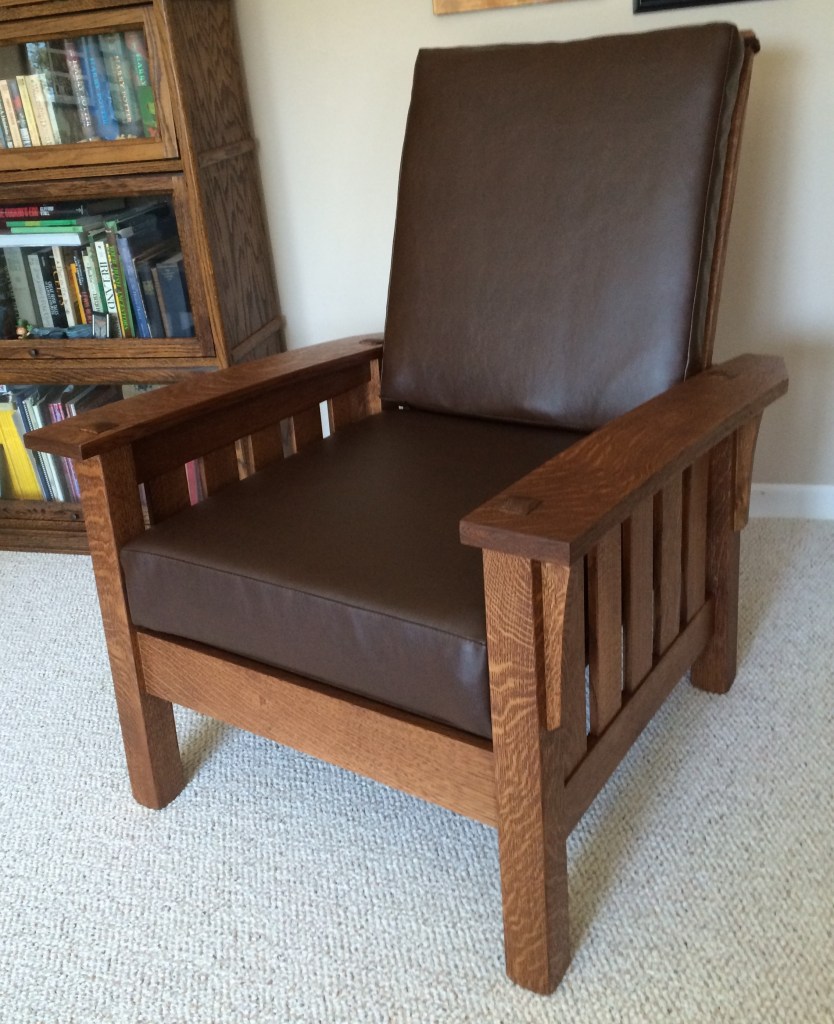
There is a lot that you can do in staining a project. I simply wiped on a red oak stain and later a clear satin finish.

Finally the cushions, not cheap, but I found a local upholstery shop to do the job. It turned out great!

Looking back on the project, I am glad that I did it. Today, there are more purchase options that are reasonably priced, but if you want to get more involved, the kit is a fun way to go.

Adding Glass to Kitchen Cabinets

Renovating a 1970’s kitchen on a small budget is not easy to do. However, that is what a friend asked me to help her accomplish.

The kitchen was extremely small and dark. Of course, my first thought was to paint the kitchen cabinets a light color. She didn’t want white, and decided that a nice blue-gray would do the trick.

Since the kitchen was so small, I suggested that some of the cabinet door centers be cut out and glass added. This would make the opening of the kitchen appear wider and add some depth as well.

I began by removing and cleaning up the cabinet doors. Next, I laid out the cut lines and drilled a hole in one corner so that the saber saw blade could be inserted.

After about 15 minutes of cutting, the door center could be removed. I saved the center piece of wood for a future project.

How to install the glass? That was my new issue. I figured that I would route out the back side of the door – only one problem, I don’t own a router. My friend had a great suggestion to just add a small edge of wood to the cutout, leaving space to support the glass.

I used some 3/8″ square pine to frame-up the cutout. I secured each piece in place with glue and small finishing nails. It actually added a nice detail to the front of the door and – no routing required!

I took the first two doors to a glass shop. My friend selected a glass pattern that she had seen years ago while visiting Ireland.

They cut and installed the glass, and interestingly, they used clear silicon to secure the glass in place. It cost about $70.00/door for the glass and labor.

Prior to hanging the doors, I refurbished the old hinges, a subject of a future post. I also installed new pull knobs, which she had previously selected.

I painted the upper cabinets 50% lighter than the bottom. I simply mixed 50/50 blue-gray with white paint. This optically makes the upper cabinets appear a little further back, making the kitchen seem larger. When you have a small space, these tricks add up!

I completed four doors in total and as you can see, it really updated the kitchen! The original estimate for new cabinets and installation was $10,000. So far, the kitchen has cost $450.00. That’s paint, knobs and glass. Of course, she got a great deal on labor!

With the money she saved, she purchased a new counter-depth refrigerator, keeping the kitchen opening as wide as possible. I think it really added to the “new” look.

Now the old countertops are next on her list. Did you know that they can be painted? A new project has been born!