A special friend of mine was given some mid century modern living room furniture – a couch and two chairs. They were in very good shape and only needed some minor wood repairs, which I completed. As you can see, one can never have too many clamps!


The last time the cushions were recovered was likely in the late 1980’s or early 1990’s, based on the fabric, but still in pretty good shape.

My friend, who just so happens to be an excellent seamstress (no, not for the band), decided that she wanted to recover all 10 cushions. This was a very challenging task, as she had never recovered furniture before.
If you plan to do a job like this, she recommends viewing http://www.sailrite.com. She studied the site’s videos over and over again. In fact, she purchased the foam for the cushions from Sailrite.
Her top tips – use adhesive basting tape shown below. She said it is awesome stuff! Also, use the medium foam. The firm foam is too dense for house furniture.
Okay, so how do I fit in on this post? I thought I was done when I completed the basic wood repair. Well, not so. I was given the task of cutting the foam. It might sound easy, but it was not! The foam is fairly dense, and is 4″ thick.
The Sailrite video made it look easy with their special electric knife. It can also be done with a kitchen bread knife, which fortunately I had one.

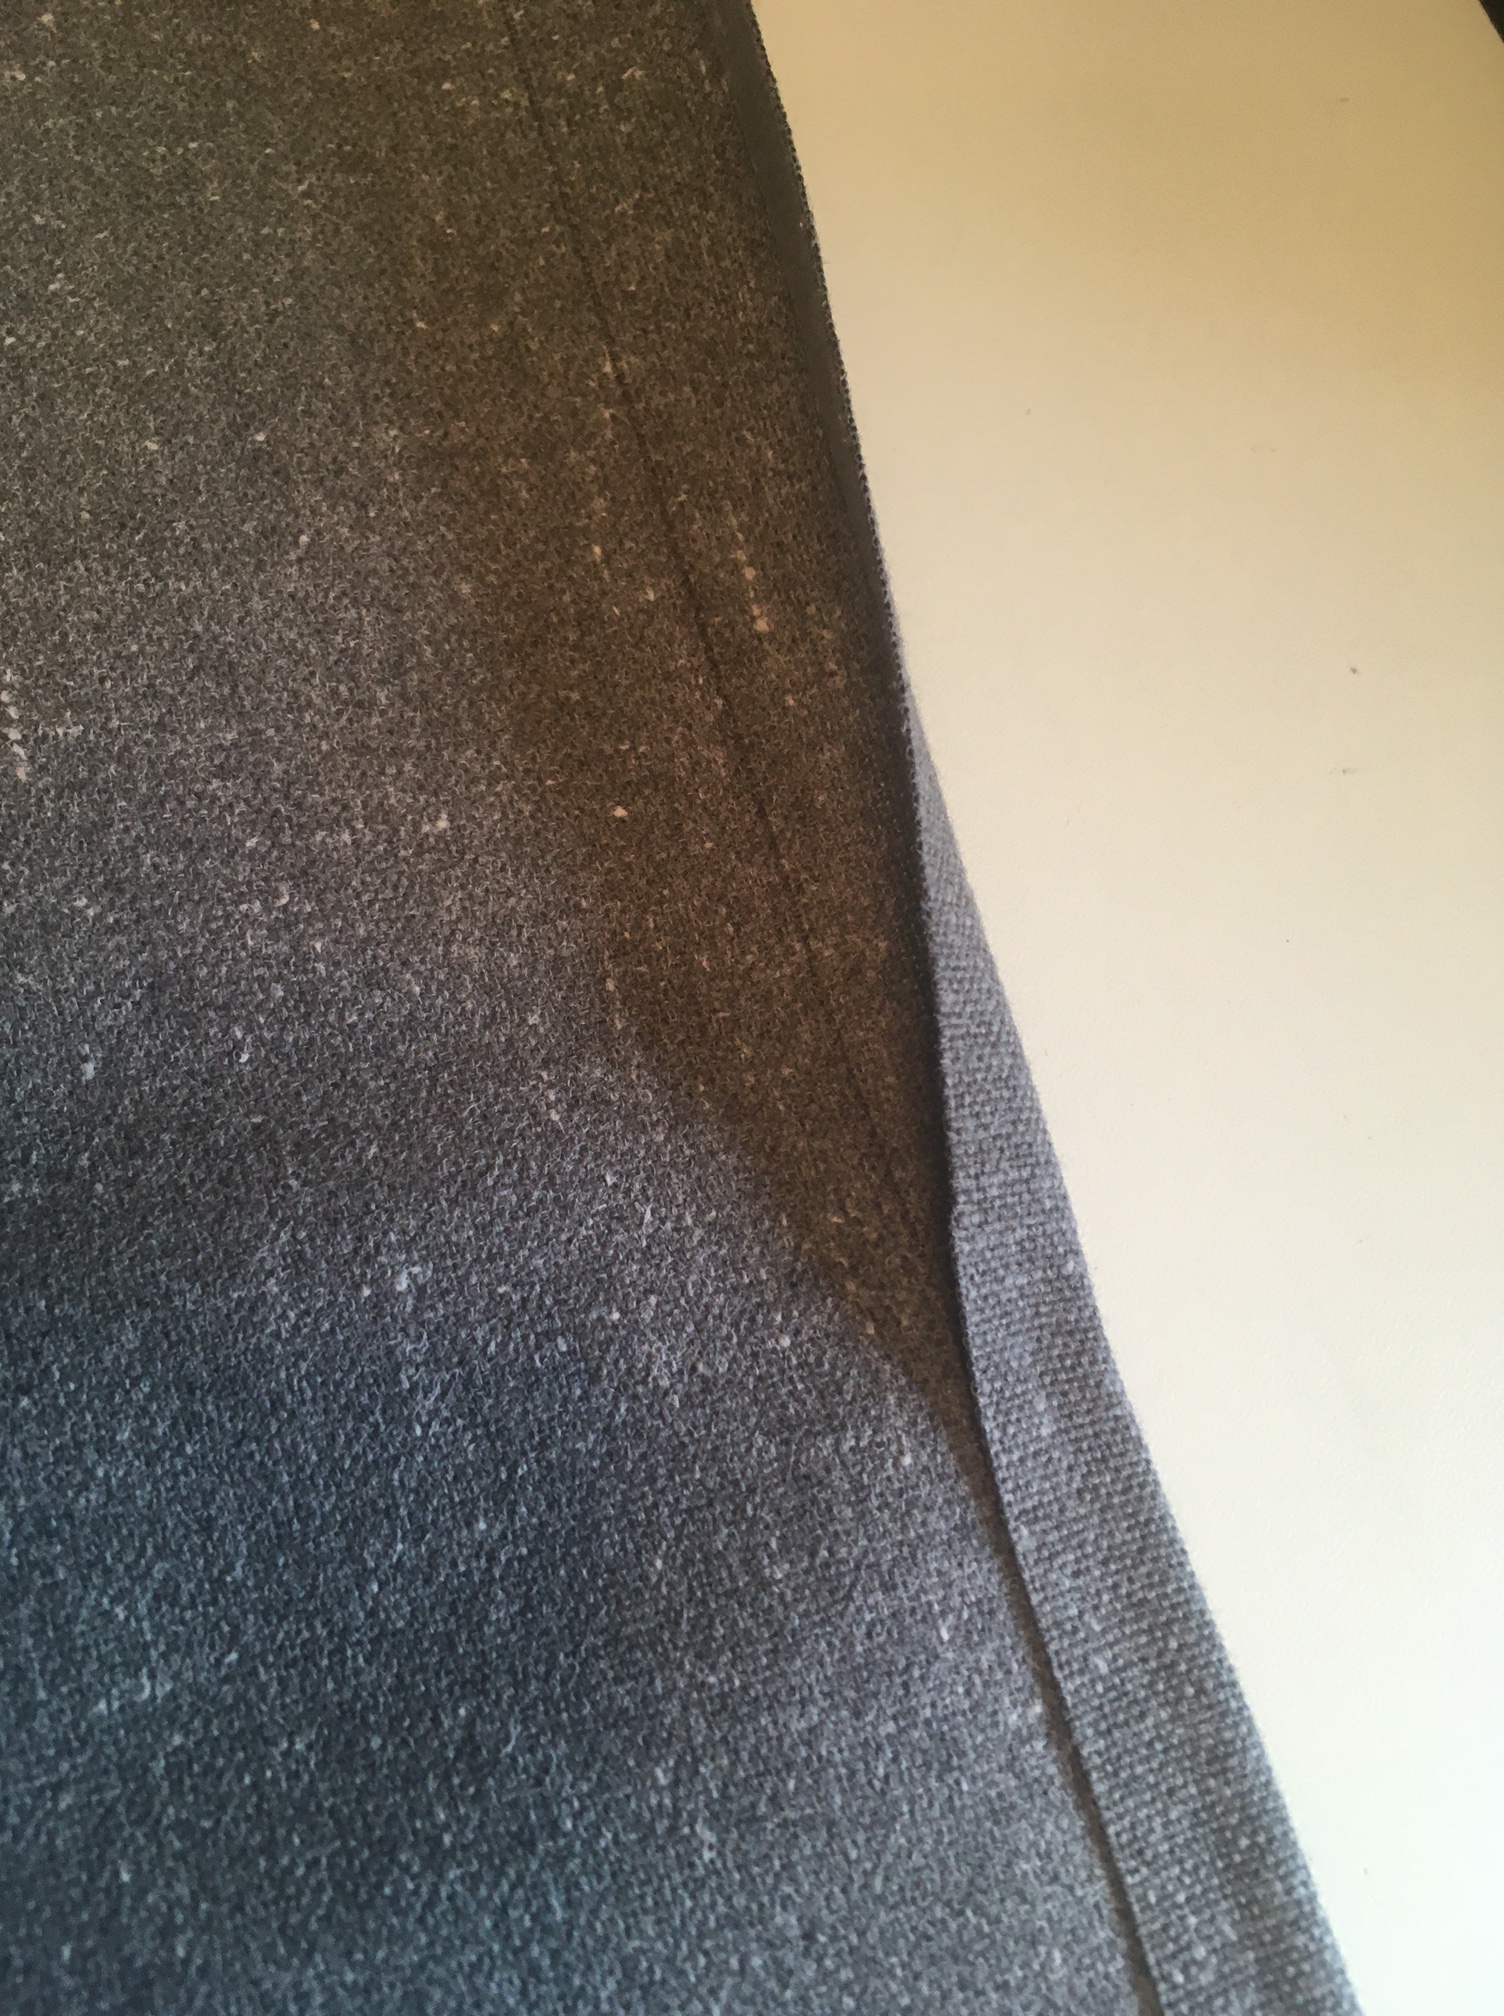
The cut has to be very straight. If not, when the cushion cover is put on, the angled or choppy cut will show through.
My first thought was to sandwich the foam between two pieces of wood, making the thickness about 1″. Wrong! If you do this it is easy to cut, but the the foam edge will be severely curved.
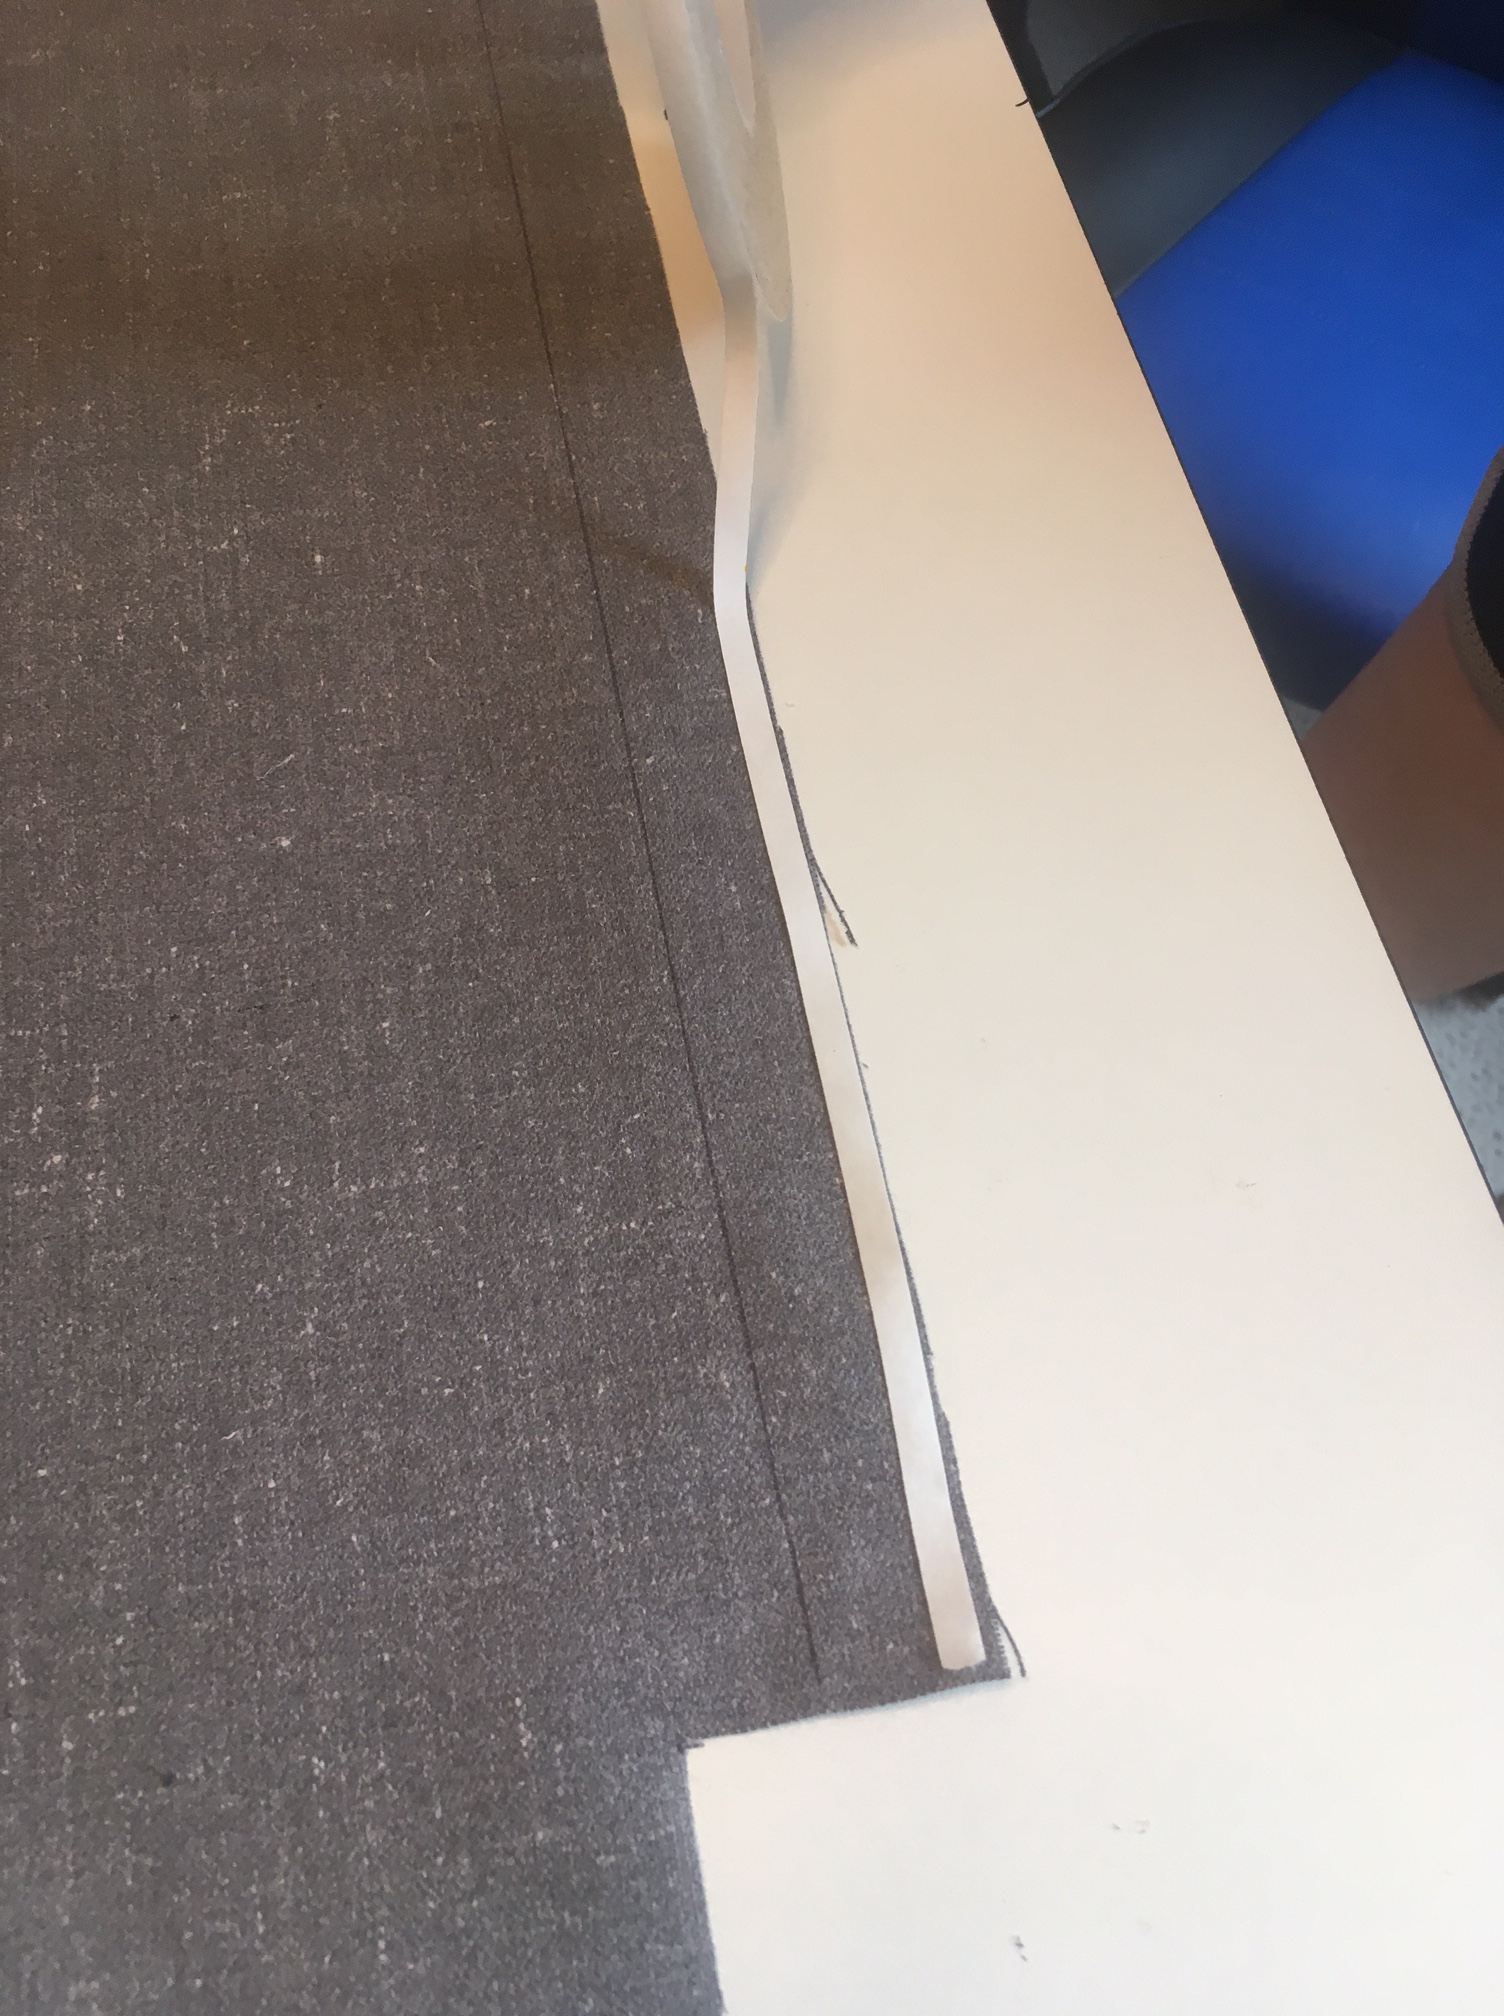
I decided I needed a guide on the underside of the foam. This would ensure that the knife remained straight while cutting.

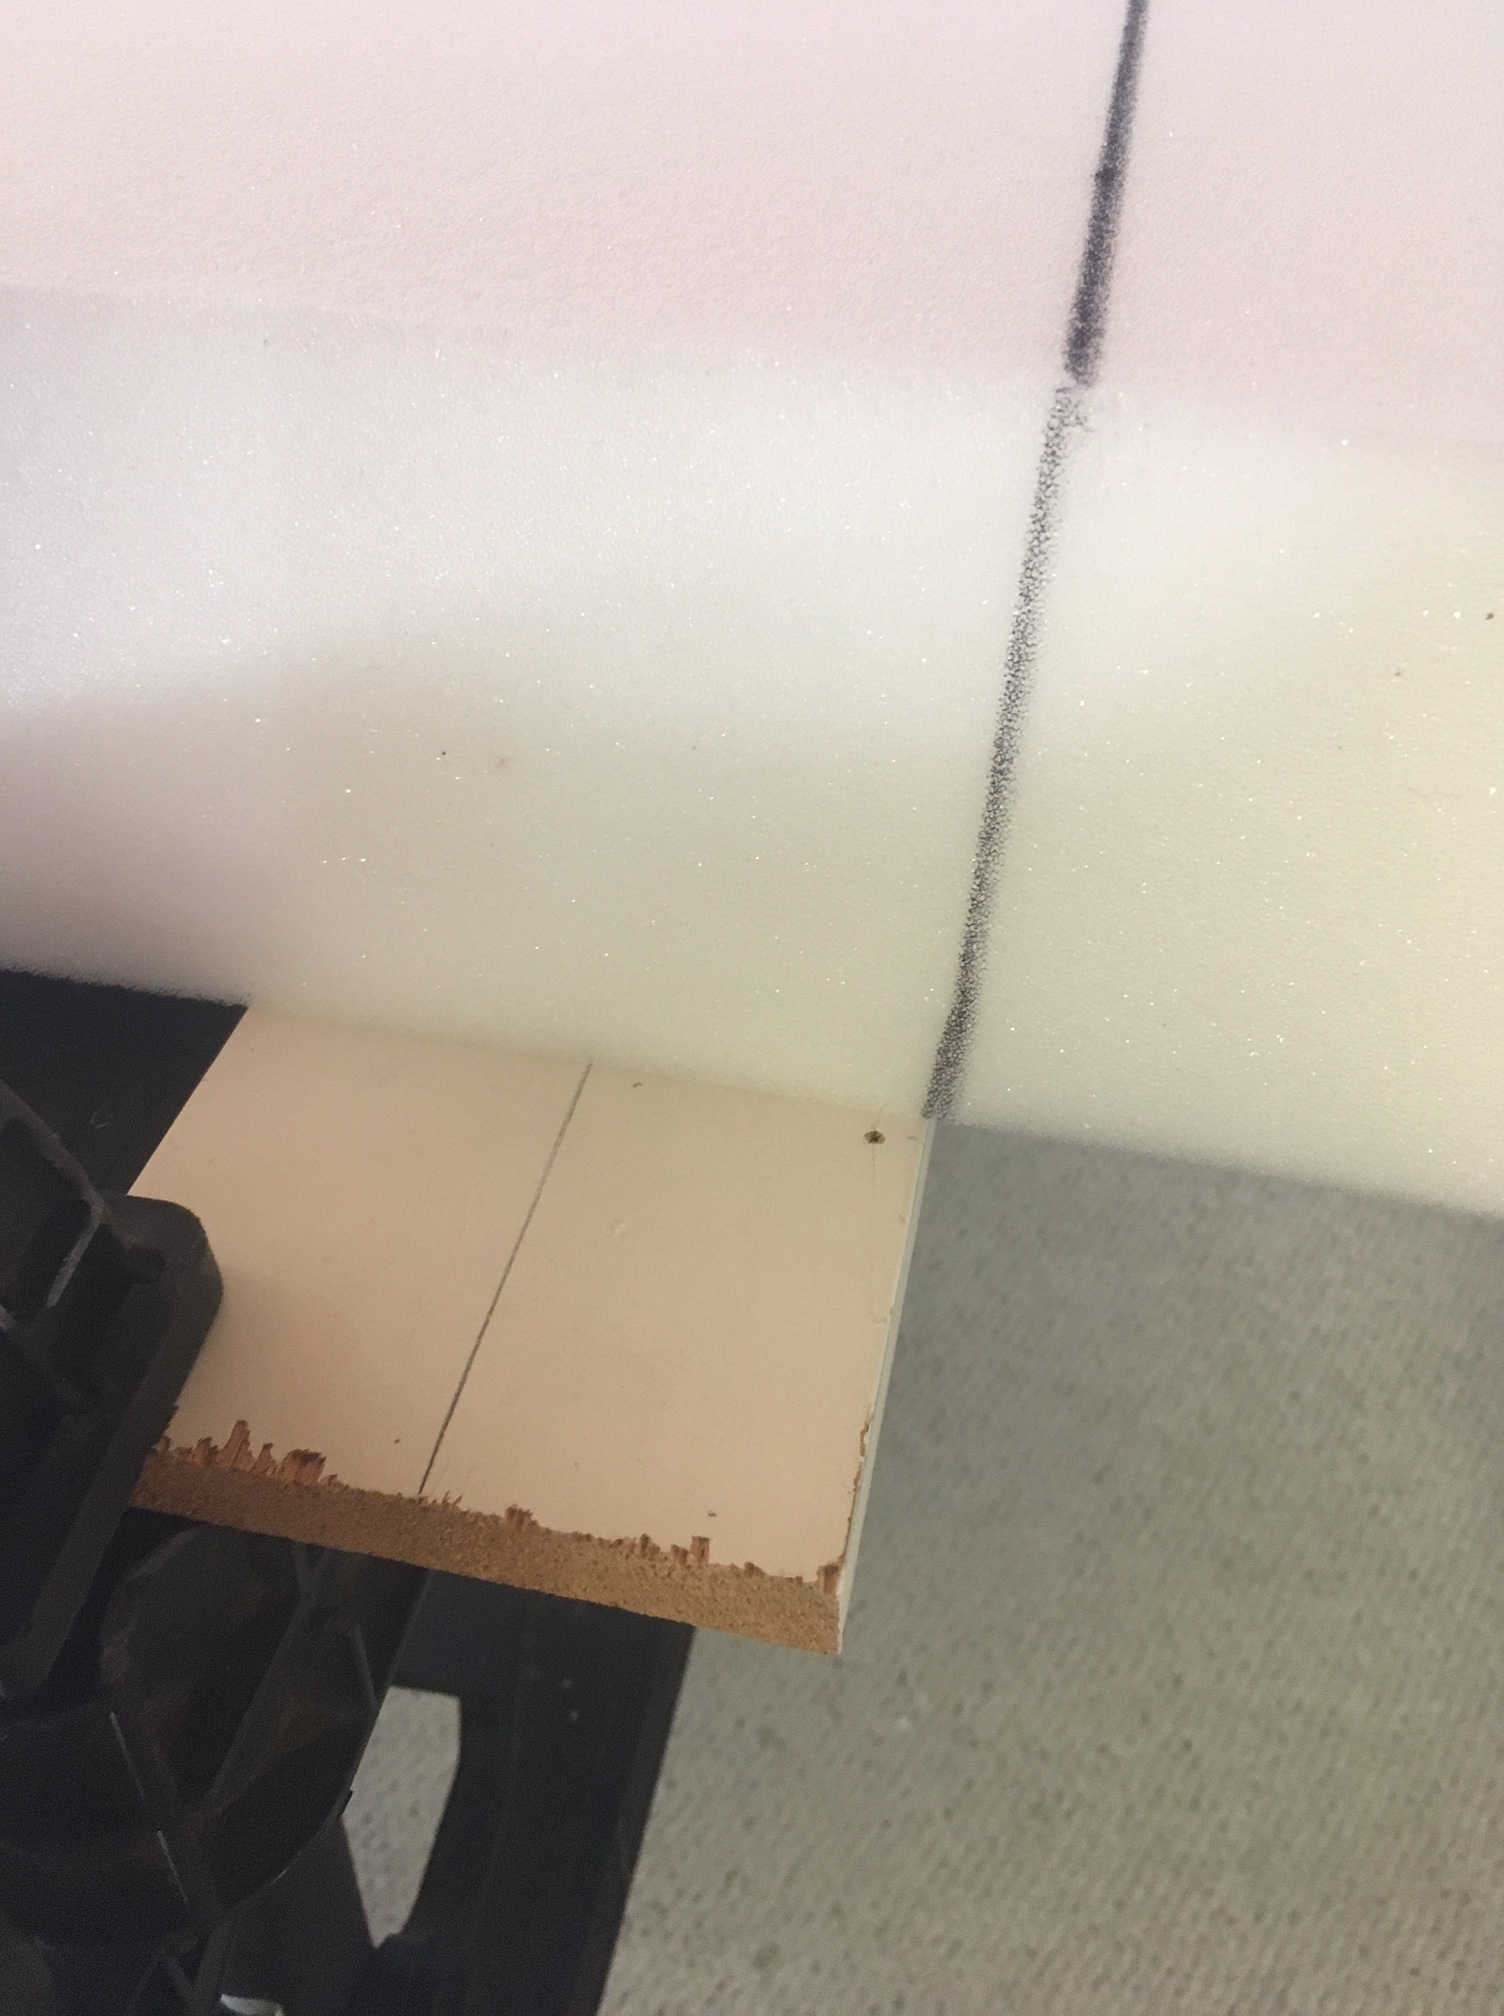
Use a flow tip pen and clearly mark your cuts on the top and edges of the foam. Go slowly! Check often that the blade of the knife is flat against the bottom wood edge. It’s a slow process, but it works.

Well, how did it all turn out? Absolutely fantastic!

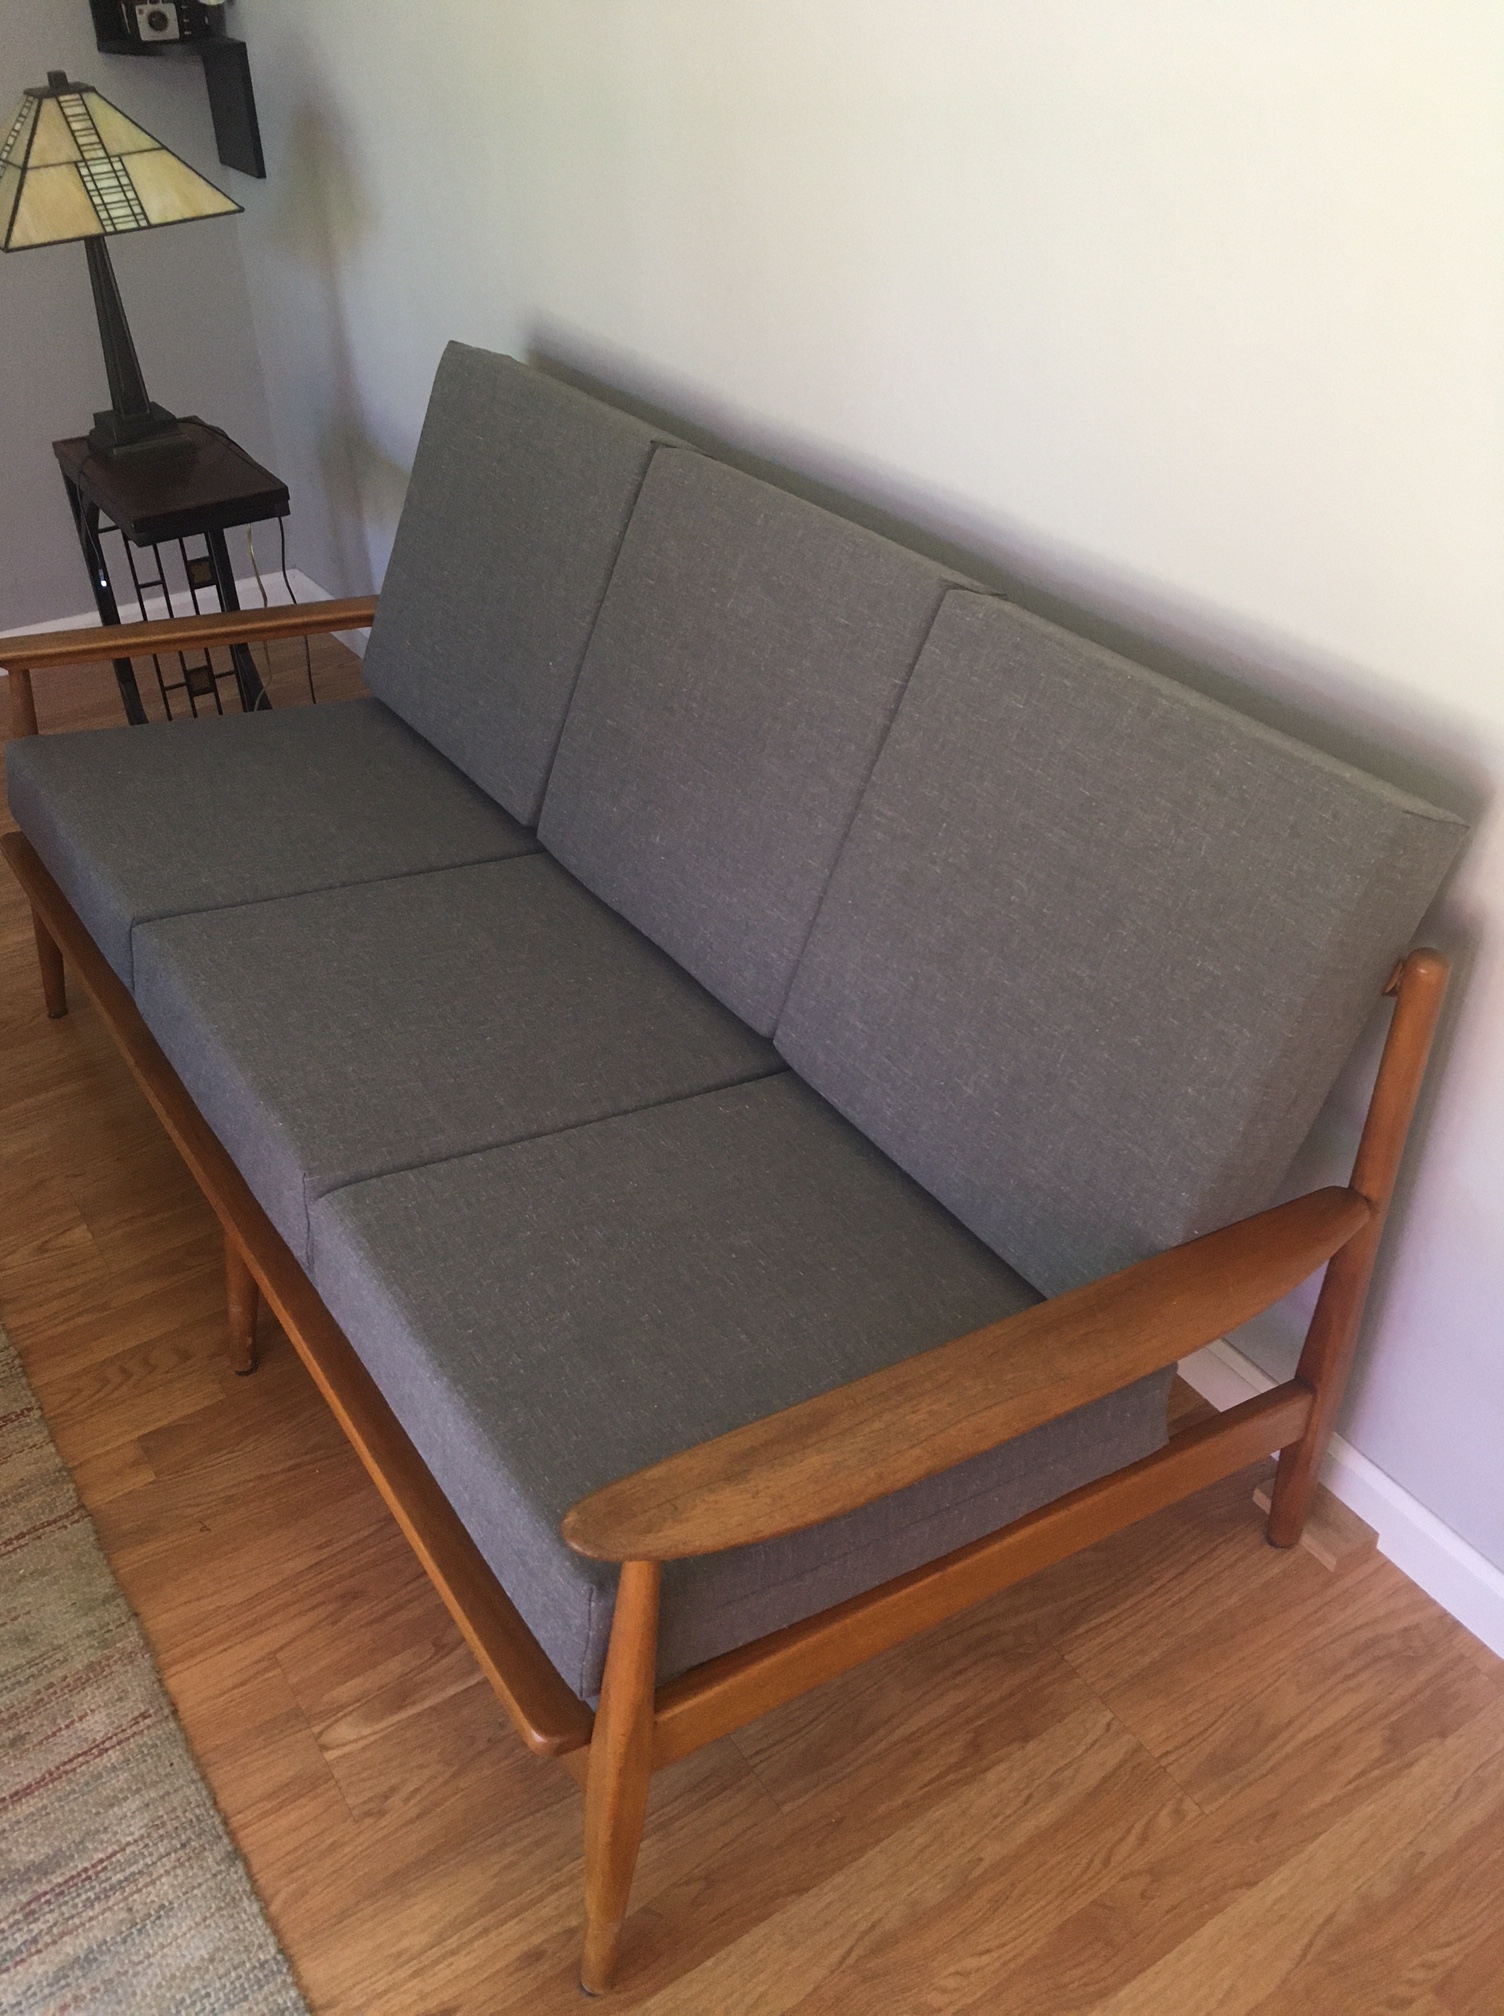
I love the look, and she saved at least $2000.00 doing it herself. Great Teamwork!
She does beautiful work. Maybe she really was a seamstress for the band?
.