Pumpkin Fun!

Halloween is always a great time of year. If you let your ‘spirits’ run free, you can really get creative – especially when it comes to carving pumpkins.

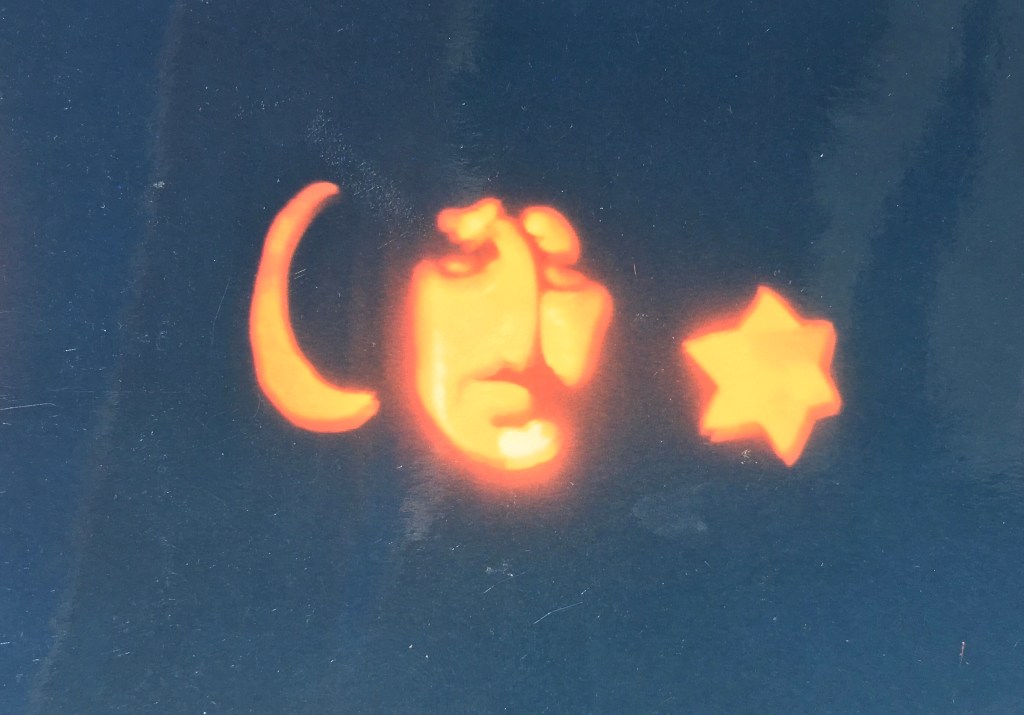
One year a friend saw a picture in a magazine and said, “You can do this.” So, I gave it a try and this was the result. We were both really pleased at how it looked illuminated. Glad I took this picture before it was snatched off the front porch by goblins.

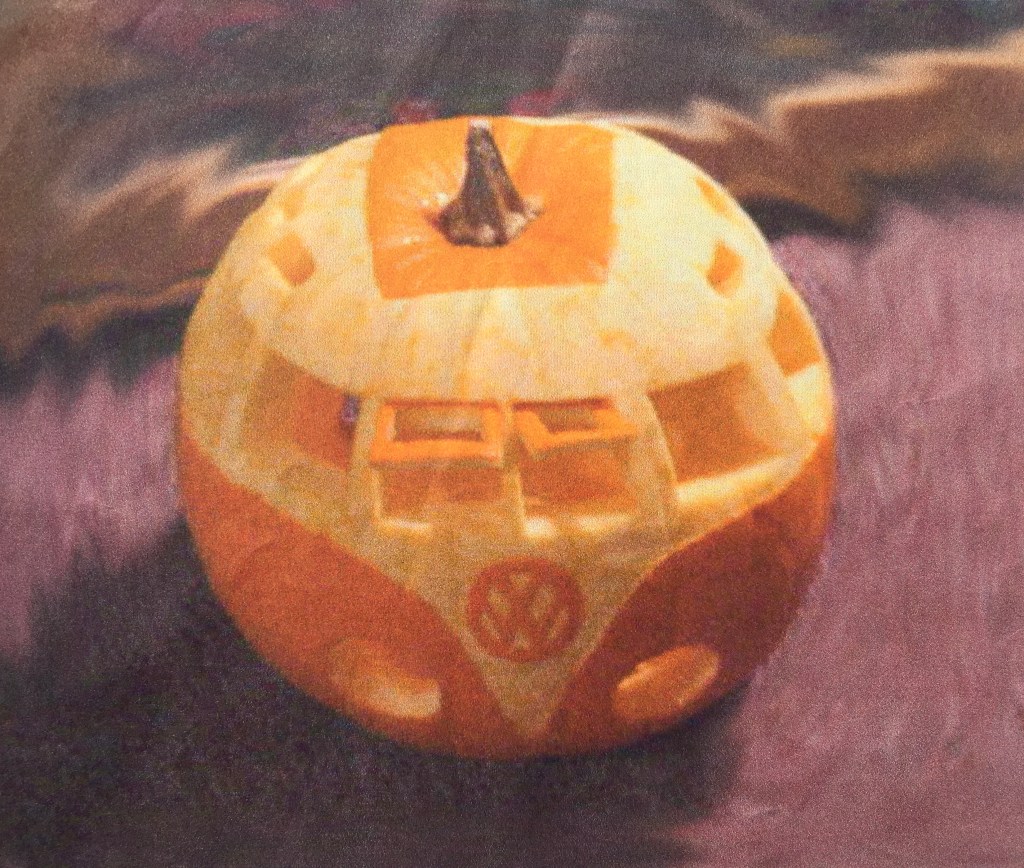
For many years at work, we used to have pumpkin carving contests. The VW bus was one of my entries. I found this design on line and copied it.

Do you see the image of musician Frank Zappa below? This was a very unusual pumpkin. When it was not illuminated, it looked like, well nothing but holes. When lit up… his eerie image appeared.

Another work pumpkin entry was a Pumpkin Planetarium. This was a foam pumpkin with lenses and a strobe circuit board inside. The pumpkin moved and really projected beams of light. Here it is on display at a local Space and Science center. I know, who would do it?

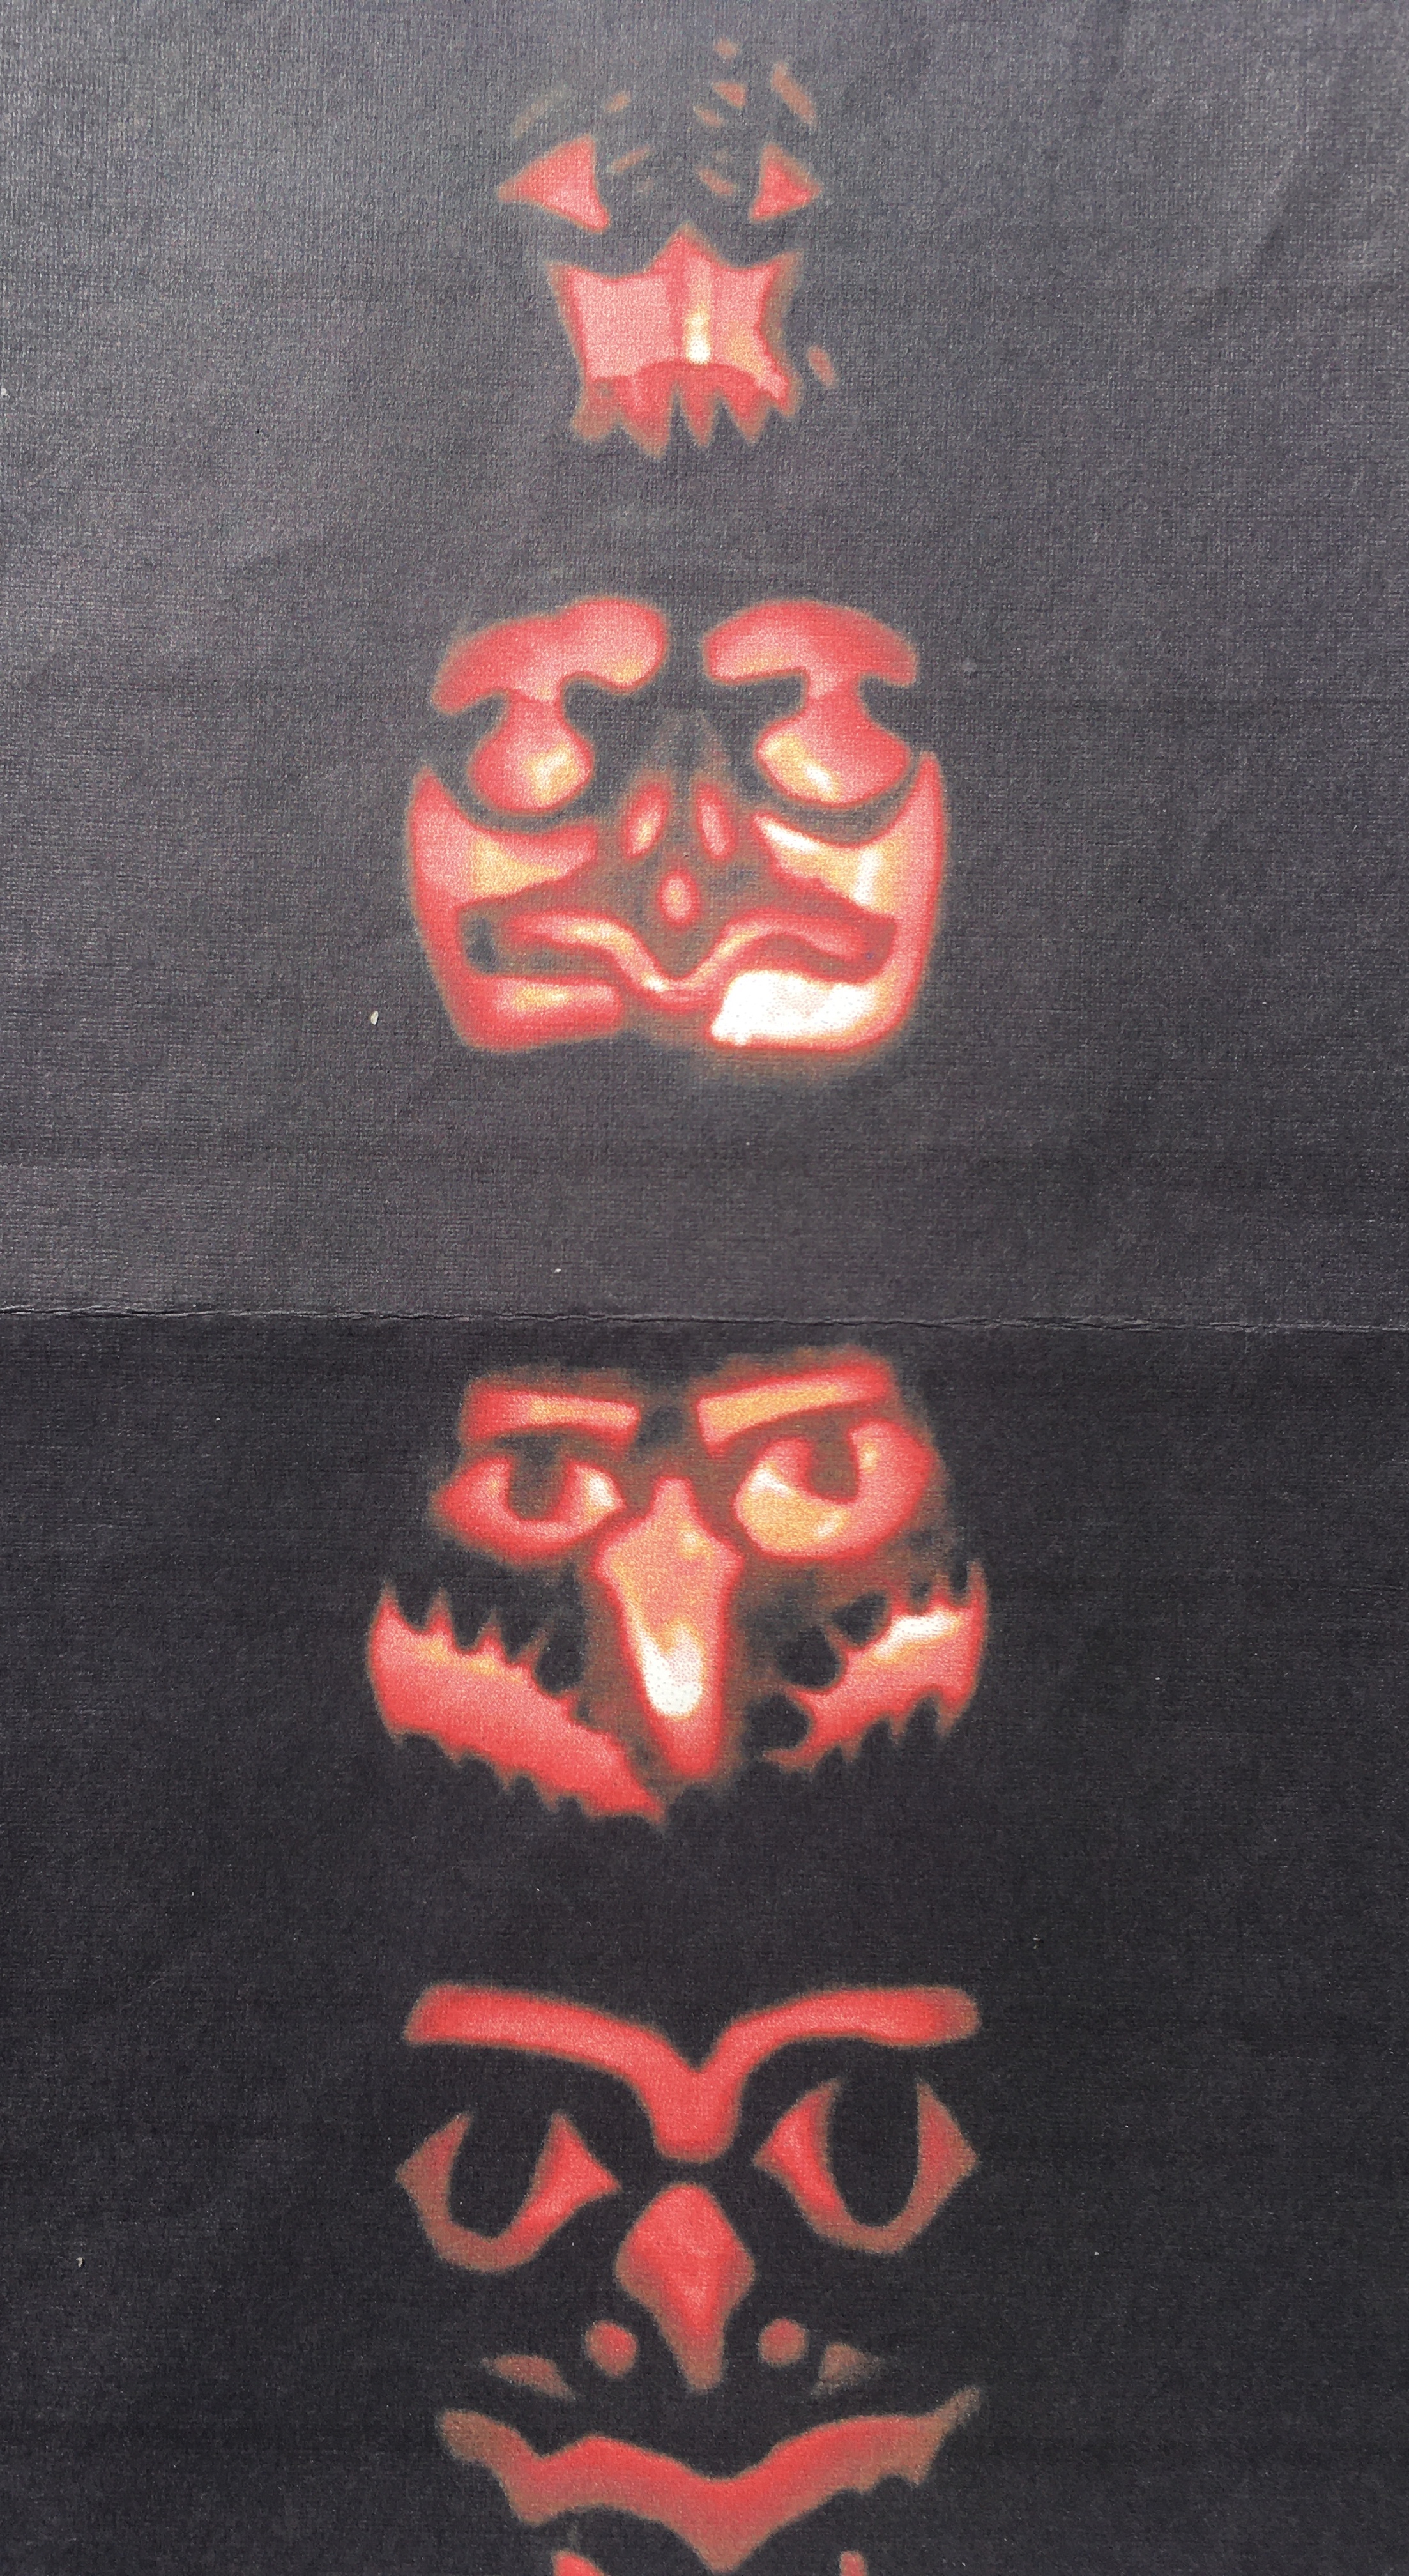
Probably my most ambitious pumpkin project was this Totem Pole. It began as only four real pumpkins (illuminated on the right side). They looked so good, I bought a bunch of Funkins (foam pumpkins) and made a larger totem pole and stand. I know, who would do it?

You should do it… that’s who. So what are you waiting for… get carving and have fun!

Waterfall and Leaf Framed Photo

Several months ago my friend and I went on a trek through the Pacific Northwest. Of course, Oregon has some amazing waterfalls, and I was fortunate enough to capture a few good images of them.

One night, we stayed at a hotel in downtown Ashland, Oregon – a very cool town by the way. The hotel had a lot of old nature postcards of the local area, framed and hanging on the walls. In addition to the old postcard, the designer also added a local leaf from an indigenous tree, which was secured to the frame’s mat. I thought it was a really interesting way to present photos and local flora, and decided to give it a try myself.

I wanted the photo to look like an old time postcard. Usually, the colors are pretty saturated. I began with an image I liked, and used the photo editor on my phone to change things up a bit. The first photo below is the original. After brightening up and adding some color, I was happy with the final (second) image.

After printing the image on glossy photo paper, I cut it to about 3″ x 5″, the approximate size of a postcard. Then I cut a piece of mat board the same size and glued the photo to it. The photo now had the look and the thickness of a postcard.

I then glued the 3″ x 5″ photo onto a piece of mat board that fit my frame. I left extra room at the bottom so a leaf could be added.

The redwood tree leaves that I had gathered needed a little flattening prior to securing to the mat board. I placed them on a piece of plywood, put a second piece on top, and then added a brick for weight. I let that sit overnight.

I positioned the leaf on the mat board, secured it with white glue, and held in place with my harmonica. Hey, it was nearby.

Once the glue was dry, I placed the final work into the frame.

I am really happy with the way it turned out and will definitely do another one. This time from the Great State of Washington!