I enjoy building things with pallets, as it costs virtually nothing but your time.
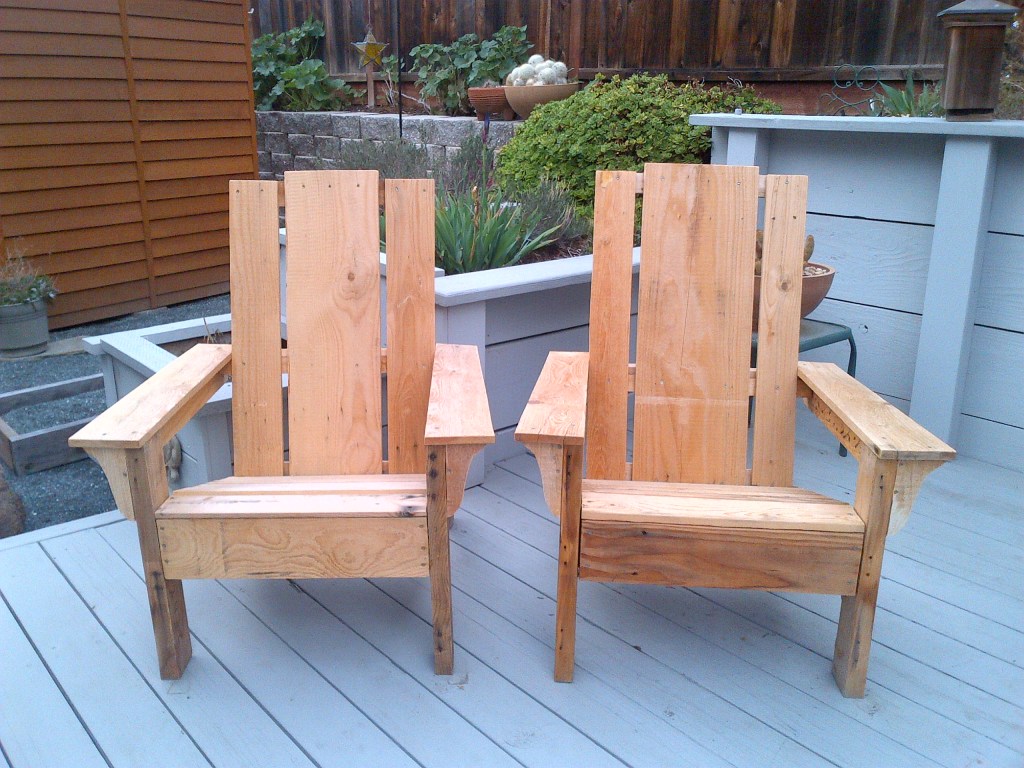
One such pallet project were two Adirondack garden chairs. I found a super-simple, free plan on the internet (there’s lots to choose from), salvaged a few decent pallets, and got to work. Just search on “Adirondack pallet chairs,” and choose a plan that meets your skill level and tool availability.
Here are some photos of the completed chairs over a few years time. Notice that the chairs were painted, new arms added, and a nifty wine glass holder was designed and built.


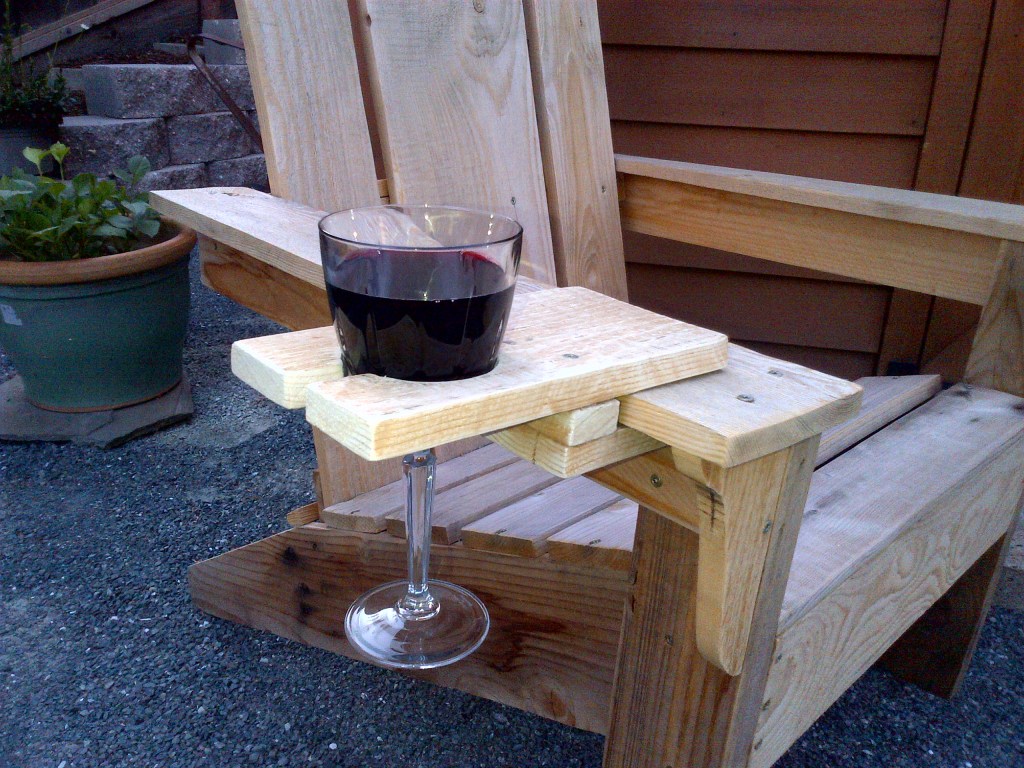
A very fun and useful pallet project. So build it, sit back, and sip your cares away!