When you desire ‘a little more’ backyard privacy, fence toppers are the way to go.
Suppose that you do not want to leave them up all the time, or want to grow vines on them and access them easily. Solution – attach the toppers to the fence with hinges. That way, they can be folded down whenever necessary.
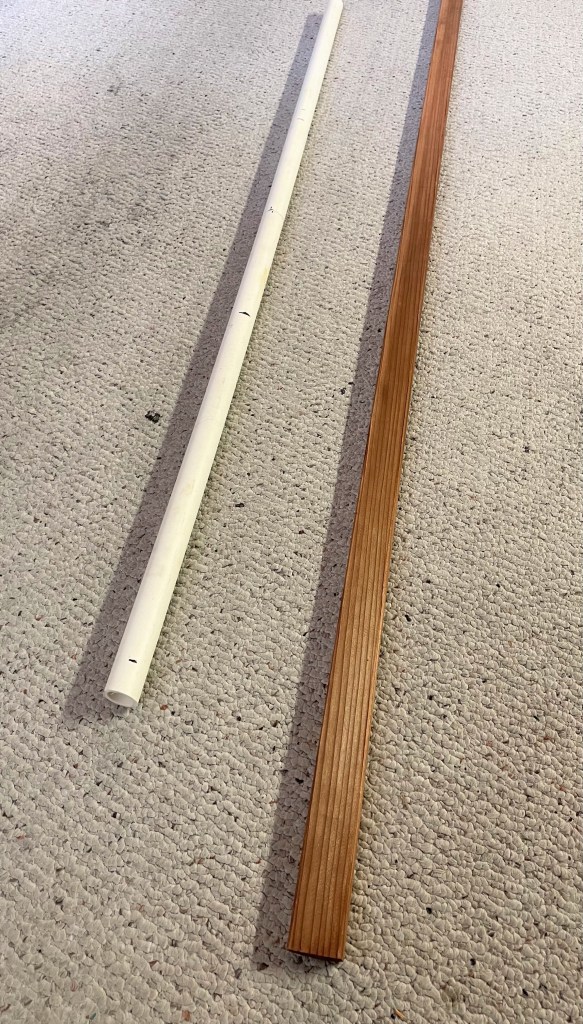
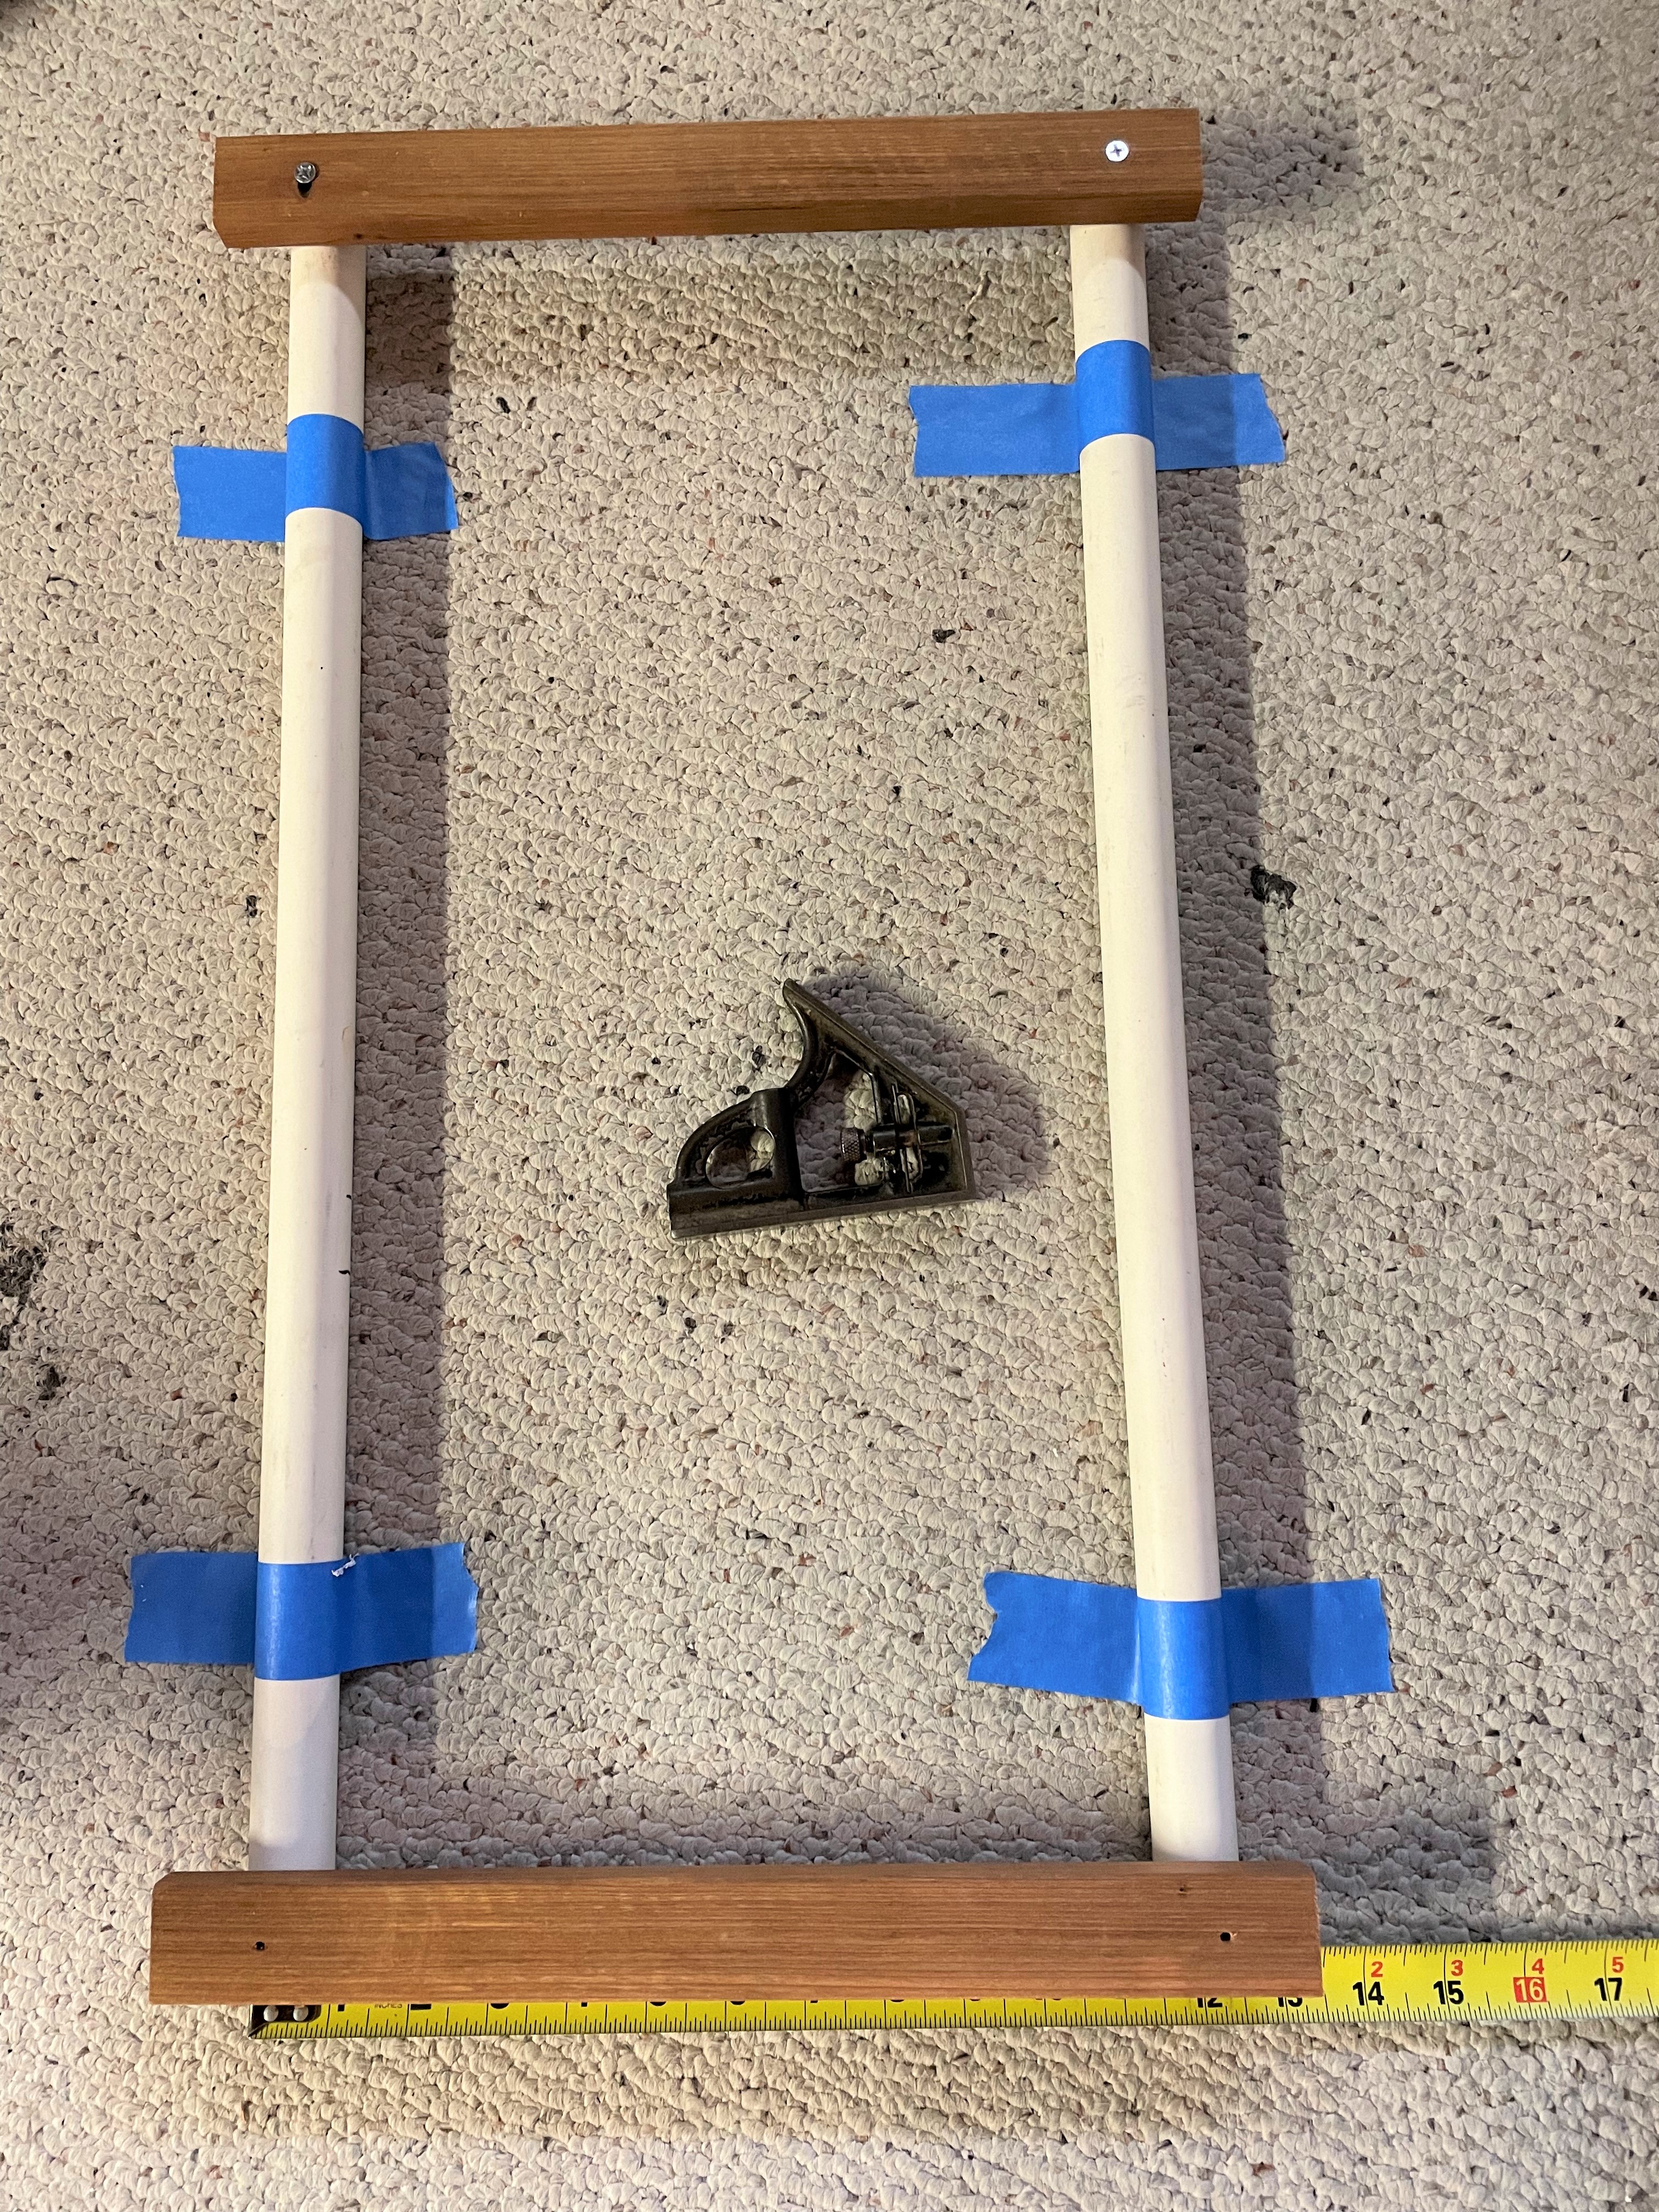
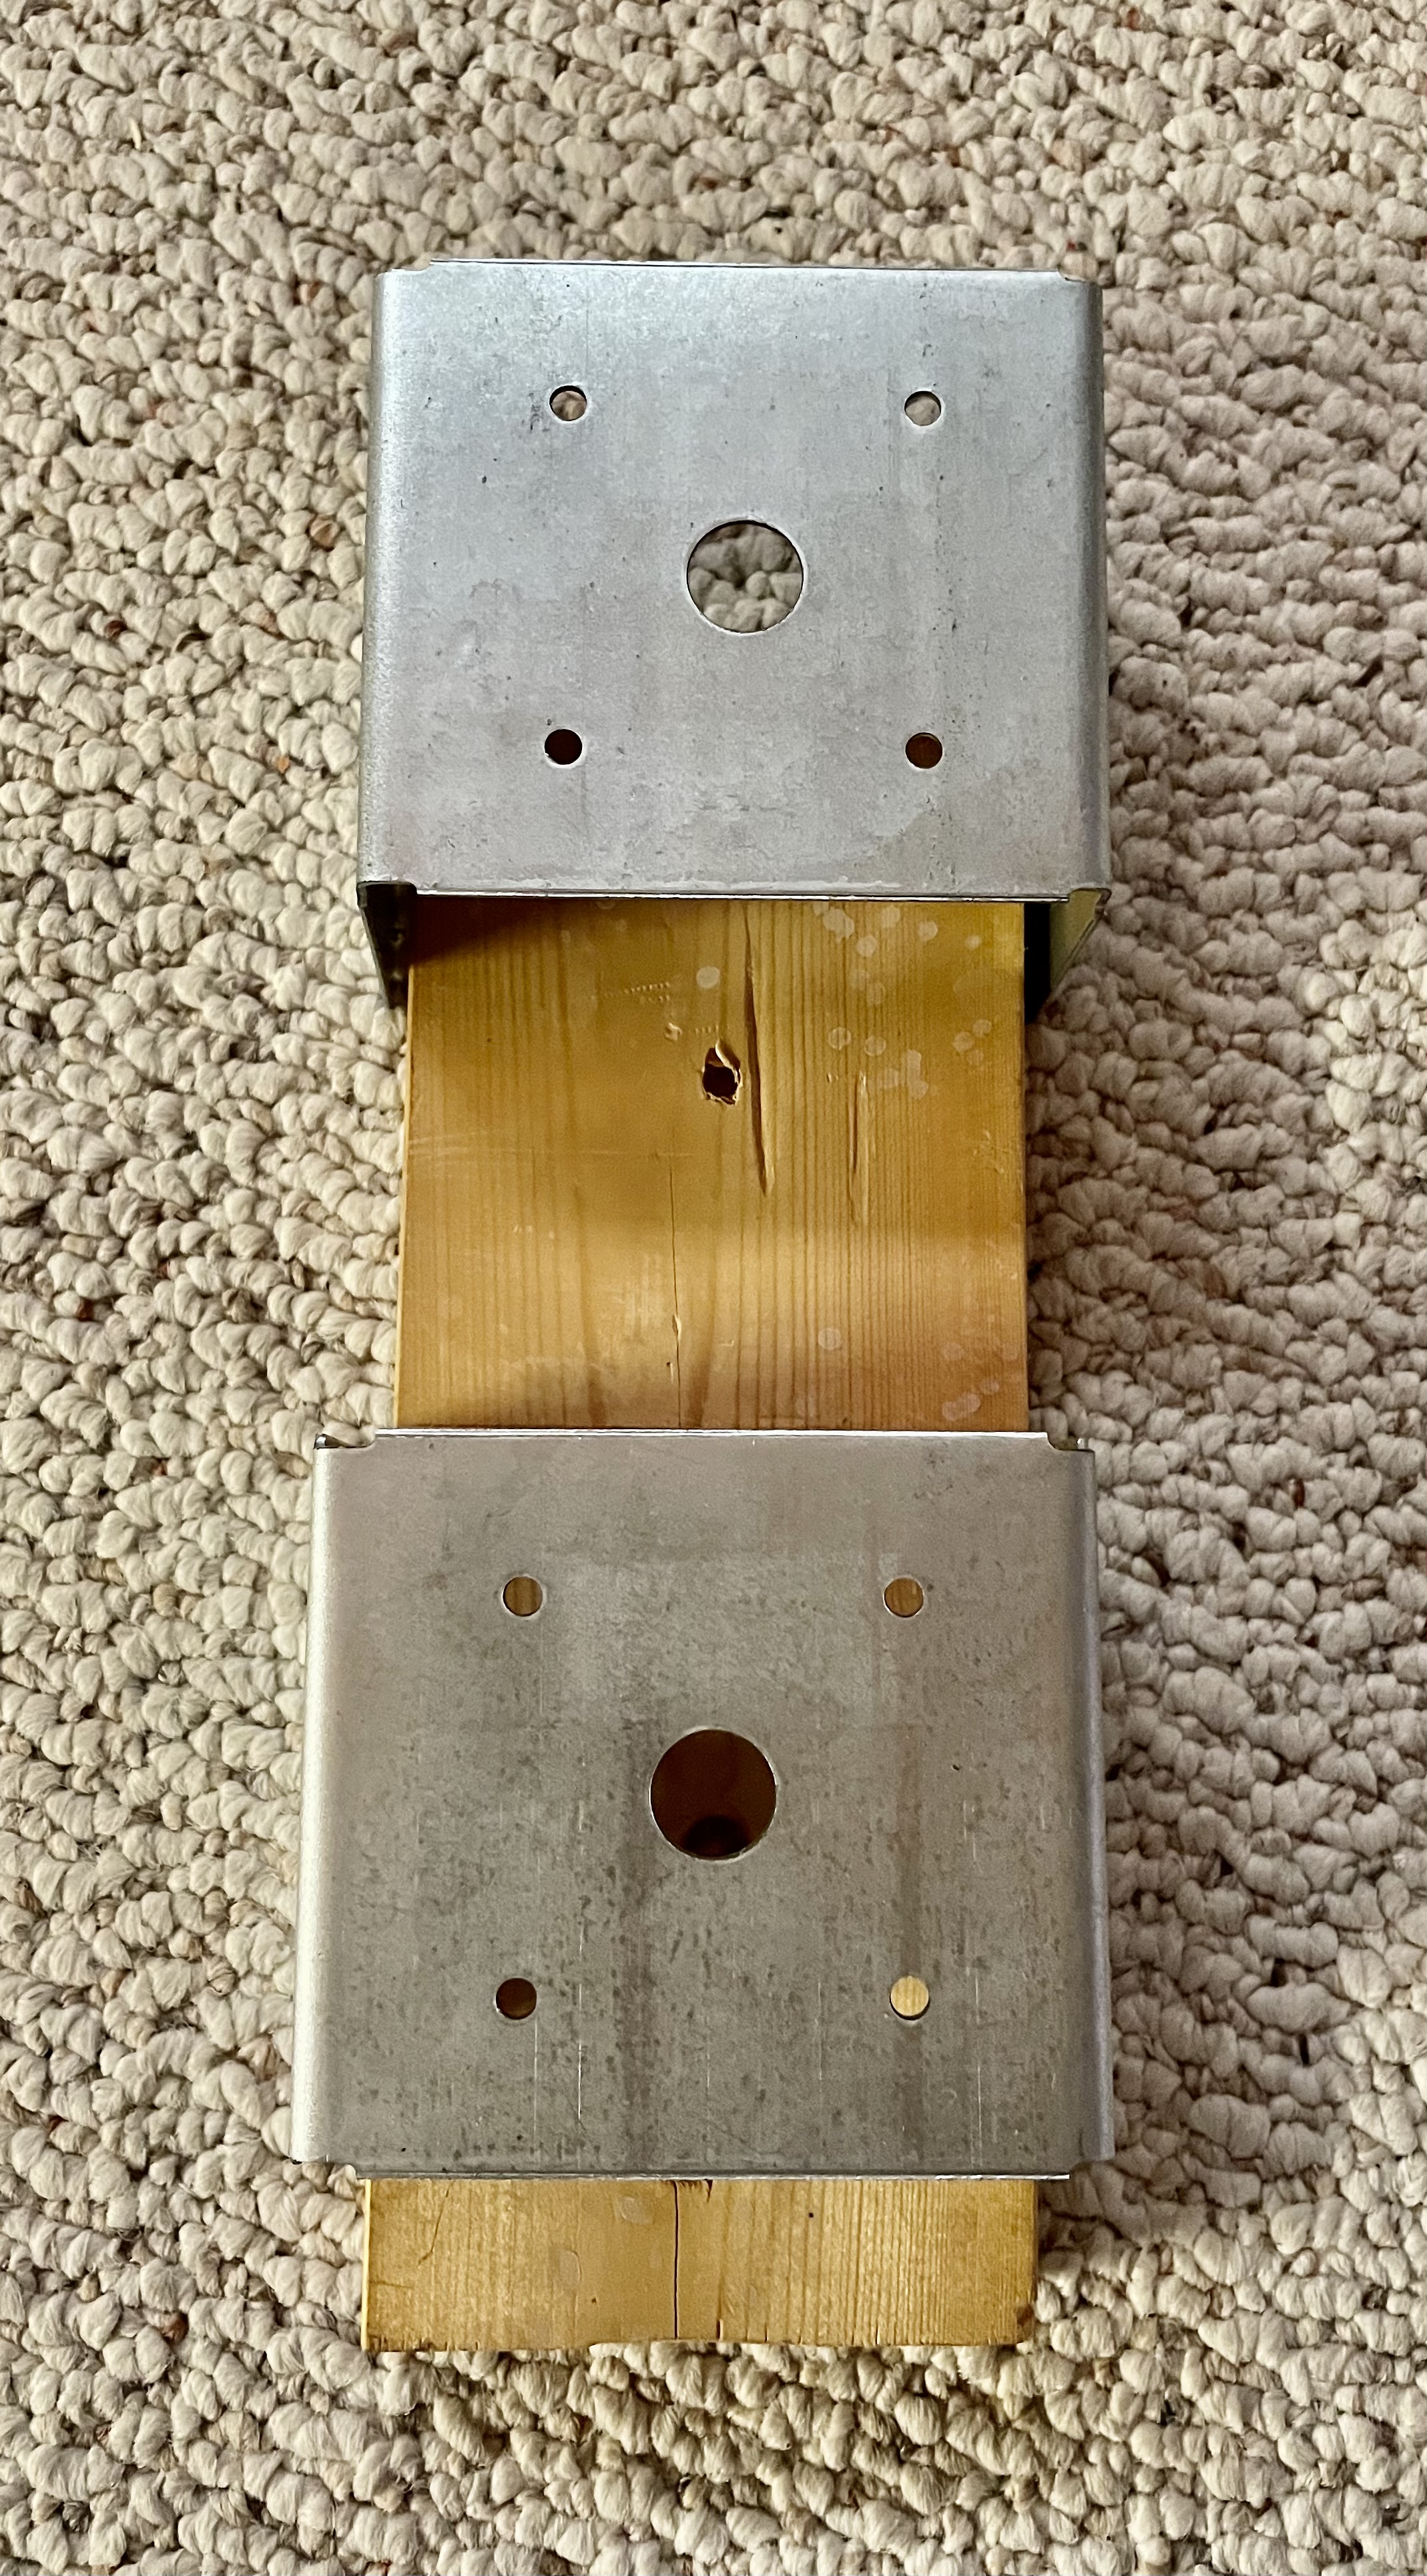
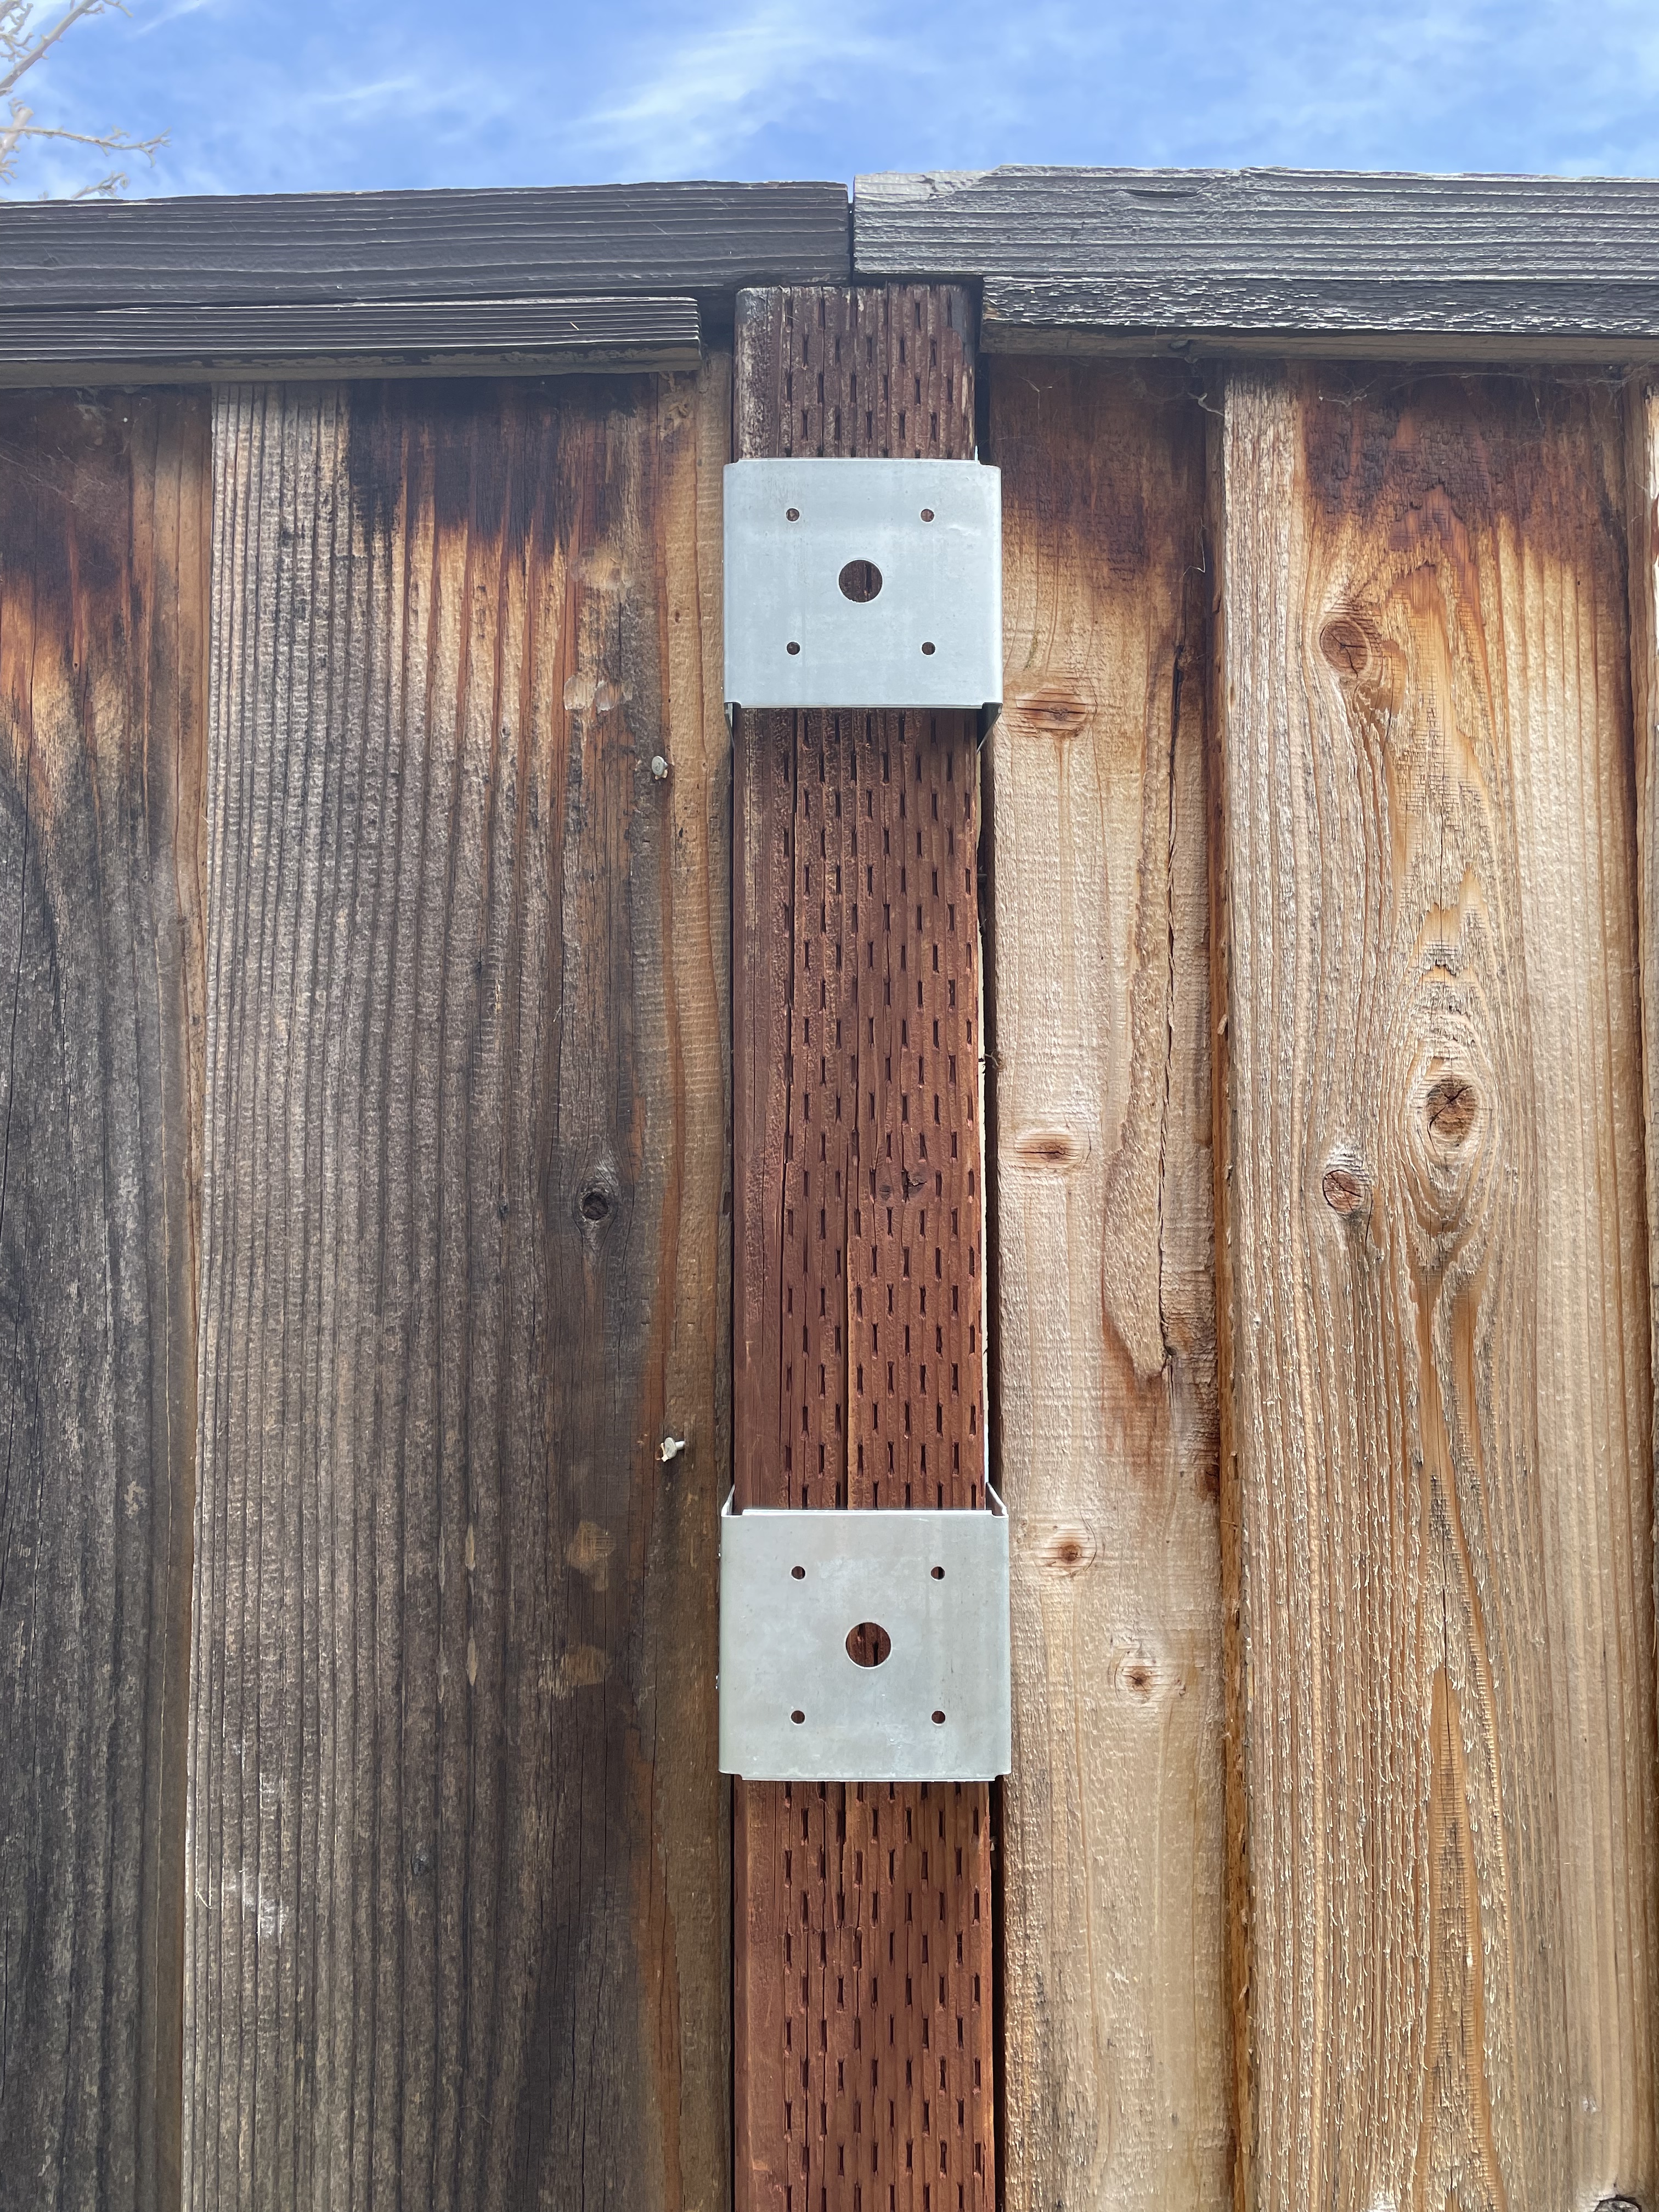
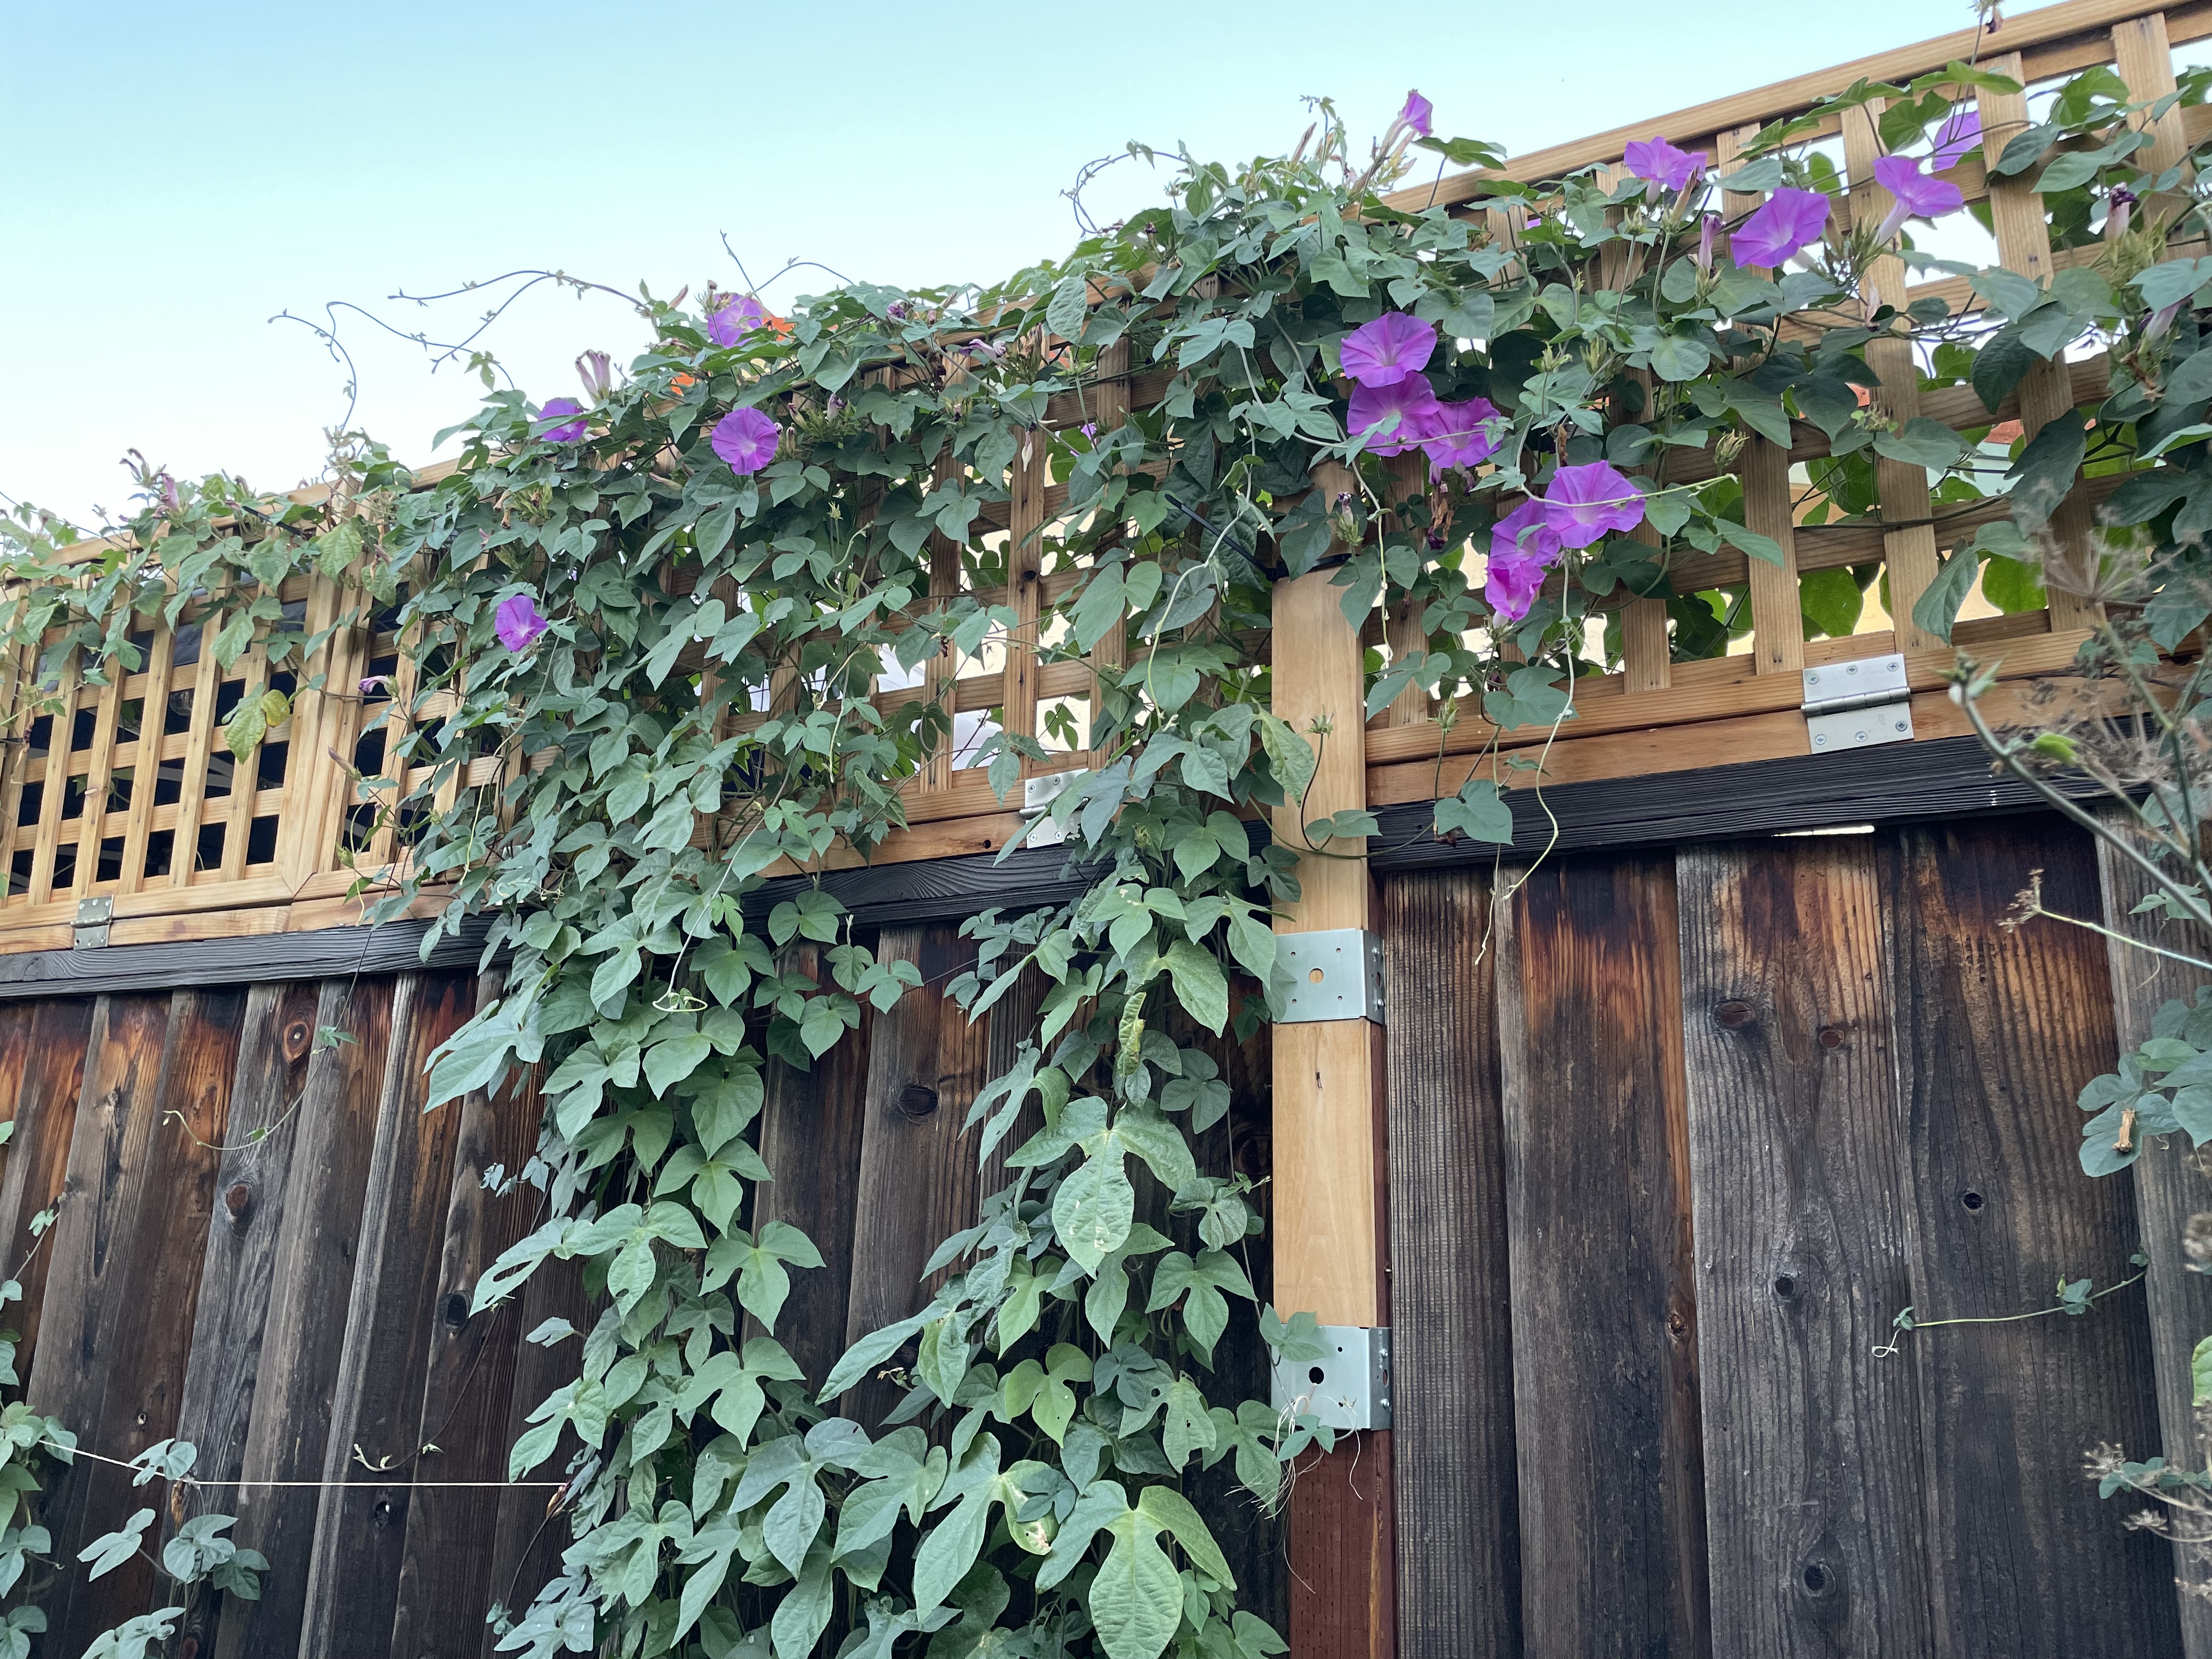
Using hinges was not difficult, but ‘how to’ support the toppers needed an idea. I decided to use fence U-brackets, and slide a piece of flat wood into the bracket, and secure that to the topper. I will use a heavy duty tie wrap, which can easily be removed as required.
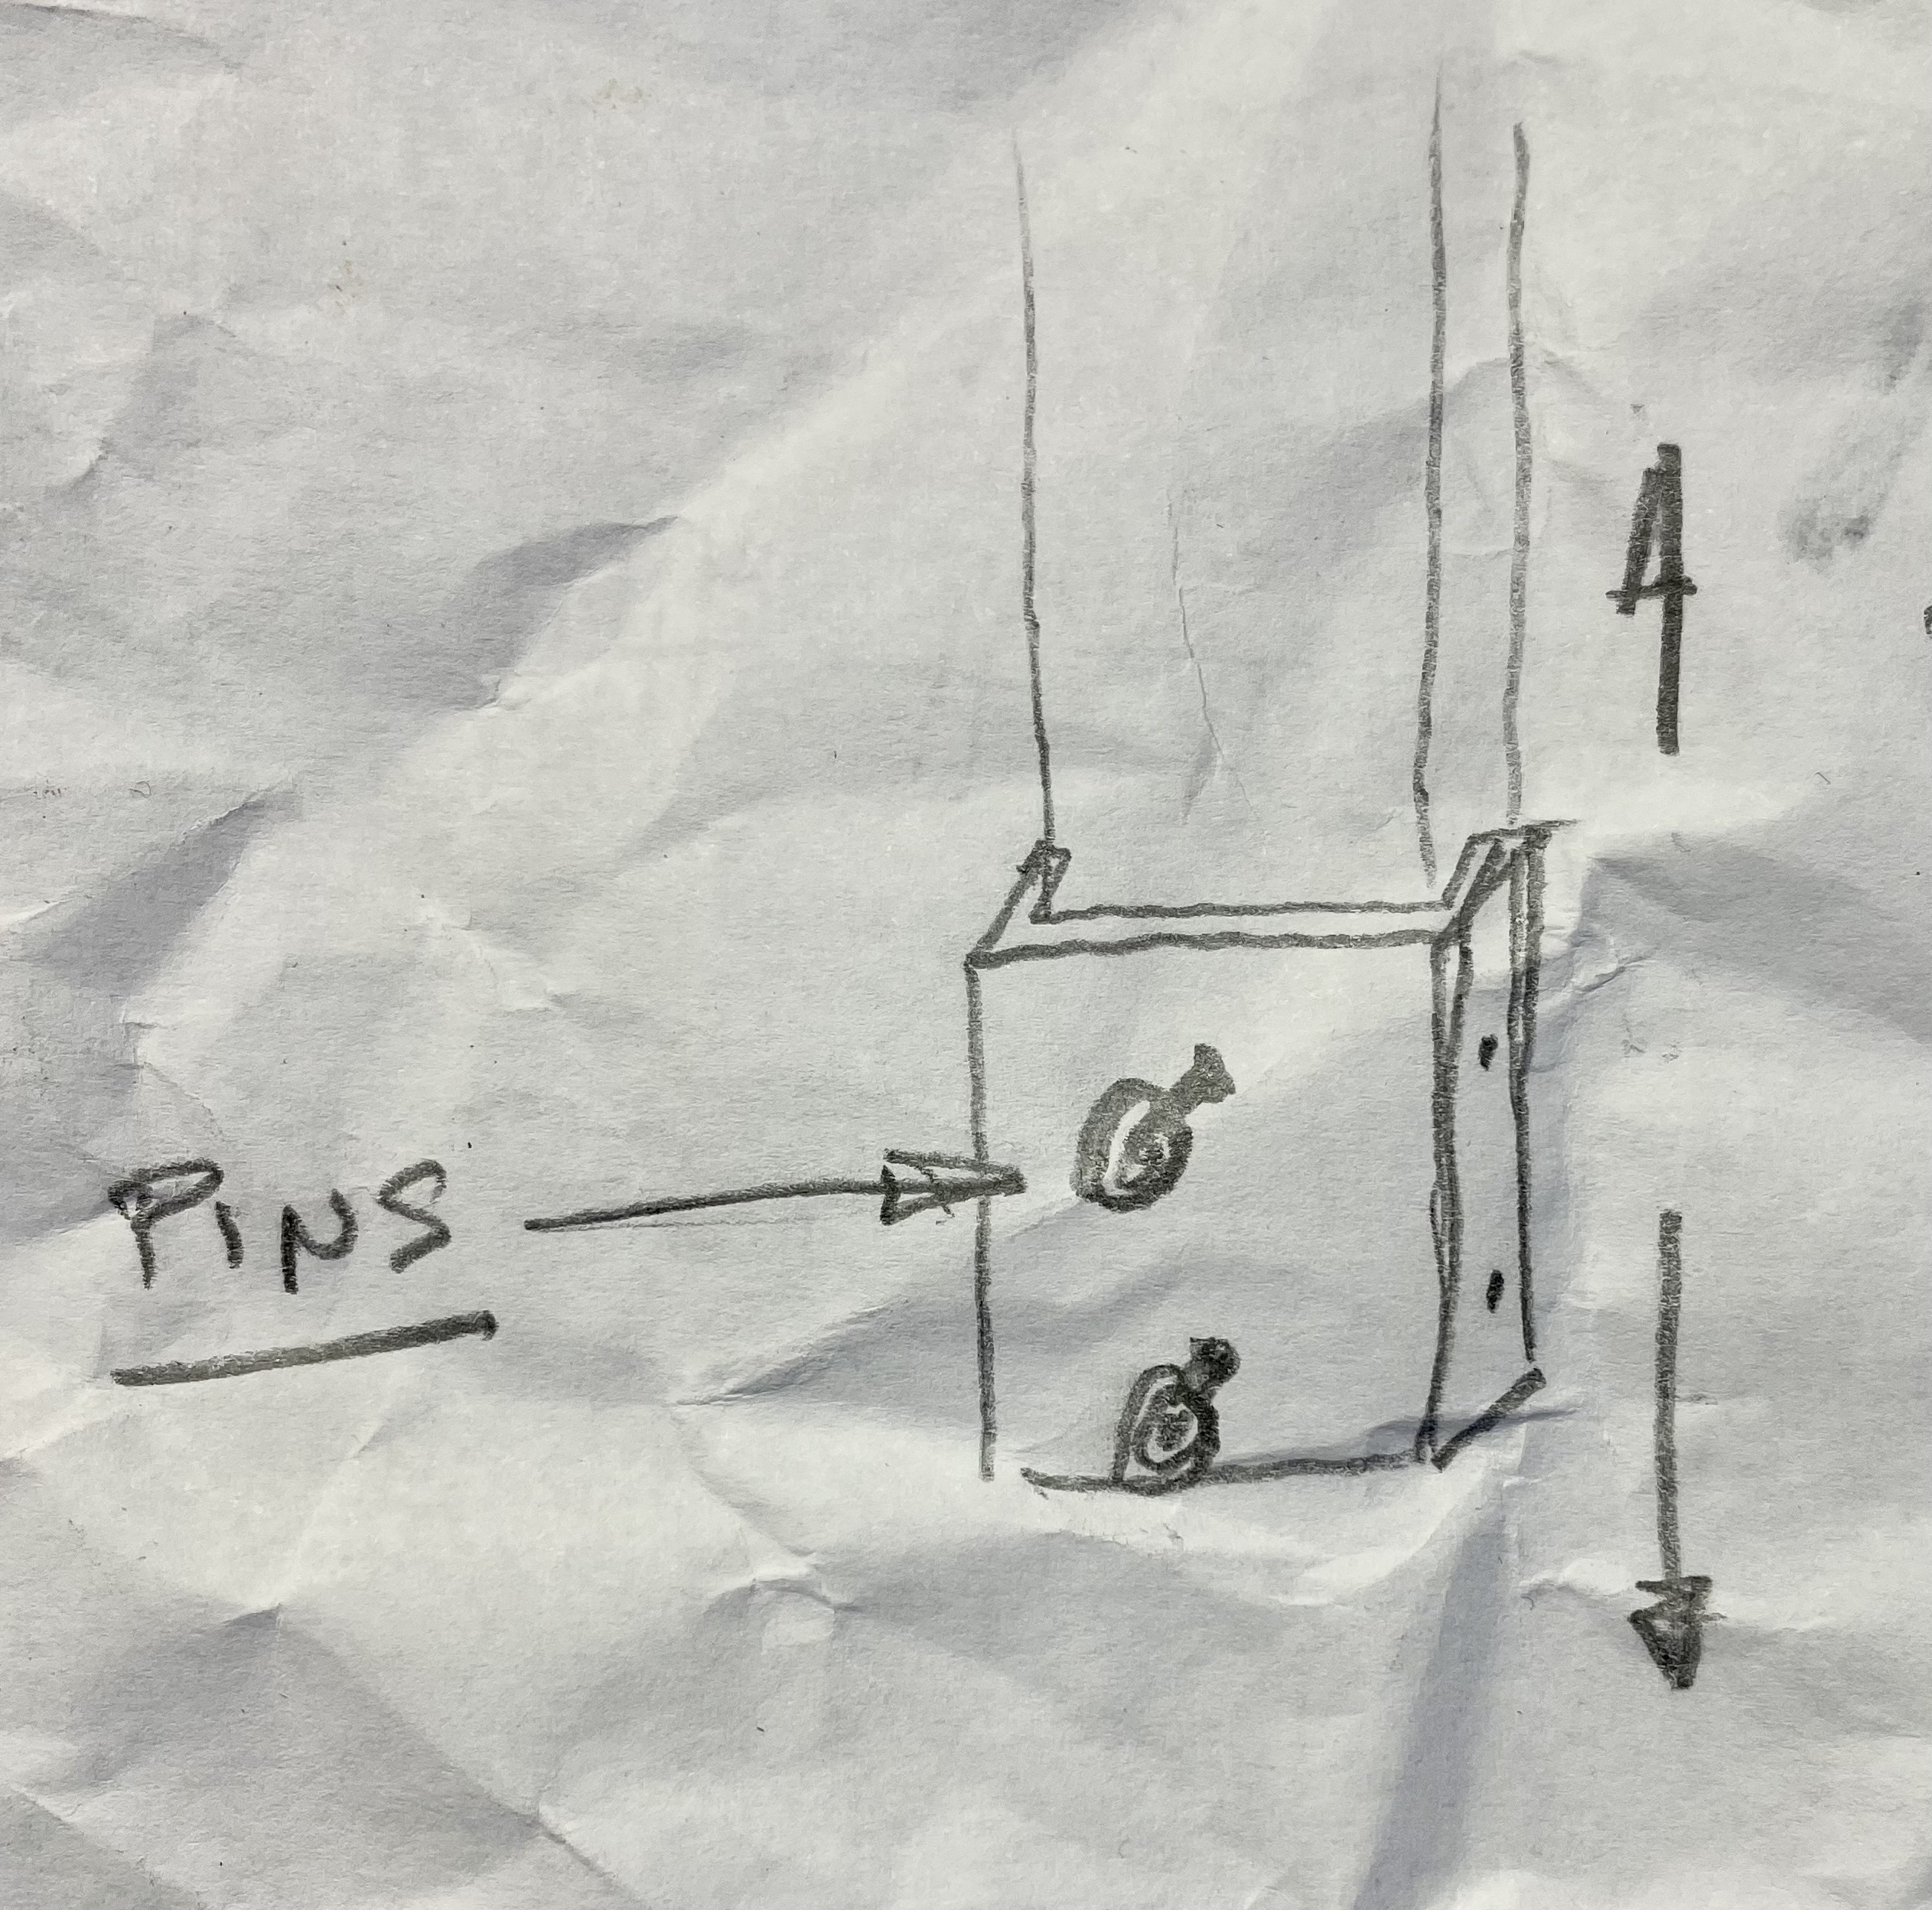
When I wanted to fold the topper down, I’d cut the tie wraps, pull out the pins, and slide the wood out. The topper could now be folded down.
First step was to add some 2 x 4’s to the top of the fence.
I then screwed the U-brackets to the existing fence posts.
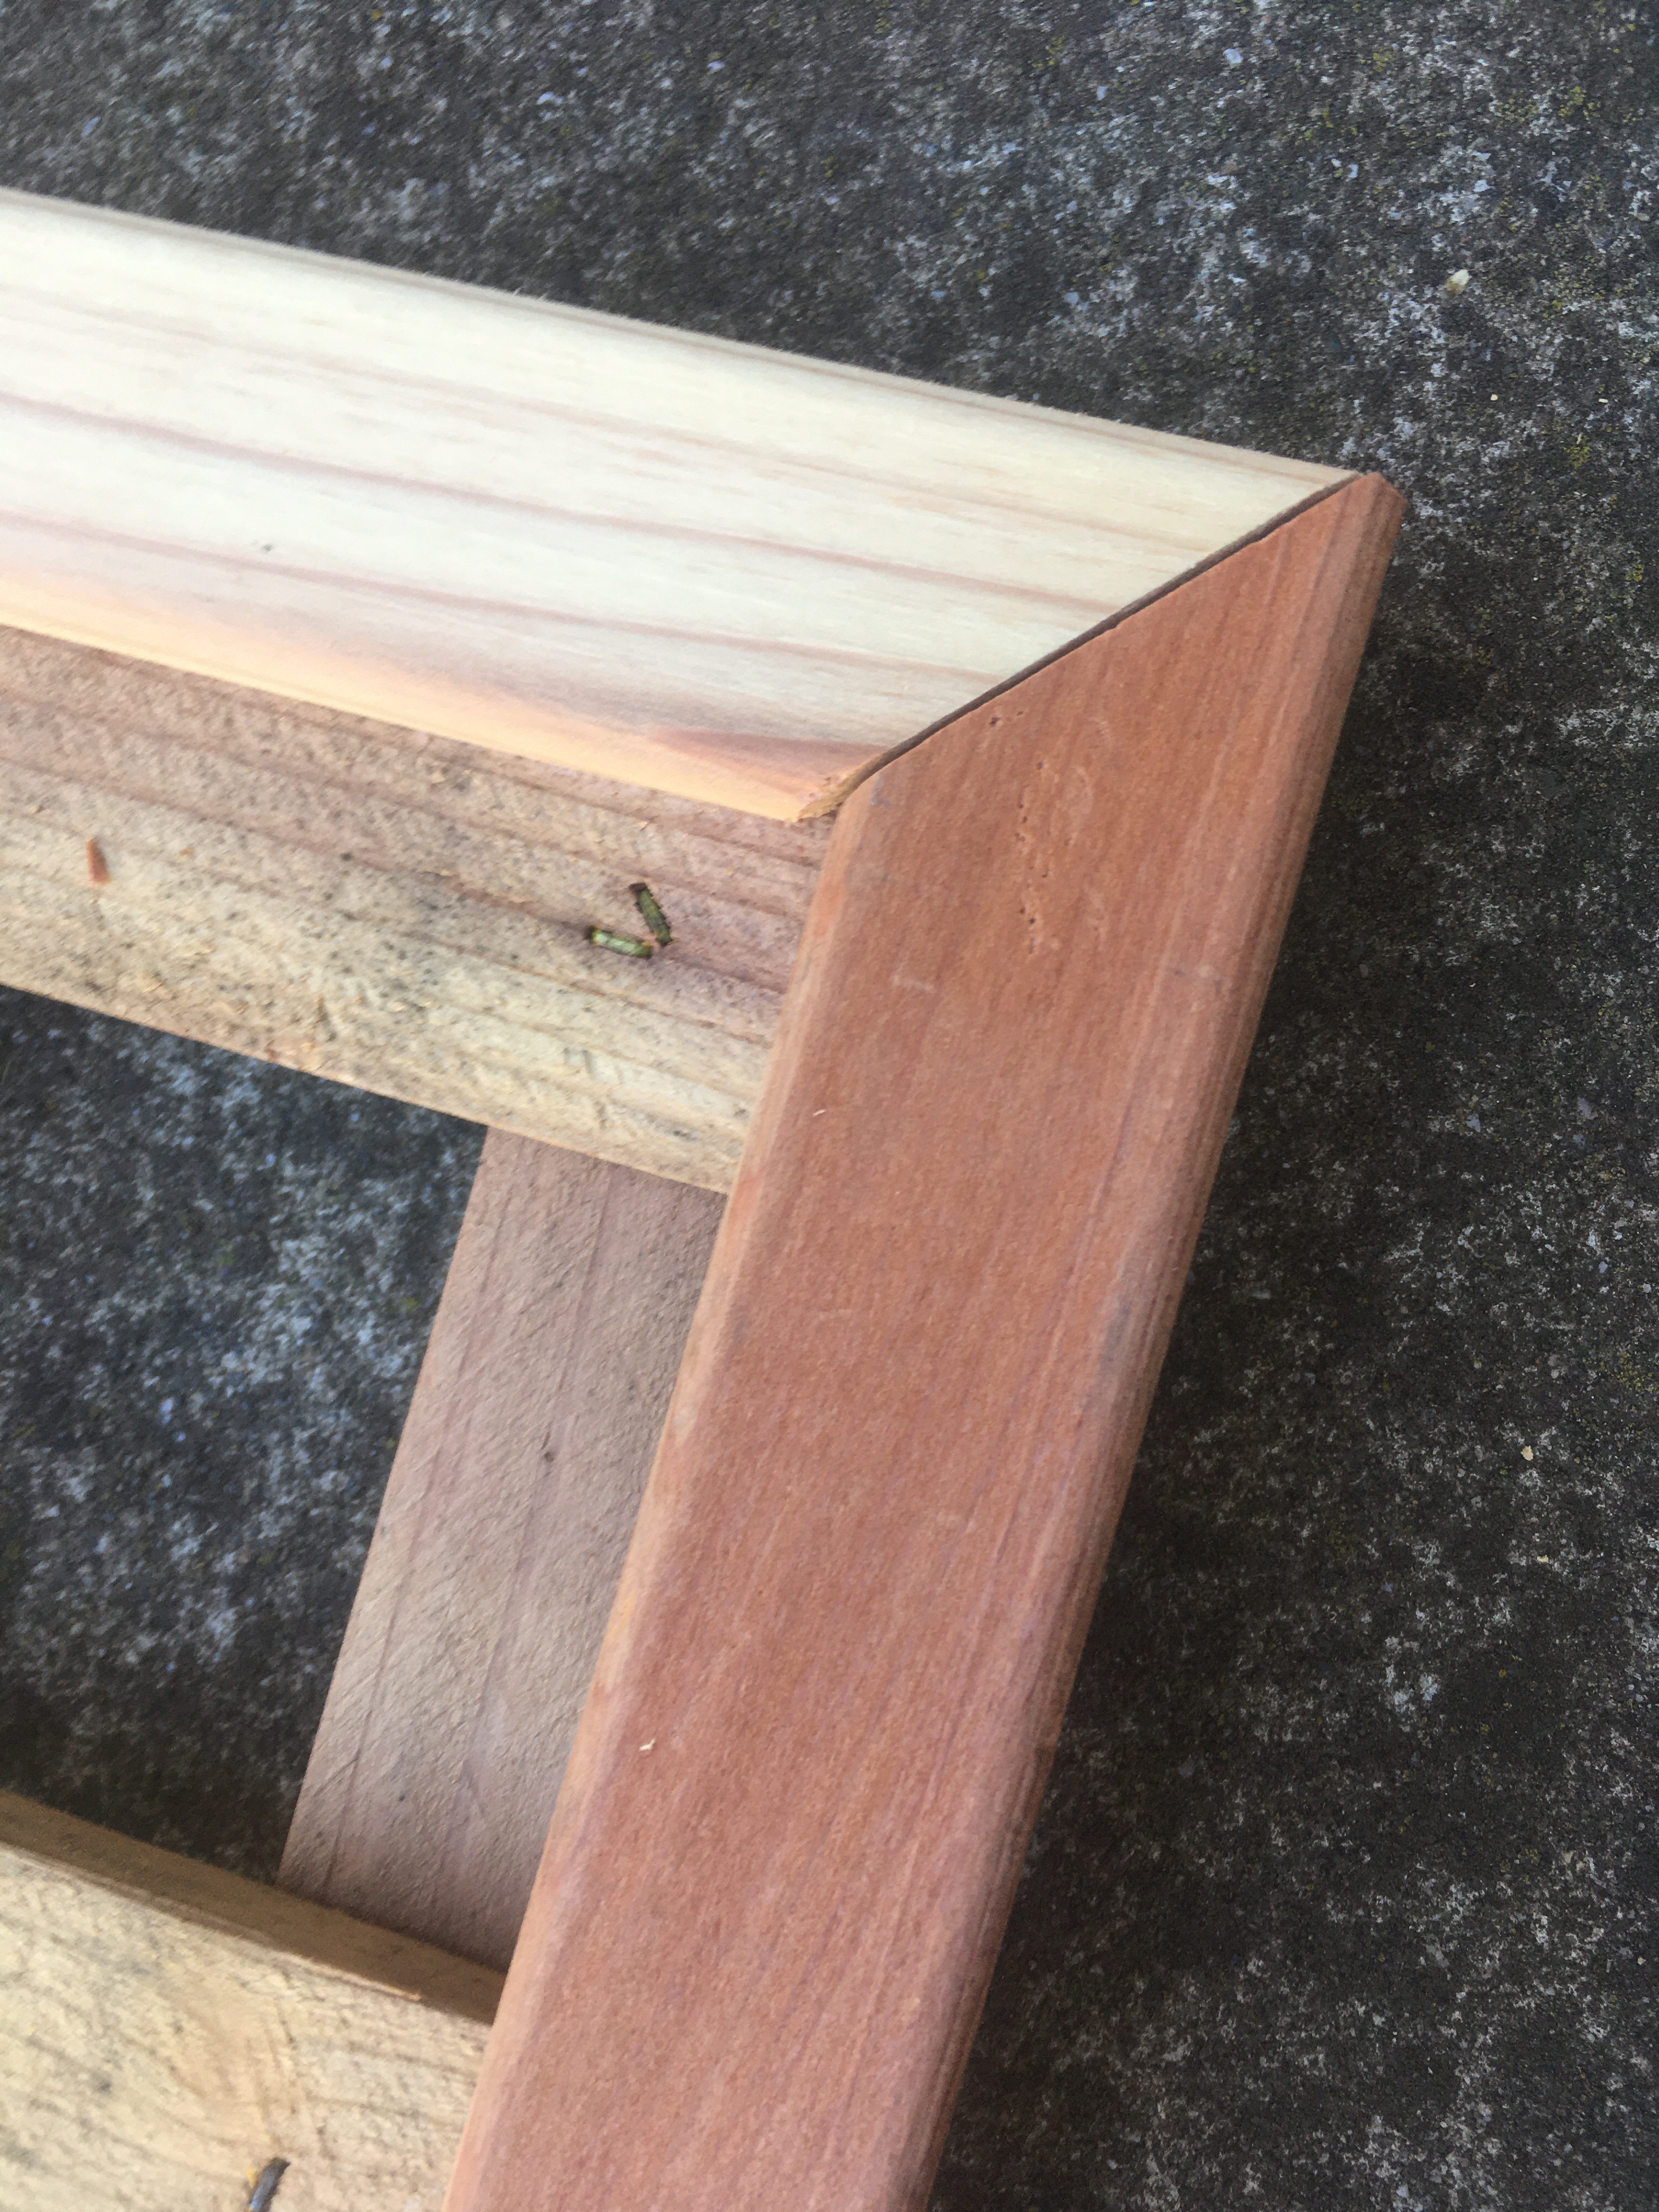
I used square lattice and redwood channel to build the toppers. I made 3 toppers, each 7′ long and 2′ high.


Make sure that you carefully layout the redwood channel pieces prior to cutting the 45 degree angles. I suggest cutting one 45 degree at a time and then lining it up with the lattice as shown below.
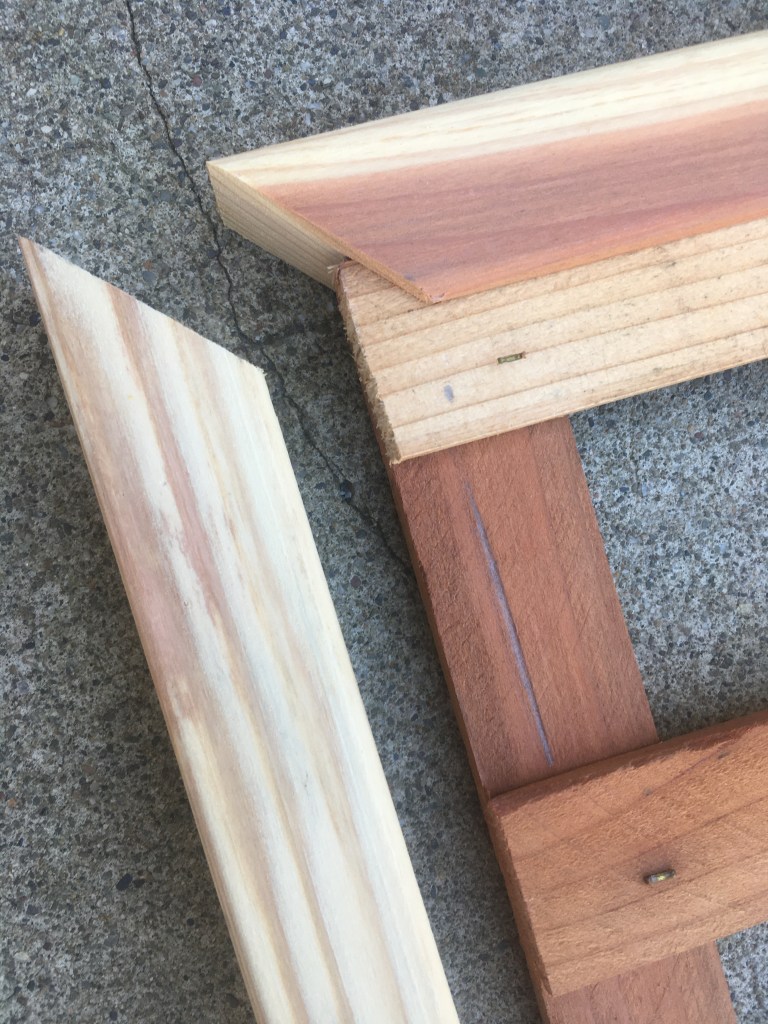
You do not want the result shown on the left – oops! Don’t become a member of “The Temple of Accumulated Error.” You want nice tight fitting 45’s, as on the right.

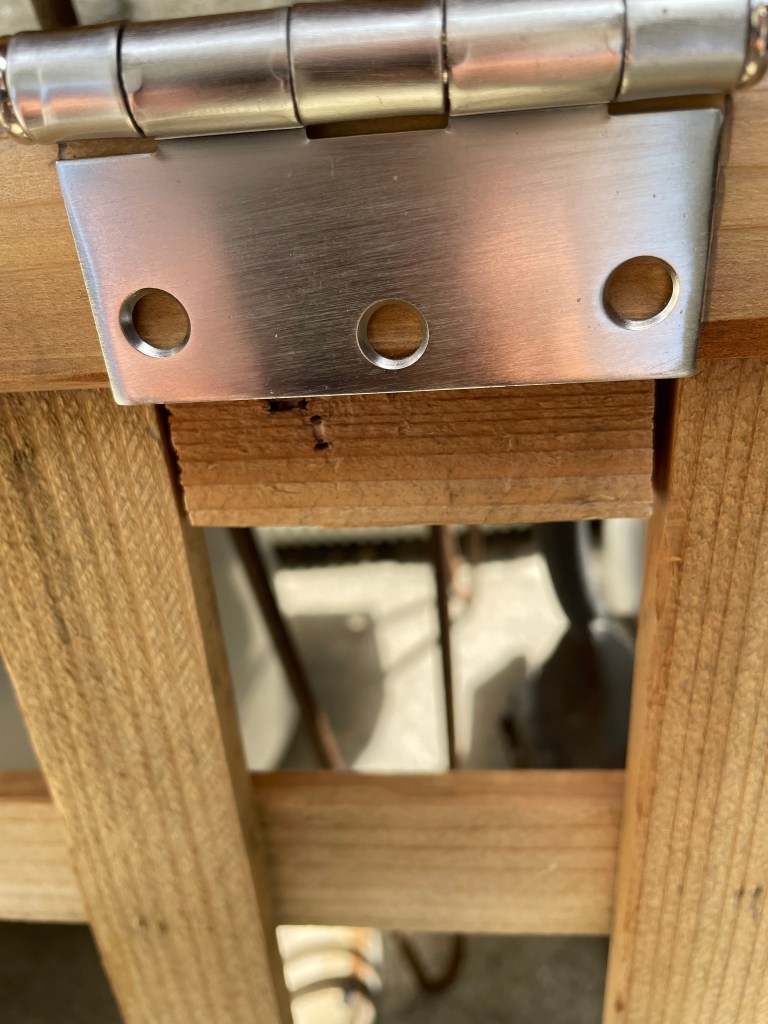
I positioned the hinges, and glued a small wood spacer directly behind the open space in the lattice. This provided more wood for the hinge screws to bite into.
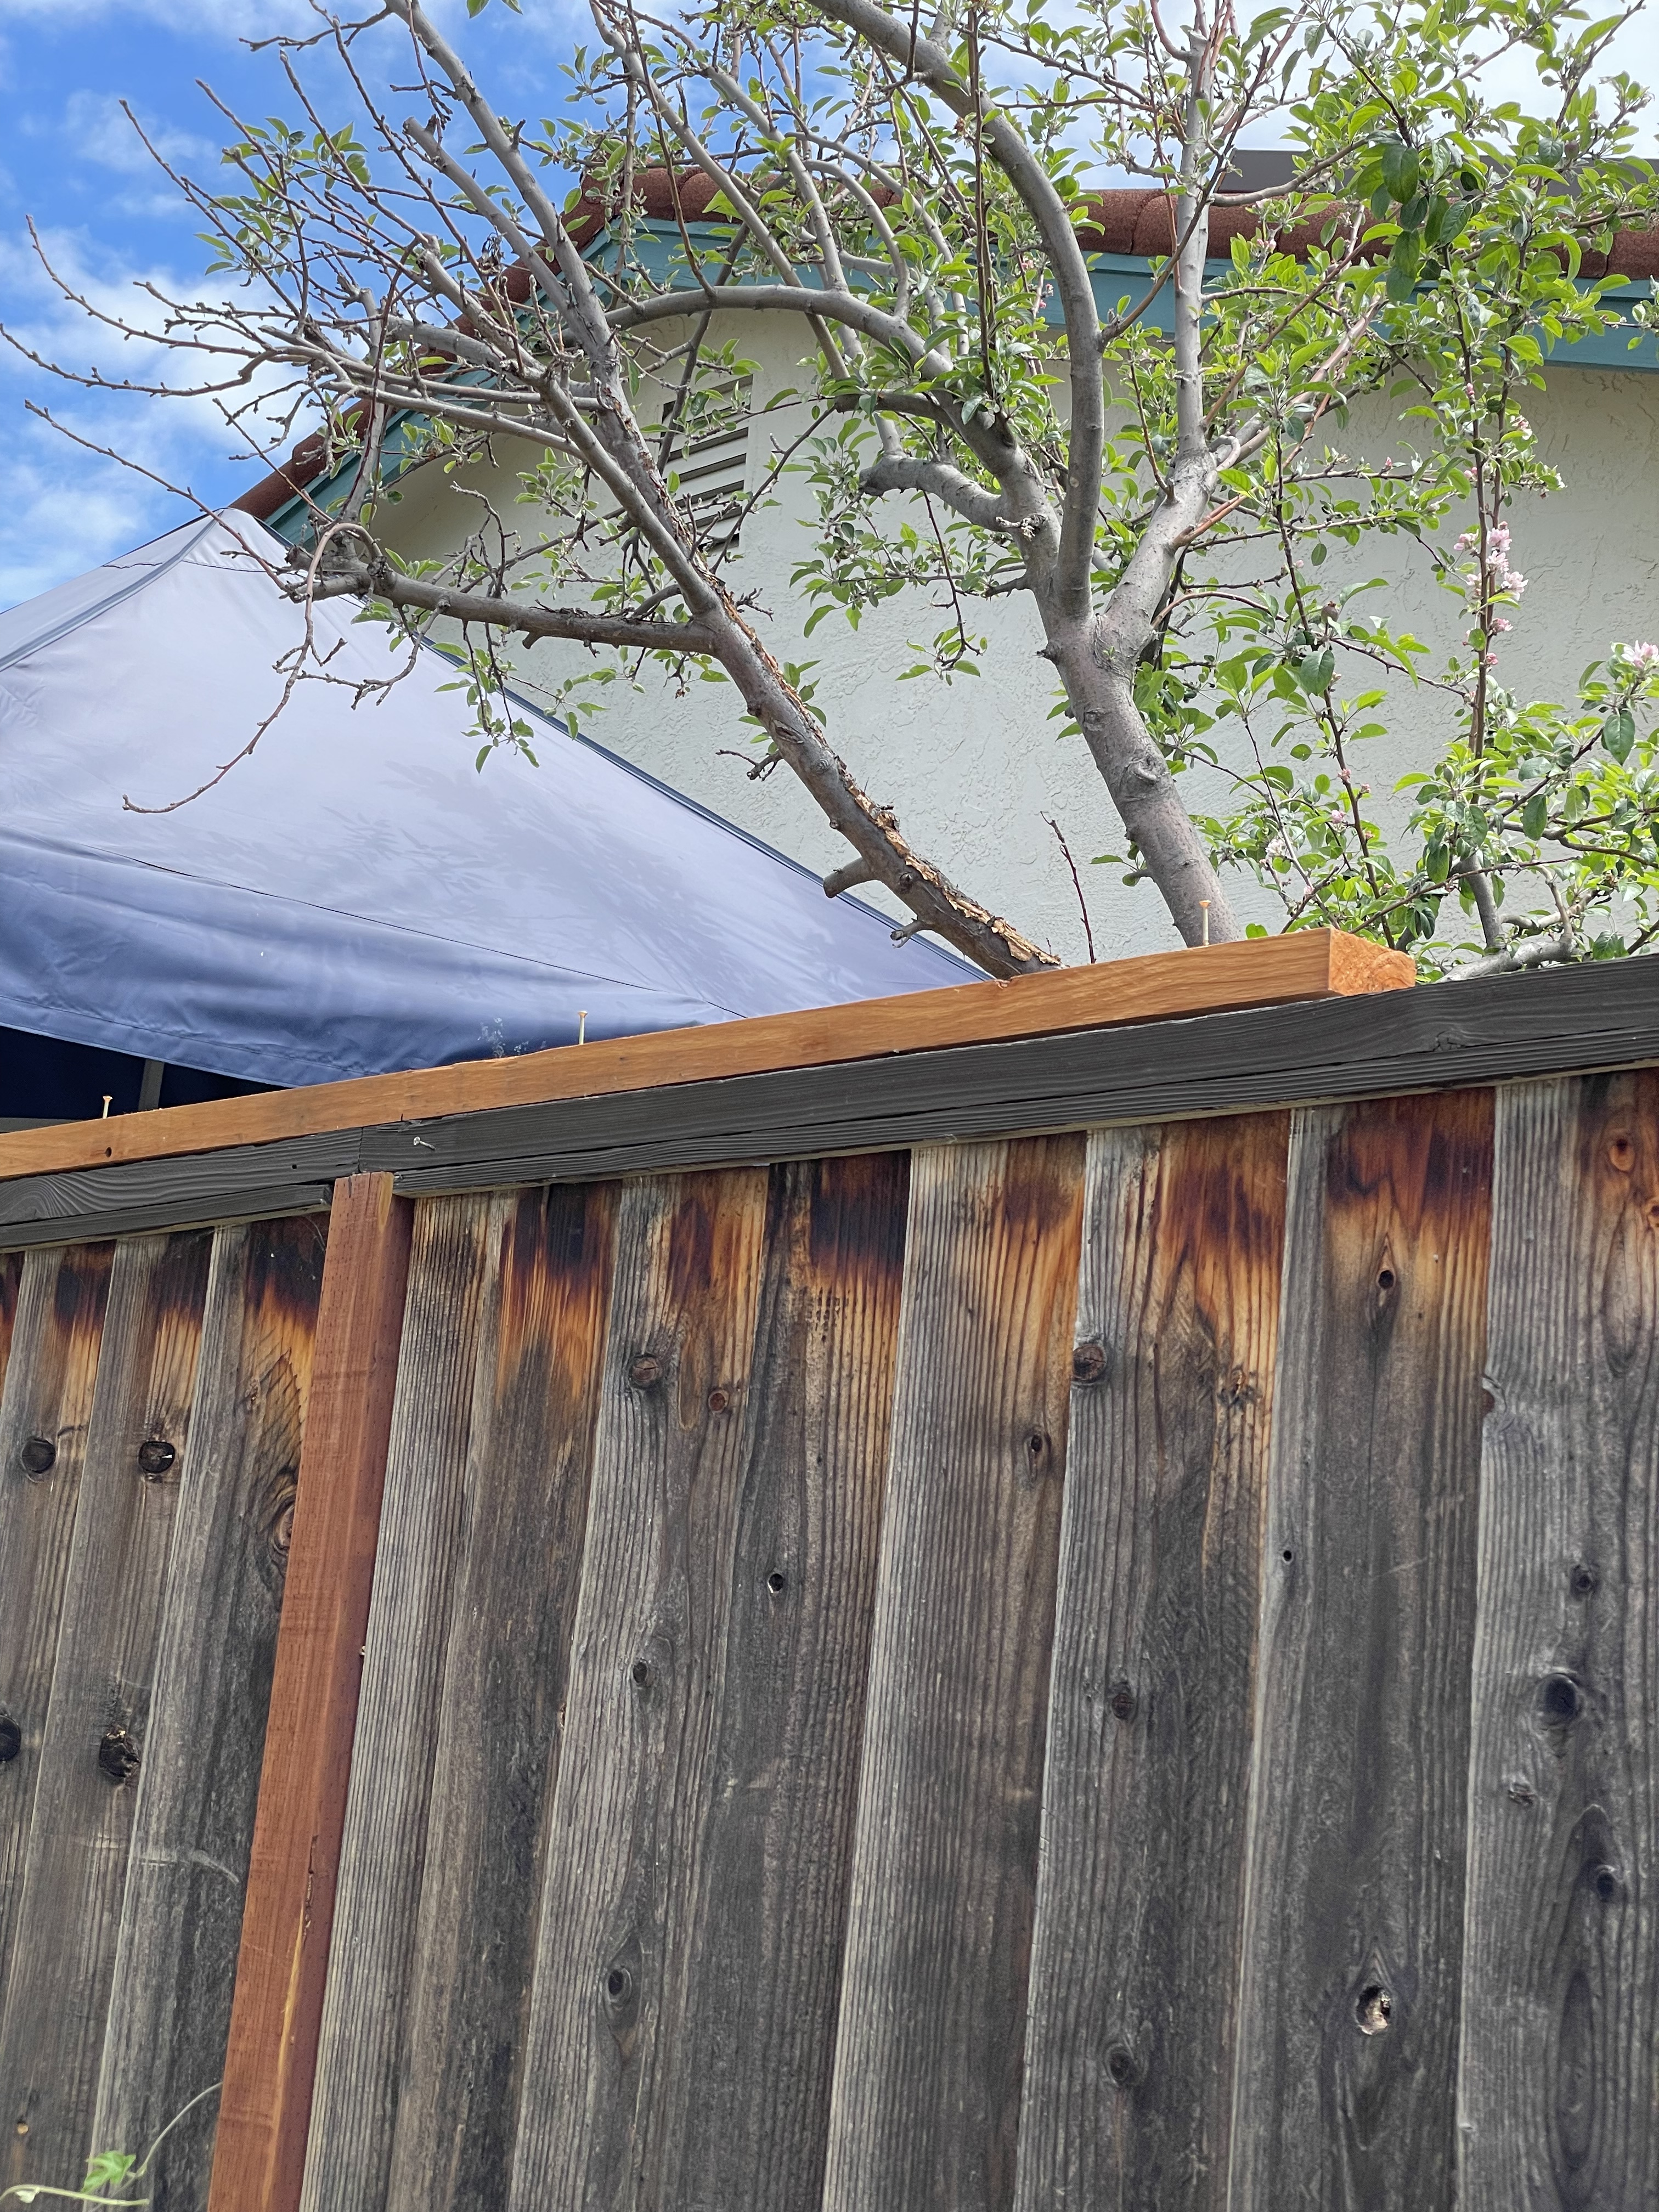
Here are the 3 toppers in place.
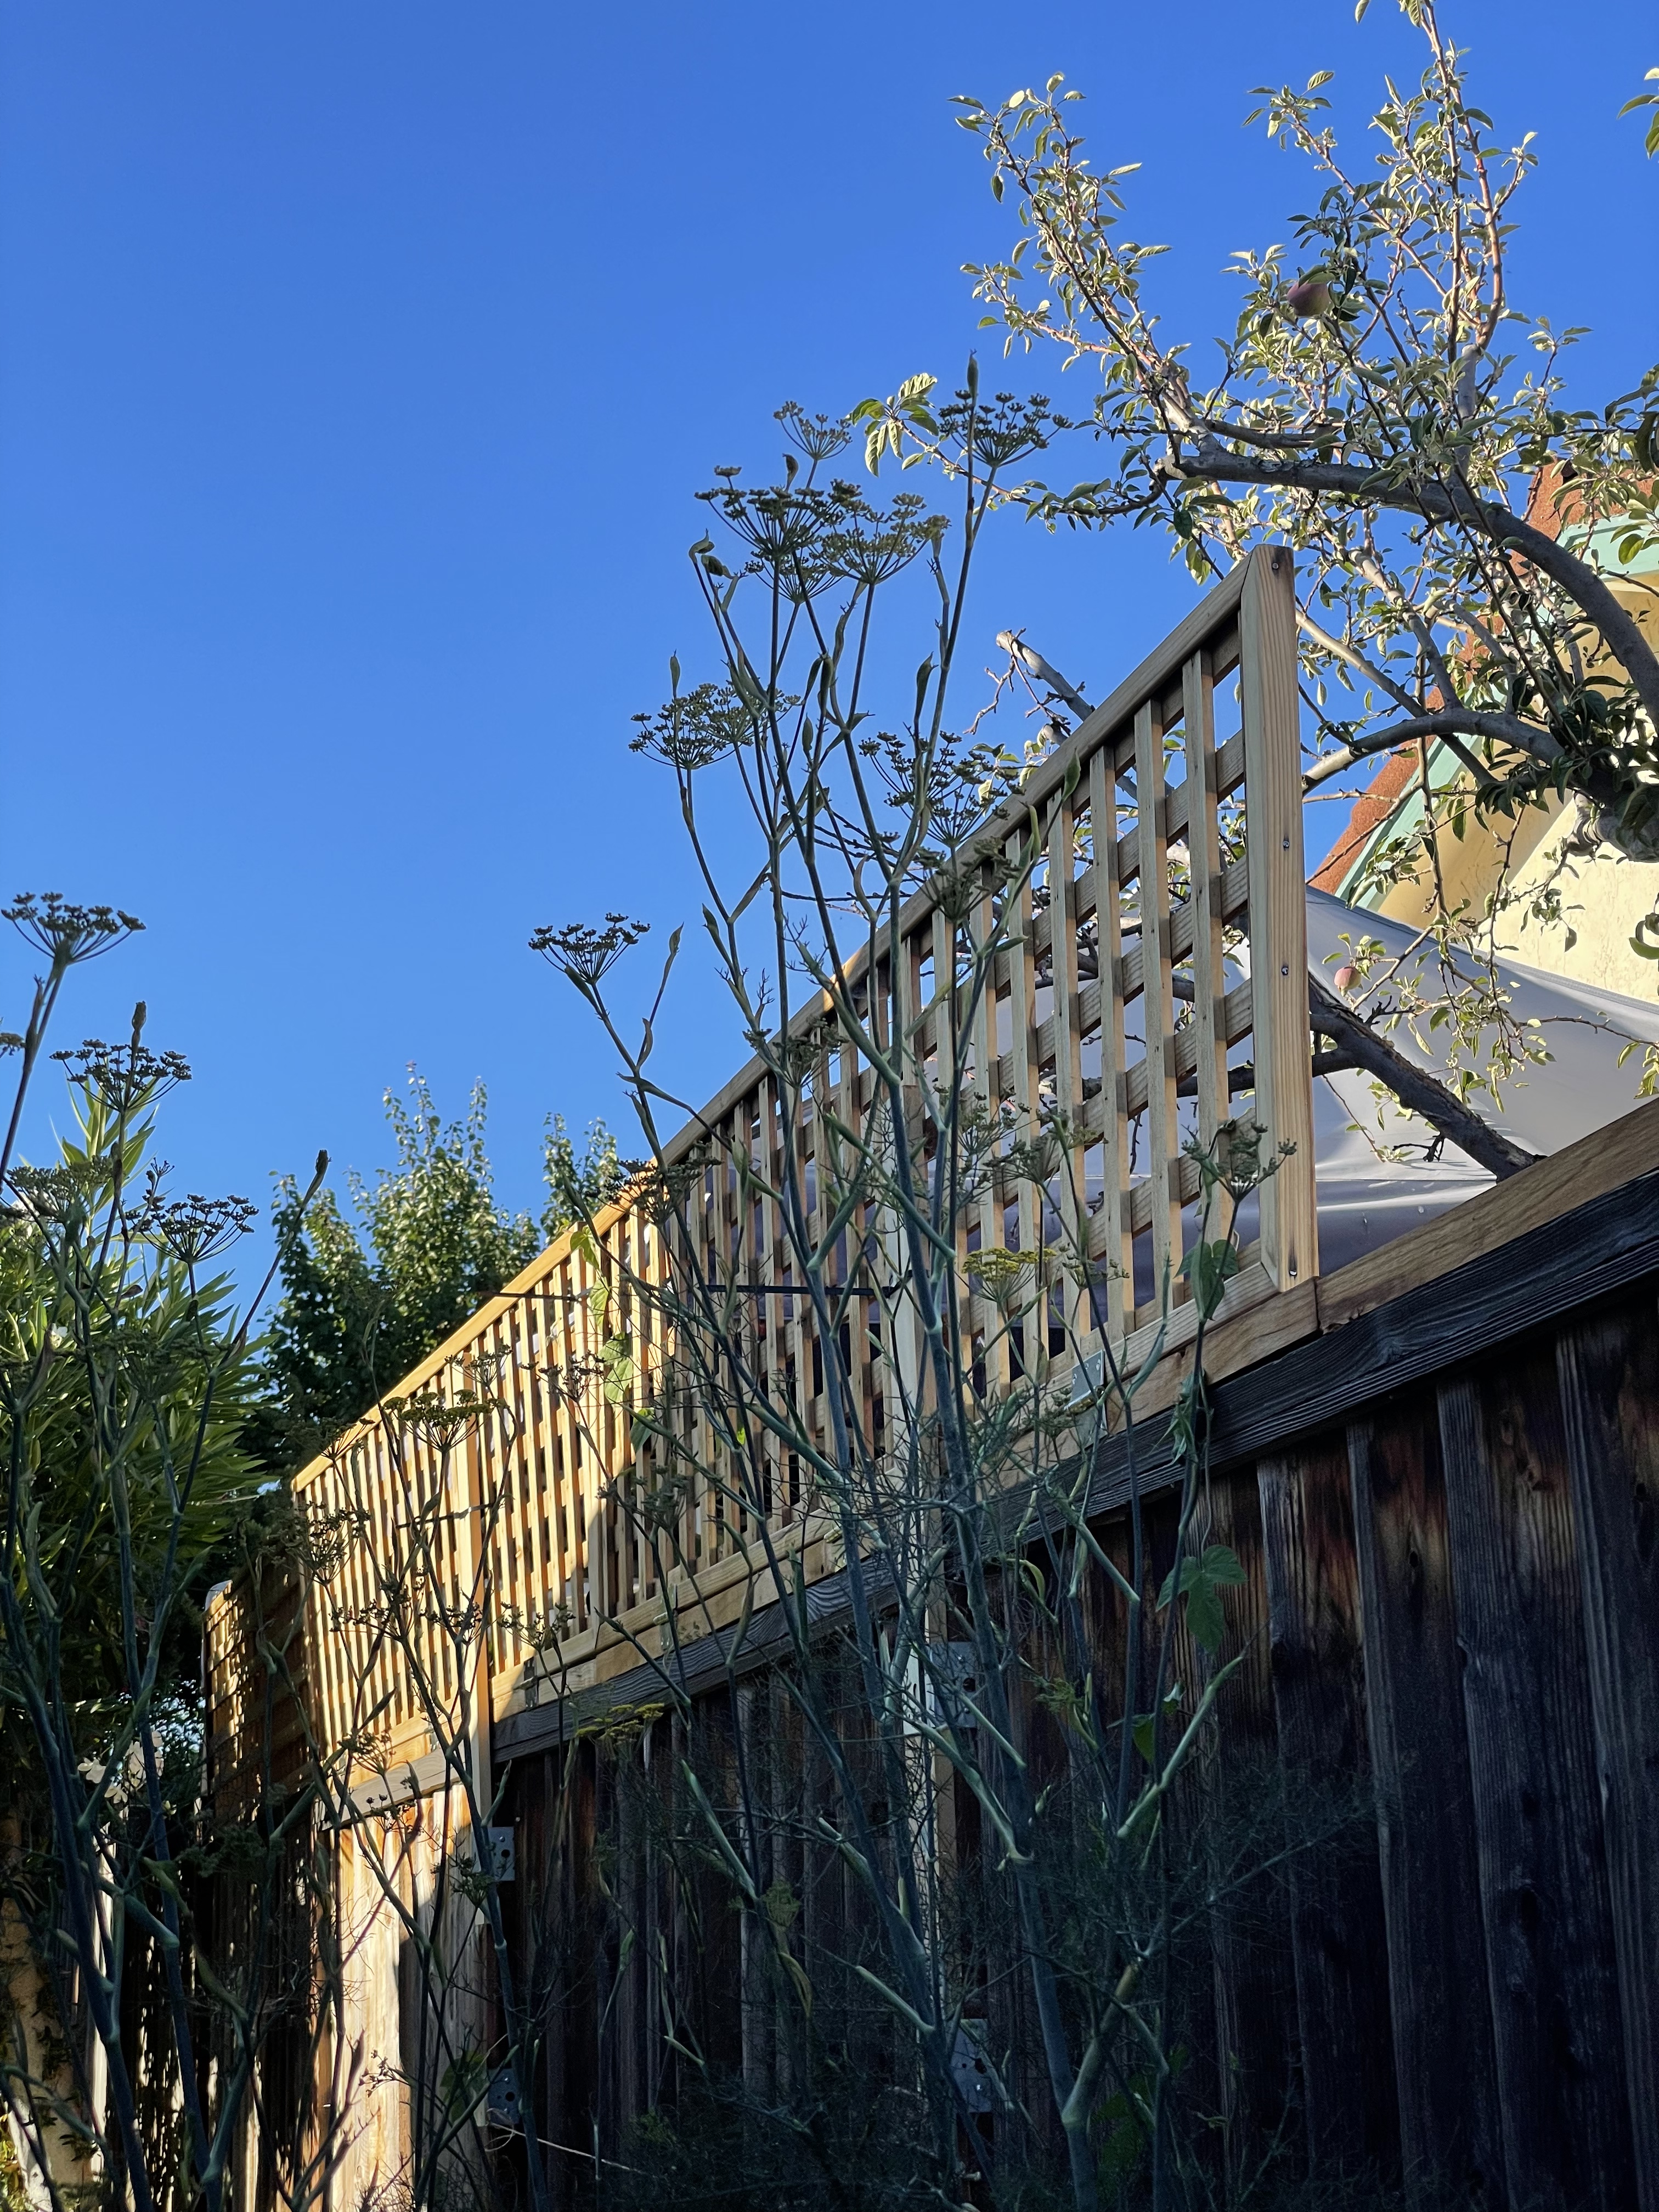
They need a bit more ‘tweaking,’ but really provide so much more privacy.