The accompanying short story became the inspiration for the “Earlingo Headband.” You can read the concept here: Earlingo – The Animal Assisted Therapy Headband.
I hope you enjoy the adventure, even though the last part is pure fiction — perhaps one day it will become reality.
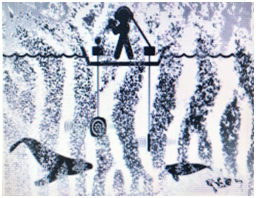
Dee Meets The Maned Wolf
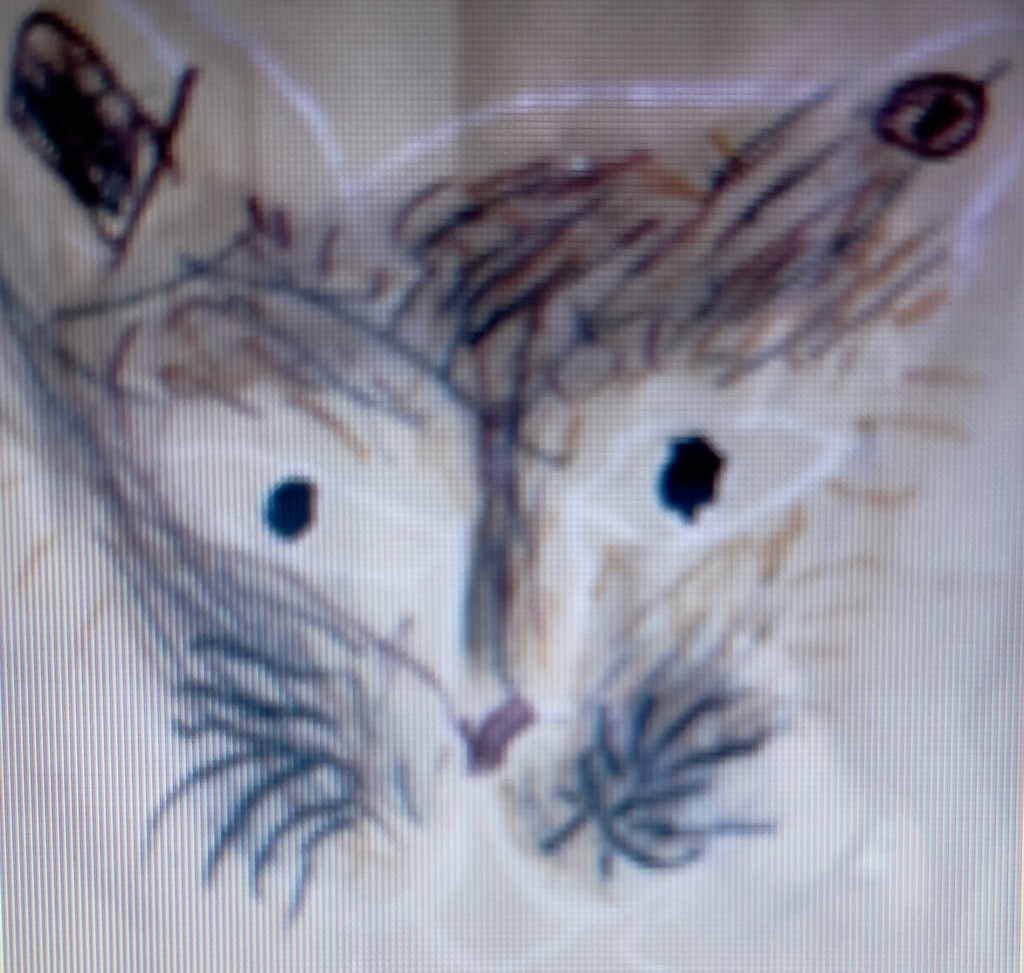
Artwork by Dee
“I think I could turn and live with animals, they are so placid and self-contained, I stand and look at them long and long.” – Walt Whitman
Saturday, October 8, 2016
It’s not what I expected for the weekend, but at my age I should know to expect the unexpected.
My wife Jenny has planned a weekend for me. It’s 4:00 am on Saturday morning. “Why am I up this early I asked?”
“You don’t remember? We are going to the San Diego Zoo to meet Maria, Bruce, Dee and Ben.” Maria is my wife’s niece, Bruce her husband and Dee and Ben their children. “Oh yeah, that’s right,” I said.
Everyone knows that I would rather kick back for the weekend, barbecue some fish and drink a few beers. After 31 plus years working for a medical instrumentation company I do not like to be around crowds of people on my days off, especially hundreds of children.
However, I must admit… I love the San Diego Zoo! So I agreed to go. Don’t get me wrong I enjoy family, but I really do appreciate my “weekend man time.”
To understand why I love the San Diego Zoo so much we have to go back a few years, actually decades in my life. As an undergraduate psychology major I studied animal behavior – wolf signaling behavior mostly, and as a post graduate research assistant I studied hearing abilities in marine mammals.
After working with marine mammals, I really wanted to go to graduate school at UC San Diego and work at the San Diego Zoo as a research scientist. That was my dream! Alas, some dreams do not come true.
Today, in my own way, I will be reviving that dream. I will walk around the zoo and closely observe each animal’s behavior, take notes and pictures, forget people and connect with another time in my life.
So we boarded our plane and in no time we were in San Diego.
“Hi uncle,” Dee shouted from across the entrance to the zoo. “Are you excited?” I asked. “Yes,” she said, “This is going to be an amazing day.”
Dee is full of interests. At 6 years old she is already reading several grade levels above her own. She has that look of a kid that has more going on behind her green eyes than most kids her age. You can just tell that one day, perhaps, she will work at the zoo as an animal behaviorist, a veterinarian or becomes the scientist who cracks the inter-species communication code, and is the first human to speak with dolphins. That would be so cool! Maybe my dream of working at the zoo will become Dee’s reality?
“Hey Dee,” Jenny asked, “Where did you get that cute headband?” “We went to a pre-Halloween event and they were giving them away,” she said in her helium-pitched voice.
The headband had two-little golden-colored fuzzy ears on it that resembled cat ears, pointing up like two triangles. Dee seemed to really enjoy wearing them as she jumped around anxiously waiting to get into the zoo, as we fumbled with our money to pay for the tickets.
Ben was already a bit tired, but he too was excited to see some amazing animals – and eat handfuls of popcorn of course.
Finally, we crossed the entry turnstiles and were in! The amazing day, as Dee had said, was about to begin.
We took off quickly thinking that most people would not take the Skyfari Tram to the other side of the zoo. We thought by doing this we could avoid a lot of the crowd. After all, October is kids get in free month – no wonder it was so crowed I learned later that day. No bigs, I was at the San Diego Zoo and that is all that really mattered.
As we exited the tram, I immediately noticed all the plant life. That’s another thing I really like about the zoo. The environment around you is nearly what the indigenous animals in the nearby enclosures would have in their natural habitat. Animal Keepers even harvest some of the flora to supplement the zoo animal’s diets.
Unfortunately, we humans are destroying most of the natural flora for the world’s animals. As Jenny would say, “Humans, the only really dangerous breed of animal.” She is right of course. Some people will argue that we should not have animals in captivity. Whatever your argument, at this point in world history if we do not have excellent zoos, many of these animals will soon become extinct.
Once we looked at the map of the zoo, we got our bearing, and headed up the path.
As we walked, we stopped to look at the elephants, and then a bit further up we observed the giraffes.
I was lagging back spending a bit more time watching the giraffe behavior, while the rest of our group went ahead to see the maned wolf.
As I approached the maned wolf enclosure I began reading the placard, and then did a quick scan to see if I could locate the wolf. I noted the strong smell of what I thought was a skunk, but later learned that it is a scent that the maned wolf gives off. I also learned that it is sometimes called the golden wolf and is indigenous to South America.
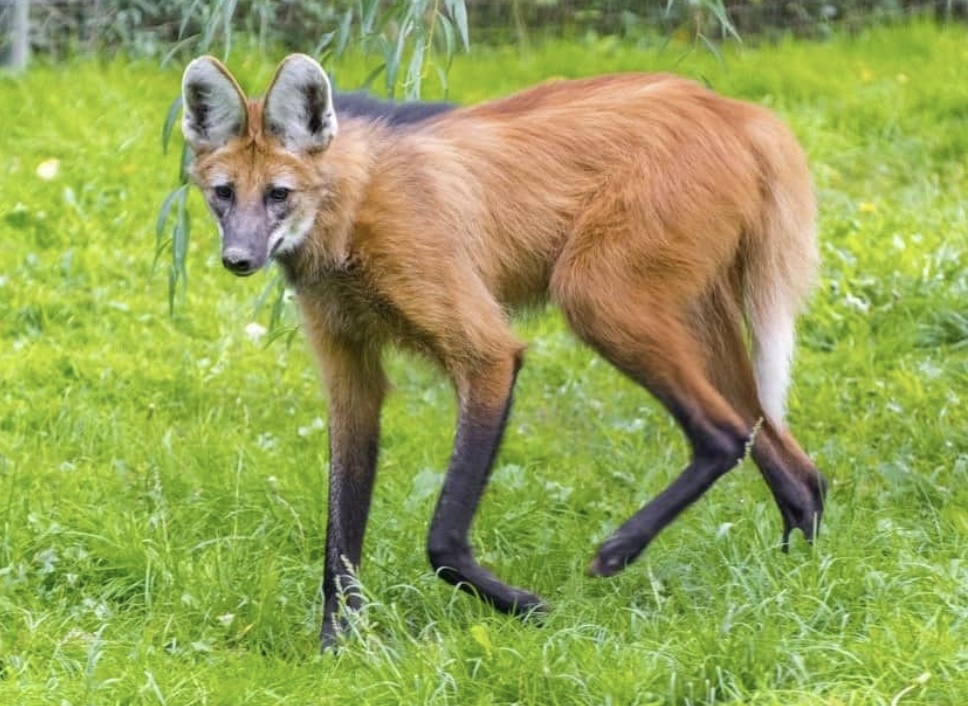
As I continued reading, I was surprised to learn that the maned wolf is not actually a wolf or even a fox, and is not closely related to other canids. It does look like a big fox on stilts, as I heard someone mention. Its genus is Chrysocyon, which I had never heard of — so a new factoid for me.
Suddenly I heard a bit of commotion and looked over at the young couple standing next to me, on my right. They both had a look of shock on their faces. The woman said, “Wow, did you see that, that is really rare, the maned wolf is hardly ever seen during the day. Something got it excited. I’ve never seen that before.”
I noted the directional gaze of their eyes looking to the left of the enclosure and immediately heard Bruce say, “Did you see that, the wolf circled around and leapt forward at Dee. It seemed like the wolf was focused on Dee — that was crazy.”
Before Bruce had finished his description of the action, the wolf circled around again. This time I was watching.
He picked up a bit of speed and again charged straight to where Dee was standing. His mane, just behind his head, was sticking straight up and his ears were back. These are classic displays that a wild canid, even a dog, is in an aggressive mode and means business.
As the wolf got to the edge of its enclosure, it jumped forward, high into the air directly towards Dee, hitting its front paws on the flexible mesh netting, driving it forward towards the crowd of people watching. Then it backed off, going towards the backside of its enclosure.
It was incredible animal behavior to witness live, right at the zoo! Everyone watching was amazed at what they had just seen. No one had ever seen anything like it. Then we all started saying, “Did you see that?” What made him do that?”
Bruce had the best description why the wolf acted that way. He said, “Maybe the wolf could only see the little headband with ears on it that Dee was wearing. He said that Dee was standing behind a bush, so perhaps the wolf could only see her little golden pointed ears on the headband. The wolf seeing that, took it as a threat that another animal was trying to enter into its enclosure.”
It made perfect sense that the wolf was just trying to protect its territory. I thought to myself that had to be it – there was no other logical explanation. This was classic bio-social signaling behavior in action. It was just what I had studied decades ago in college — but today I saw it live and was not just reading about it. It was a fantastic display! Dee was right, “This was an amazing day.”
Now that is how Dee met the Maned Wolf… but the story does not end here.
As we settled down and began to move about our day seeing hundreds of other beautiful and incredible animals at the zoo, I just could not stop thinking about the maned wolf interaction.
I kept thinking that I should ask Dee if I could borrow her headband. I wanted to go back to the wolf’s enclosure, put on the headband and see if the wolf would react the same way. Unfortunately, there just was not enough time to do so.
Later that day, we said our goodbyes, and Jenny and I caught our plane back home.
Now most sane men would file the experience away, and recall it from time to time as a cool memory. However, I am pretty much insane, so I let my mind wonder the next several days on what else could be done with a golden-eared headband.
Because I am an engineer-type and love animal behavior too, I began doing some research. I started thinking about wolf ears and what might be the “Language of Canid Ear Movements.”
I read how canids ears can move independently using over eighteen different muscles. Doing so, the ears signal mood: Forward for Alert; Back for Relaxed; and Way Back for Submissive. These are just a few of the basic simple movements that are part of the universal ear language of canids.
Suddenly, I recalled a class that I had taken in college — Electronics for Biologists. Dr. Tracy Jones, always wearing a tweed vest, was the course instructor and a professor of psychophysics and bioelectronics. We have remained friends over the years. So one day I jumped into my truck, and drove off to catch up with him.
“Tracy,” I said, as I sat in his office, “I have a crazy idea and I need your help.” “What’s your crazy idea this time? Nothing like your Lucid Dream Trainer I hope,” he replied.
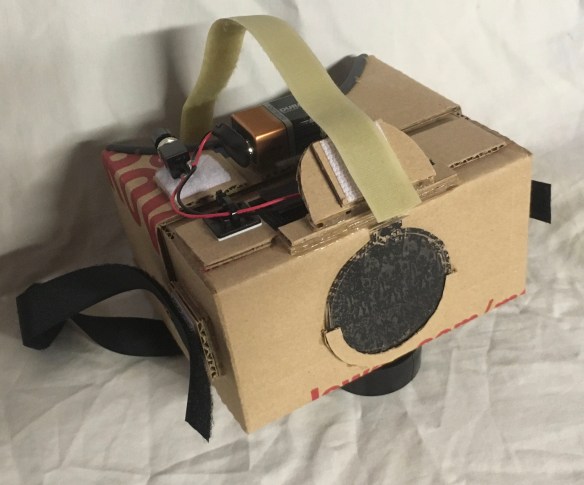
So I told him how Dee met the maned wolf and that I wanted to design and build a pair of bio-electro-mechanical ears – controlled via iPad. I wanted Dee to be able to run the app on her own iPad.
The app would use ear icons – pictures of ears up or down and when selected or pre-programmed, would precisely control the ears on the headband. A head mounted camera would sense any postural movements and initiate appropriate ear positional responses. Additionally, a mic attached to the headband could also be used to initiate any immediate ear movements that Dee wanted.
“Dr. Jones,” I like to call him that because it always reminds me of my favorite fictional character Indiana Jones, “Can we do it.” “Sure,” he said, “But why?”
“Good question.” I responded. “I want to go to other zoos with Dee and her family to see how wolves will react to the ‘Earlingo’ headband we’ve developed. Dee would be able to signal to the wolves, easily showing different behaviors: Curiosity, Play, Submission, Fear or even Aggression.”
“That’s pretty cool,” Dr. Jones said, “I like the idea,” he quipped. “But wait, there is more. I want to use Morse code to represent ear movements, helping Dee learn operant conditioning and variable reward schedules to train wolves, ultimately developing a wolf ear language. For example, a dash code =’s one ear down, a dot =’s one ear up, and two ears down a space. In this way she could train a wolf to understand simple sentences like, .. .— .- -.-.-..-.-..-.–. .—–.-….-. =’s I am a talking wolf. She would become the first human ever to speak with wolves!”
In less than a year Dee could get an article published in Scientific American, and that would launch her career as an animal behavior research scientist, leading to grants and scholarships for college.
“Then let’s get started,” Dr. Jones said.
I wonder what Dee’s face will look like when I tell her what adventures are in store for her? I can only imagine.