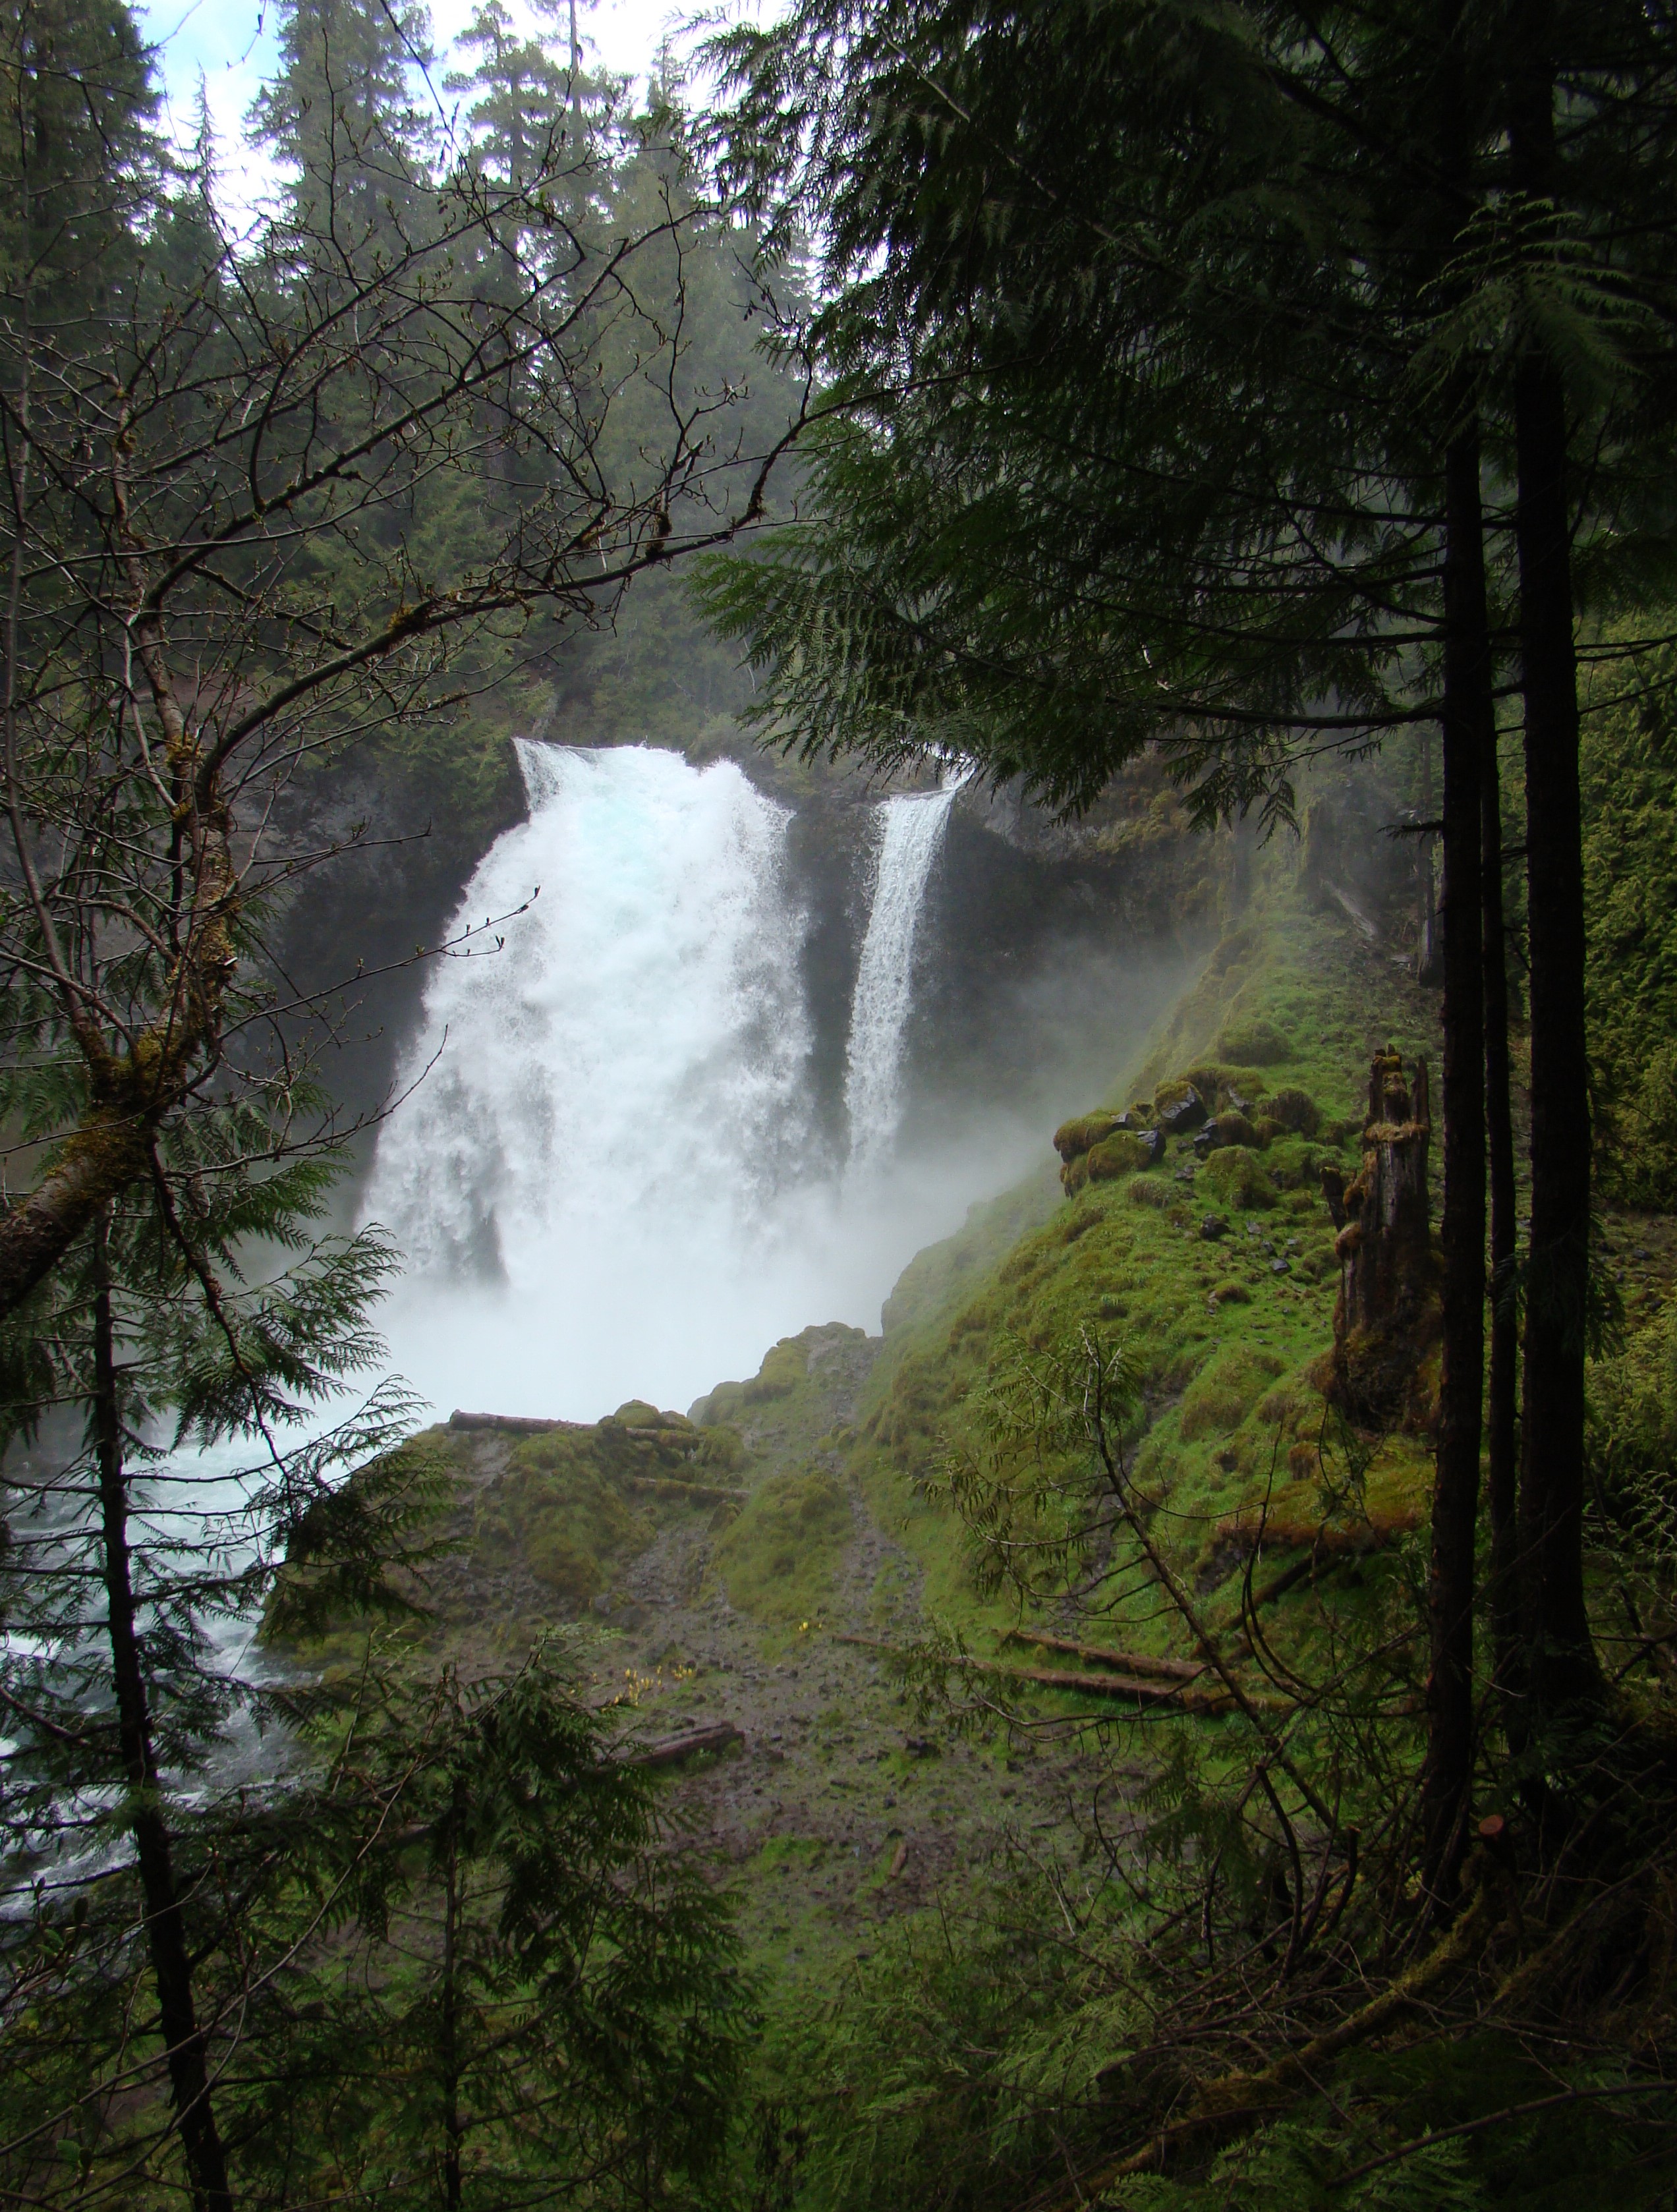
Several months ago my friend and I went on a trek through the Pacific Northwest. Of course, Oregon has some amazing waterfalls, and I was fortunate enough to capture a few good images of them.
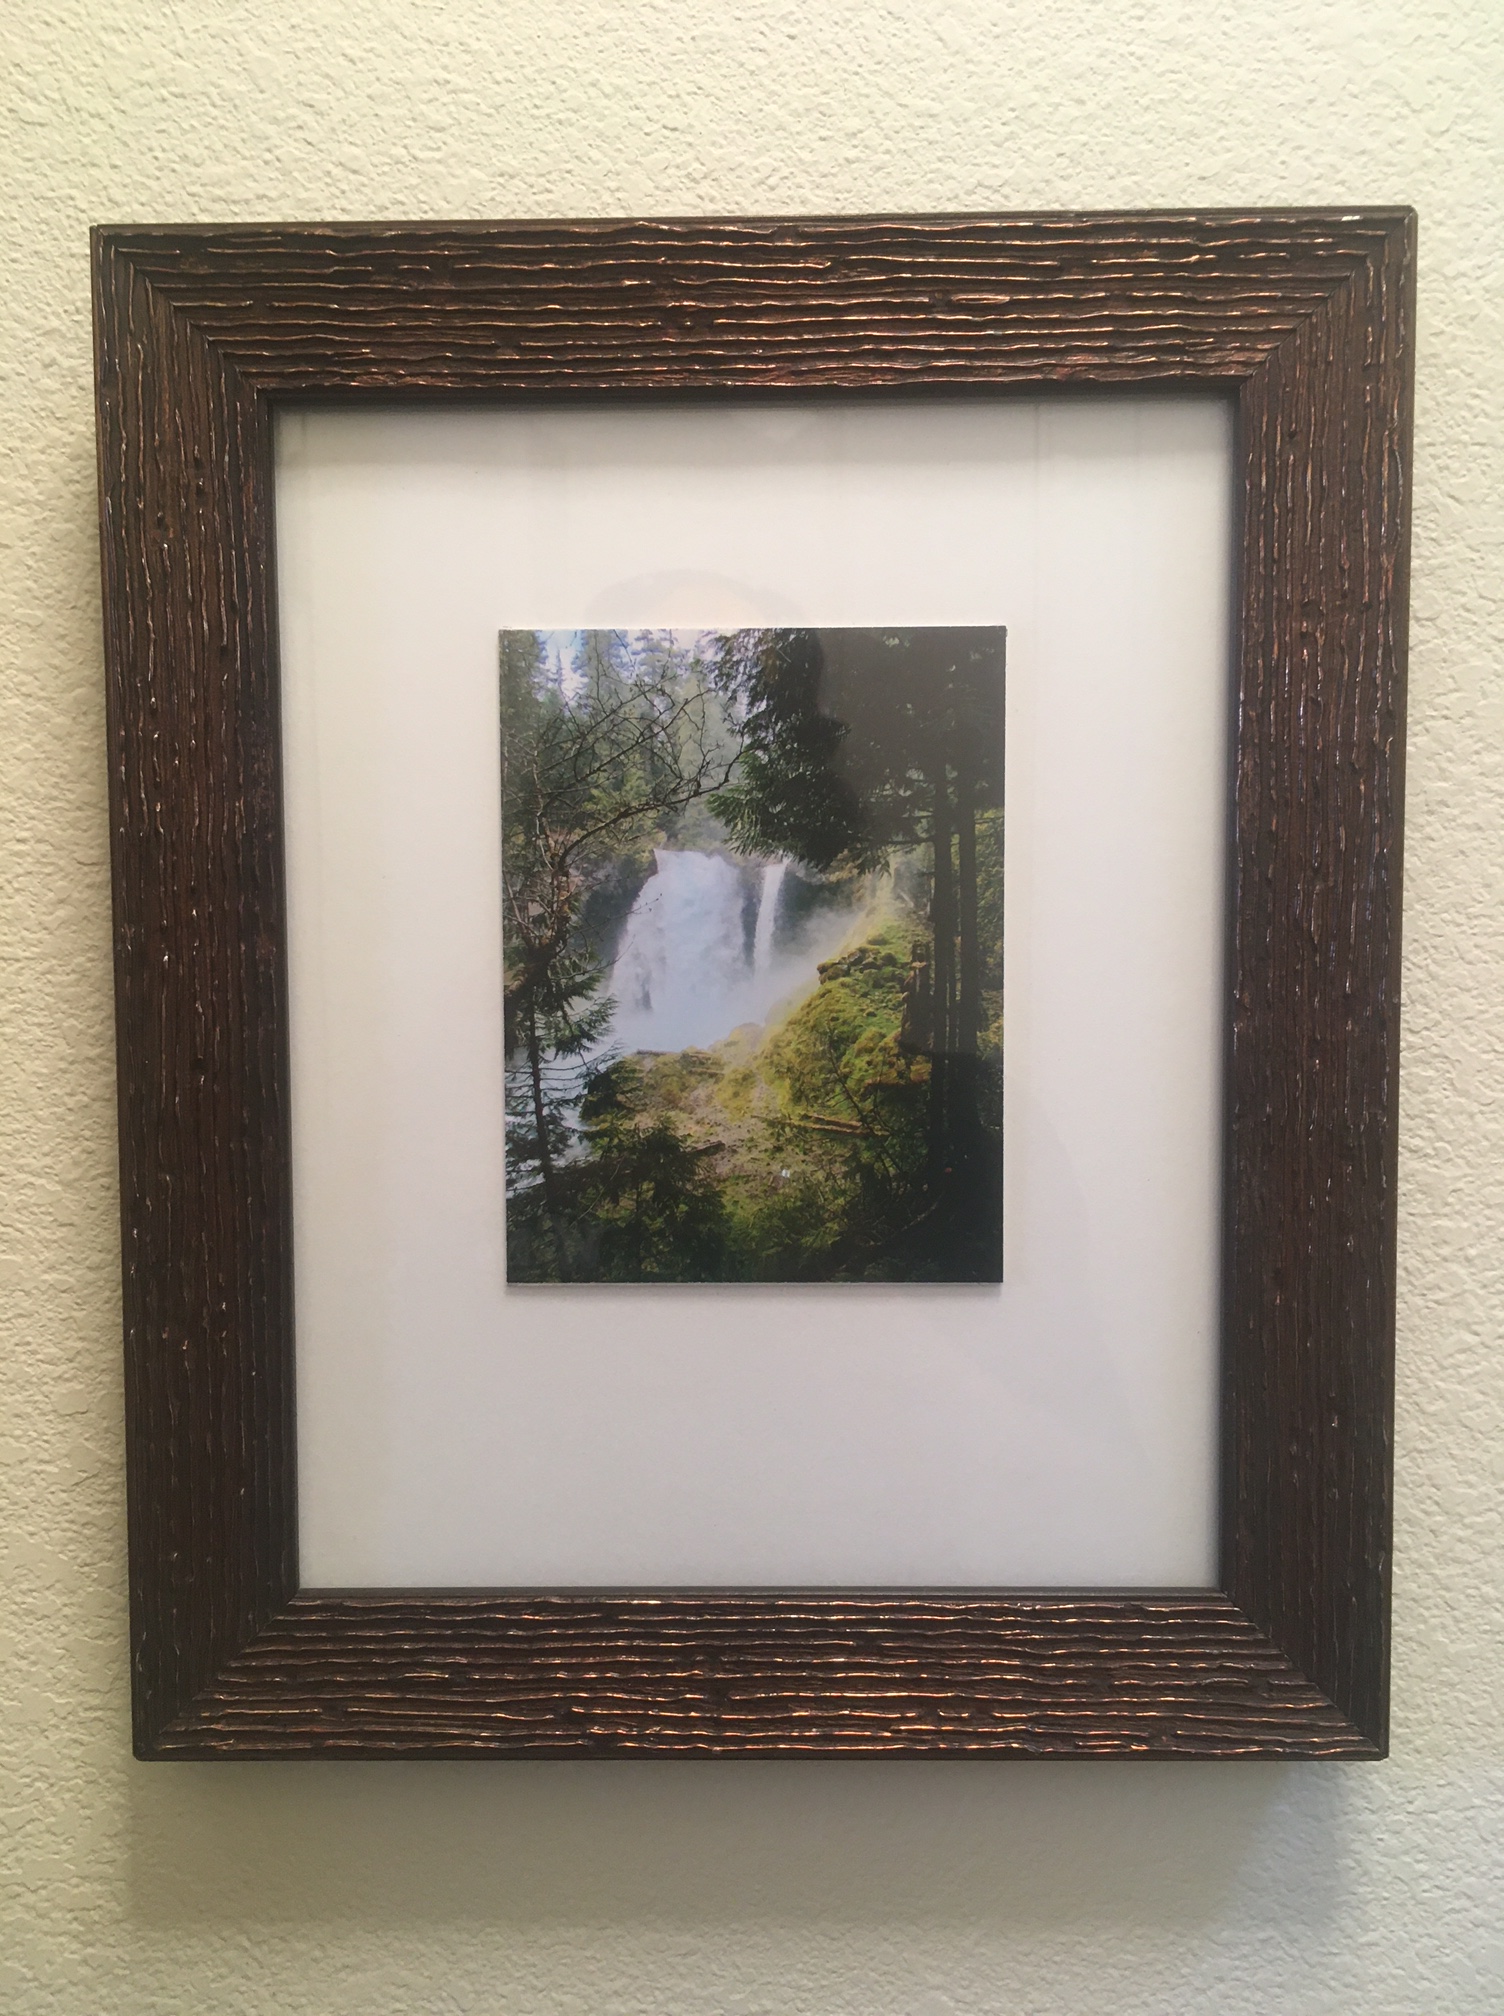
One night, we stayed at a hotel in downtown Ashland, Oregon – a very cool town by the way. The hotel had a lot of old nature postcards of the local area, framed and hanging on the walls. In addition to the old postcard, the designer also added a local leaf from an indigenous tree, which was secured to the frame’s mat. I thought it was a really interesting way to present photos and local flora, and decided to give it a try myself.
I wanted the photo to look like an old time postcard. Usually, the colors are pretty saturated. I began with an image I liked, and used the photo editor on my phone to change things up a bit. The first photo below is the original. After brightening up and adding some color, I was happy with the final (second) image.

After printing the image on glossy photo paper, I cut it to about 3″ x 5″, the approximate size of a postcard. Then I cut a piece of mat board the same size and glued the photo to it. The photo now had the look and the thickness of a postcard.
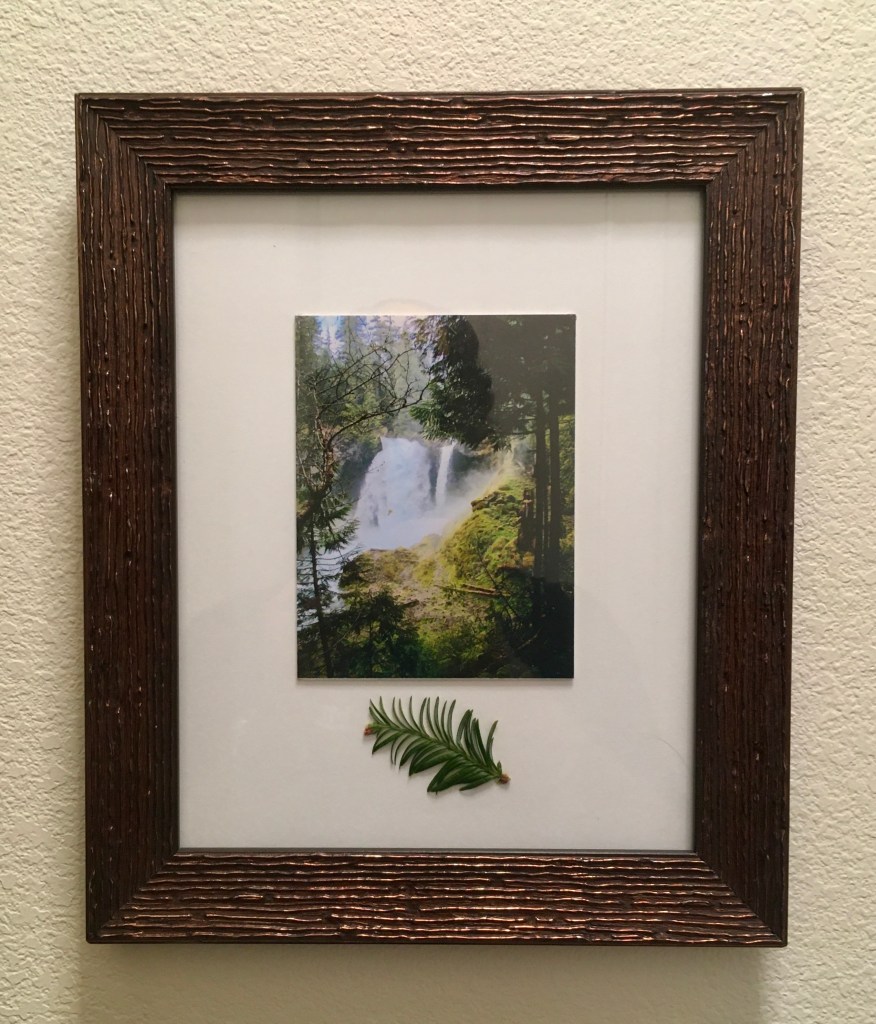
I then glued the 3″ x 5″ photo onto a piece of mat board that fit my frame. I left extra room at the bottom so a leaf could be added.

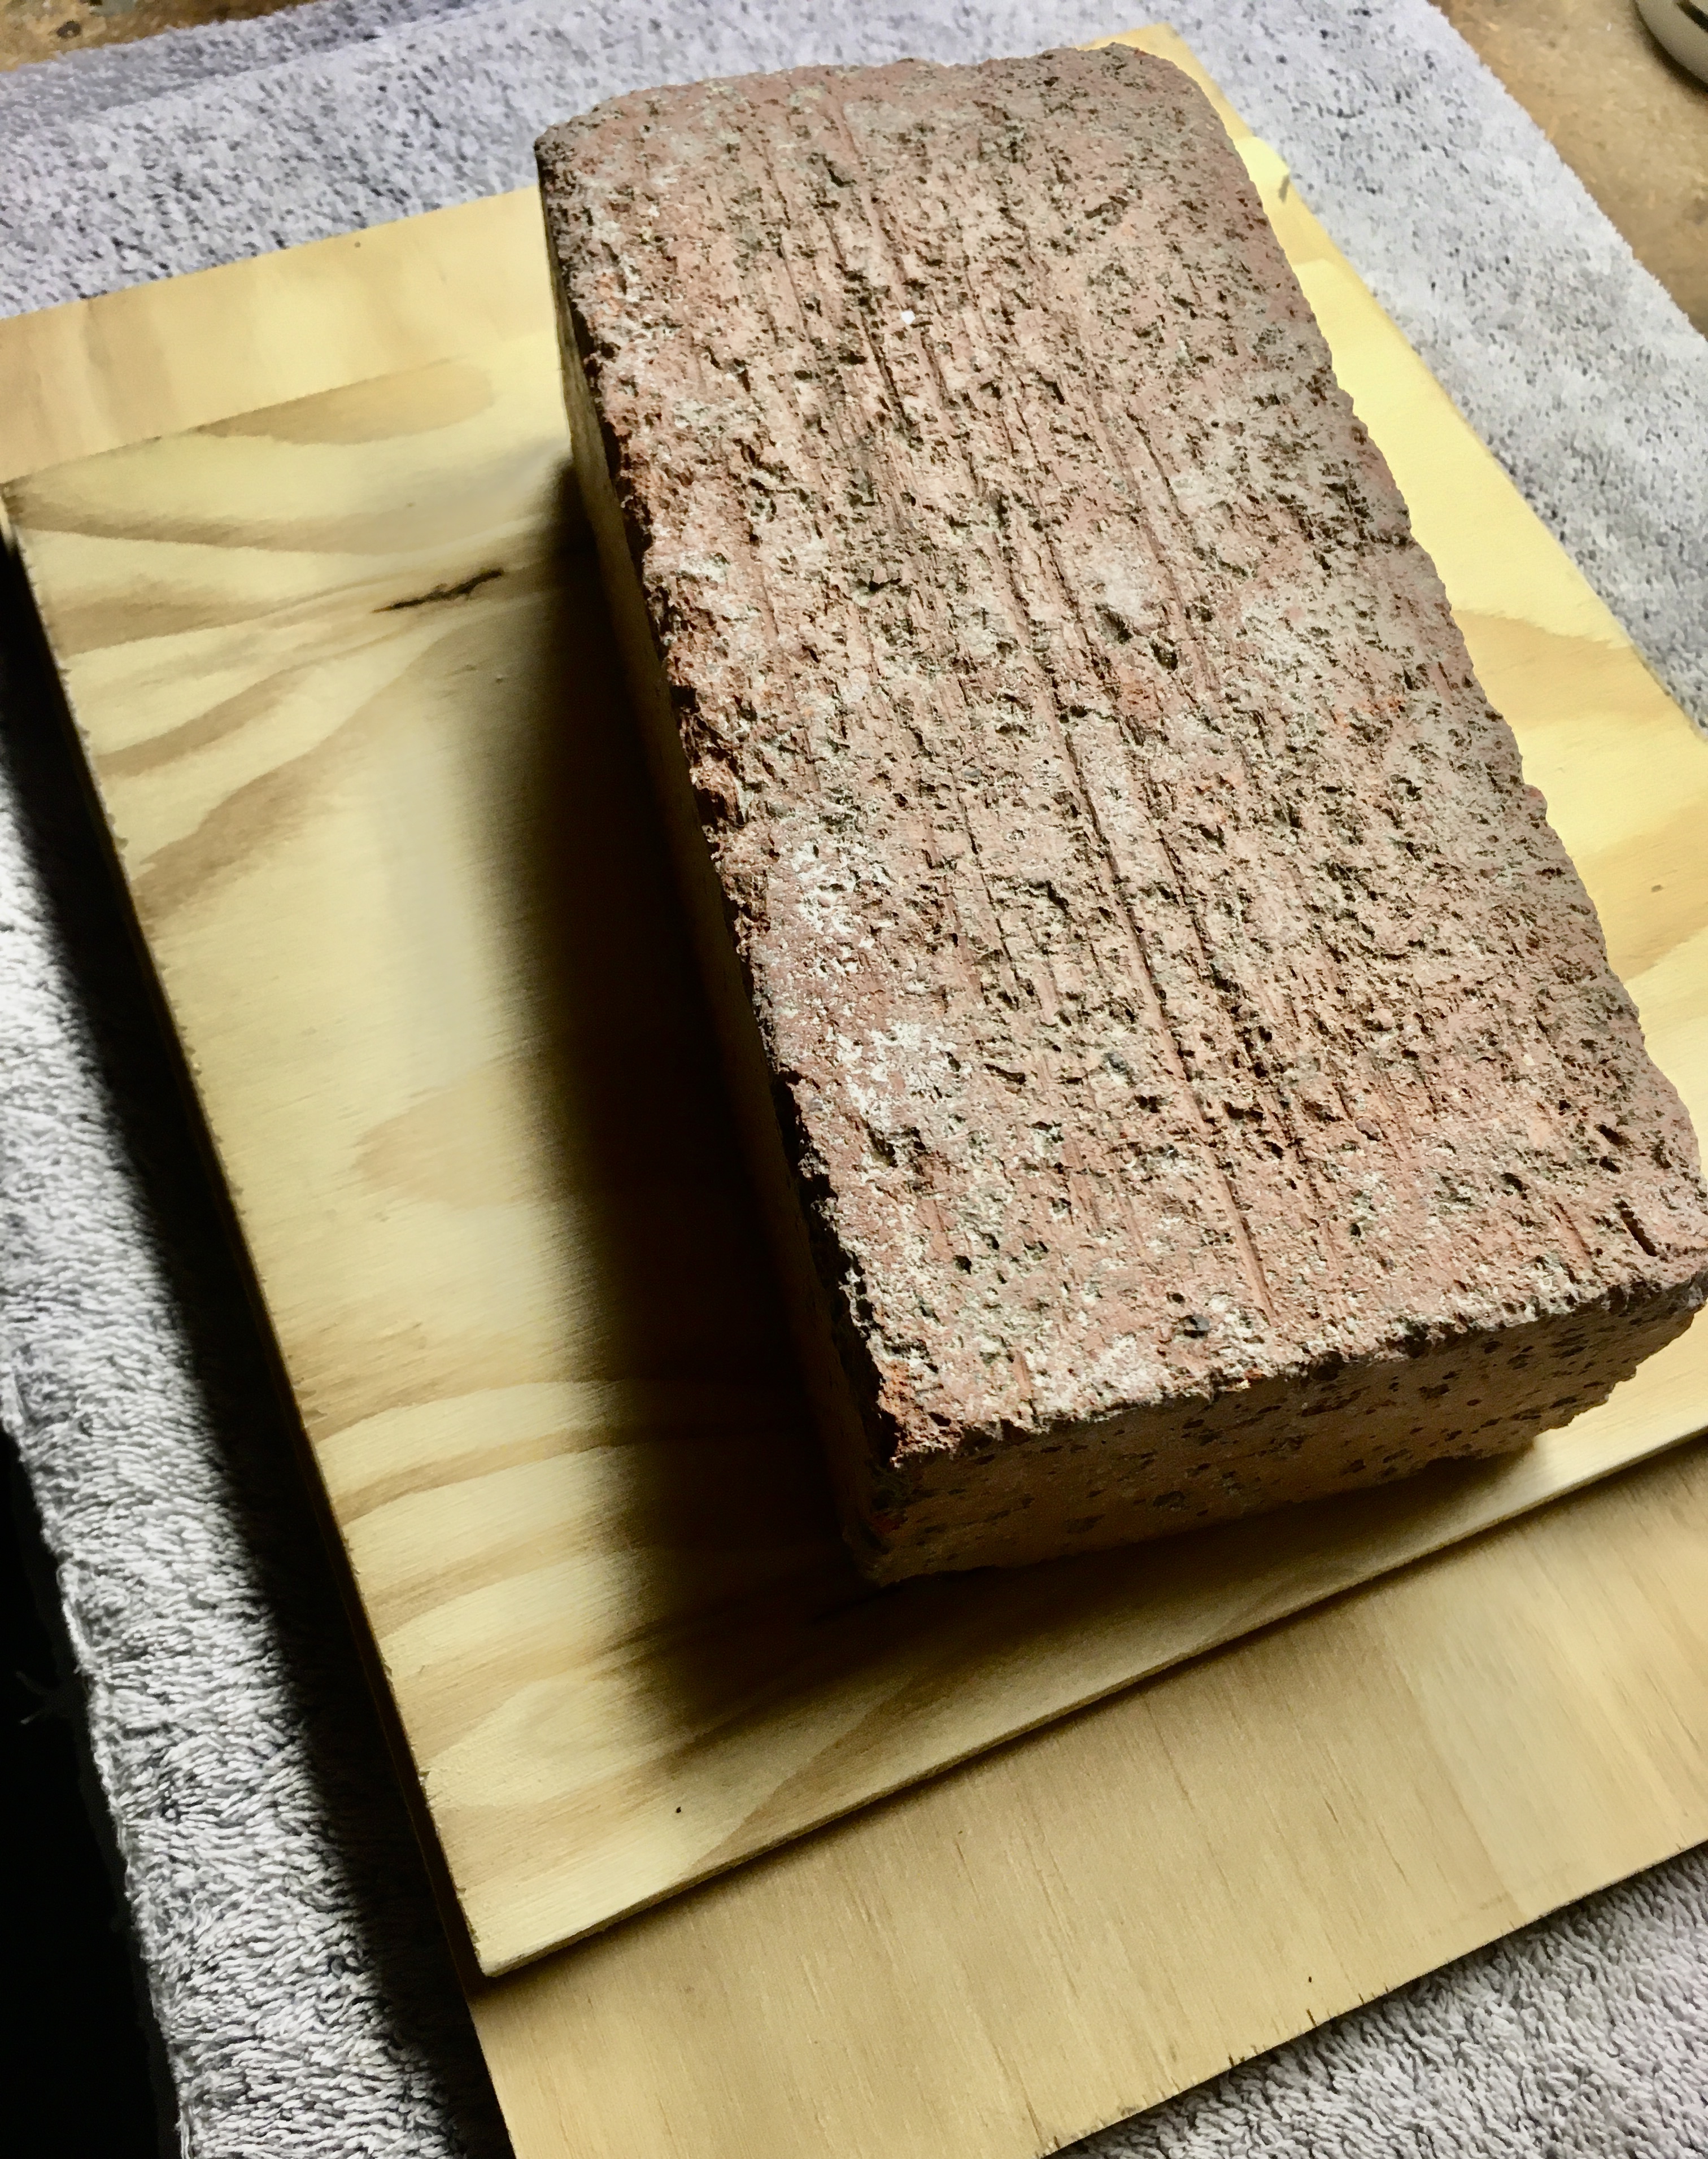
The redwood tree leaves that I had gathered needed a little flattening prior to securing to the mat board. I placed them on a piece of plywood, put a second piece on top, and then added a brick for weight. I let that sit overnight.

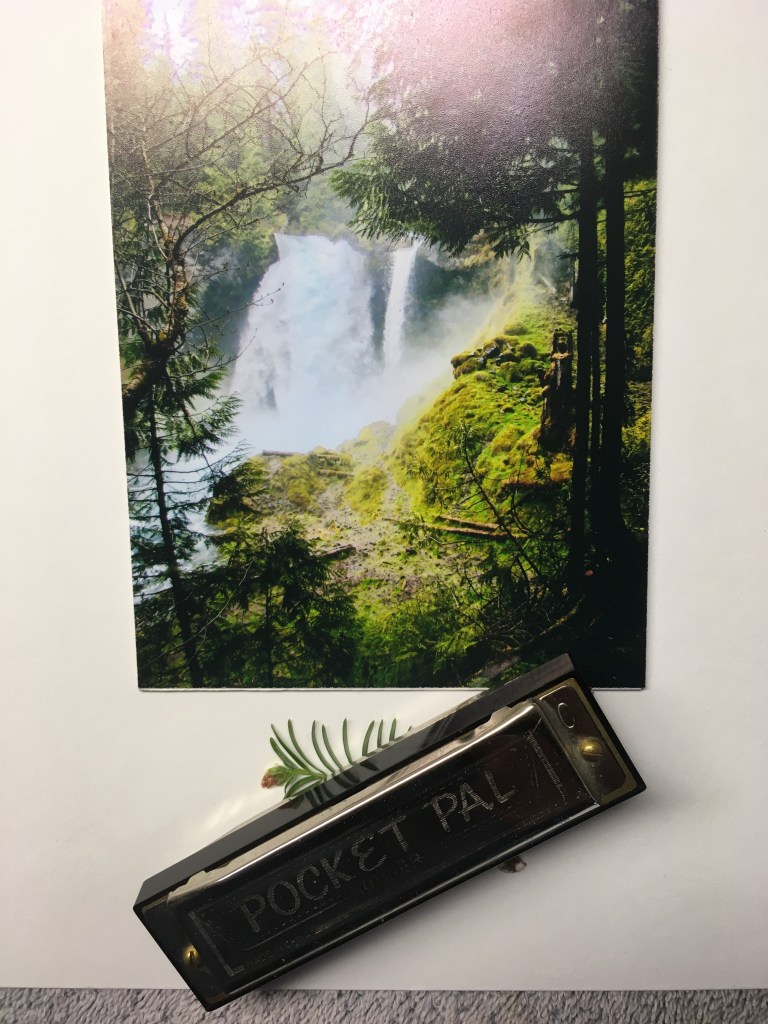
I positioned the leaf on the mat board, secured it with white glue, and held in place with my harmonica. Hey, it was nearby.
Once the glue was dry, I placed the final work into the frame.
I am really happy with the way it turned out and will definitely do another one. This time from the Great State of Washington!