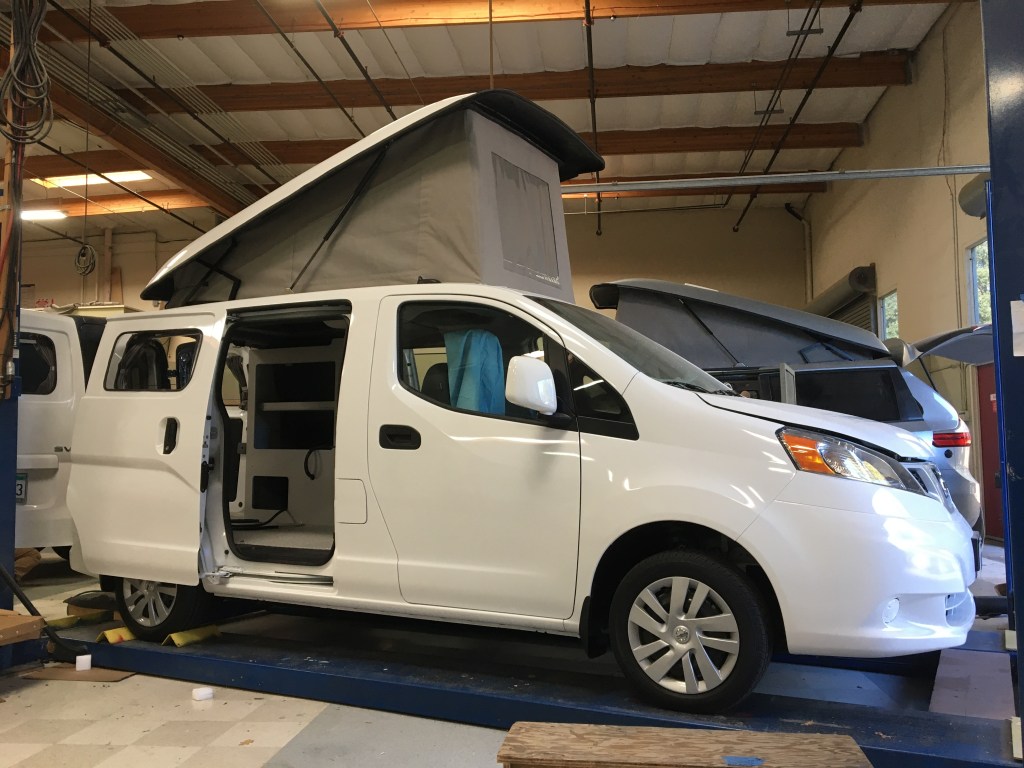
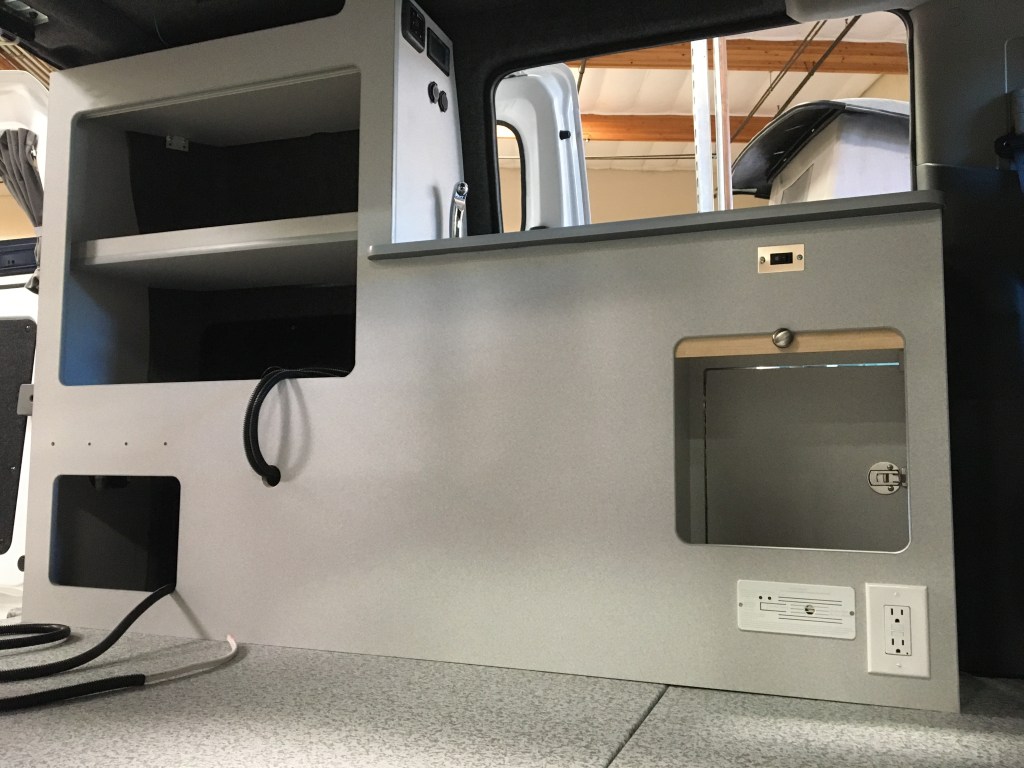
If you have been following my posts on, then you already know that I had our Nissan NV200 mini van converted to a camper.
The van was completed in late November 2021. We had a local two-night trip planned in December to test everything out, but the rains changed our plans. Not really that fun camping in the rain.
So I decided to set up the awning in the garage. The awning is really nice, but I needed about four more arms to set it up. I wished that the spider pictured on the carpet could have helped me out!
Once set up, I had lunch under the awning while listening to the rain pound away on the roof. It was music to my ears!

While waiting for our next outing, I decided that I needed a road trip shirt. This is what I wound up ordering. It captures my likeness perfectly – don’t you think?

Finally, we took a short trip to the central coast of California – Morro Bay to be exact.
Here’s our first camp site – Morro Bay State Park. A non RV site, meaning no water or electrical hook ups. No worries, the van has a solar battery so we had power. Water was available at the campground, as well as on board in the van.

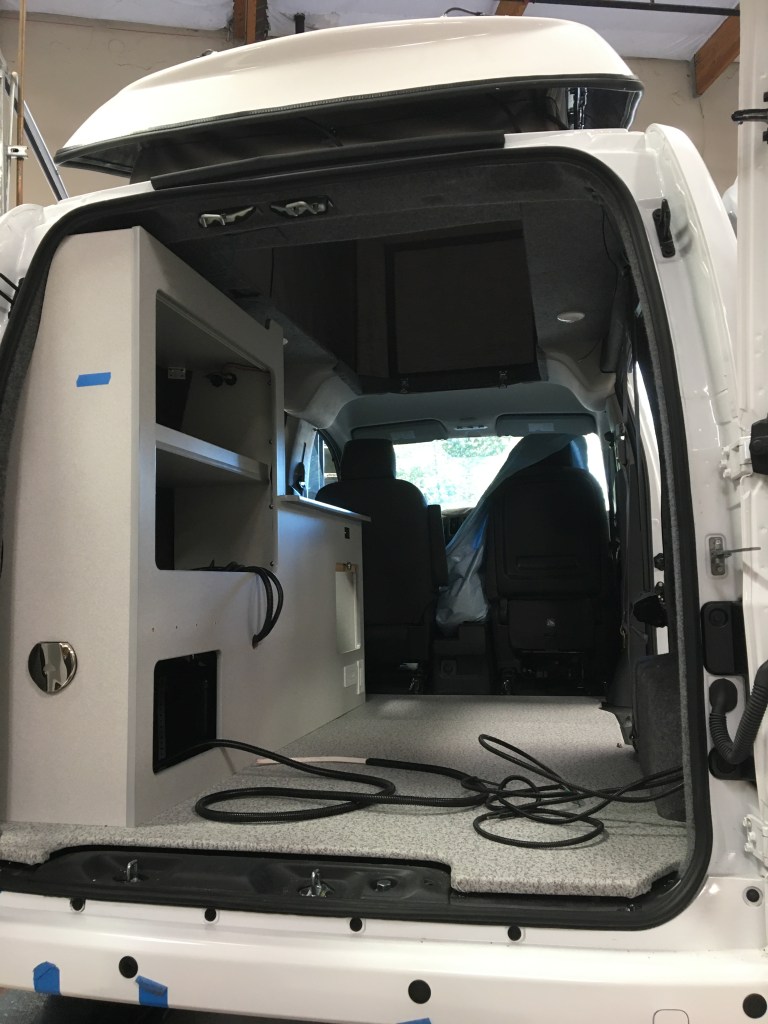
Without the pop top roof, life inside the van would be dismal. One can also sleep top side, but we did not try that. Maybe next time.
The first night’s sleep was decent, and the two of us were cozy-close but comfortable. We learned we need to purchase new sleeping bags. Our old bags are nylon and we slid all over the place, and not in a fun way.
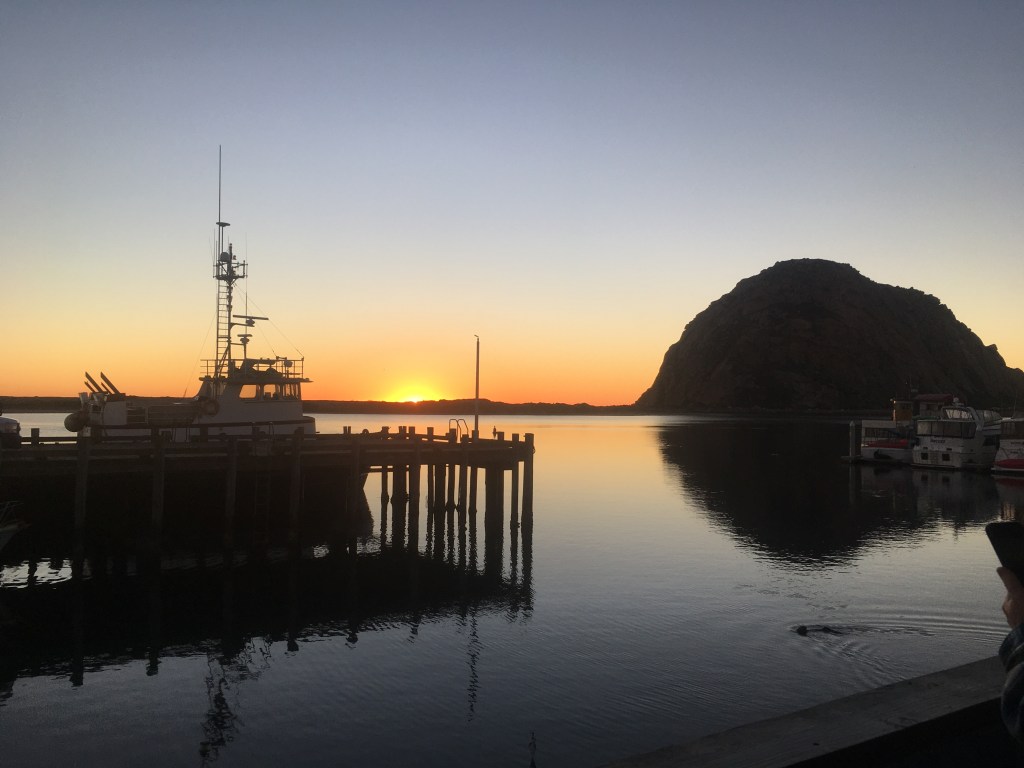
Our dinner view from a local restaurant… amazingly beautiful!
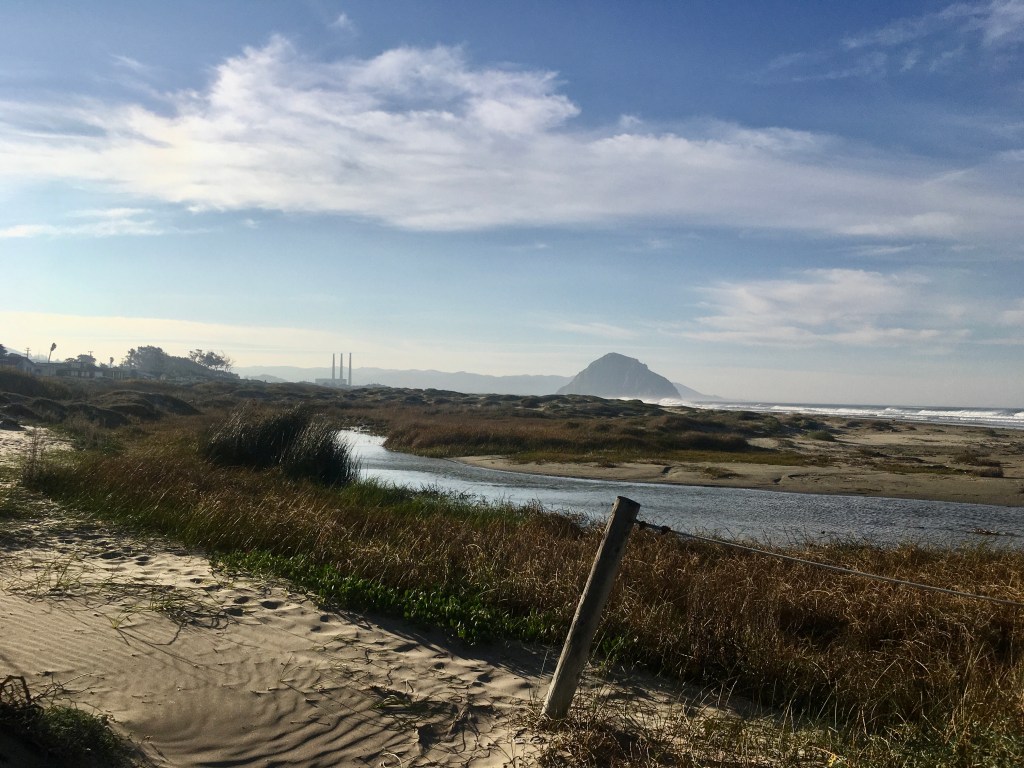
The next two nights we stayed at Morro Strand State Beach – right on the ocean. Only one issue – no dogs on the beach. Kind of a drag, but there is a dog beach about a mile up the coast.
Here’s a typical beach view steps from our van. That’s Morro rock in the background.
We learned a lot on the trip. We came up with a list of needs that is bigger than the van! We will chip away at those a little at a time, and share some ideas with you in future Roadie posts.
Hittin’ the road made me think of Jack Kerouac-like adventures and my dream of owning an old VW van in college and traveling around the country.
Well, the NV200 is not a VW van, but pretty cool. While on the trip, I stopped at an antique store and found this reproduction print. Just had to buy it.
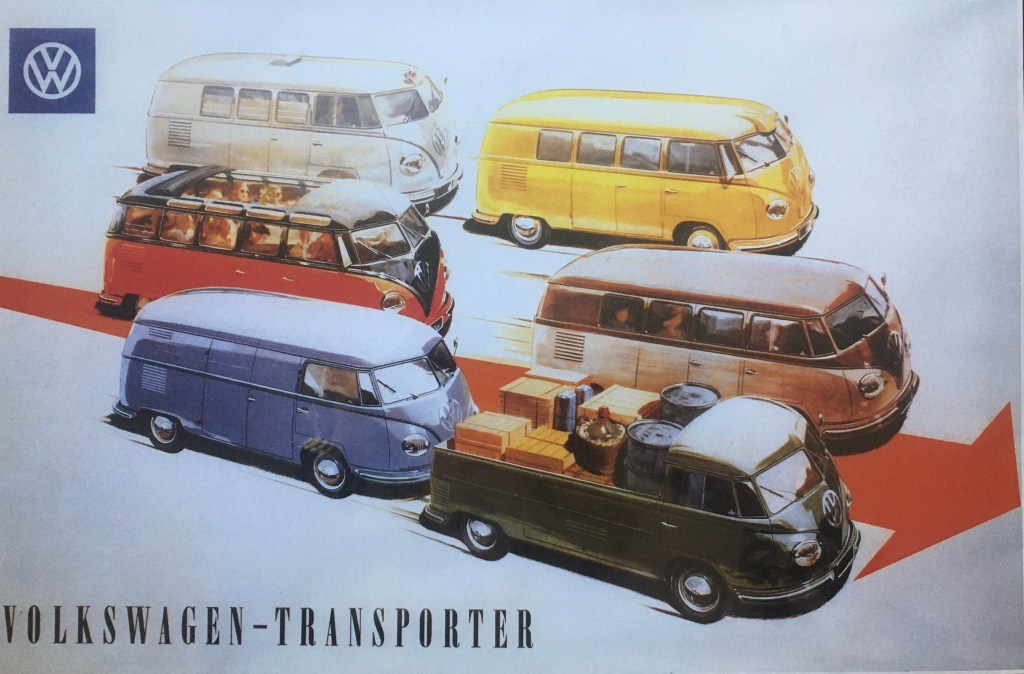
This is where it all began – van life!