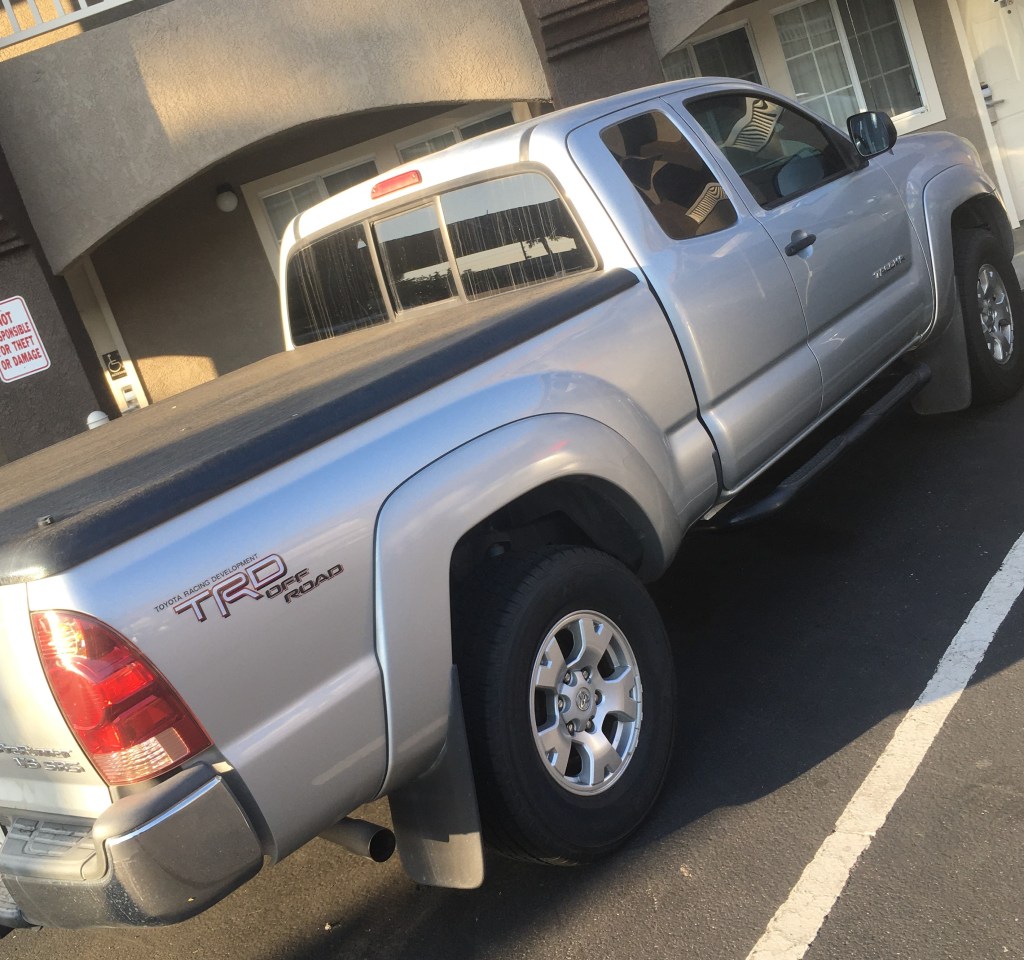
Before my 2006 Toyota TRD becomes a faded memory, I wanted to share this fix. Yes, after a long ownership I sold it. Gotta pay for the NV200 Van Conversion – Phase 1 somehow. This is the last picture of this great truck prior to selling. The new owner was extremely happy to buy the truck – it only had 70K miles on it!
In the upper cab, there is a digital display for temperature and compass direction. It had not worked for several years and one day I decided to see if I could fix it. Of course, I went to the web and looked to see what other people had done.
Sure enough, it’s a common problem and takes about one hour to fix it. If you have this problem with your truck, go to the web. There are many great videos that will walk you through the repair process.
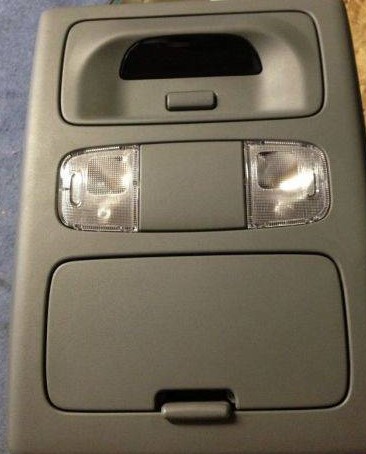
The first step is to remove the module. It’s pretty easy, a couple of screws and some tab releases, and then removal of the cover to get to the circuit board.

Just as the video pointed out, a surface mount resistor became unconnected at one end. It can clearly be seen in the lower right of the board.

I fired up my soldering iron and resoldered the resistor in place. I did the reverse order module assembly and tested.
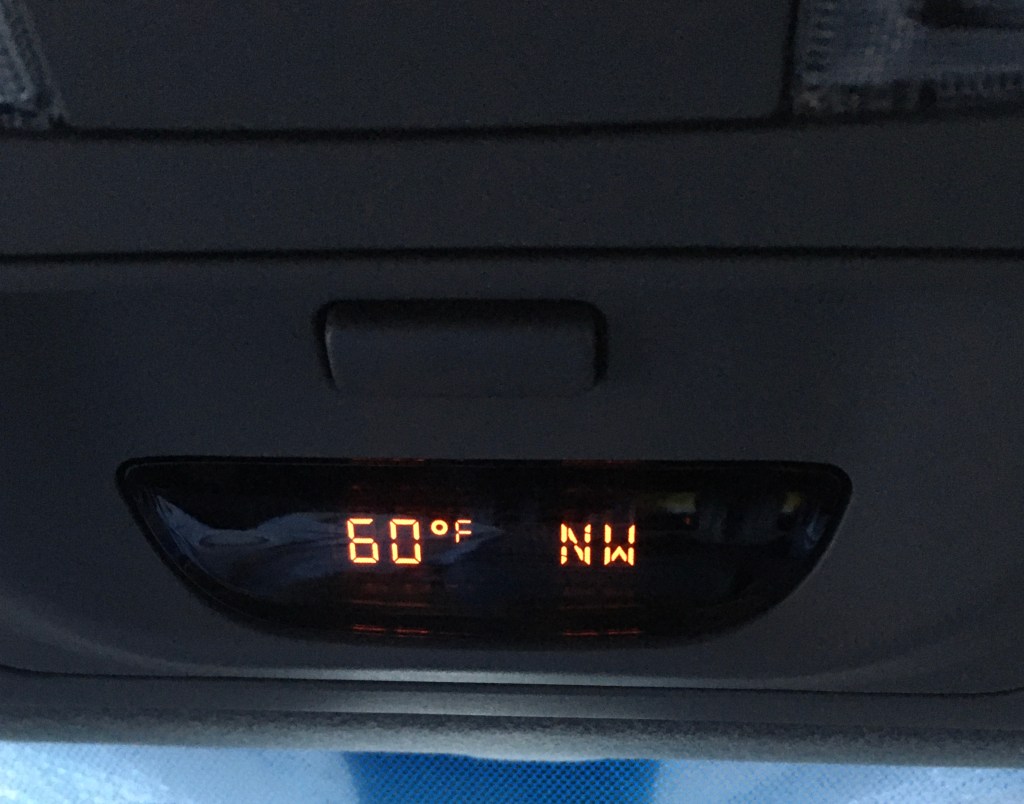
It worked perfectly, and I saved $150.00 by doing it myself!