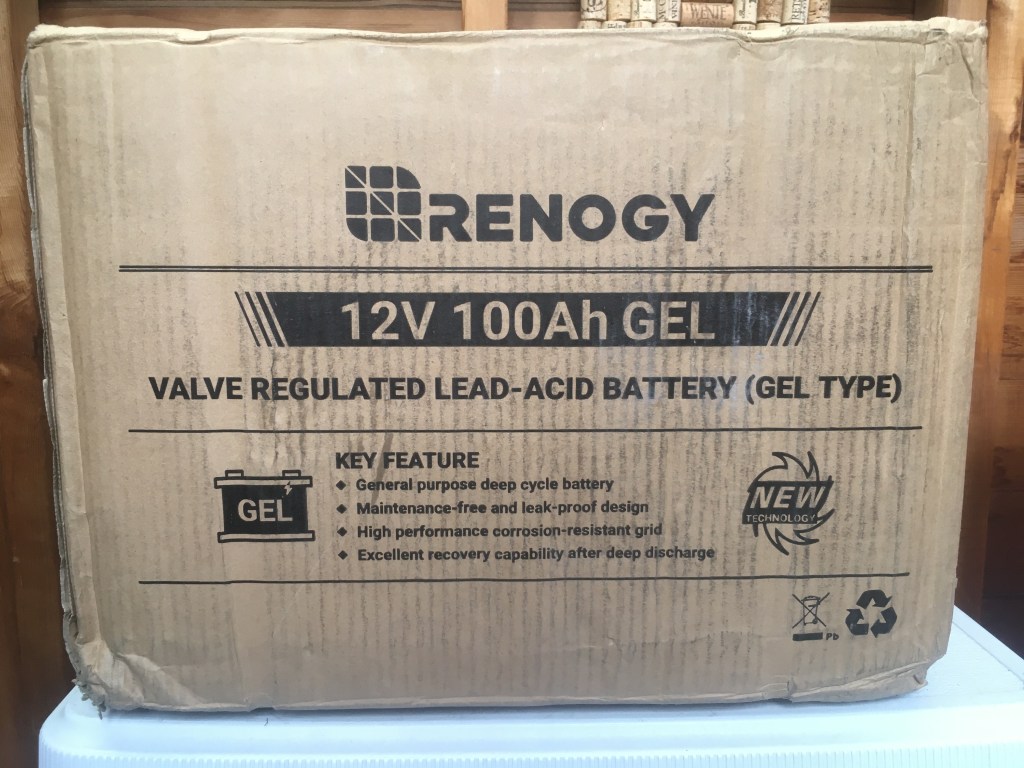
The deep cycle battery that I ordered for my Solar on the Go Kart finally arrived!
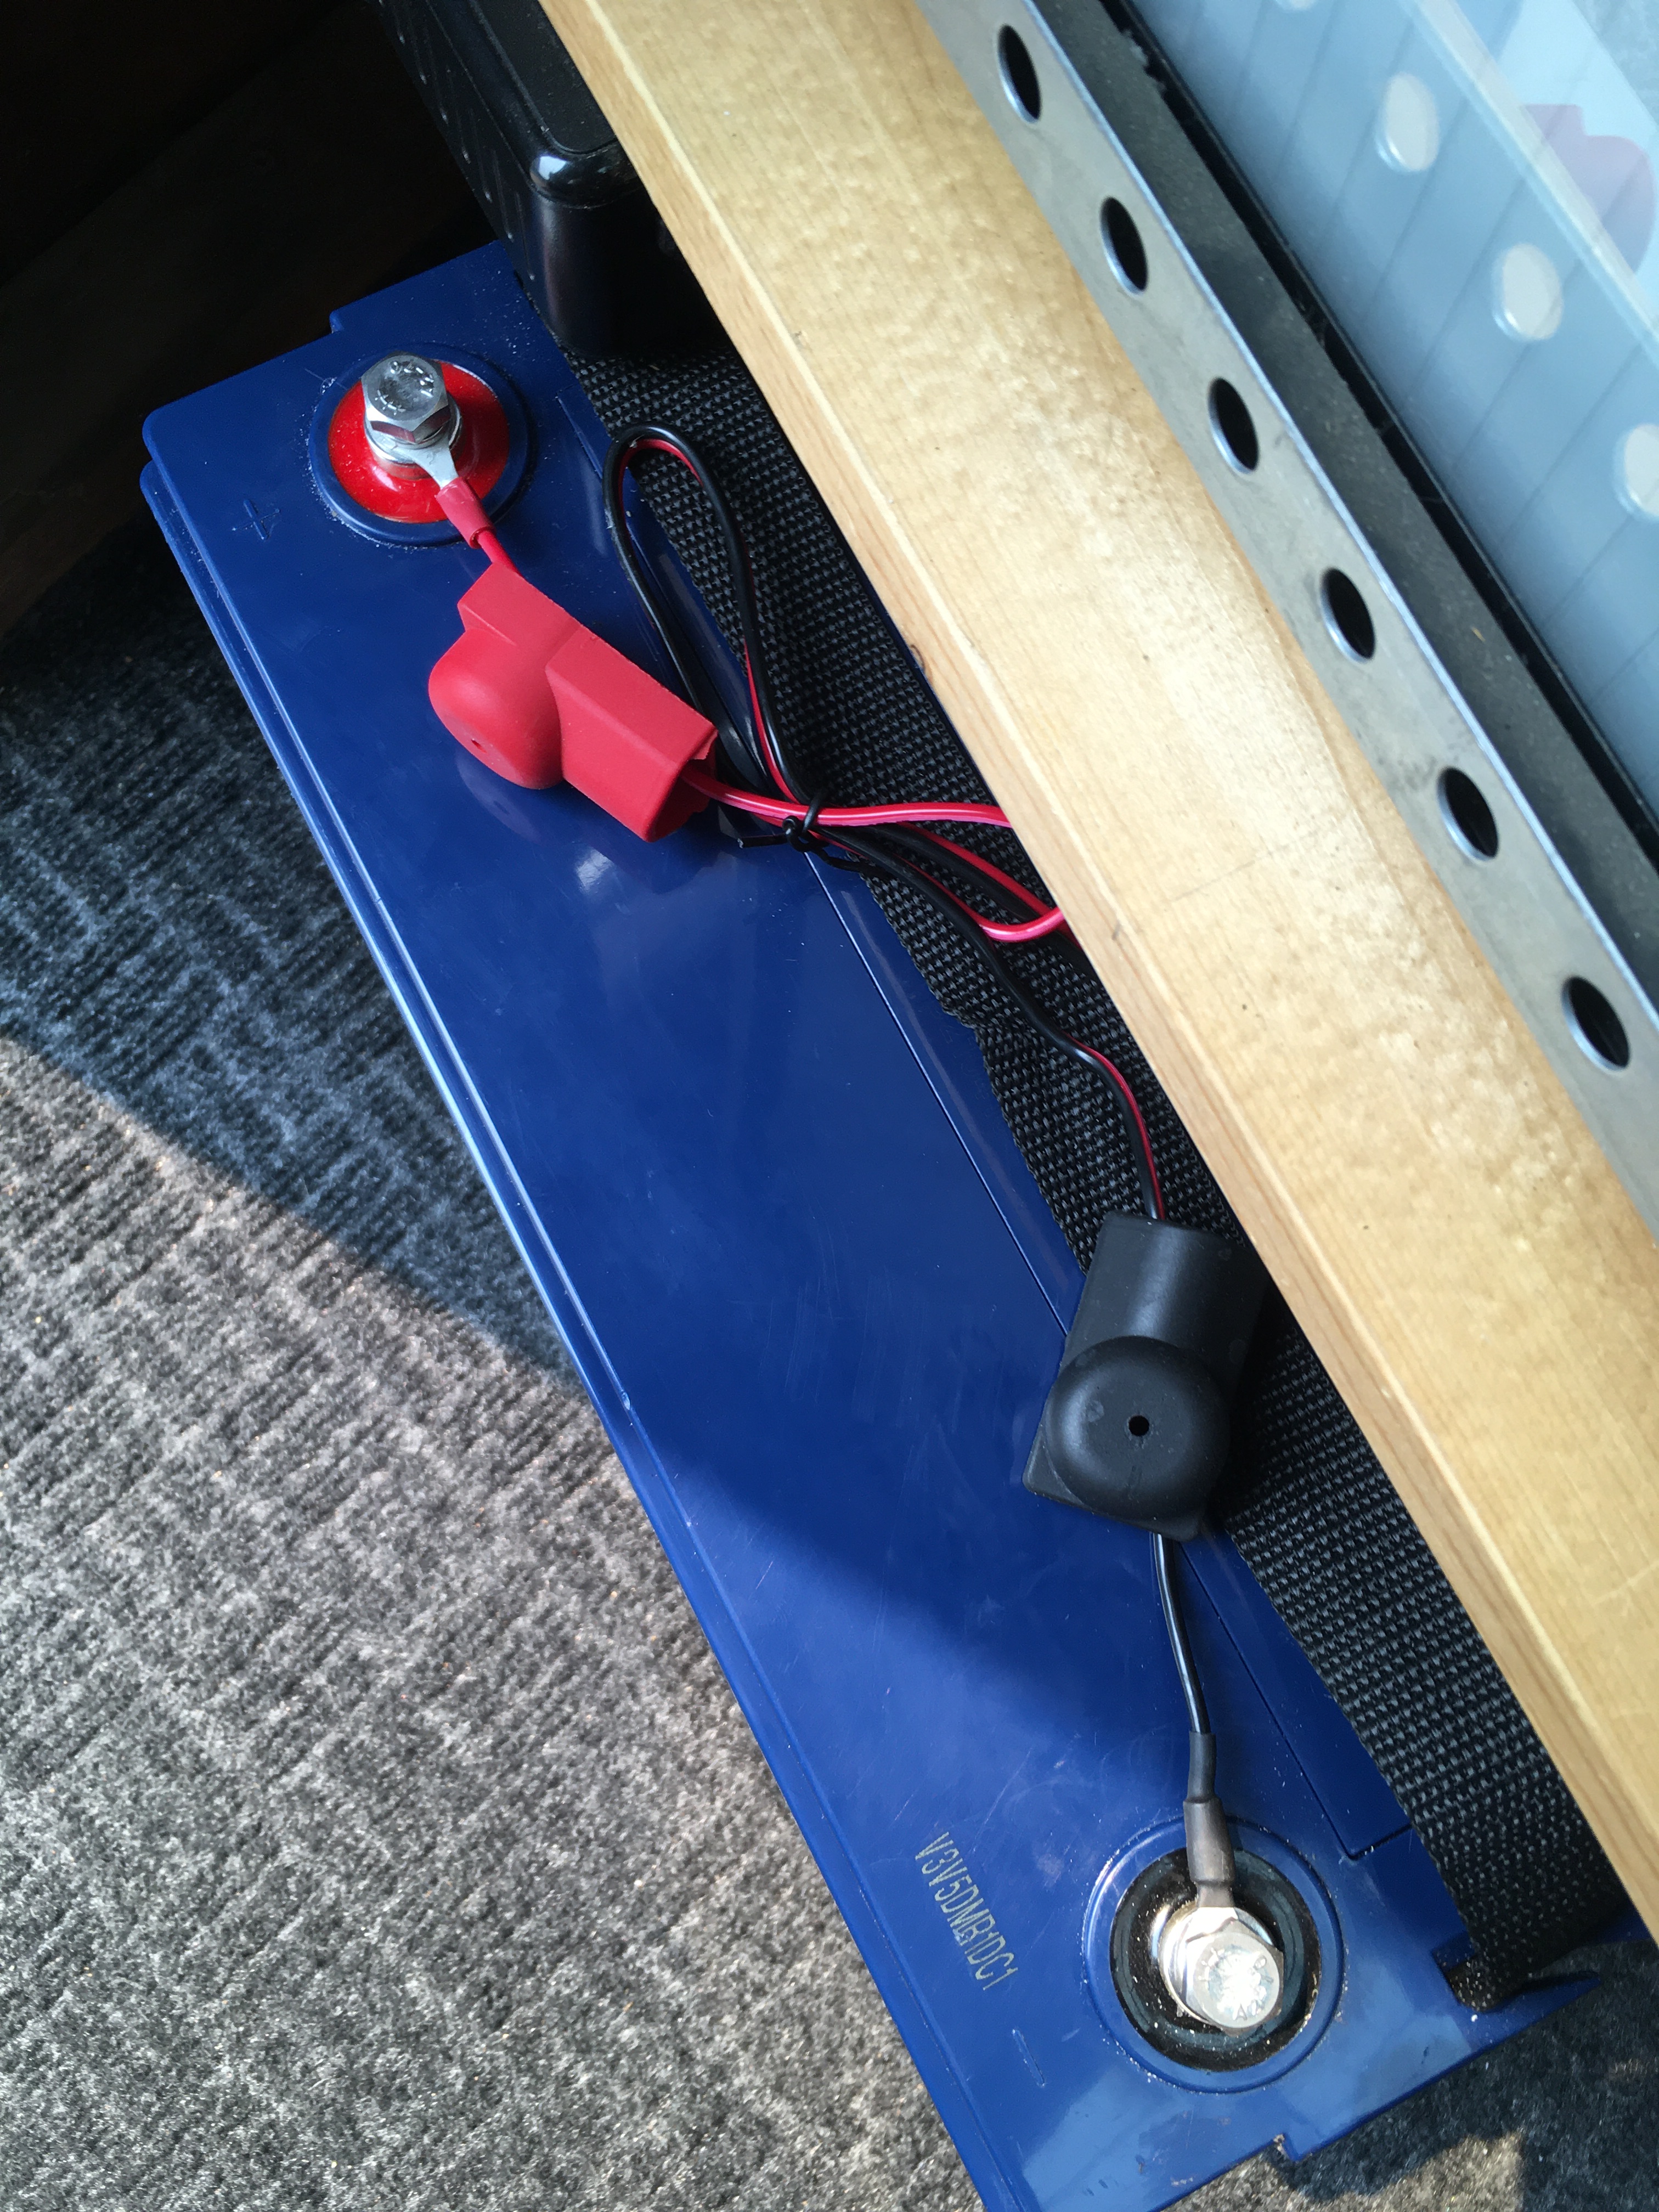
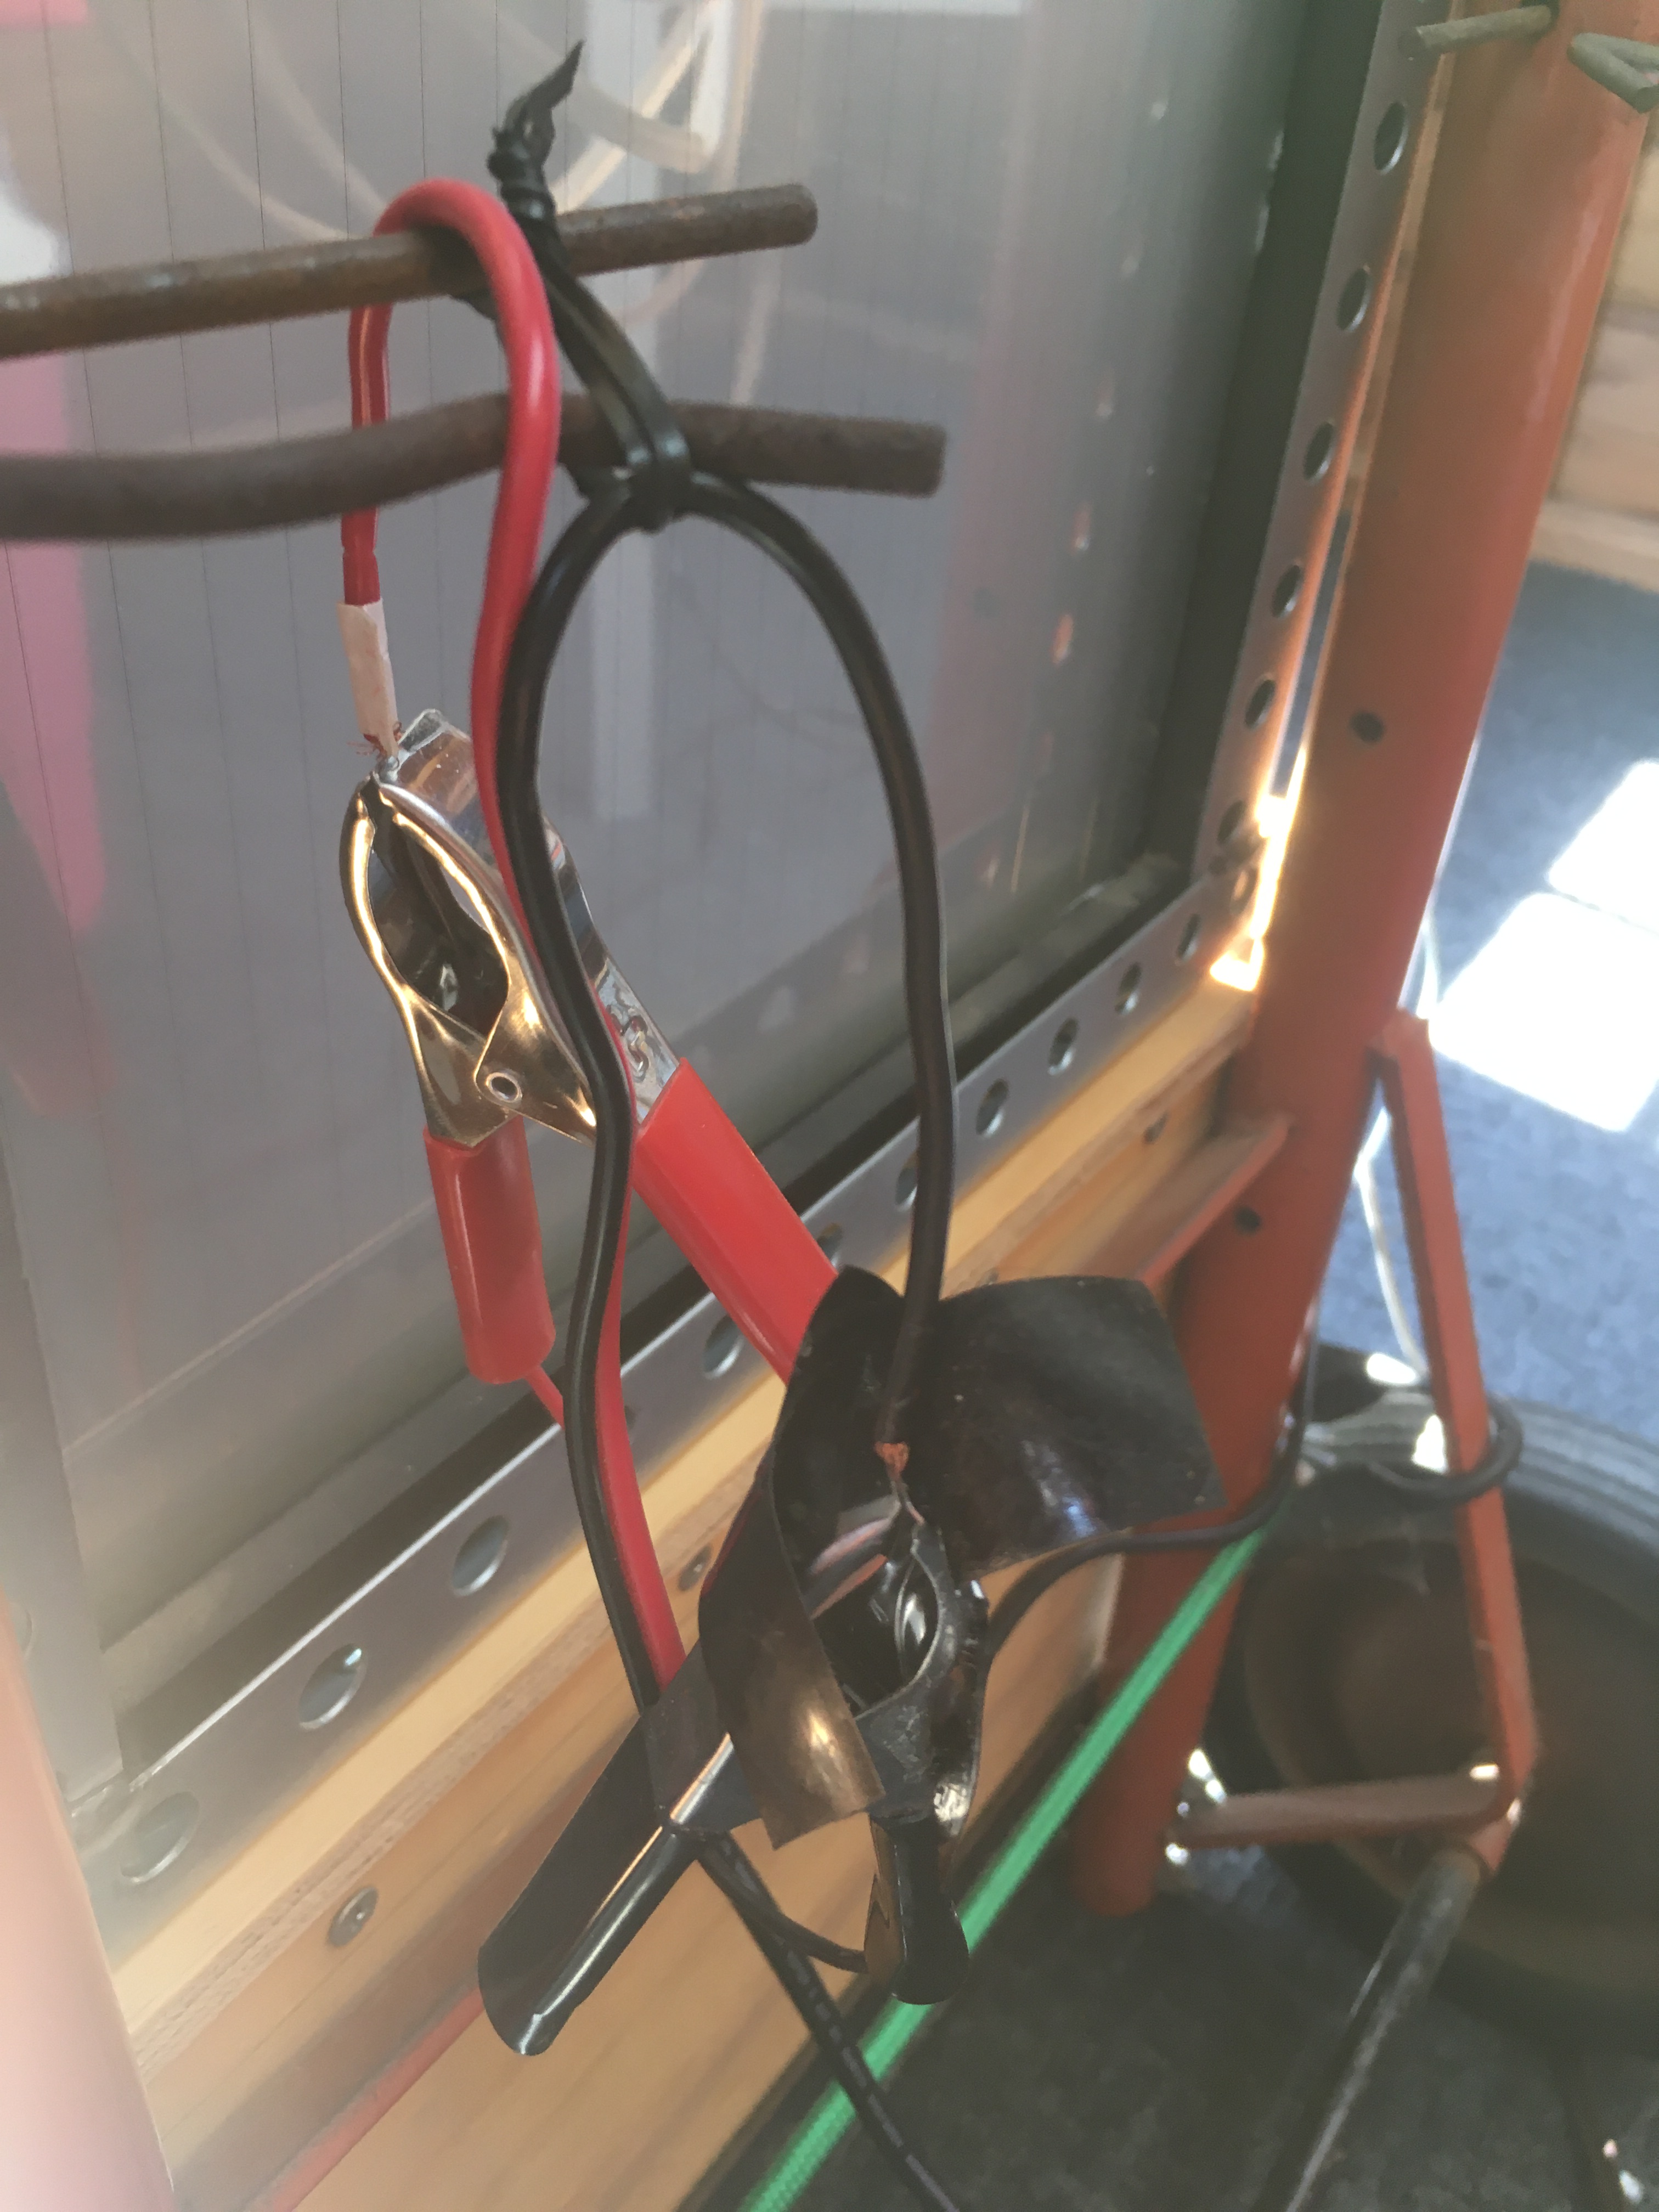
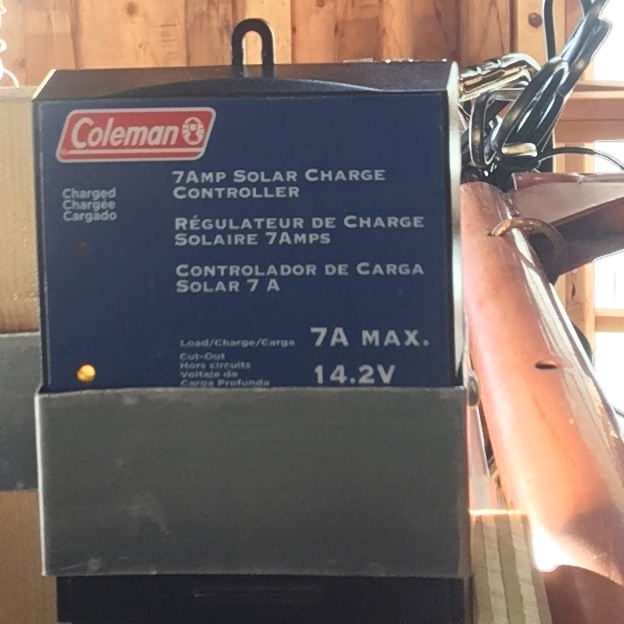
First thing to do was to mount the battery on the kart. The battery turned out to be bigger than I anticipated, so I had to make a bracket and remount the voltage regulator. Once that was done, I connected the regulator to the battery terminals, and the other leads to the solar panels.
I checked the yellow LED on the voltage regulator. It was illuminated, indicating that the battery was now being charged.
It took about 5 hours to fully charge the battery, with all 3 solar panels connected. Once the battery was charged, of course I had to recharge every battery-operated device that I own. That included, cell phone, tablet, electric razor, electric drill and electric lawn edger. However, the best was my bike – eBike Build.


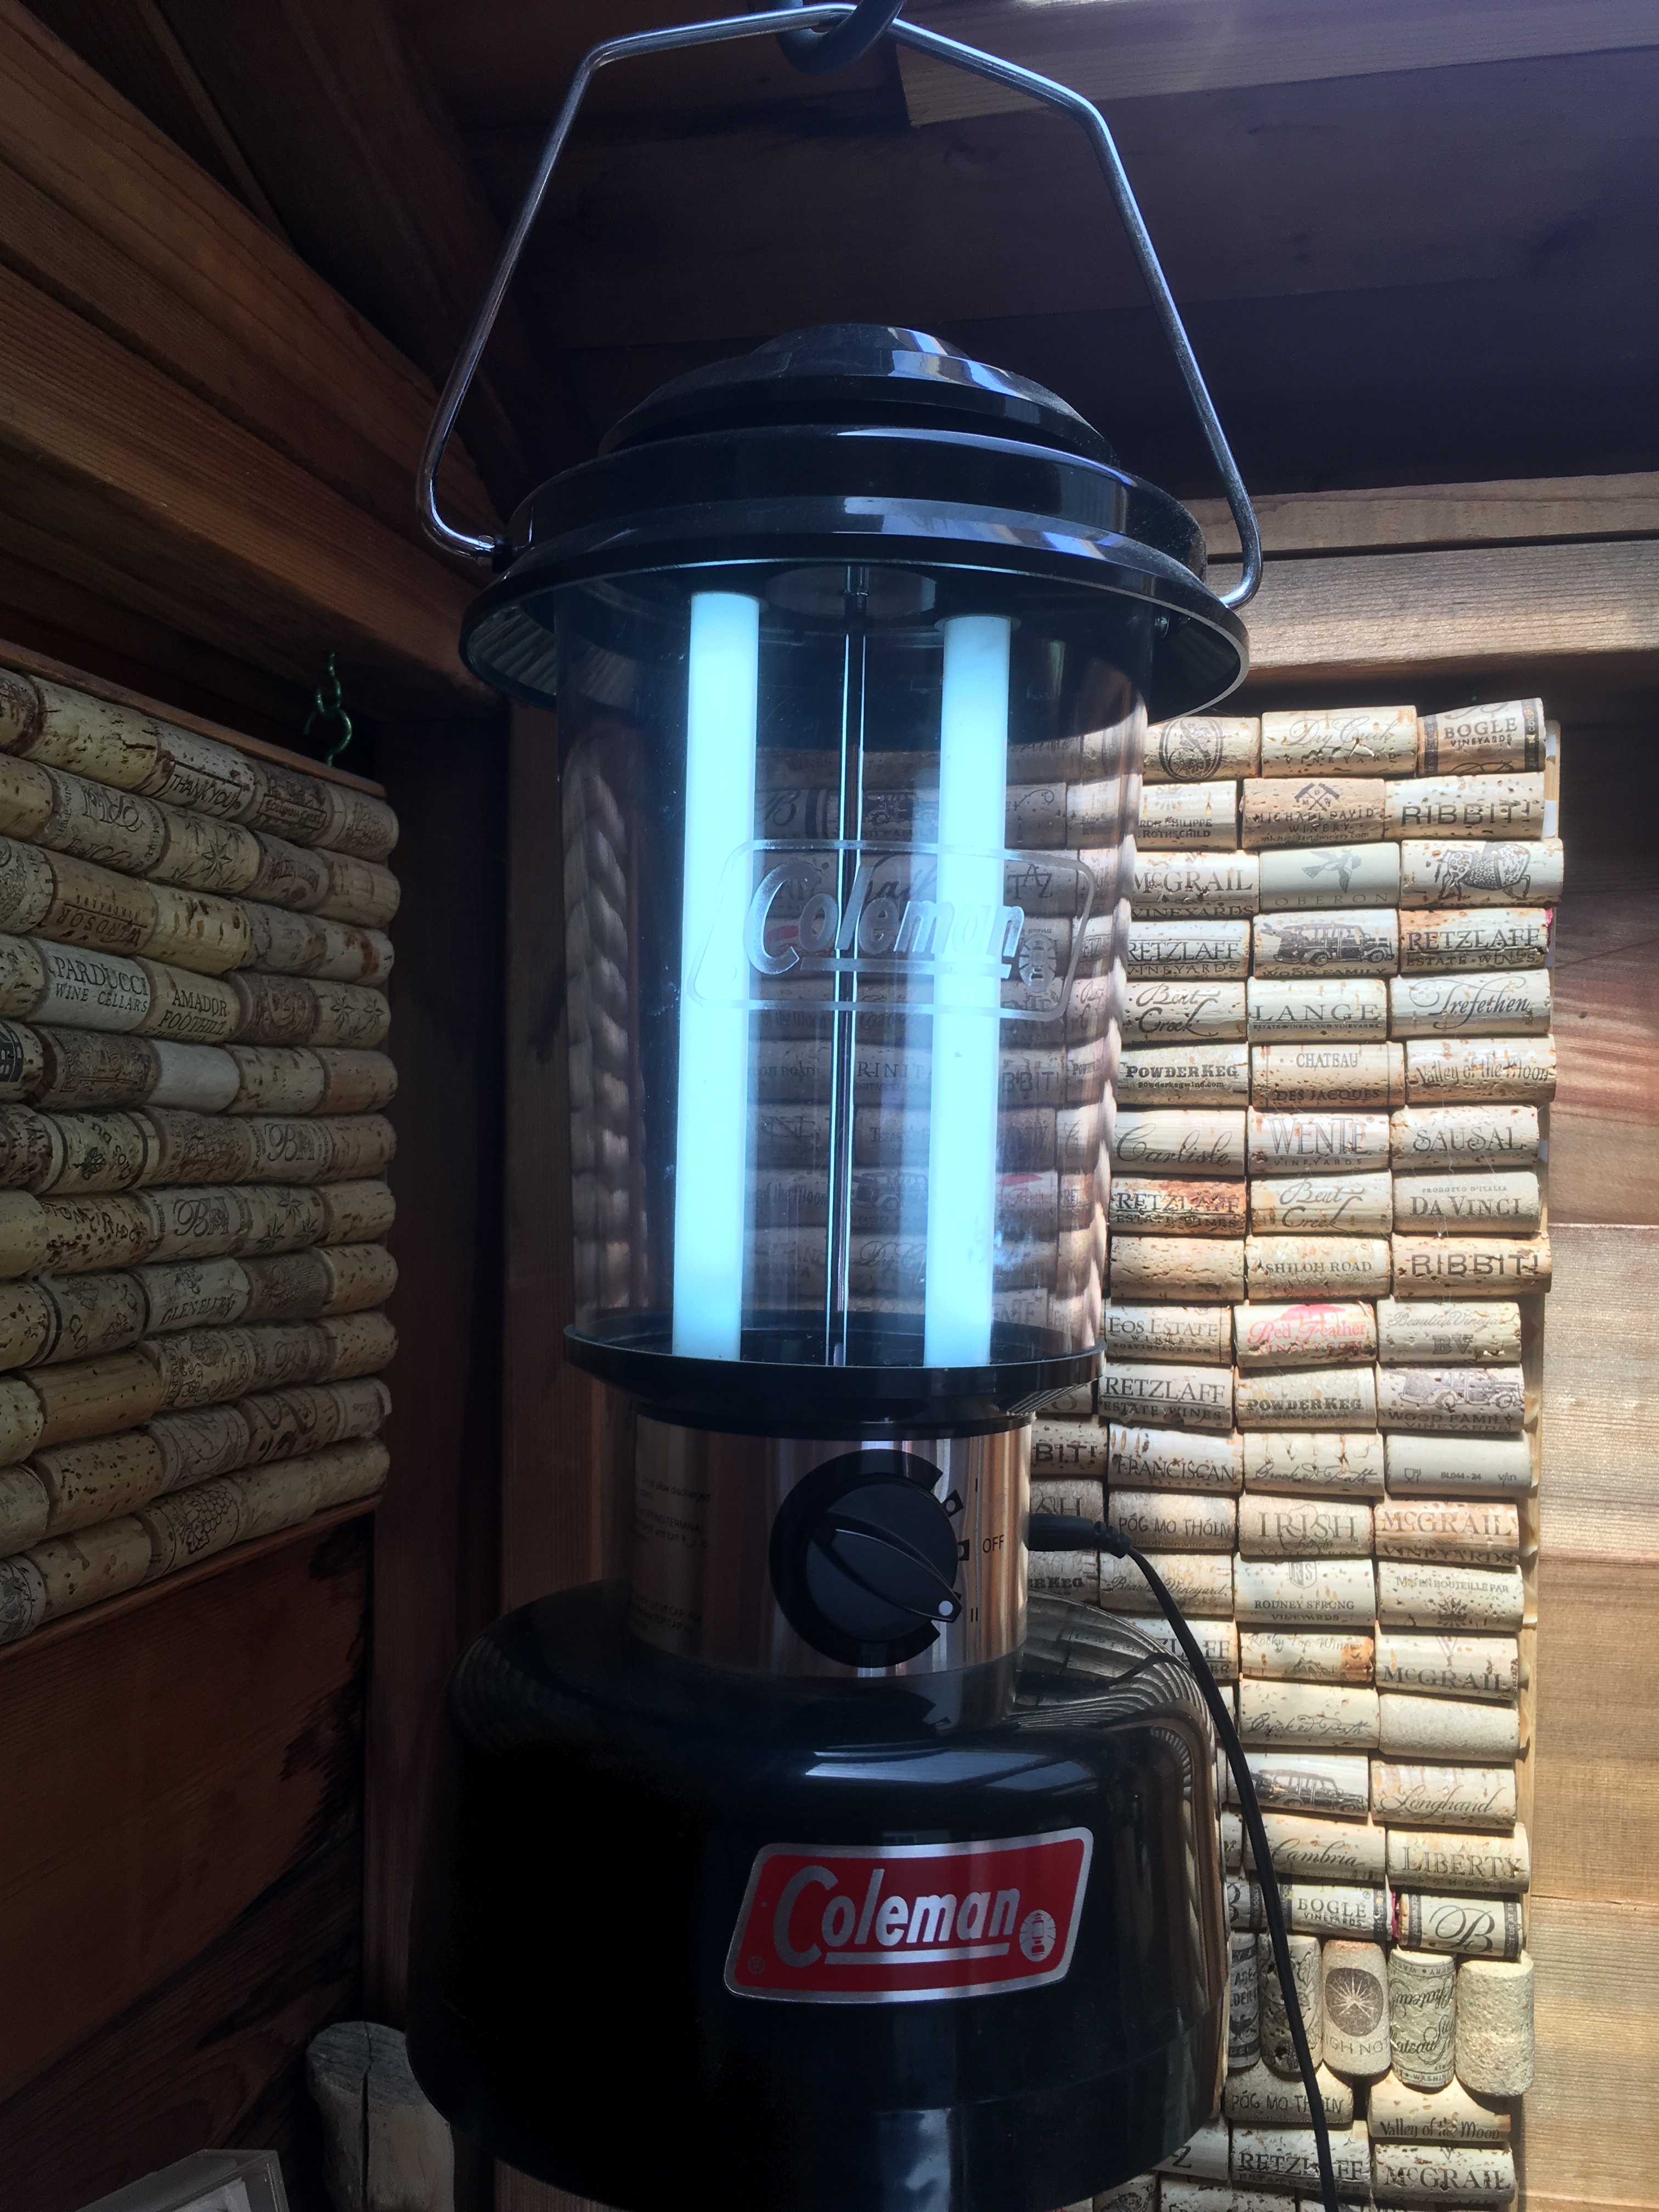
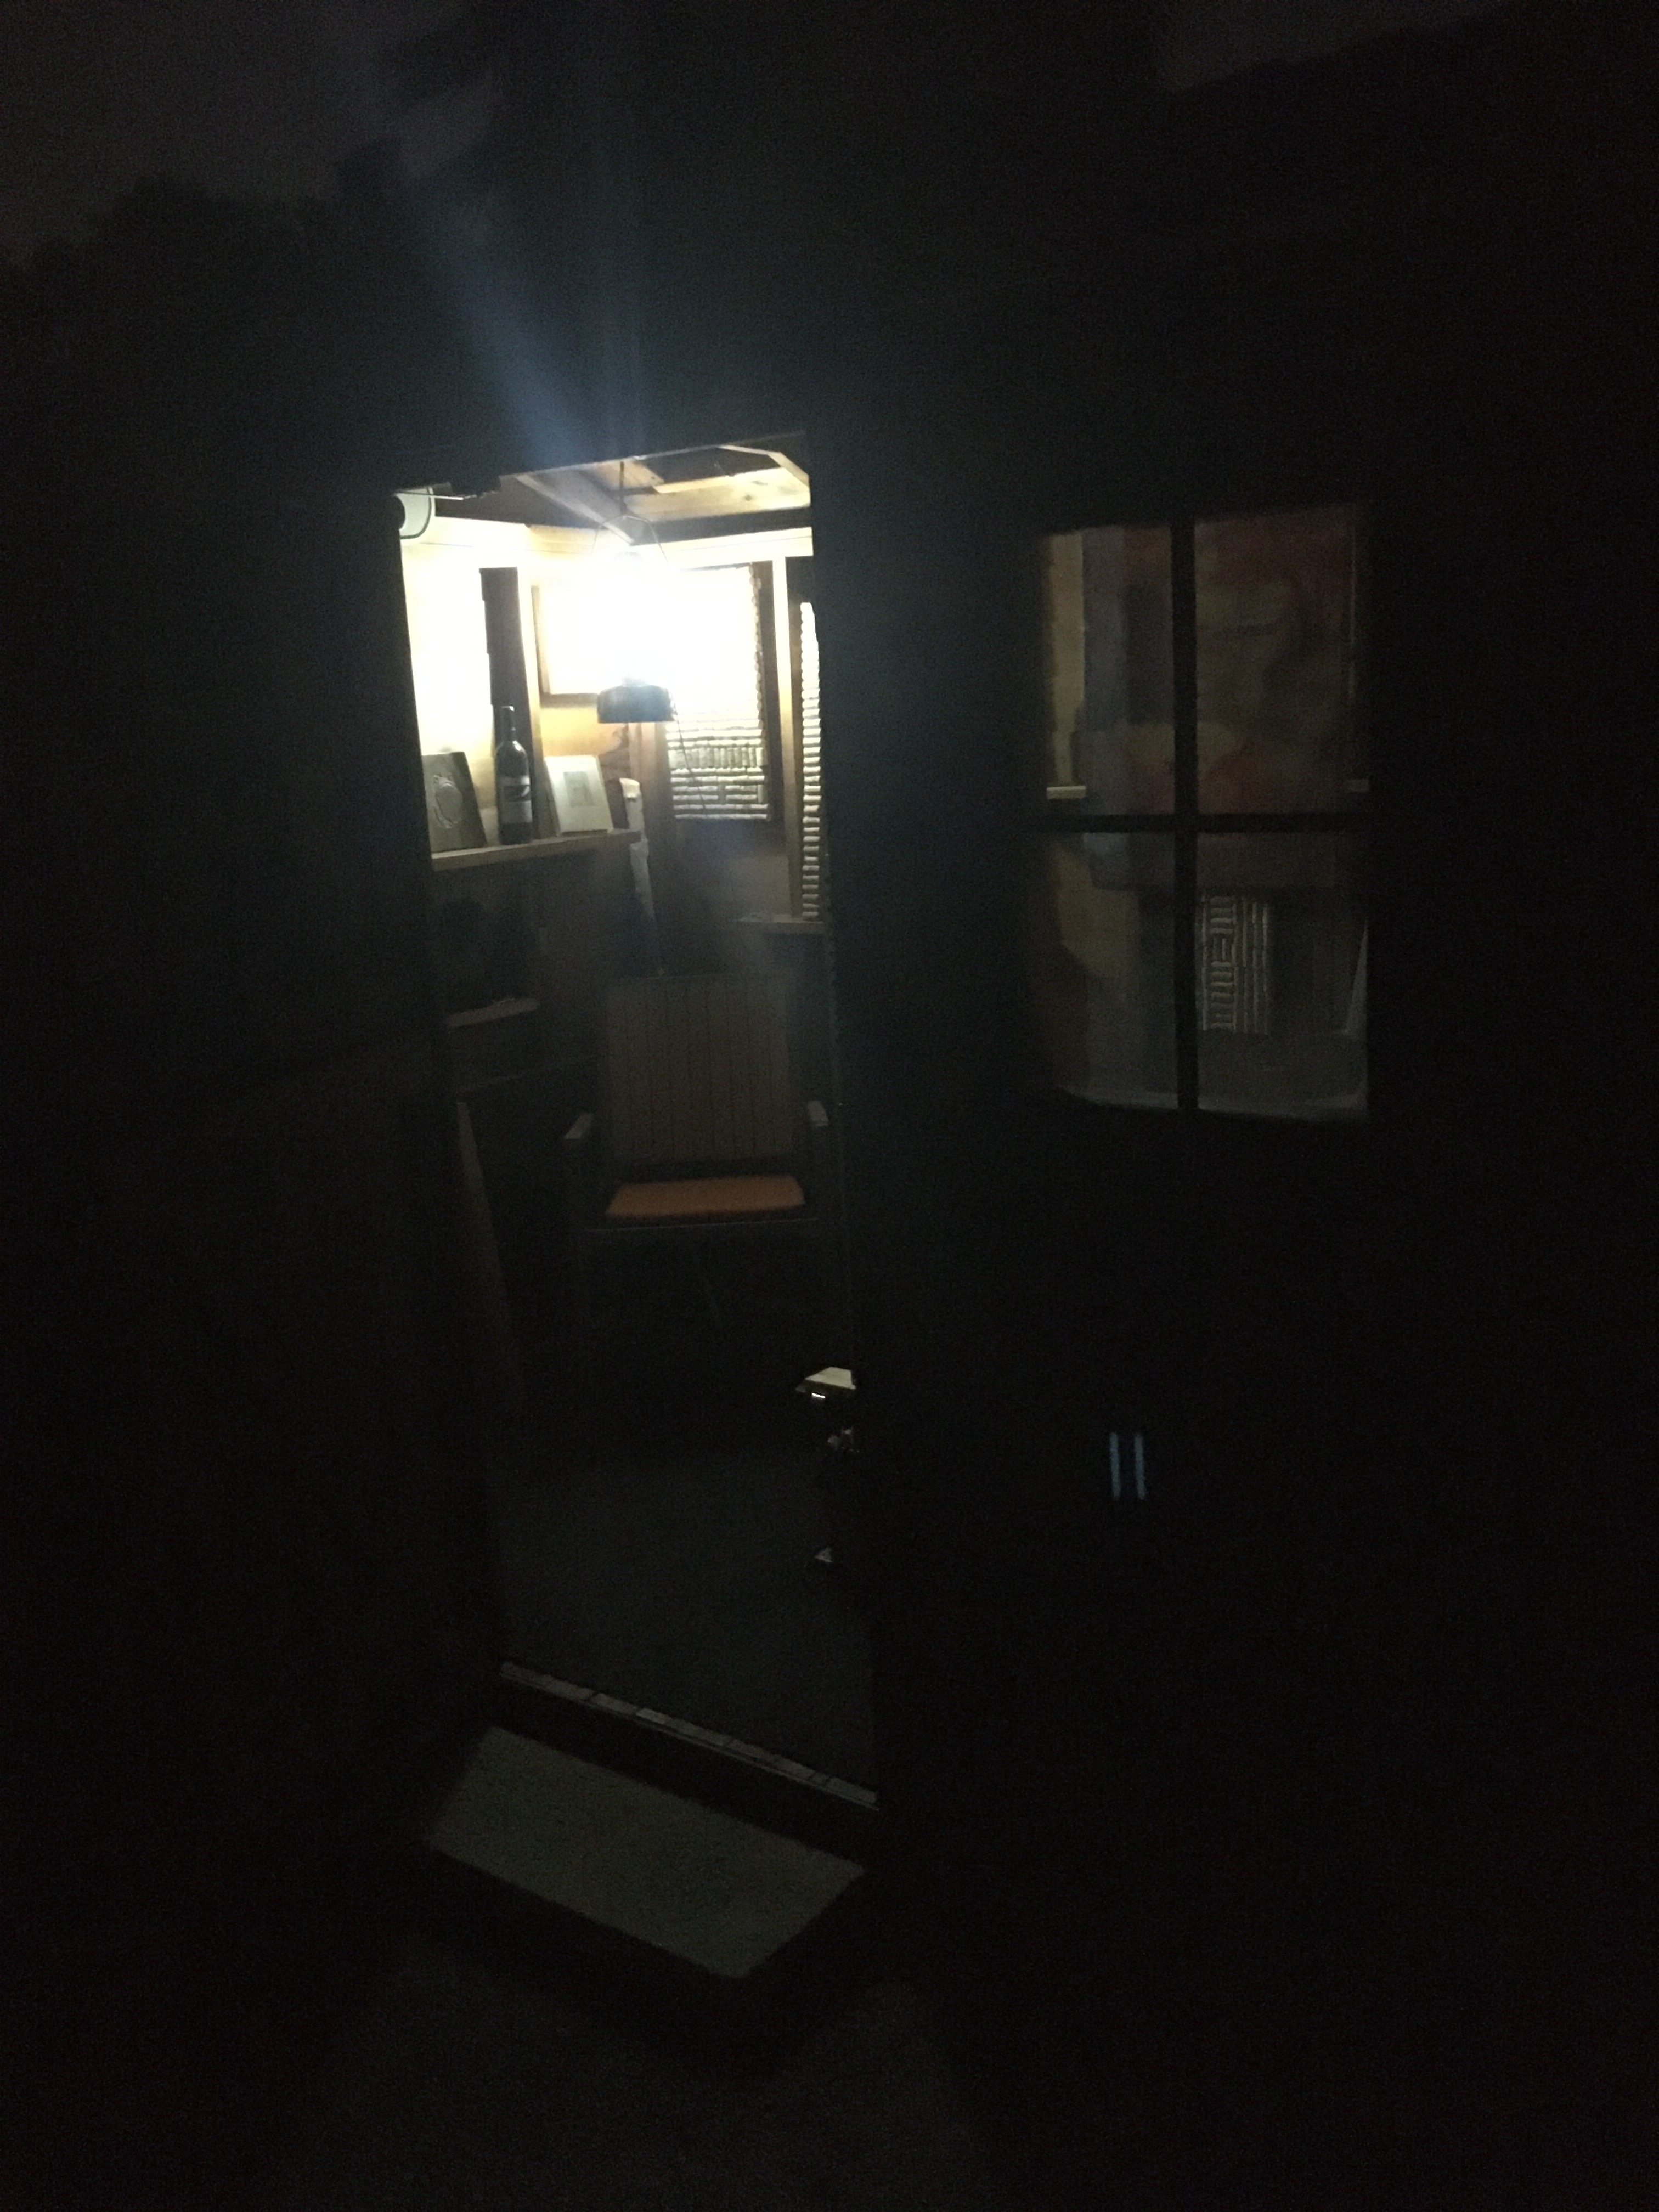
I also decided to illuminate the wooden shed. I had a 35 year old battery-powered lantern in storage. The lantern’s two huge 6V batteries were long gone. I soldered up the wire extensions from the lantern to the battery, and connected directly across the solar battery terminals. I now have light in the shed.
I am now generating power for devices, dwellings, and transportation. I say, “Move over Elon, there’s room at the top for both of us.”