Many years ago, I was shopping at a large box store and saw a solar panel kit. I think that it was intended for camping. The price was reasonable and my “impulse to buy neuronal circuits” took over. I do not know why, but I bought the kit.
My intentions were good: a neat back up source of power for emergency lighting, charging cell phones, radios and other battery powered devices. Oh, what about musical instruments?
Well, like a lot of my impulses, the kit sat. I used the metal rack for another project, but the solar panels just sat. I even tried to sell them once at a garage sale, but to no avail.
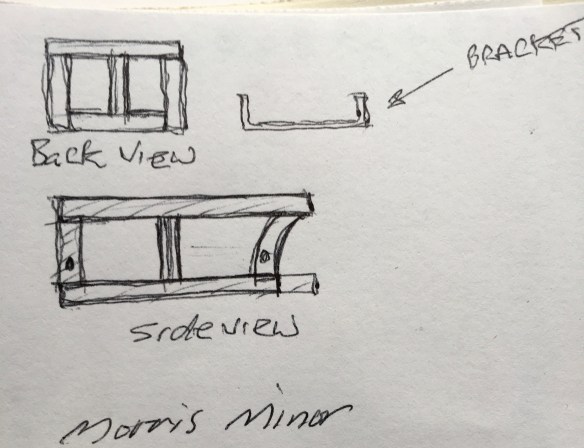
One day I finally said, “Give them away or build something.” I went into the workshop and sketched this design. A Solar on the Go Kart is what I called it. (I like Kart better than Cart). A mobile, self contained, solar power-energy generating, storage kart.

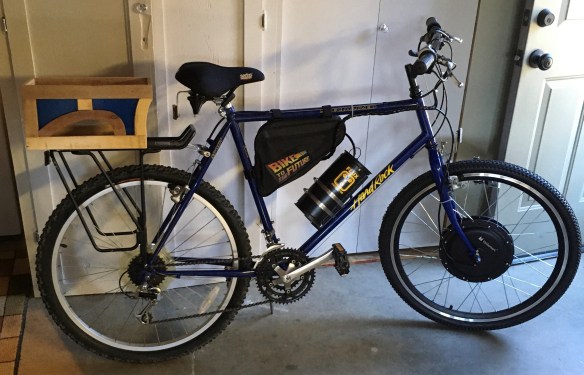
I already had a hand kart that was given to me. So really, I had everything that I needed except the battery – at least I thought so.
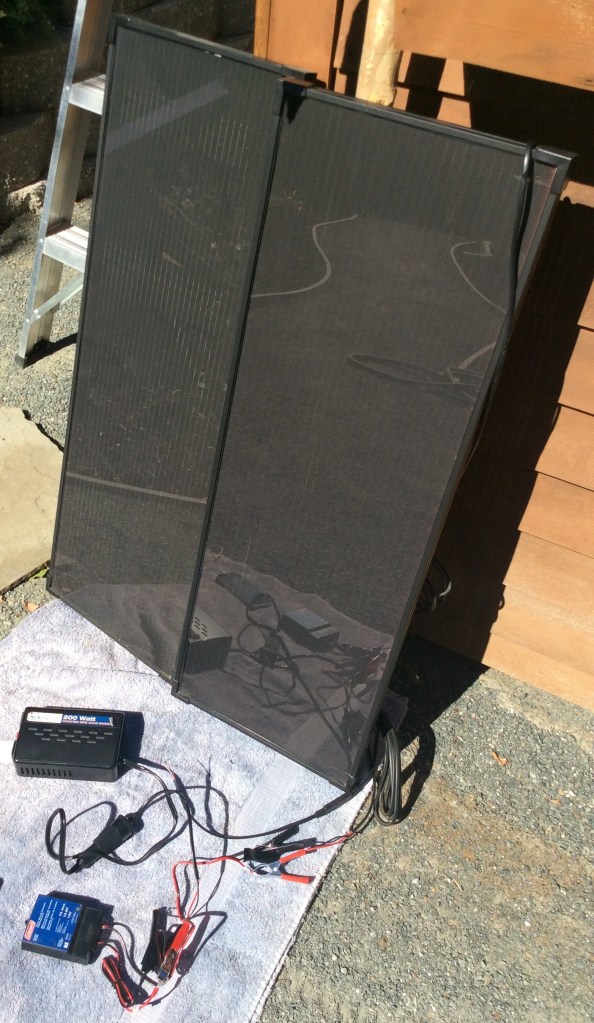
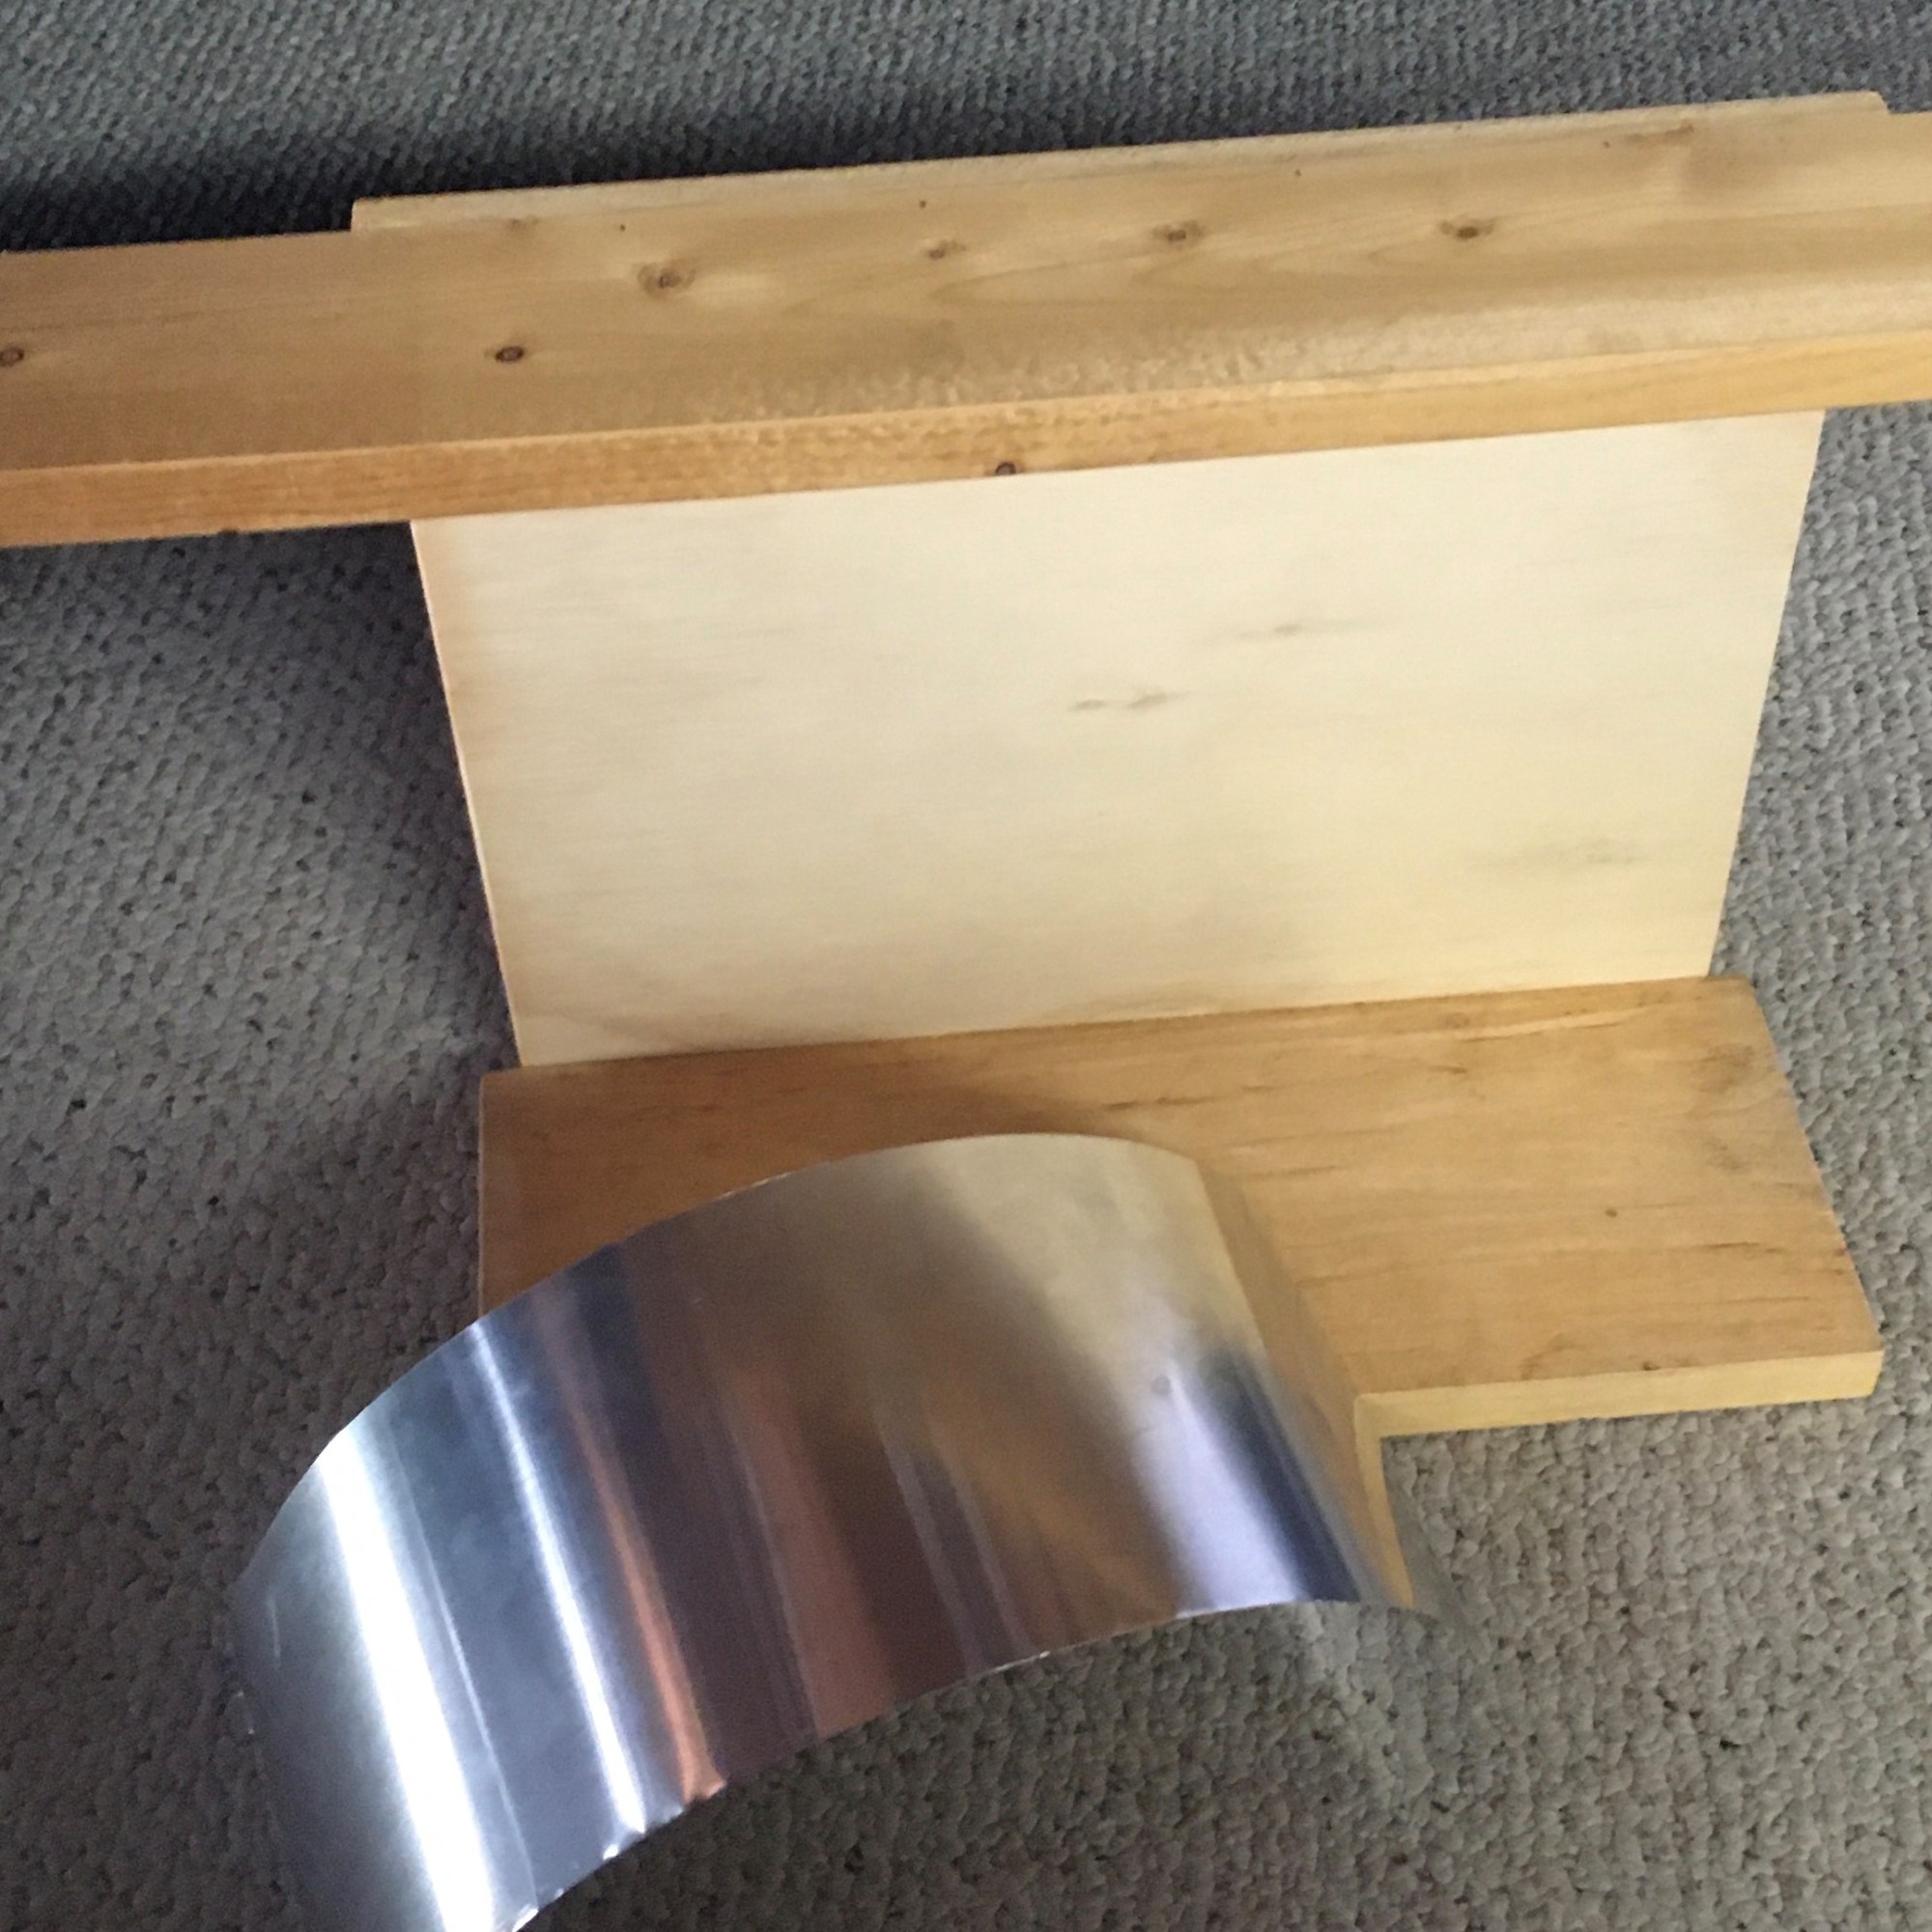
Below is the kit, which consists of 3 solar panels, a battery regulator, a two-plug power inverter (12 V DC to 120 V AC), and miscellaneous connecting wires.
Based upon my sketch, I needed to come up with a system of 3 panel frames that could fold on top of each other, so as to look like one panel when folded. A bit of a challenge for me with limited tools for metal work.
I did not want to spend big bucks, so my solution was to use punched angle iron. It was pretty inexpensive, easy to cut and to bend.

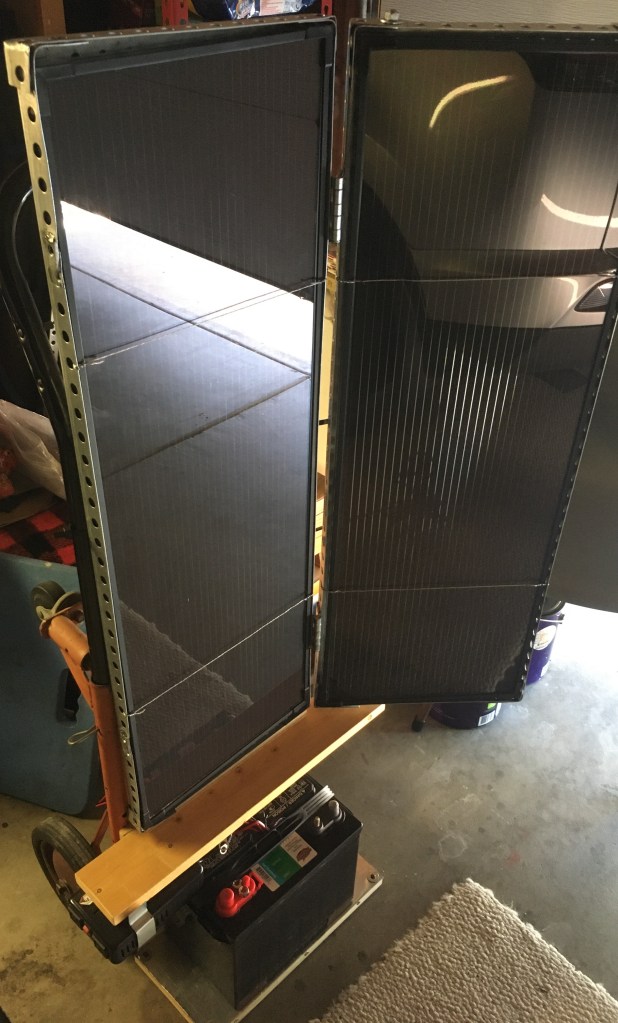
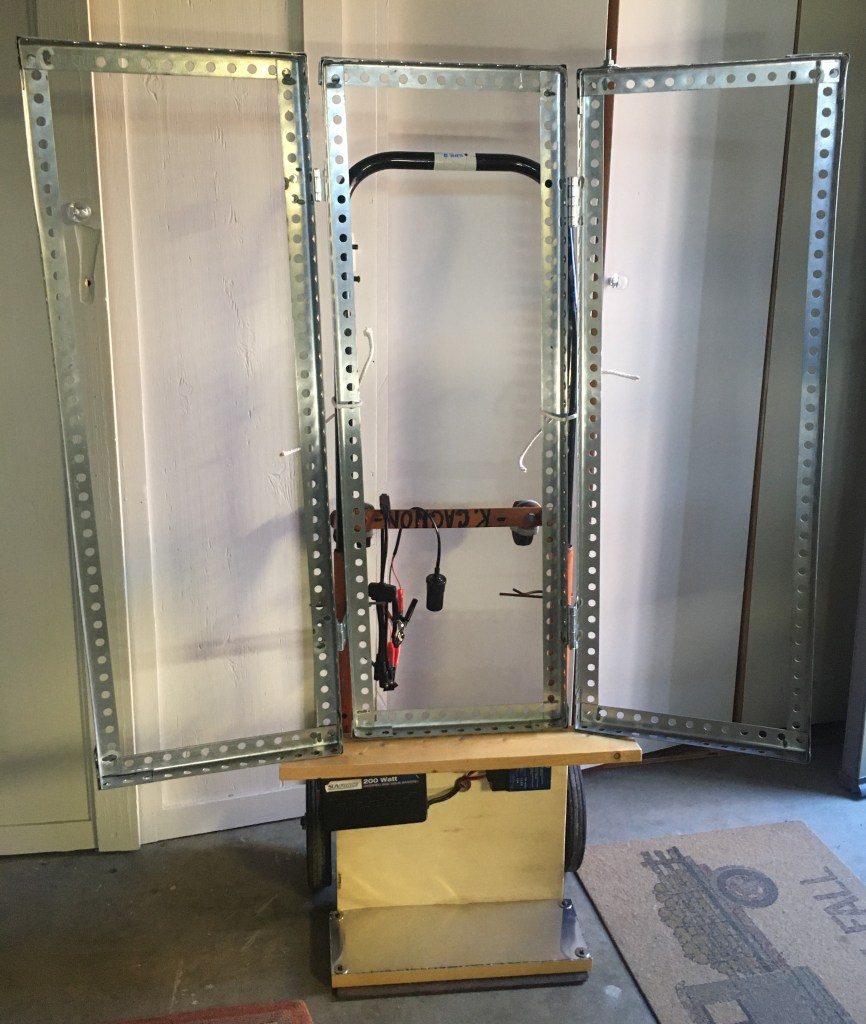
Here are the 3 panel frames bolted together and hinged. The concept worked. It was a little flimsy, but seemed okay. This is where things started to go wrong.
Bolting it together was just to test the concept. For strength, it needed to be welded. I do not have a welder, nor could I weld if I did have one. A great skill to have however!

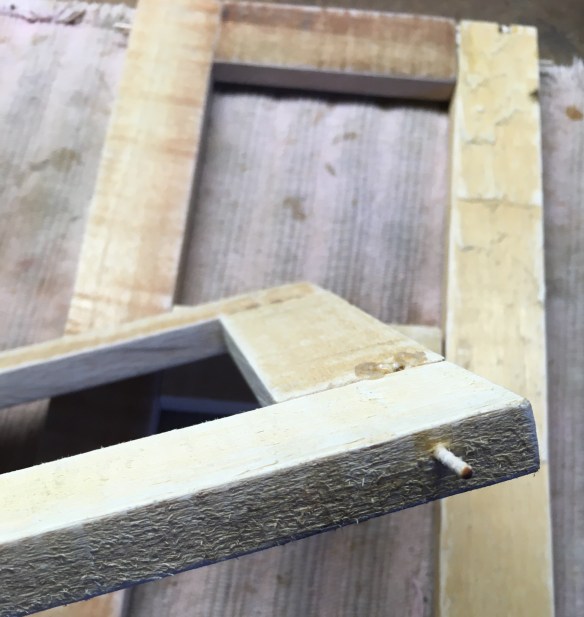
So I called a few shops, and found one that was willing. When I showed him my project he said there are problems. First, the metal is too thin. If welded, some of the metal will burn through – meaning it will be destroyed. Second, the frame metal and hinges are plated, this has to be removed prior to welding. Third, the frame metal and hinges are two different types of metal and will heat up at different temperatures, making a good weld difficult.
Bottom line, as the welder said, the materials that I chose for this project were wrong. Okay, I get that now – but who knew it was that complicated. Welding is not just connecting things together with heat – it’s a superior skill and a materials science.
Okay, he did the job for me and let me know up front that it would be junk. The metal burned and the frame warped as you can see.

The welds were strong but the frame was so flimsy, that I had to cut off one of the frames. Alright, just keep going.
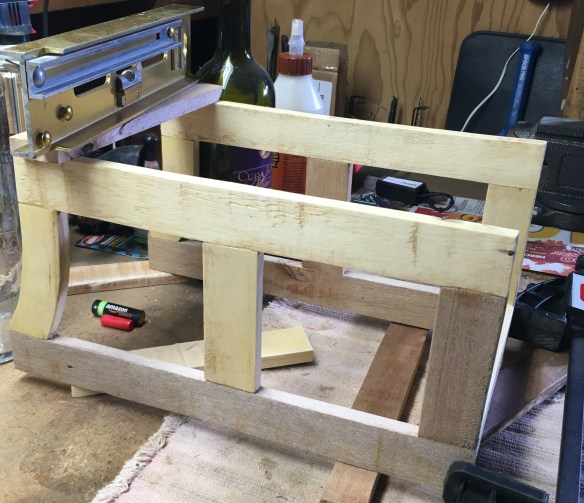
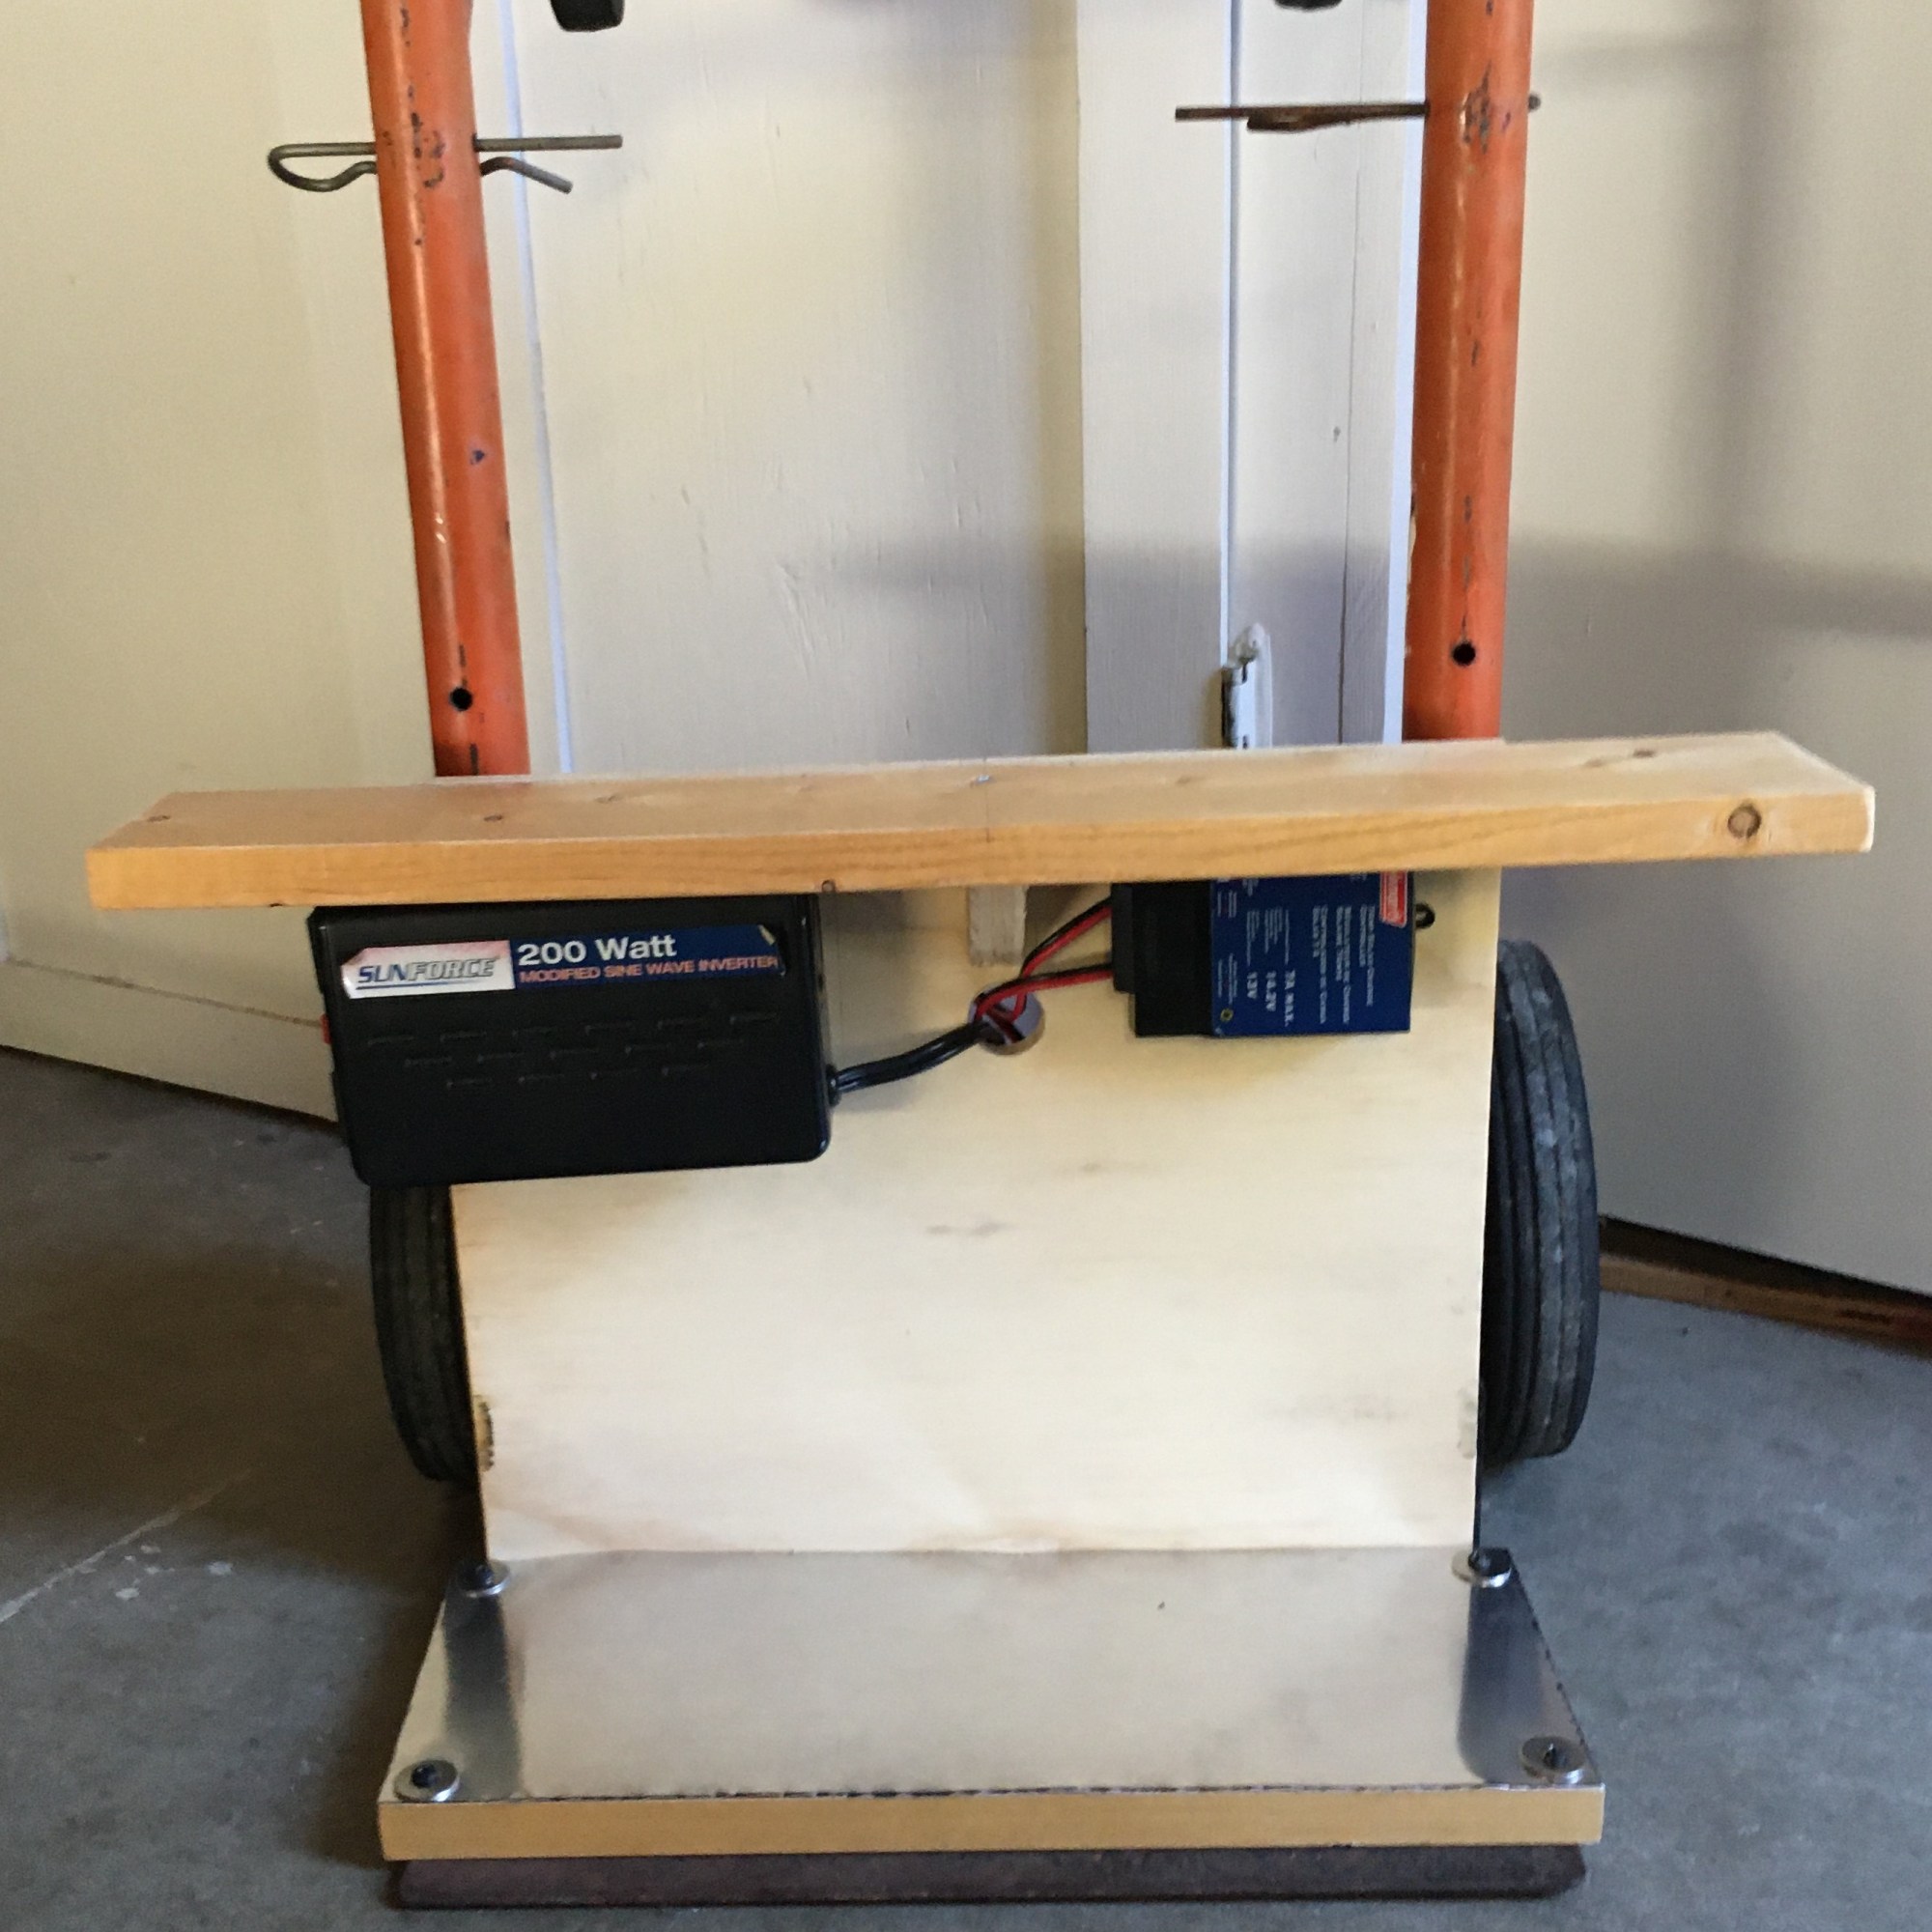
I made the battery shelf out of wood. I placed a piece of metal on the bottom of the shelf, thinking about battery acid spillage. Then I attached the regulator, inverter, and secured the shelf to the kart.
Here is what it looked like before I cut off the frame on the left. It actually looks good, but don’t be fooled by the picture.
I attached 2 of the panels into the frames – they worked okay when opened and closed.
Next day I bought a deep-cycle marine battery. When I got it home, I realized that it was not sealed. Meaning, that if you tilt the kart back, which I have to do to maximize the sun’s exposure, the acid will leak out. Geez, who designed this project anyway?
I took the battery back the next day. I have since ordered a sealed battery, which costs twice as much. I am waiting on that order to arrive.
Bottom line – I will redo the frame with heavier and similar metals. I want this project to work because I plan to power a small speaker, an iPad running Garageband and a Midi keyboard outdoors. There will be another post on this rework for sure.
Musical compositions powered by the sun – that’s my dream. Well, one of them!