When I decided to build a balance board Hammerhead Balance Board, I also knew that I would need a safety net.
I was committed to strengthening my legs for hydrofoil surfing, but really did not like the idea of possibly falling and breaking a bone(s). So, instead of a net or pads, I thought I’d make a ‘Balance Paddle.’
The balance paddle, would act like a long cane, with a paddle at each end. The paddle would hopefully prevent me from tipping over.
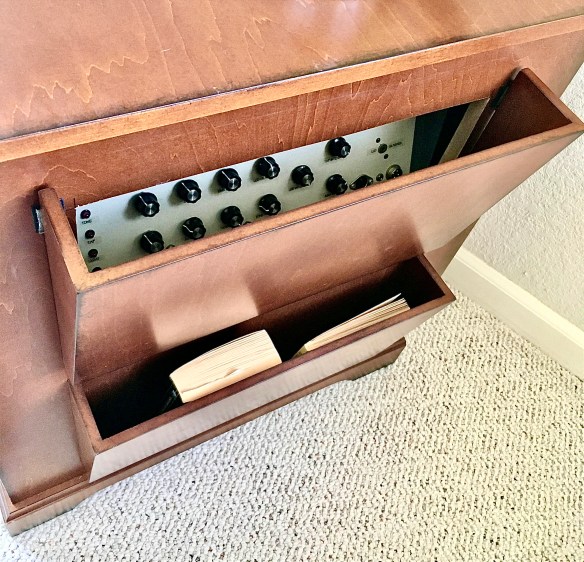
I began the build with pallet wood and four old ceiling fan blades – Recycle and Reuse.


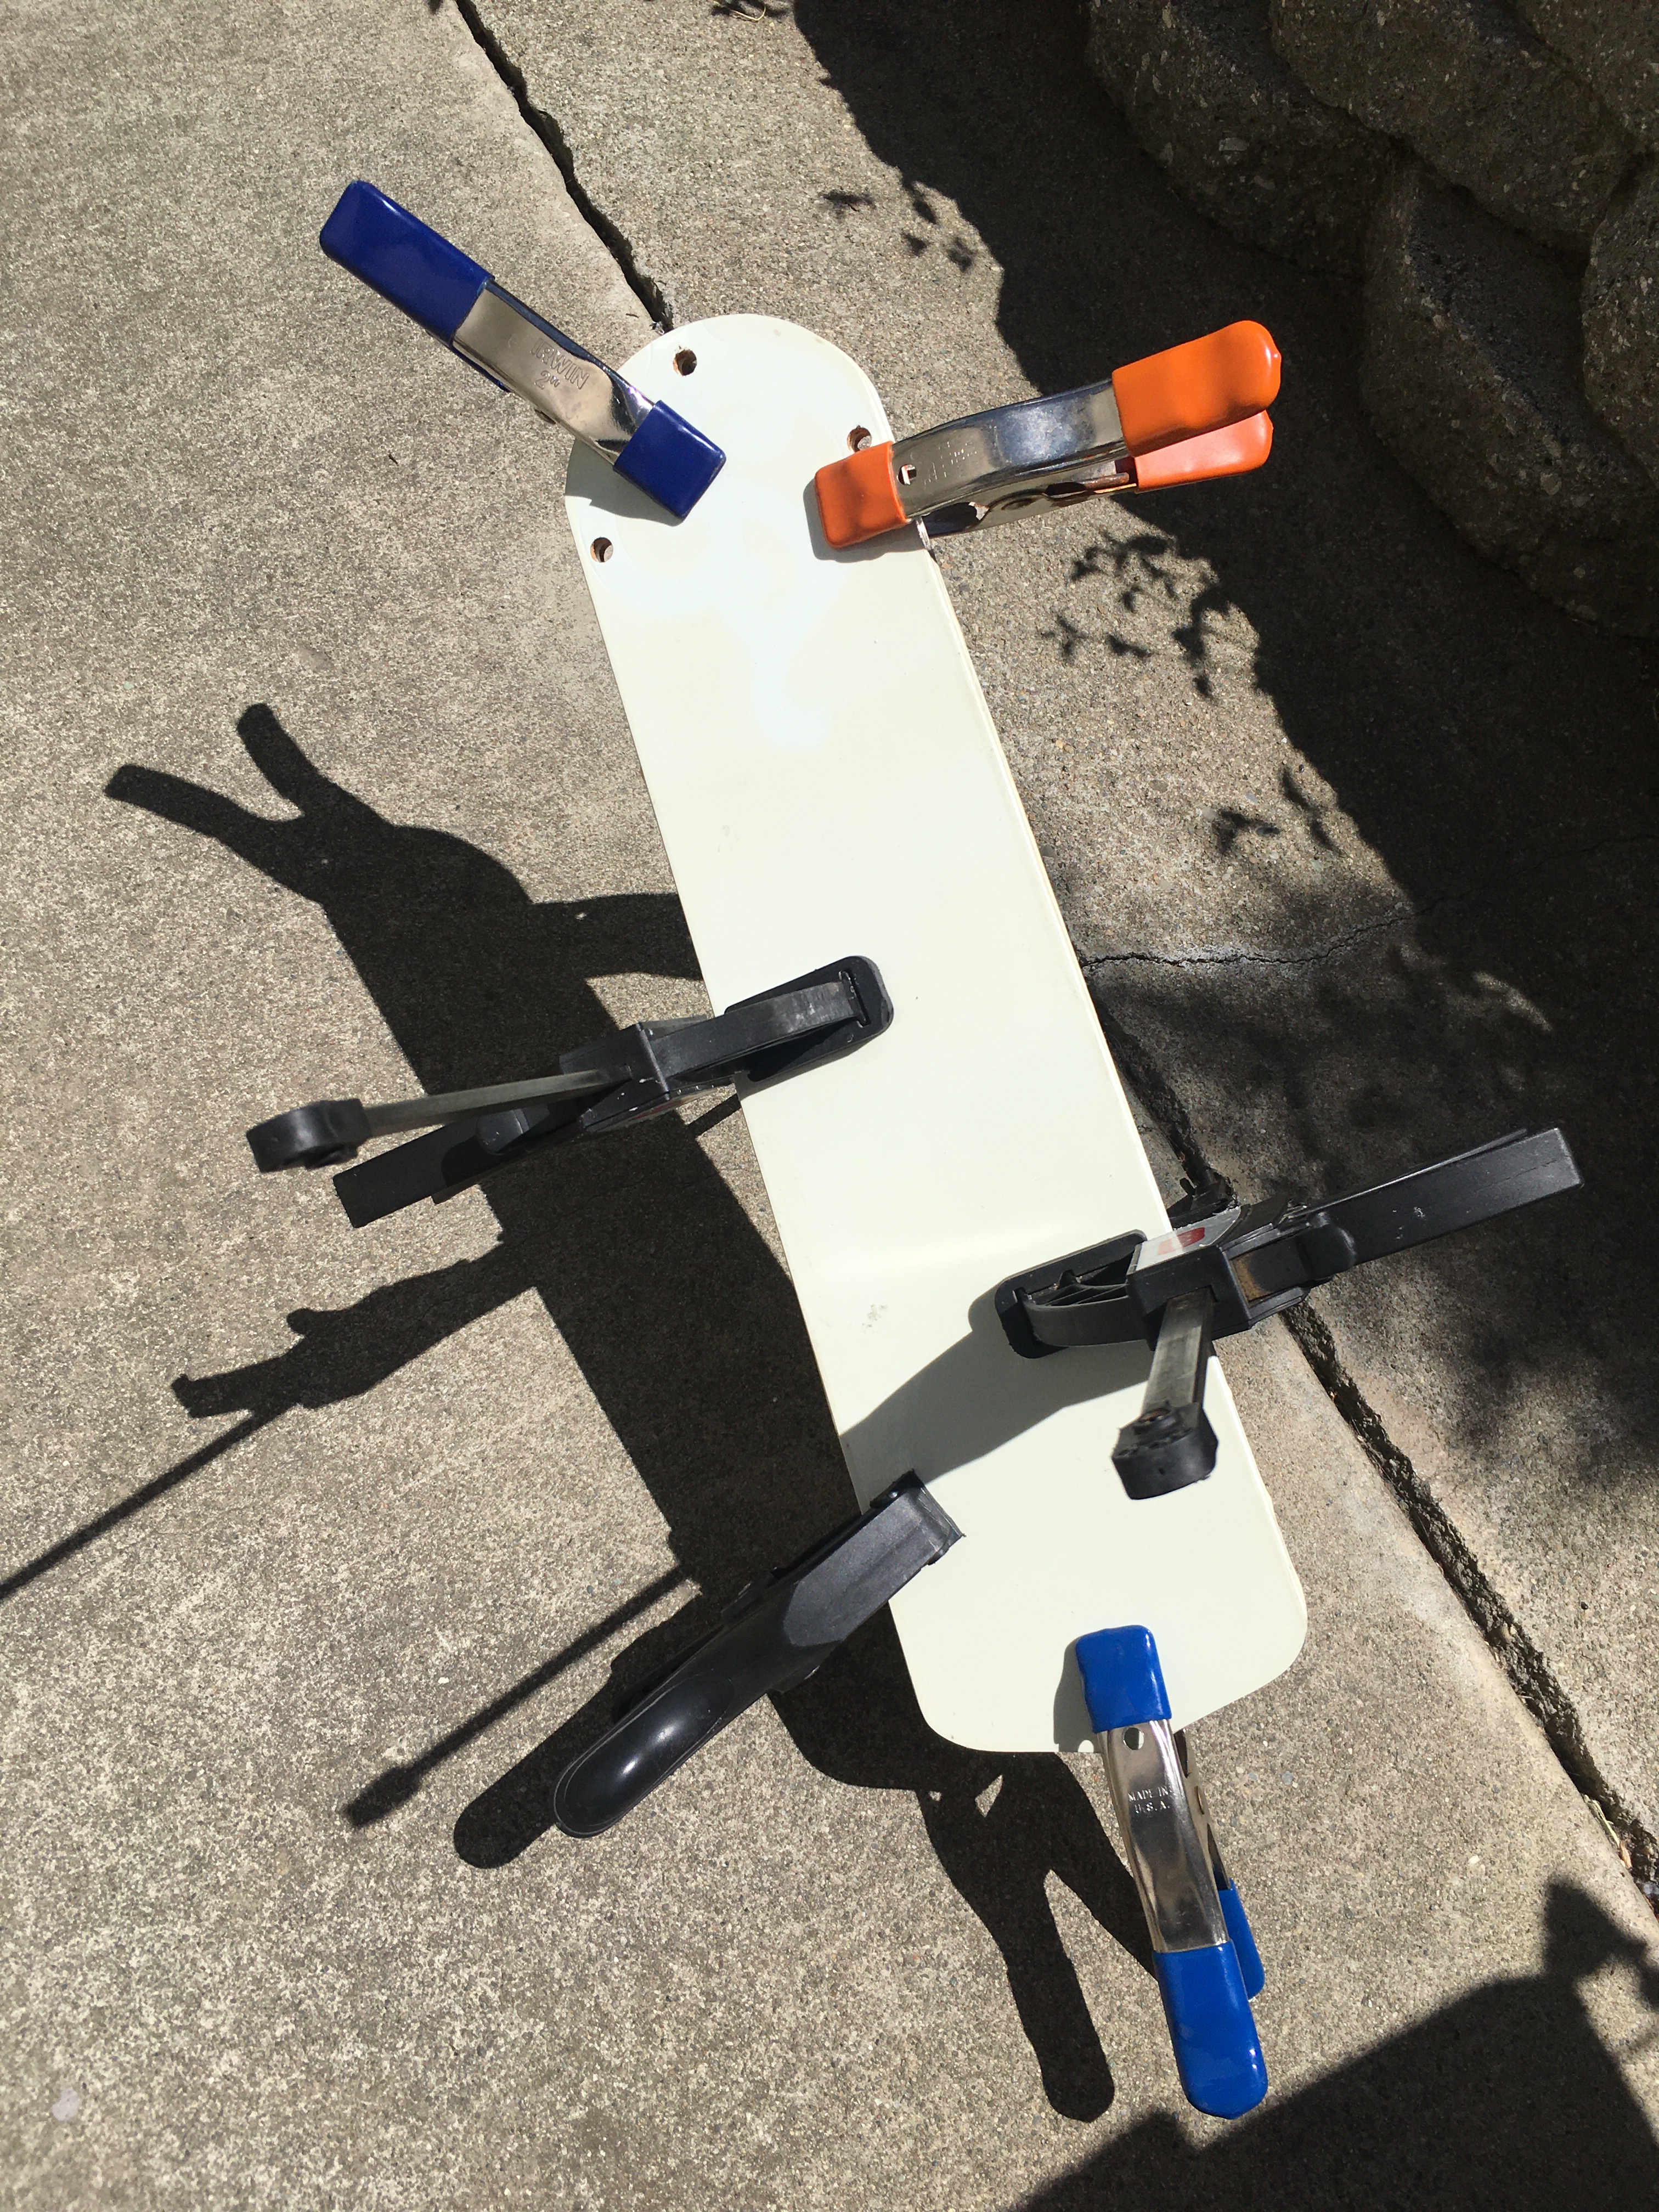
I glued and clamped the pallet wood to form the paddle shaft. I also glued and clamped up the fan blades, with each paddle end consisting of two fan blades glued together.
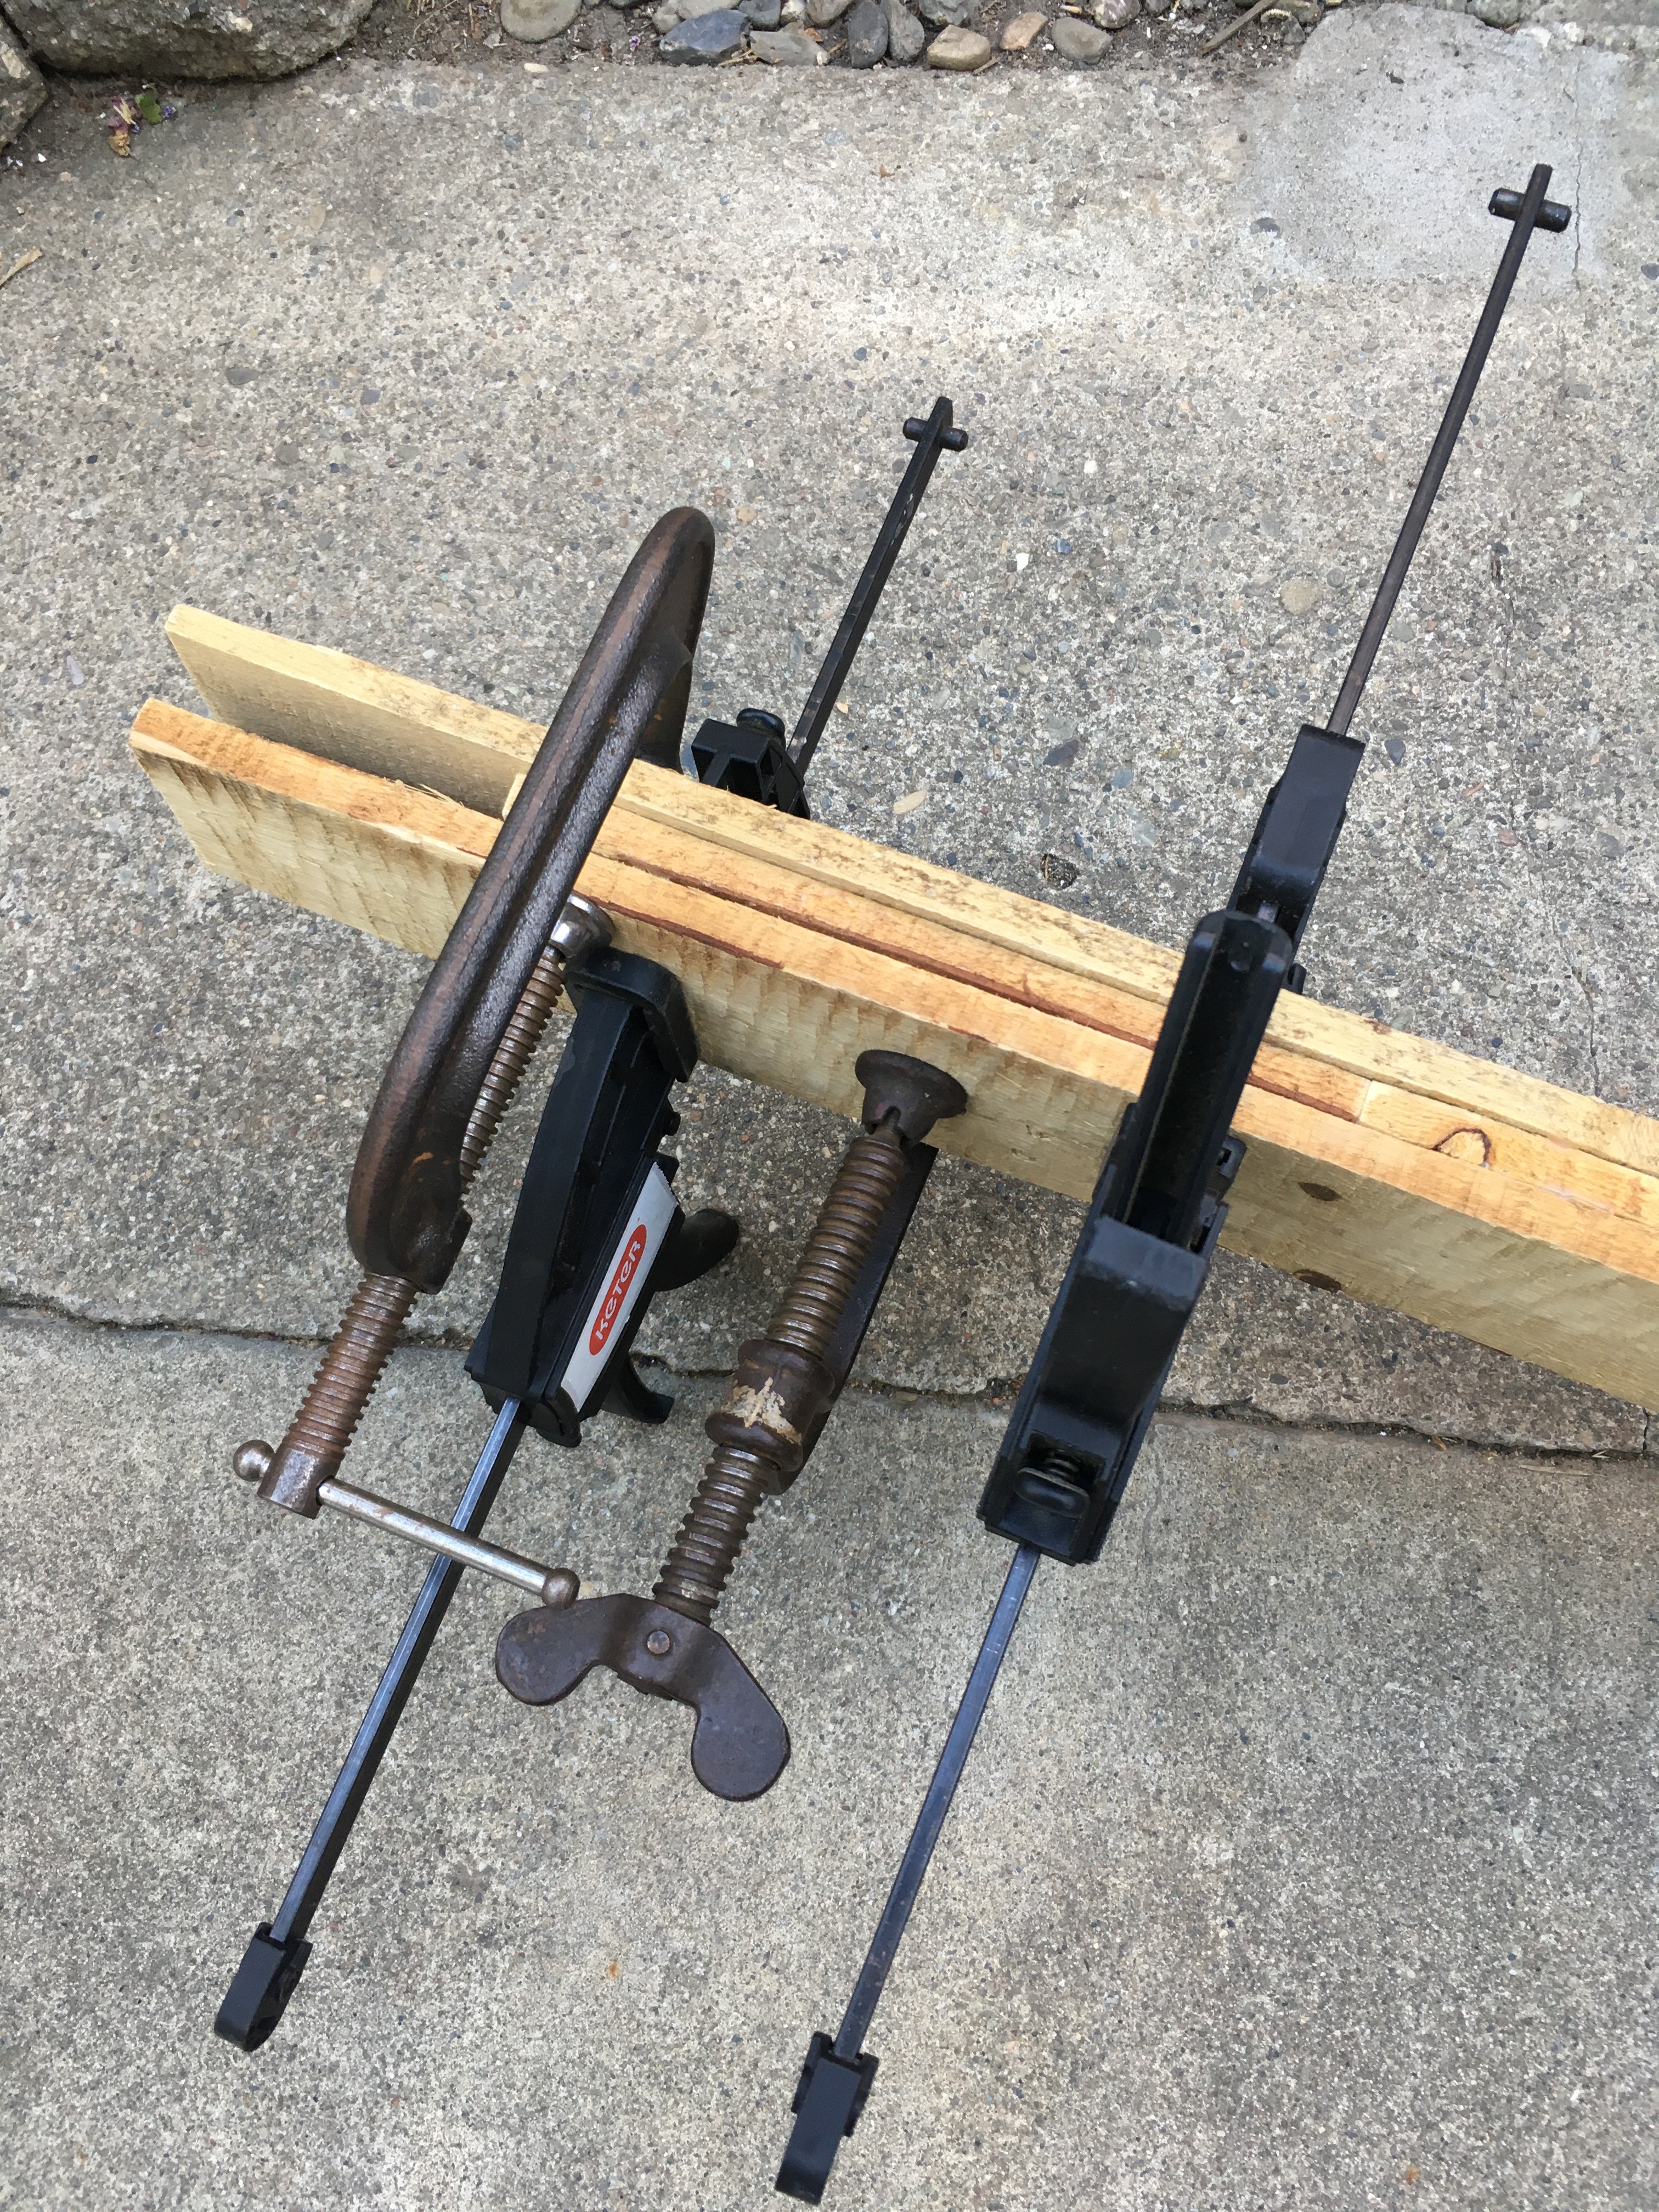
I left a slot at each end of the paddle shaft, so that the fan blades could be inserted.
Below, I have decided that I wanted the area where the blade attaches to the shaft, to resemble a hammerhead shark, emulating the balance board.
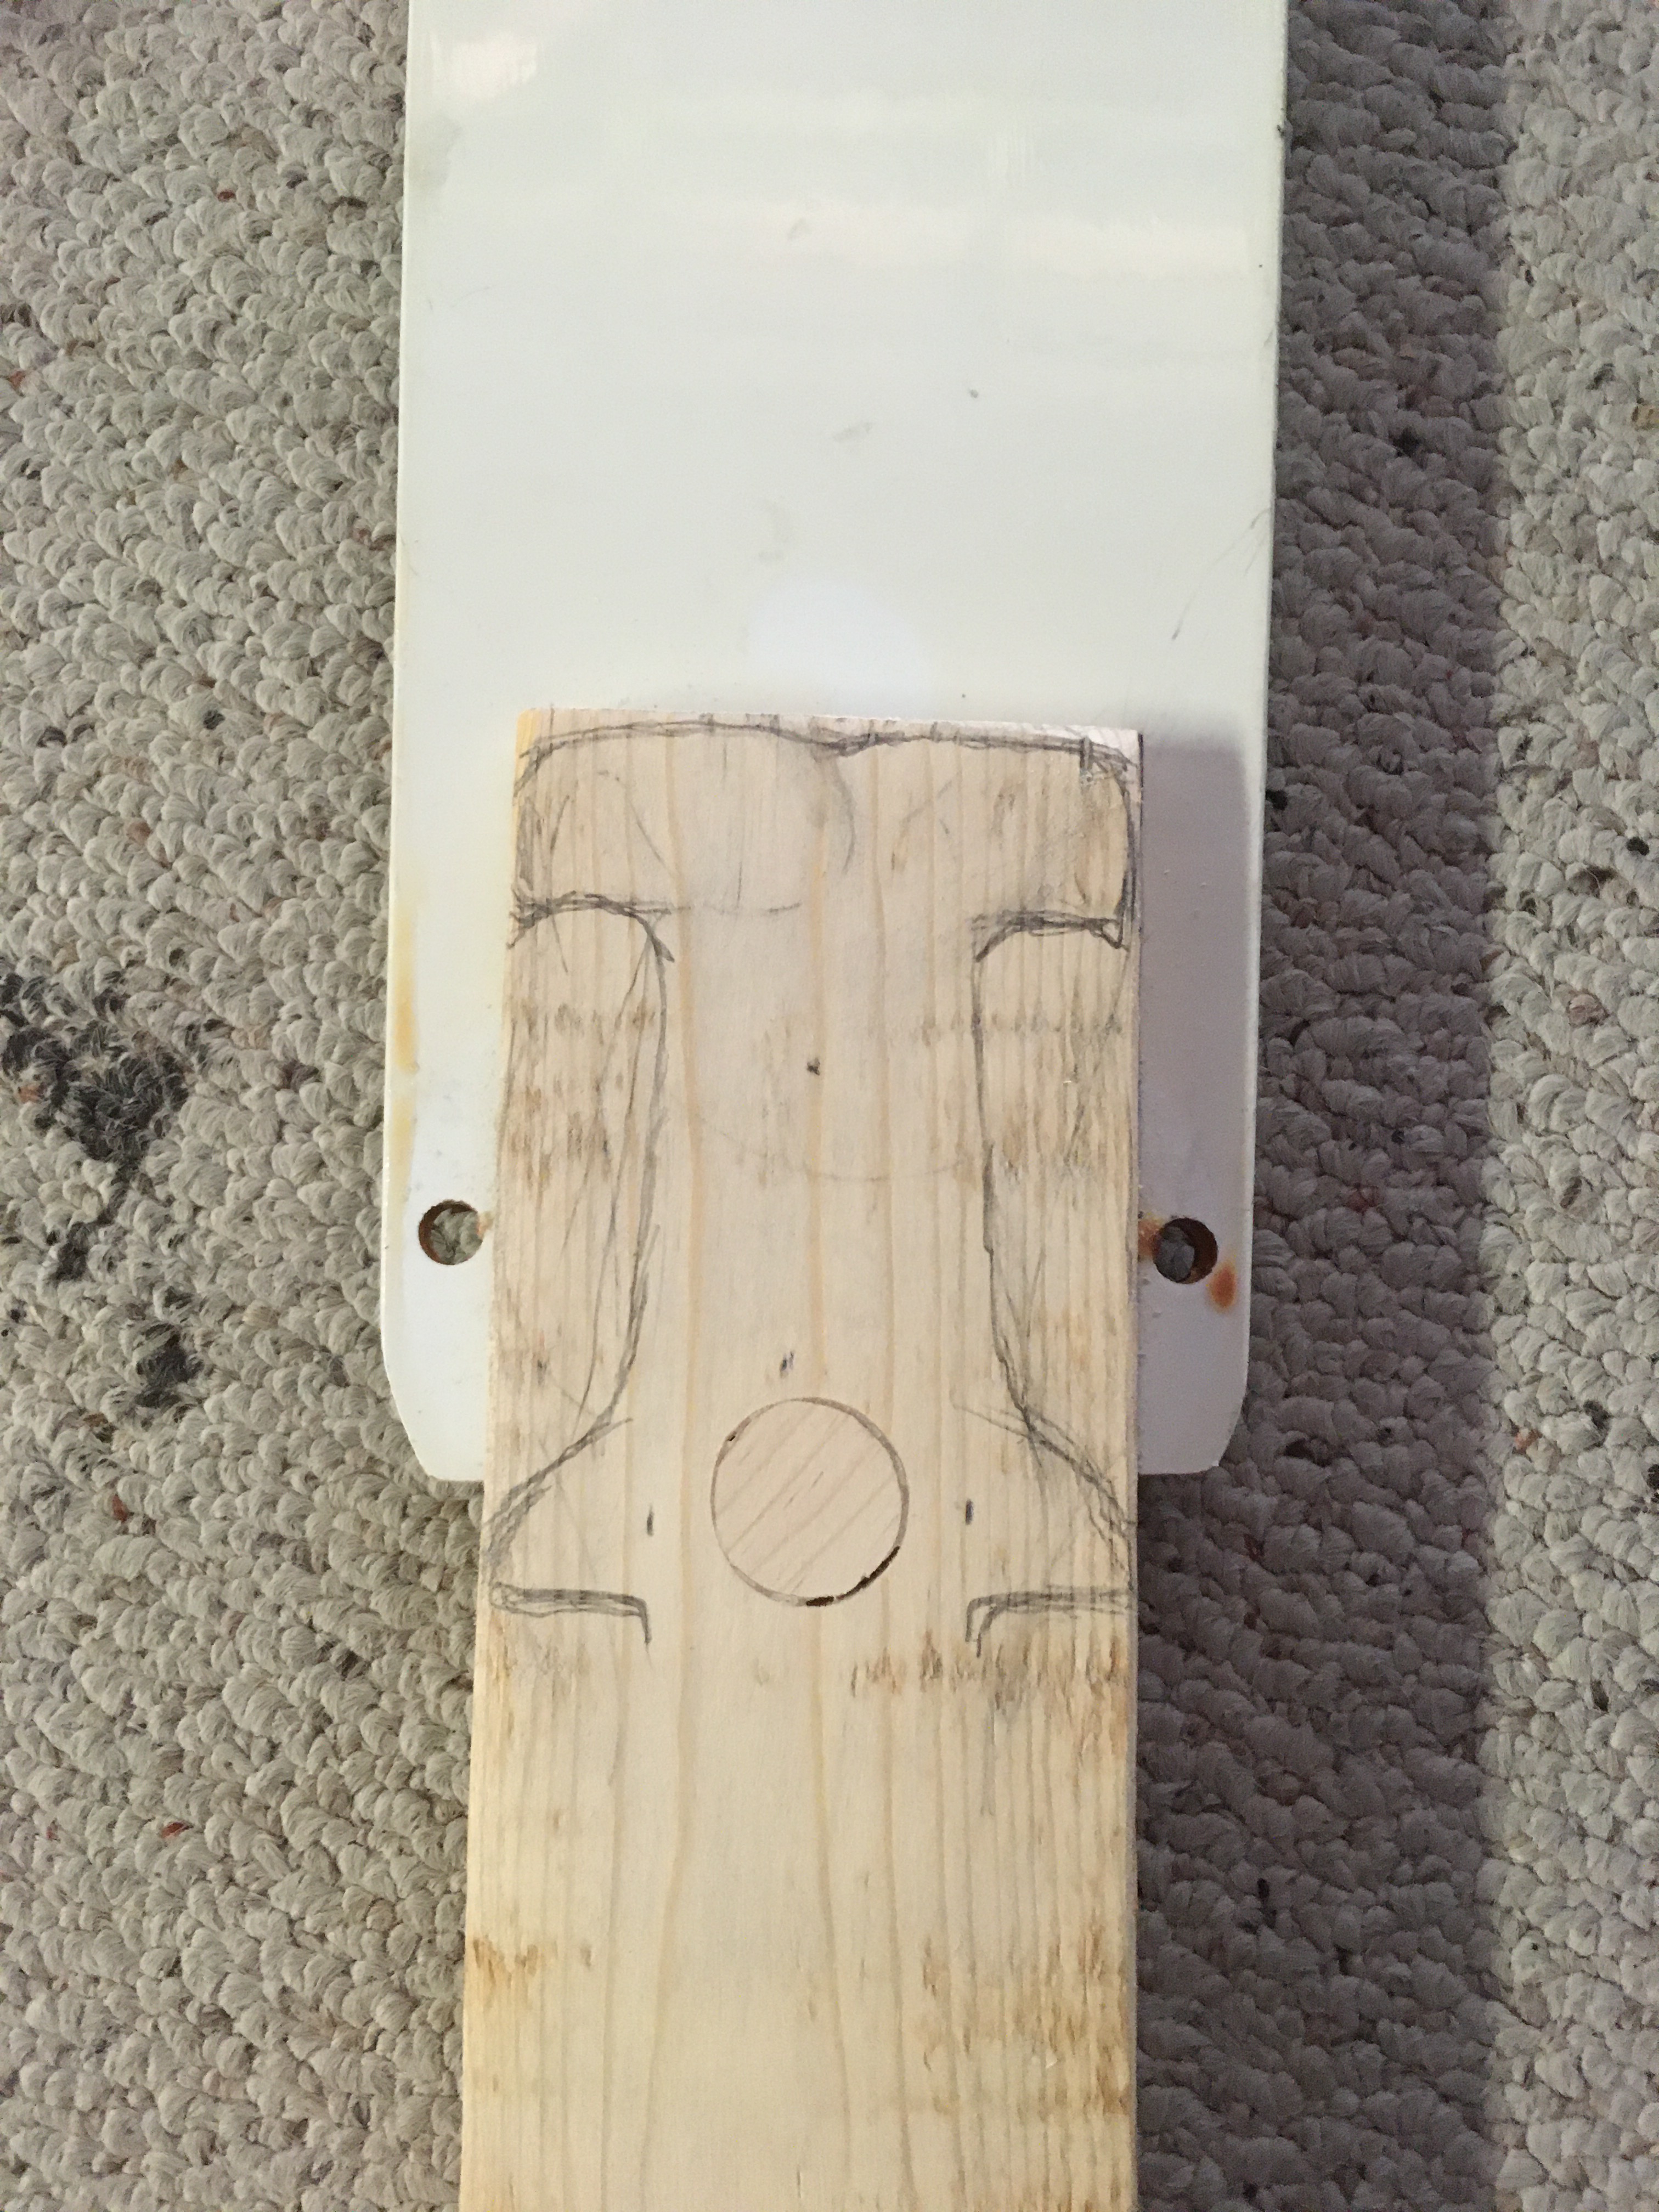
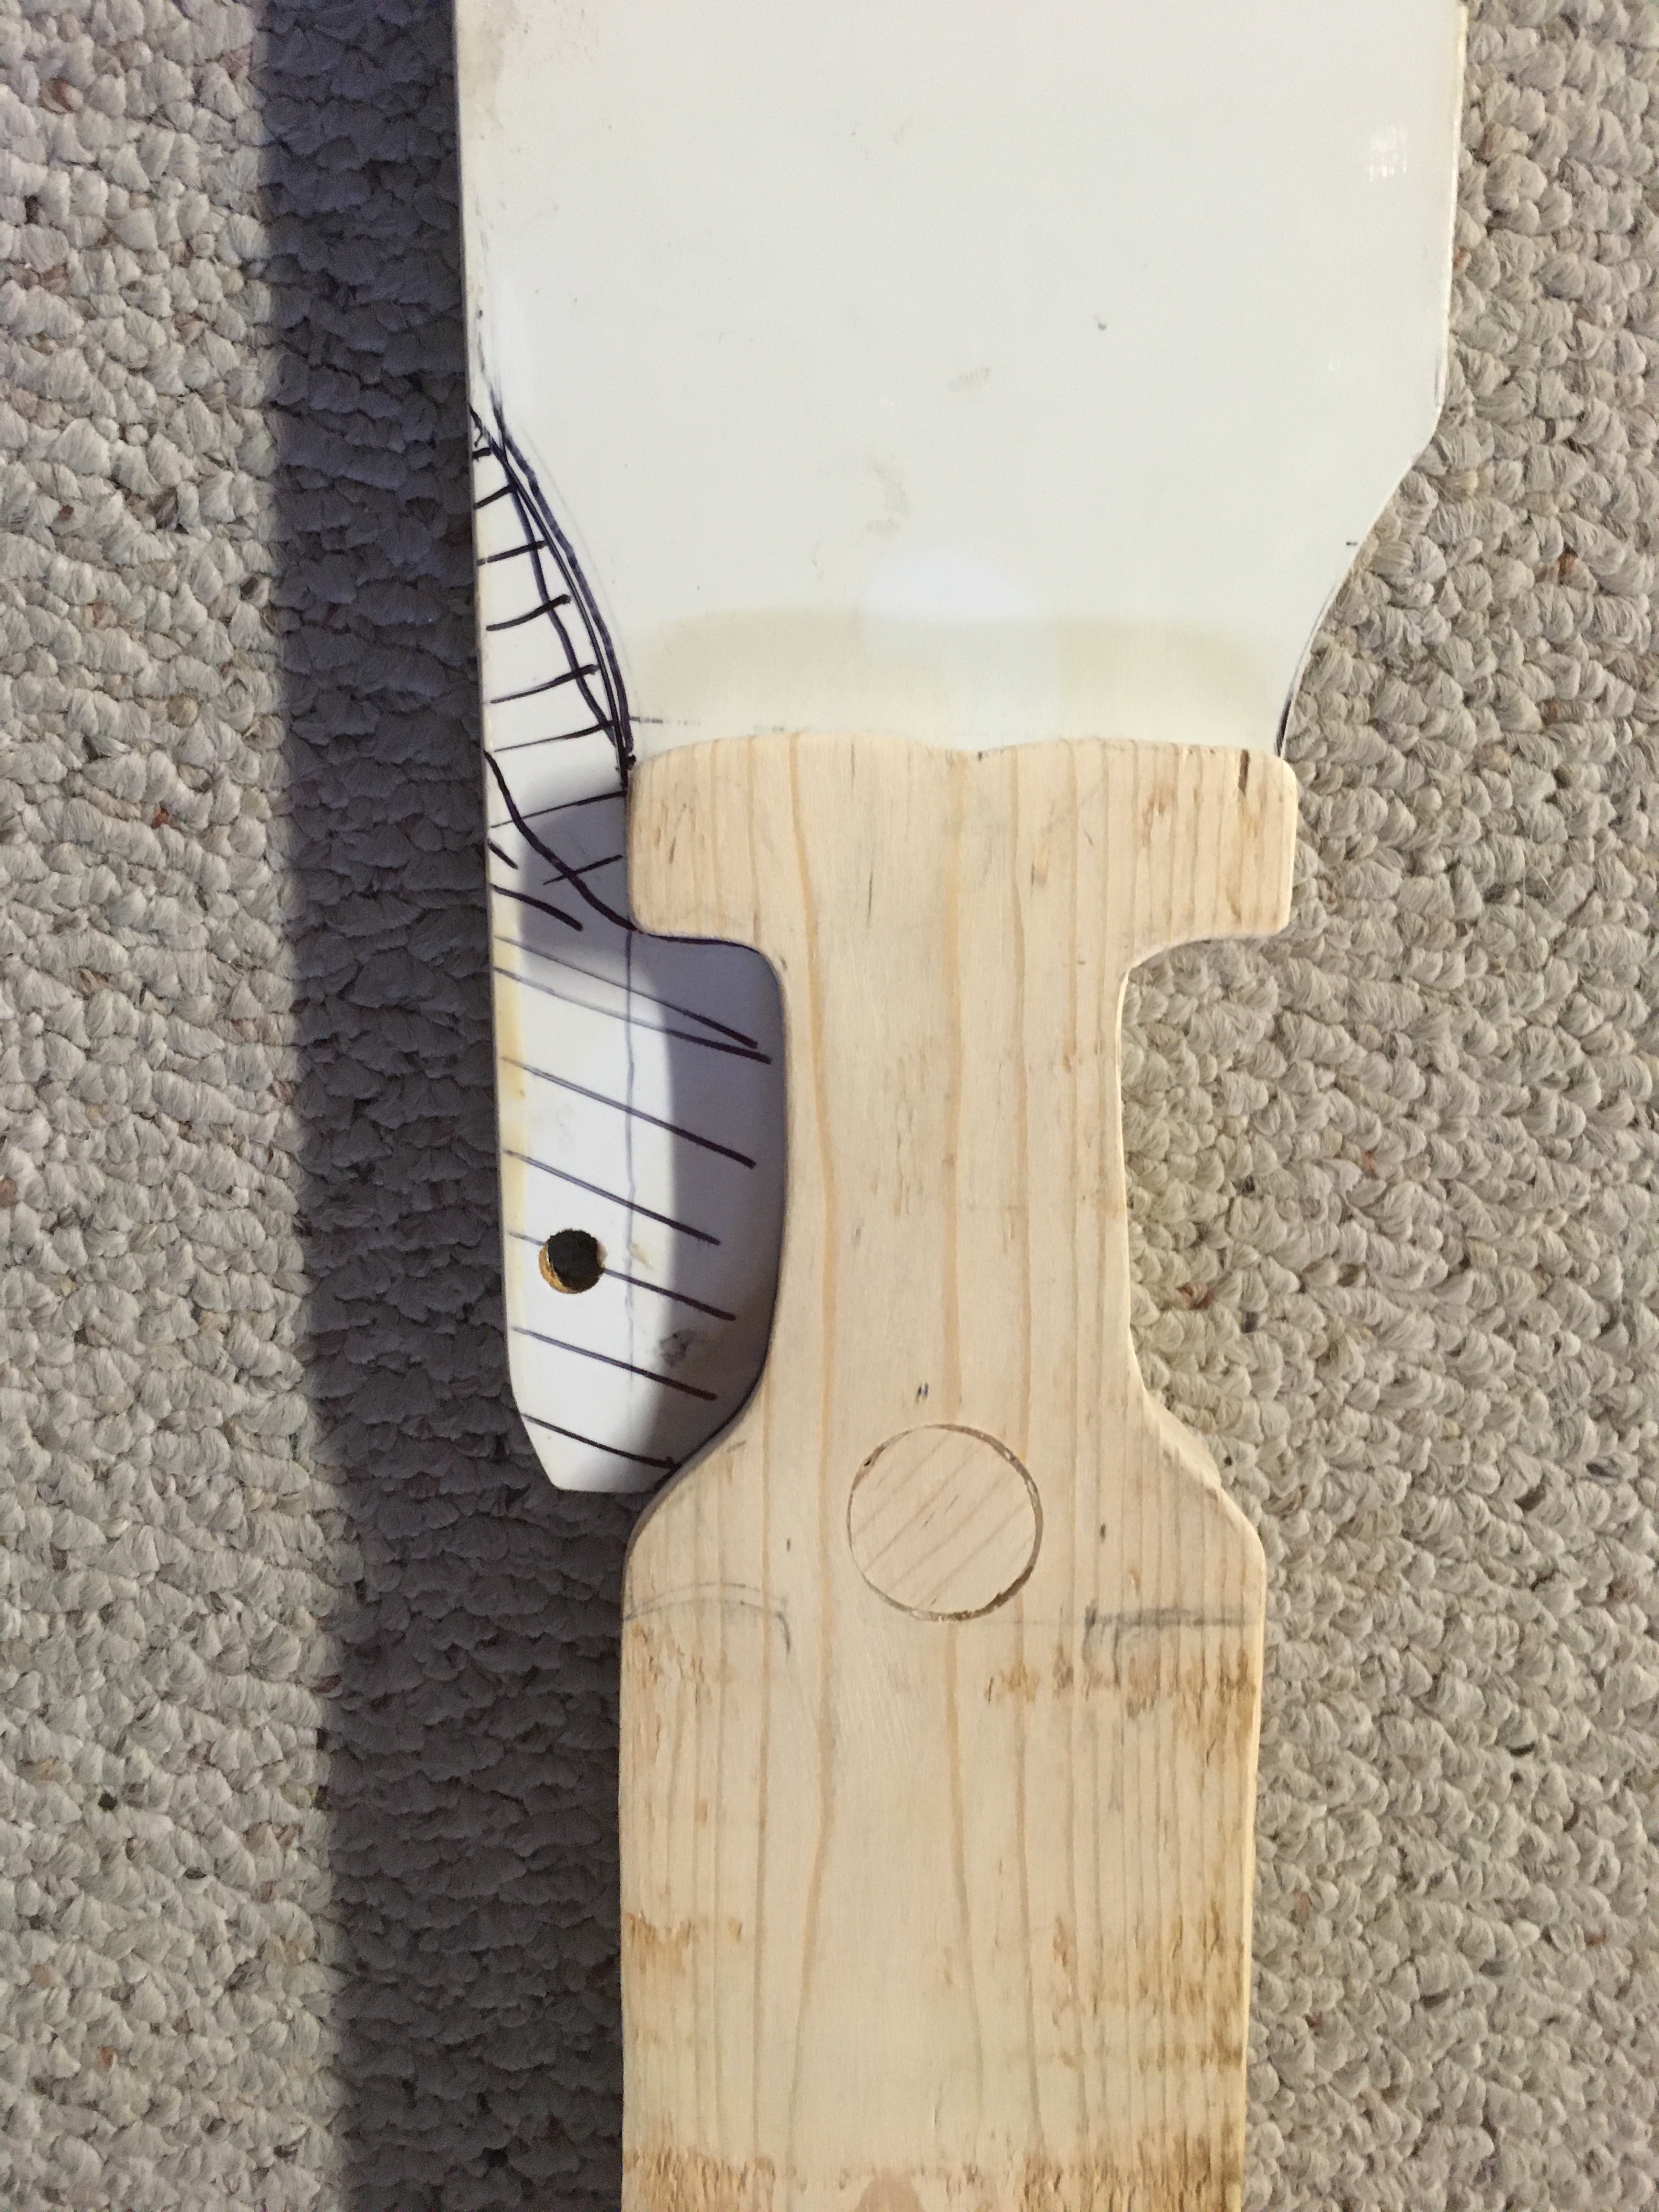
Here I have cut away the excess pallet wood.

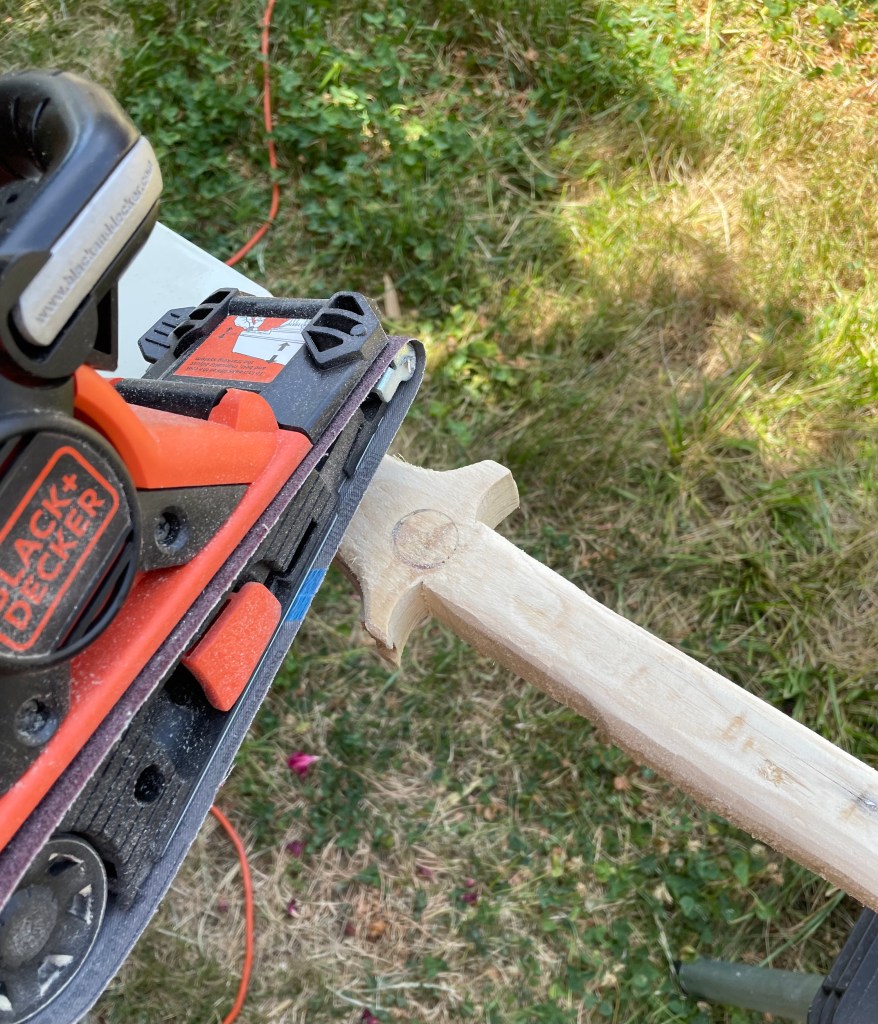
Next, I began to shape the paddle shaft. I used a belt sander and coarse hand file.
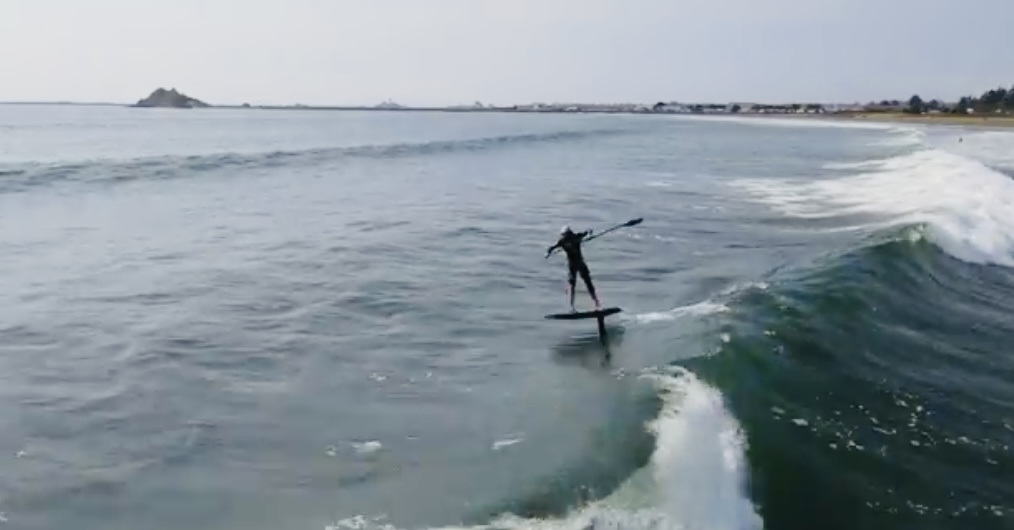
In Part 2, I will finish shaping the shaft, and will cut it so that one paddle end can be removed, and a handle end added. This will enable me to use the paddle with the Hammerhead Board once the hydrofoil wing is added and I’m in the water, like the surfer below.
Am I crazy for doing this? I guess I’ll find out.