A request came into my work cue to make up two garden boxes, each 8′ long X 16″ deep X 2′ high. The request indicated a very quick turn-a-round time. Well, I knew that I could not meet the time requirement. I just don’t work like that anymore.
A suggestion was made to buy some planter box kits. A little pricey, but everything was cut, made to assemble, and delivered to your site. Plus, it was made in the USA, and free shipping.
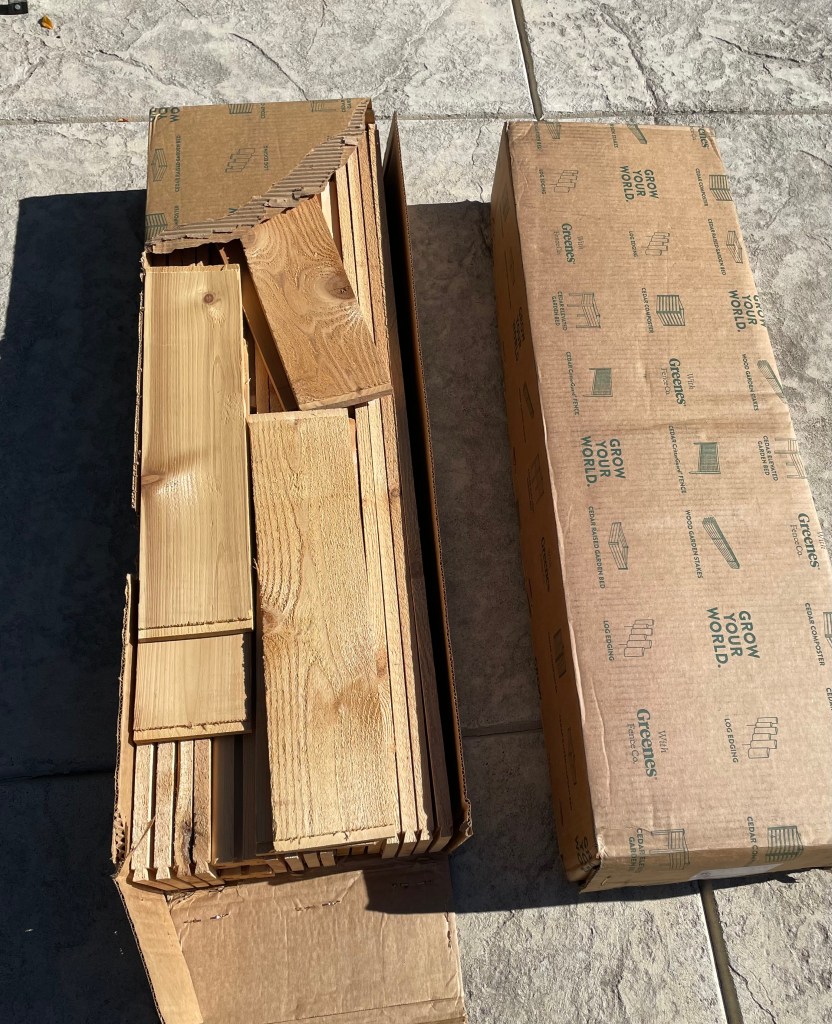
The kits were ordered from Greenes Fence Company.
Here are the two kits as delivered. The shipping boxes were not nearly as big as I’d imagined. Nice cedar wood, resistant to insects as well. Boards looked a little thinner than what I would have used.
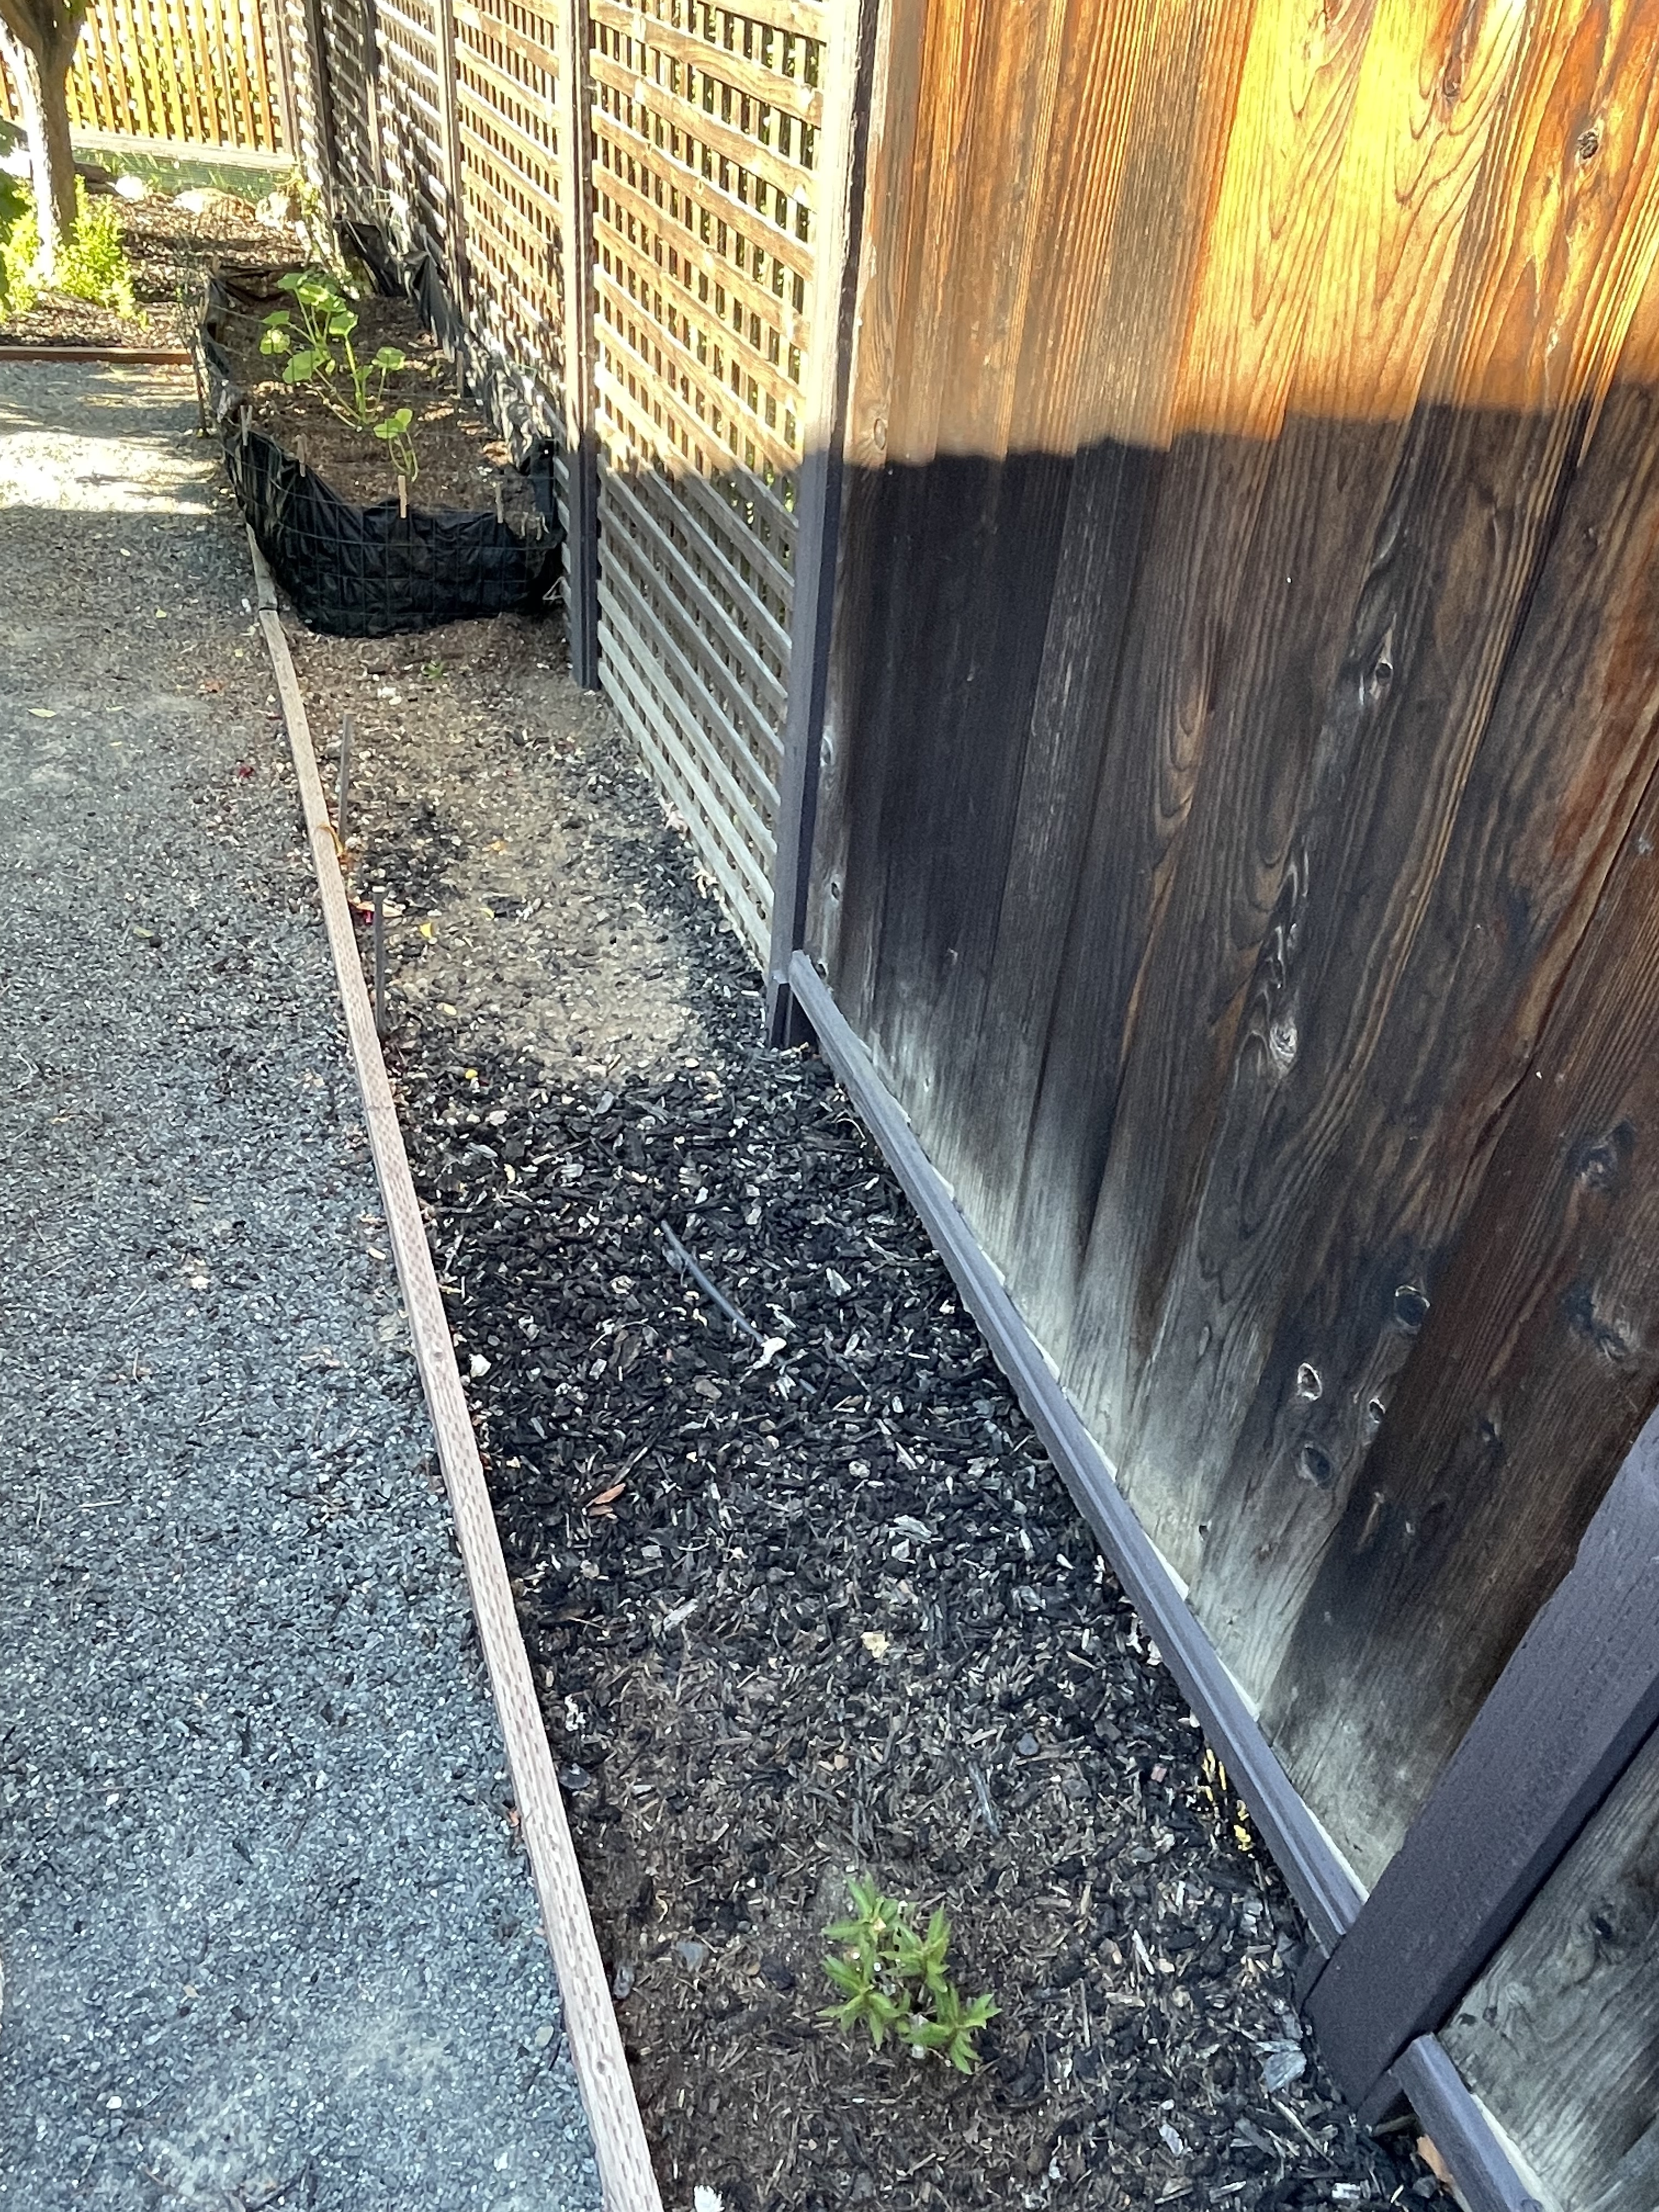
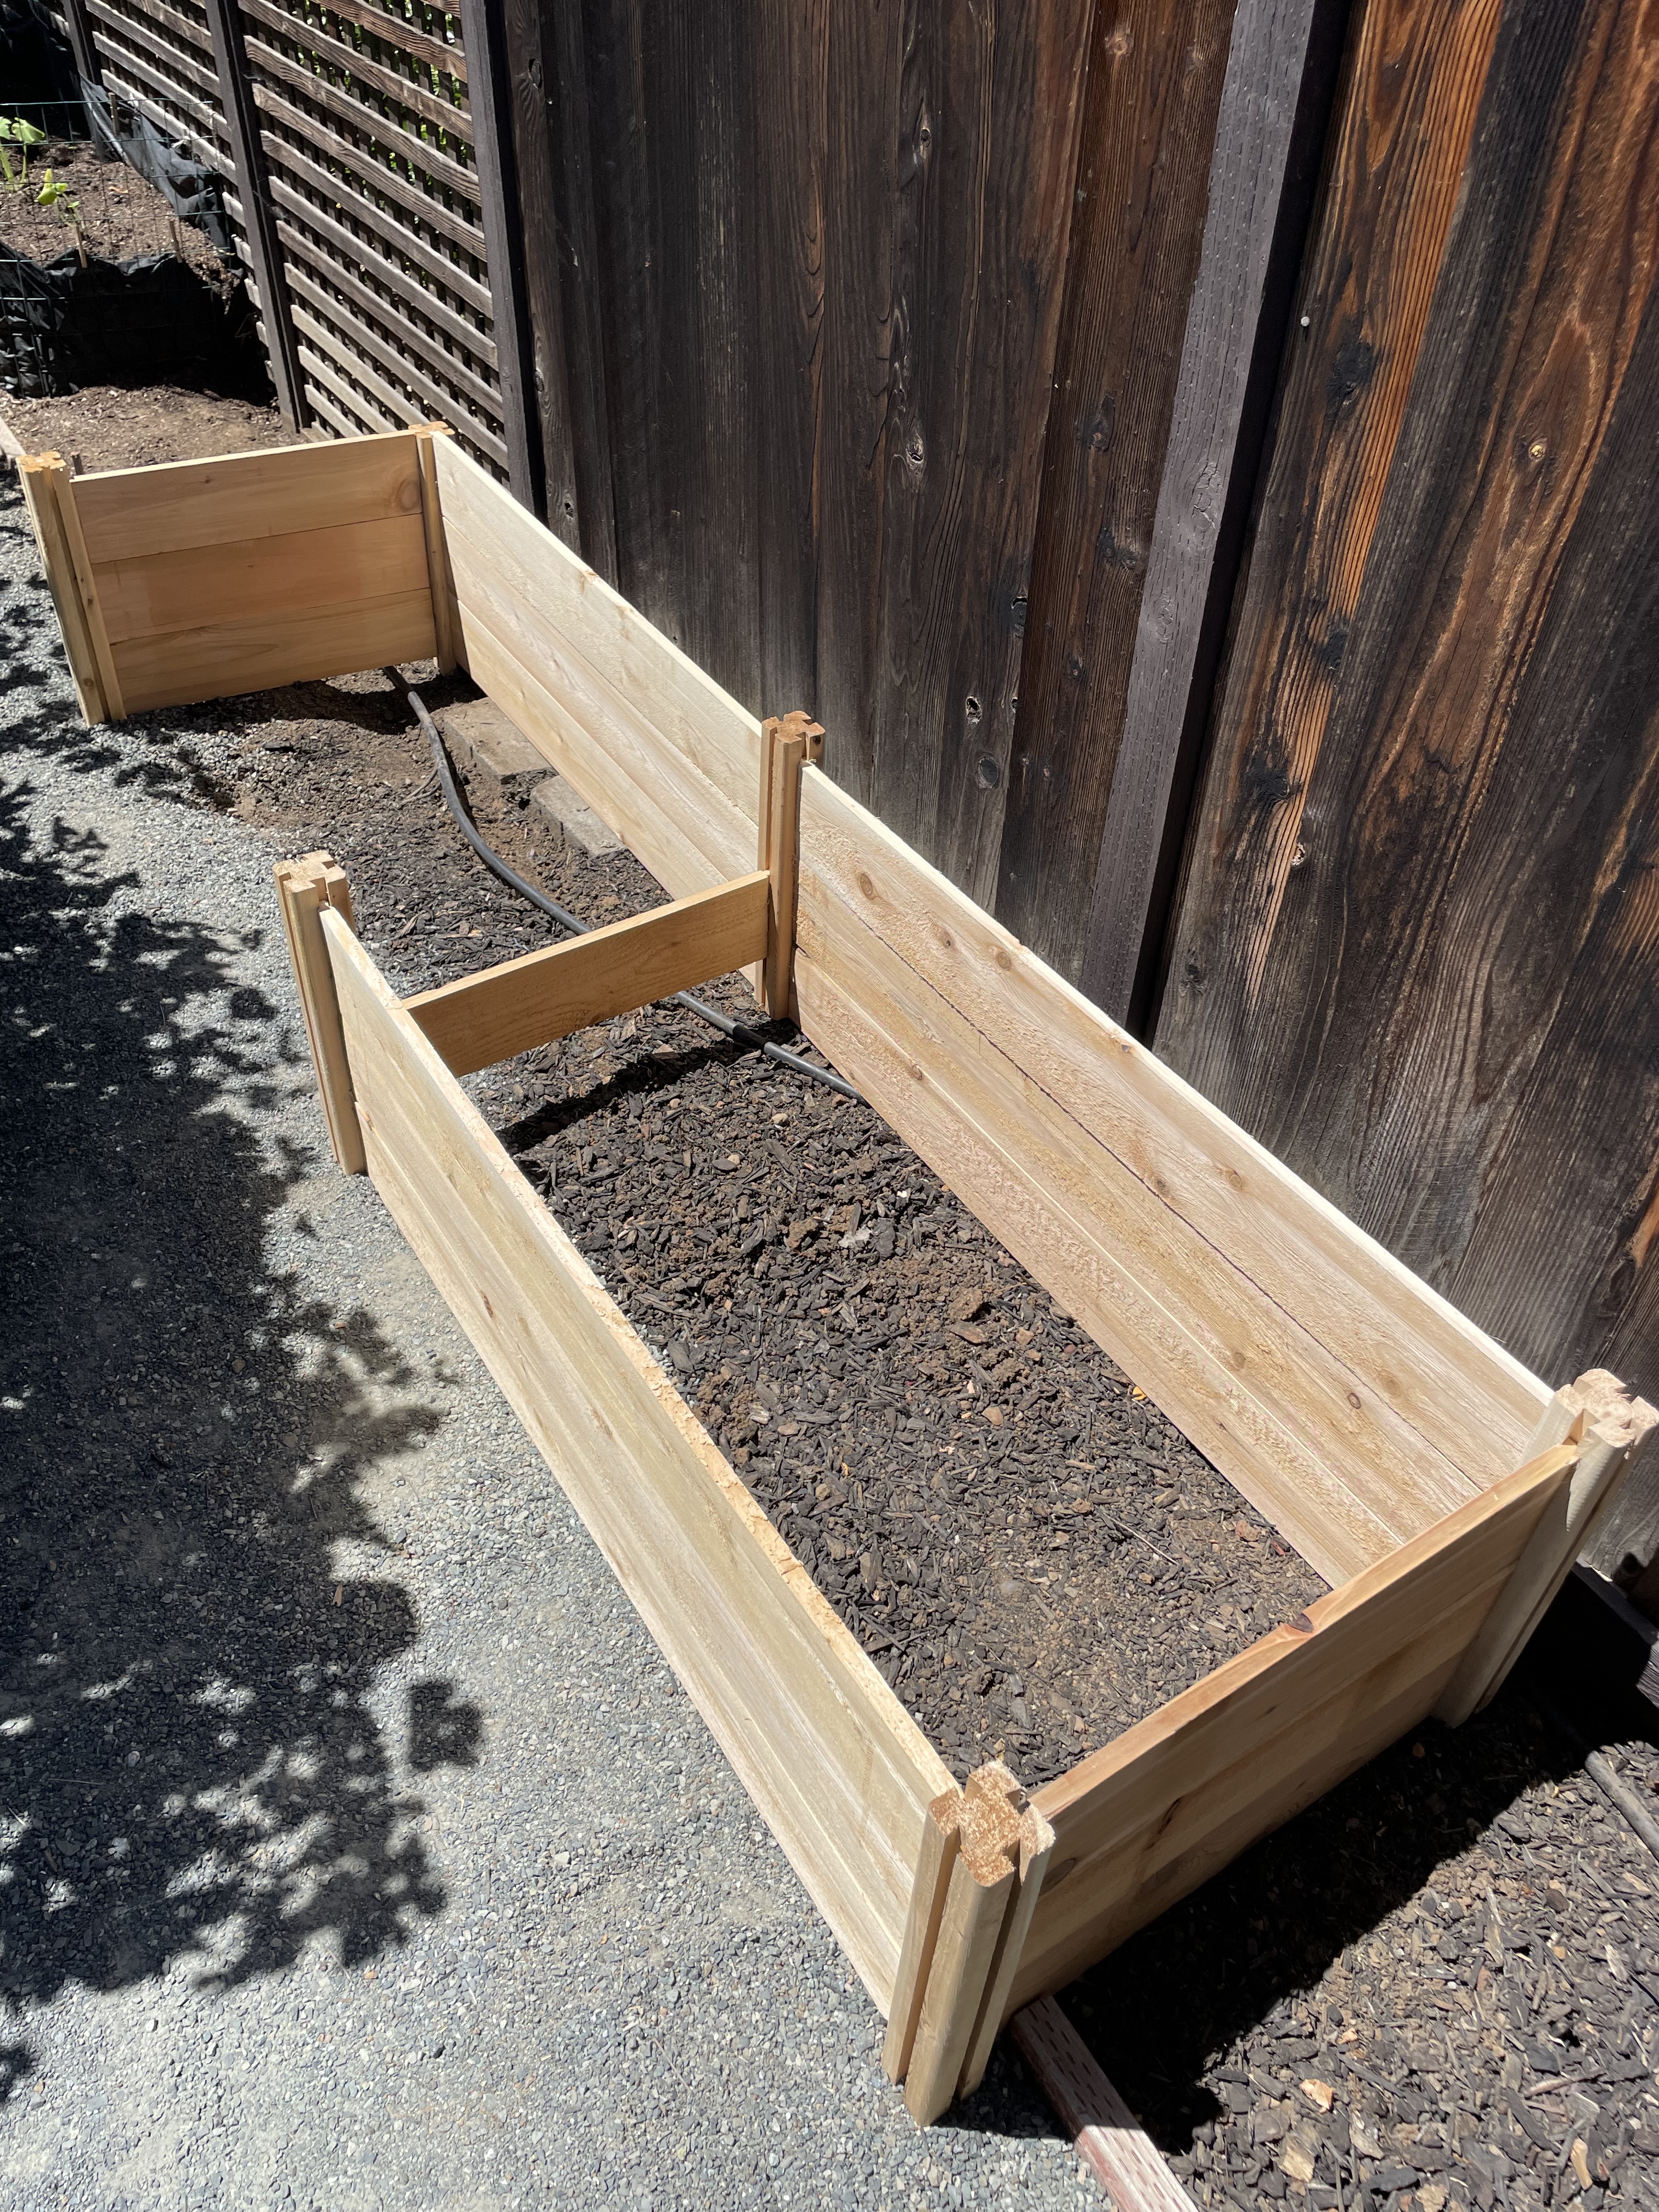
Below is the location where the first box was to be placed. The ground had to be cleared and leveled.
Of course, when doing a ground level job, there are ALWAYS concrete remnants that require removal.

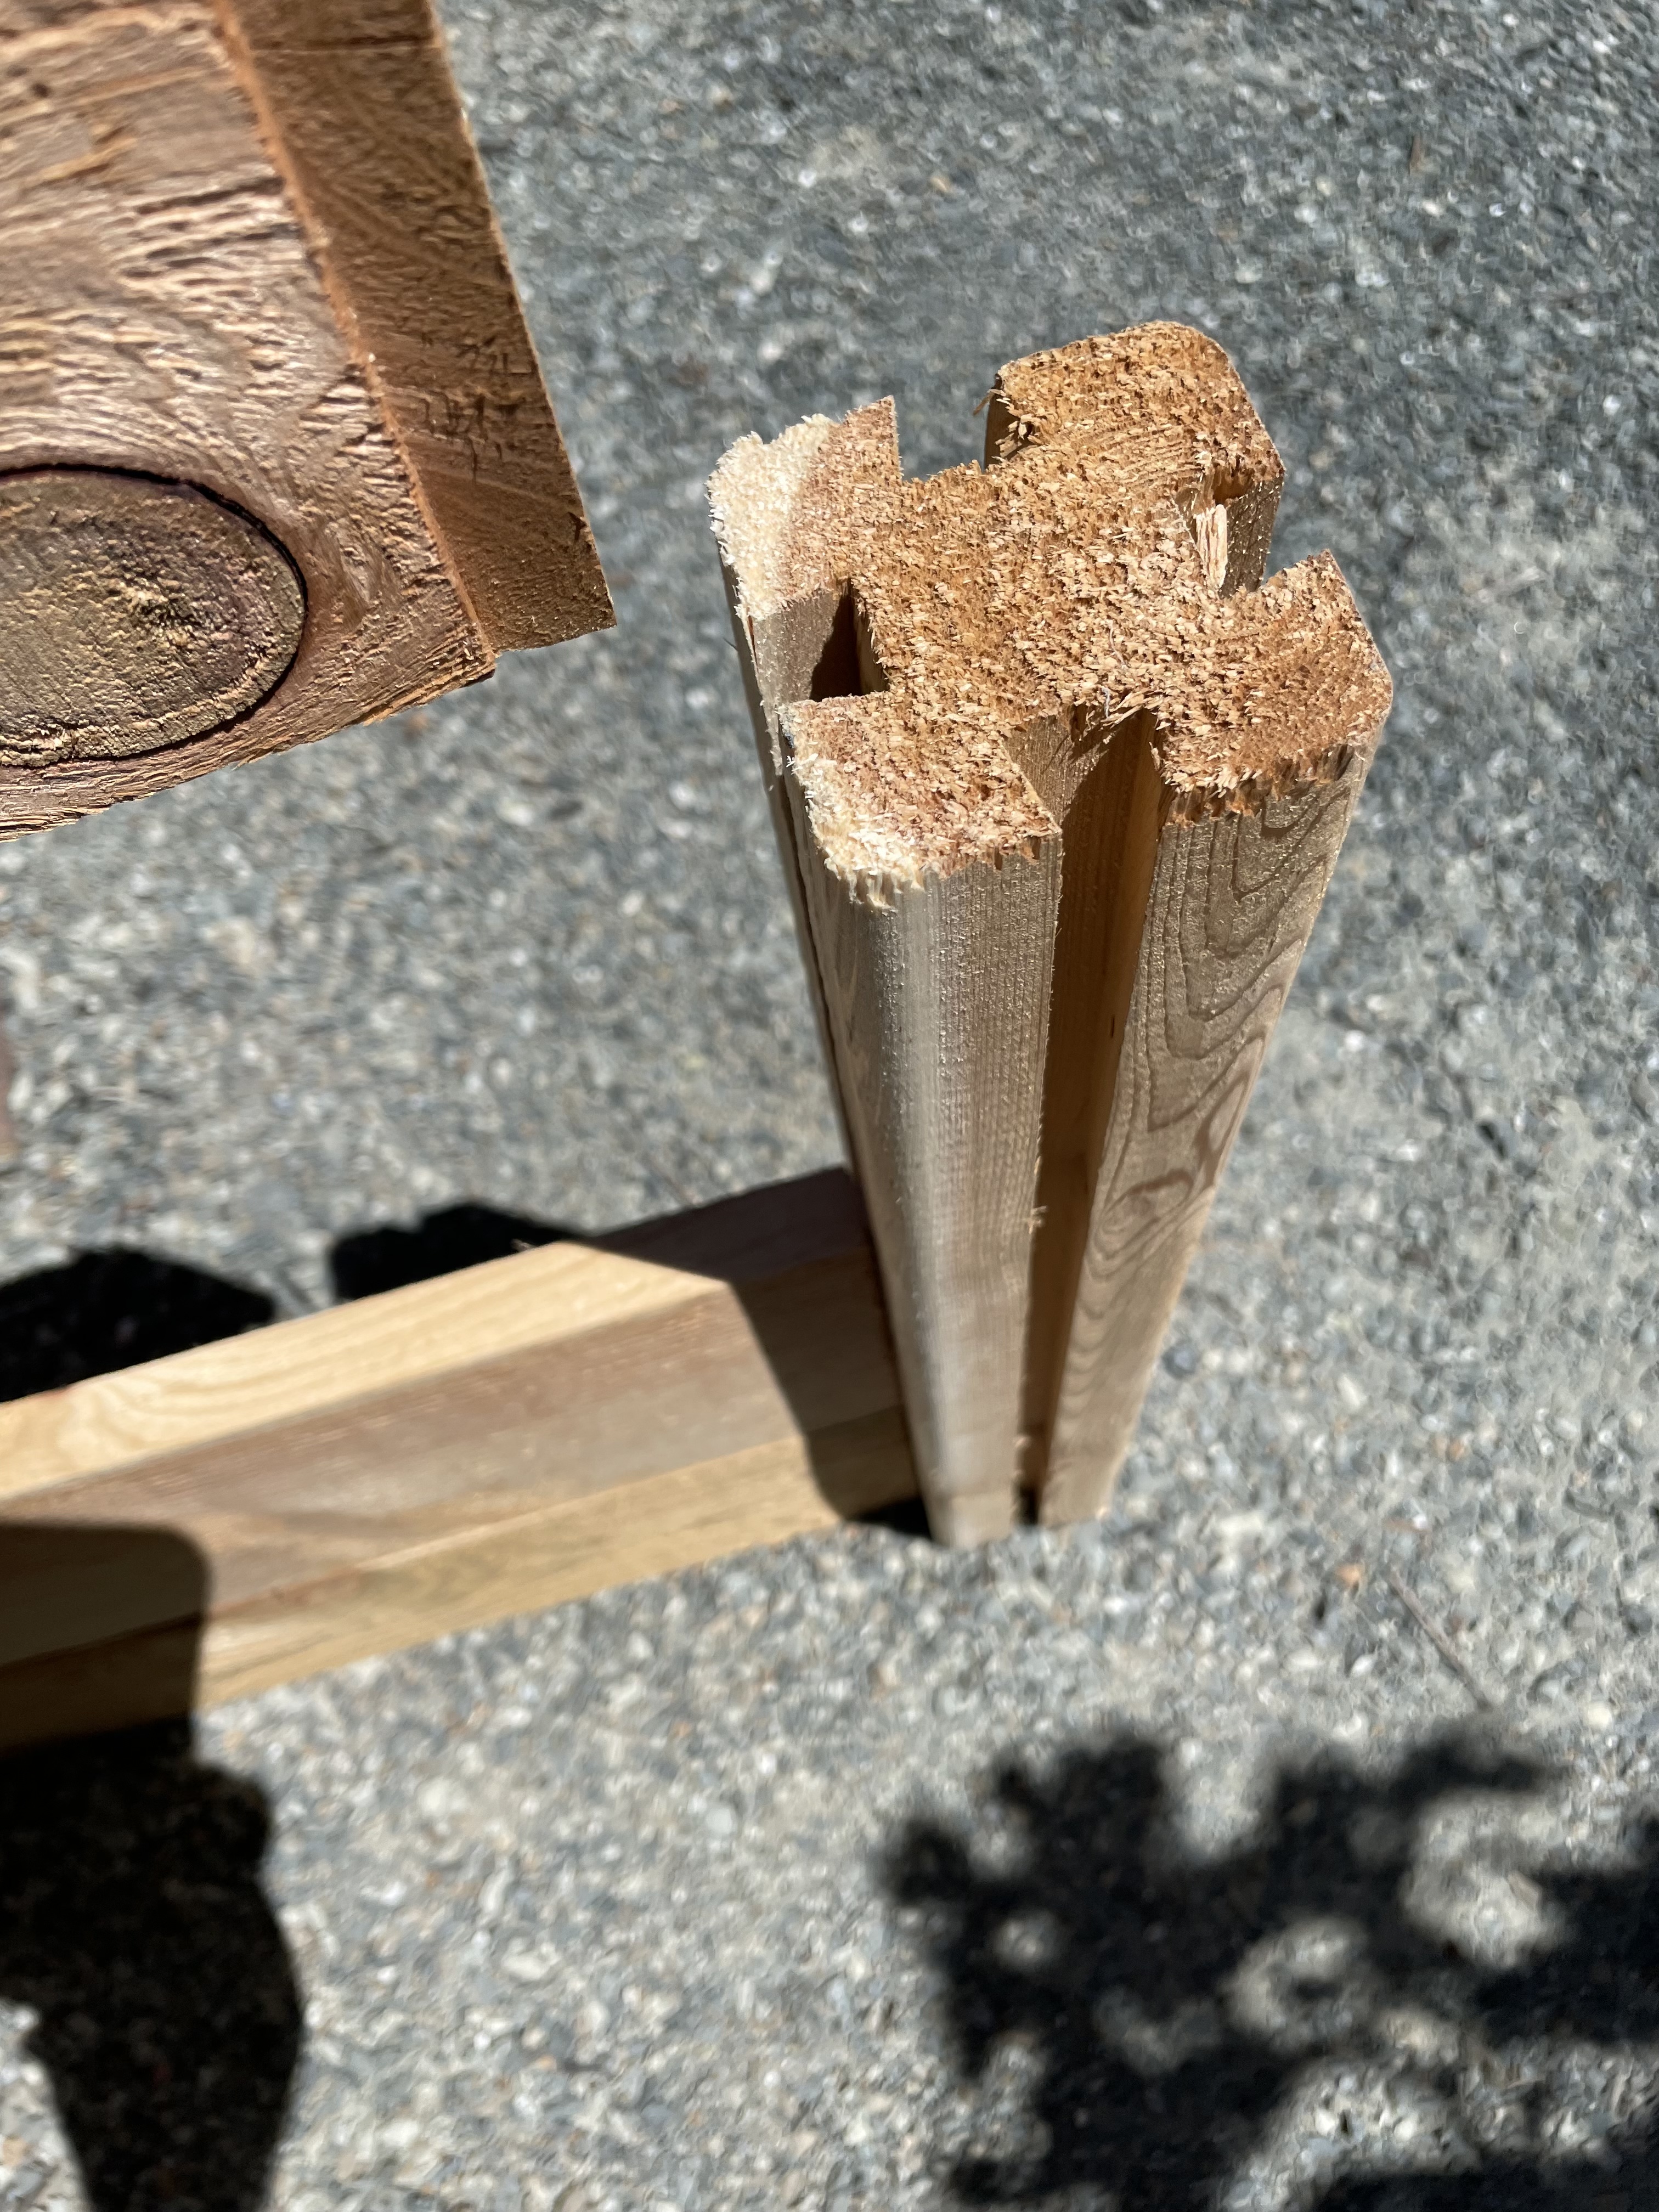
As you can see, there are no nails or screws required to assemble the boxes. Everything went together very well. Only an occasional ‘persuasion’ from a wooden mallet was needed.
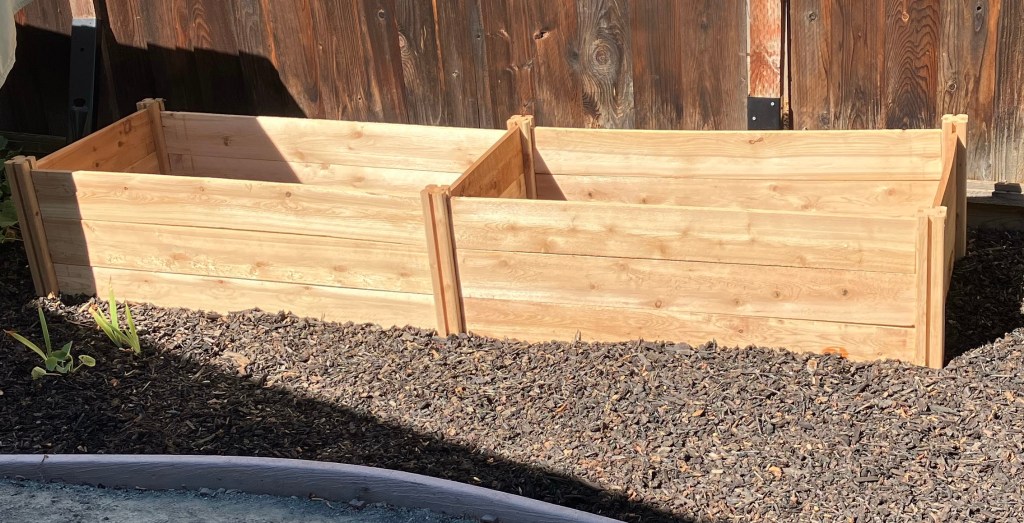
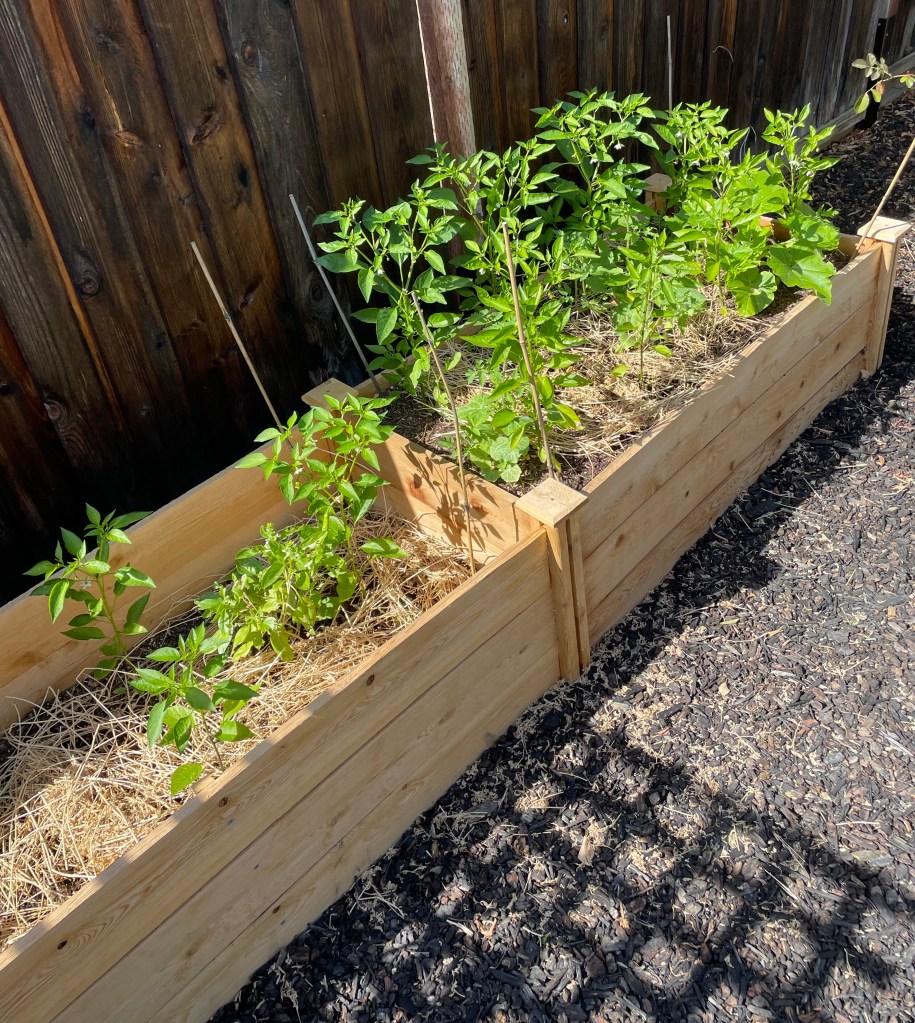
This is a picture of the completed second box.
Of course a couple of trips to the nursery were required for dirt. We also added some of our own compost Garden Gold.
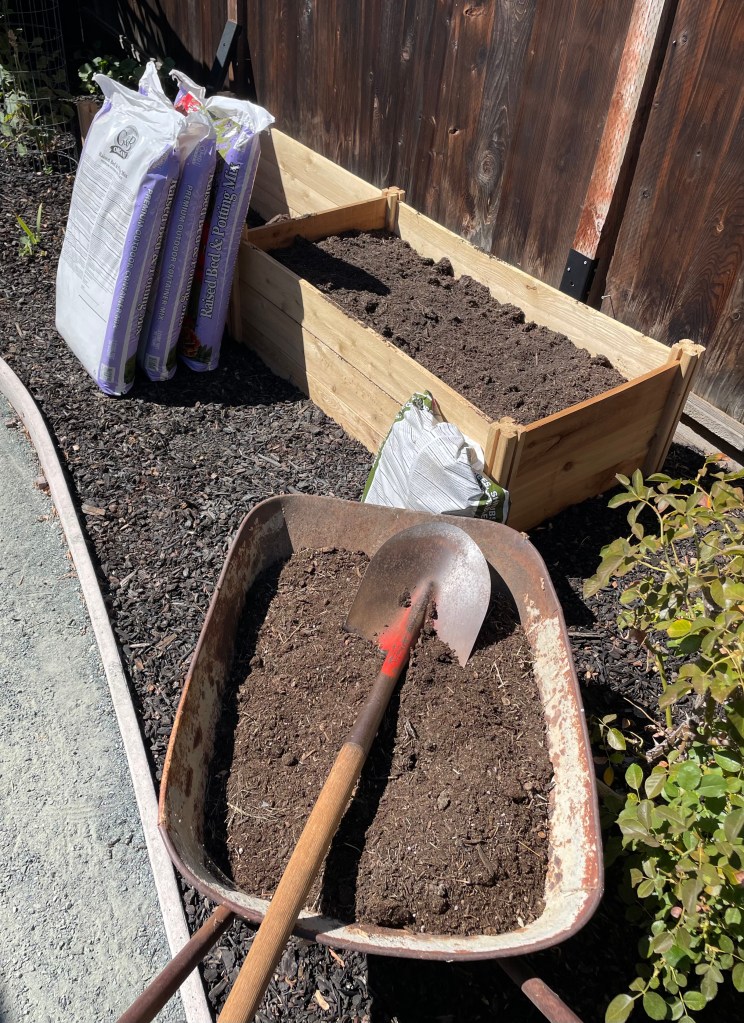
Well, the job is done and veggies are growing. Pretty good I’d say.
If you are going to go the kit route, here are a couple of suggestions:
- Do not unbox the kit until you are ready to set it up. The boards may have a tendency to bend as they dry. Once bent, they are harder to get installed.
- Fill each box with dirt as soon as possible, so that the box sides remain straight and do not curve.
If it was not for the garden box kits, I might very well still be in the planning phase.