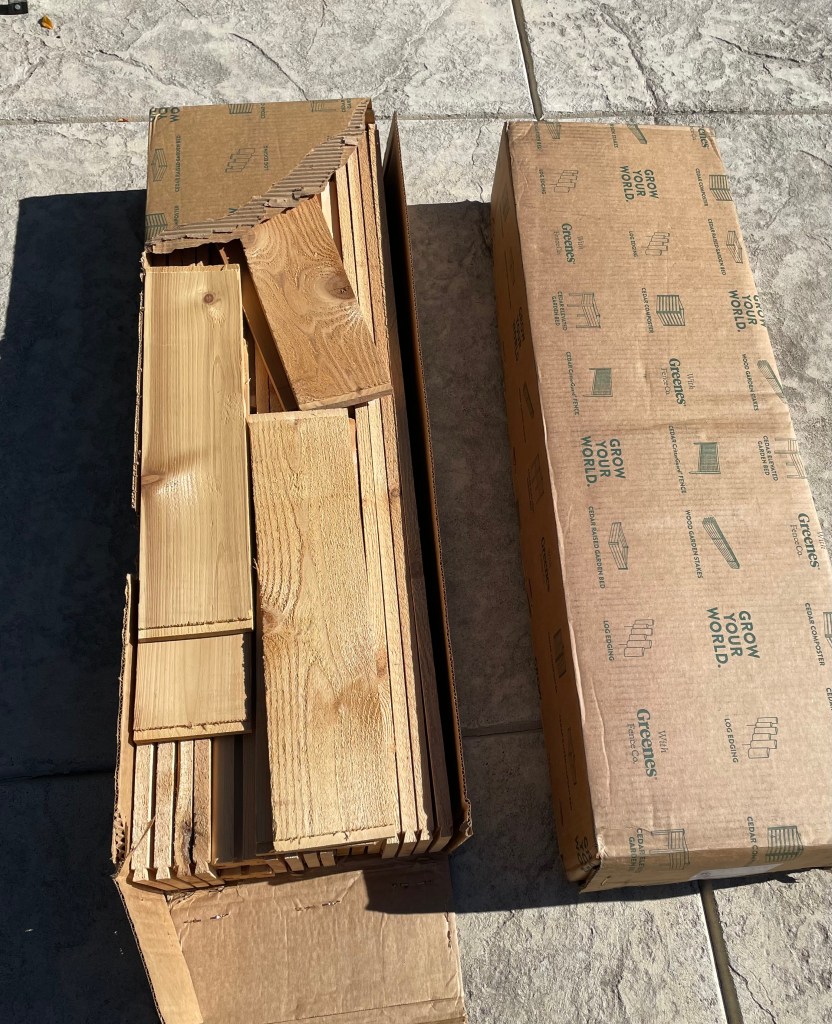
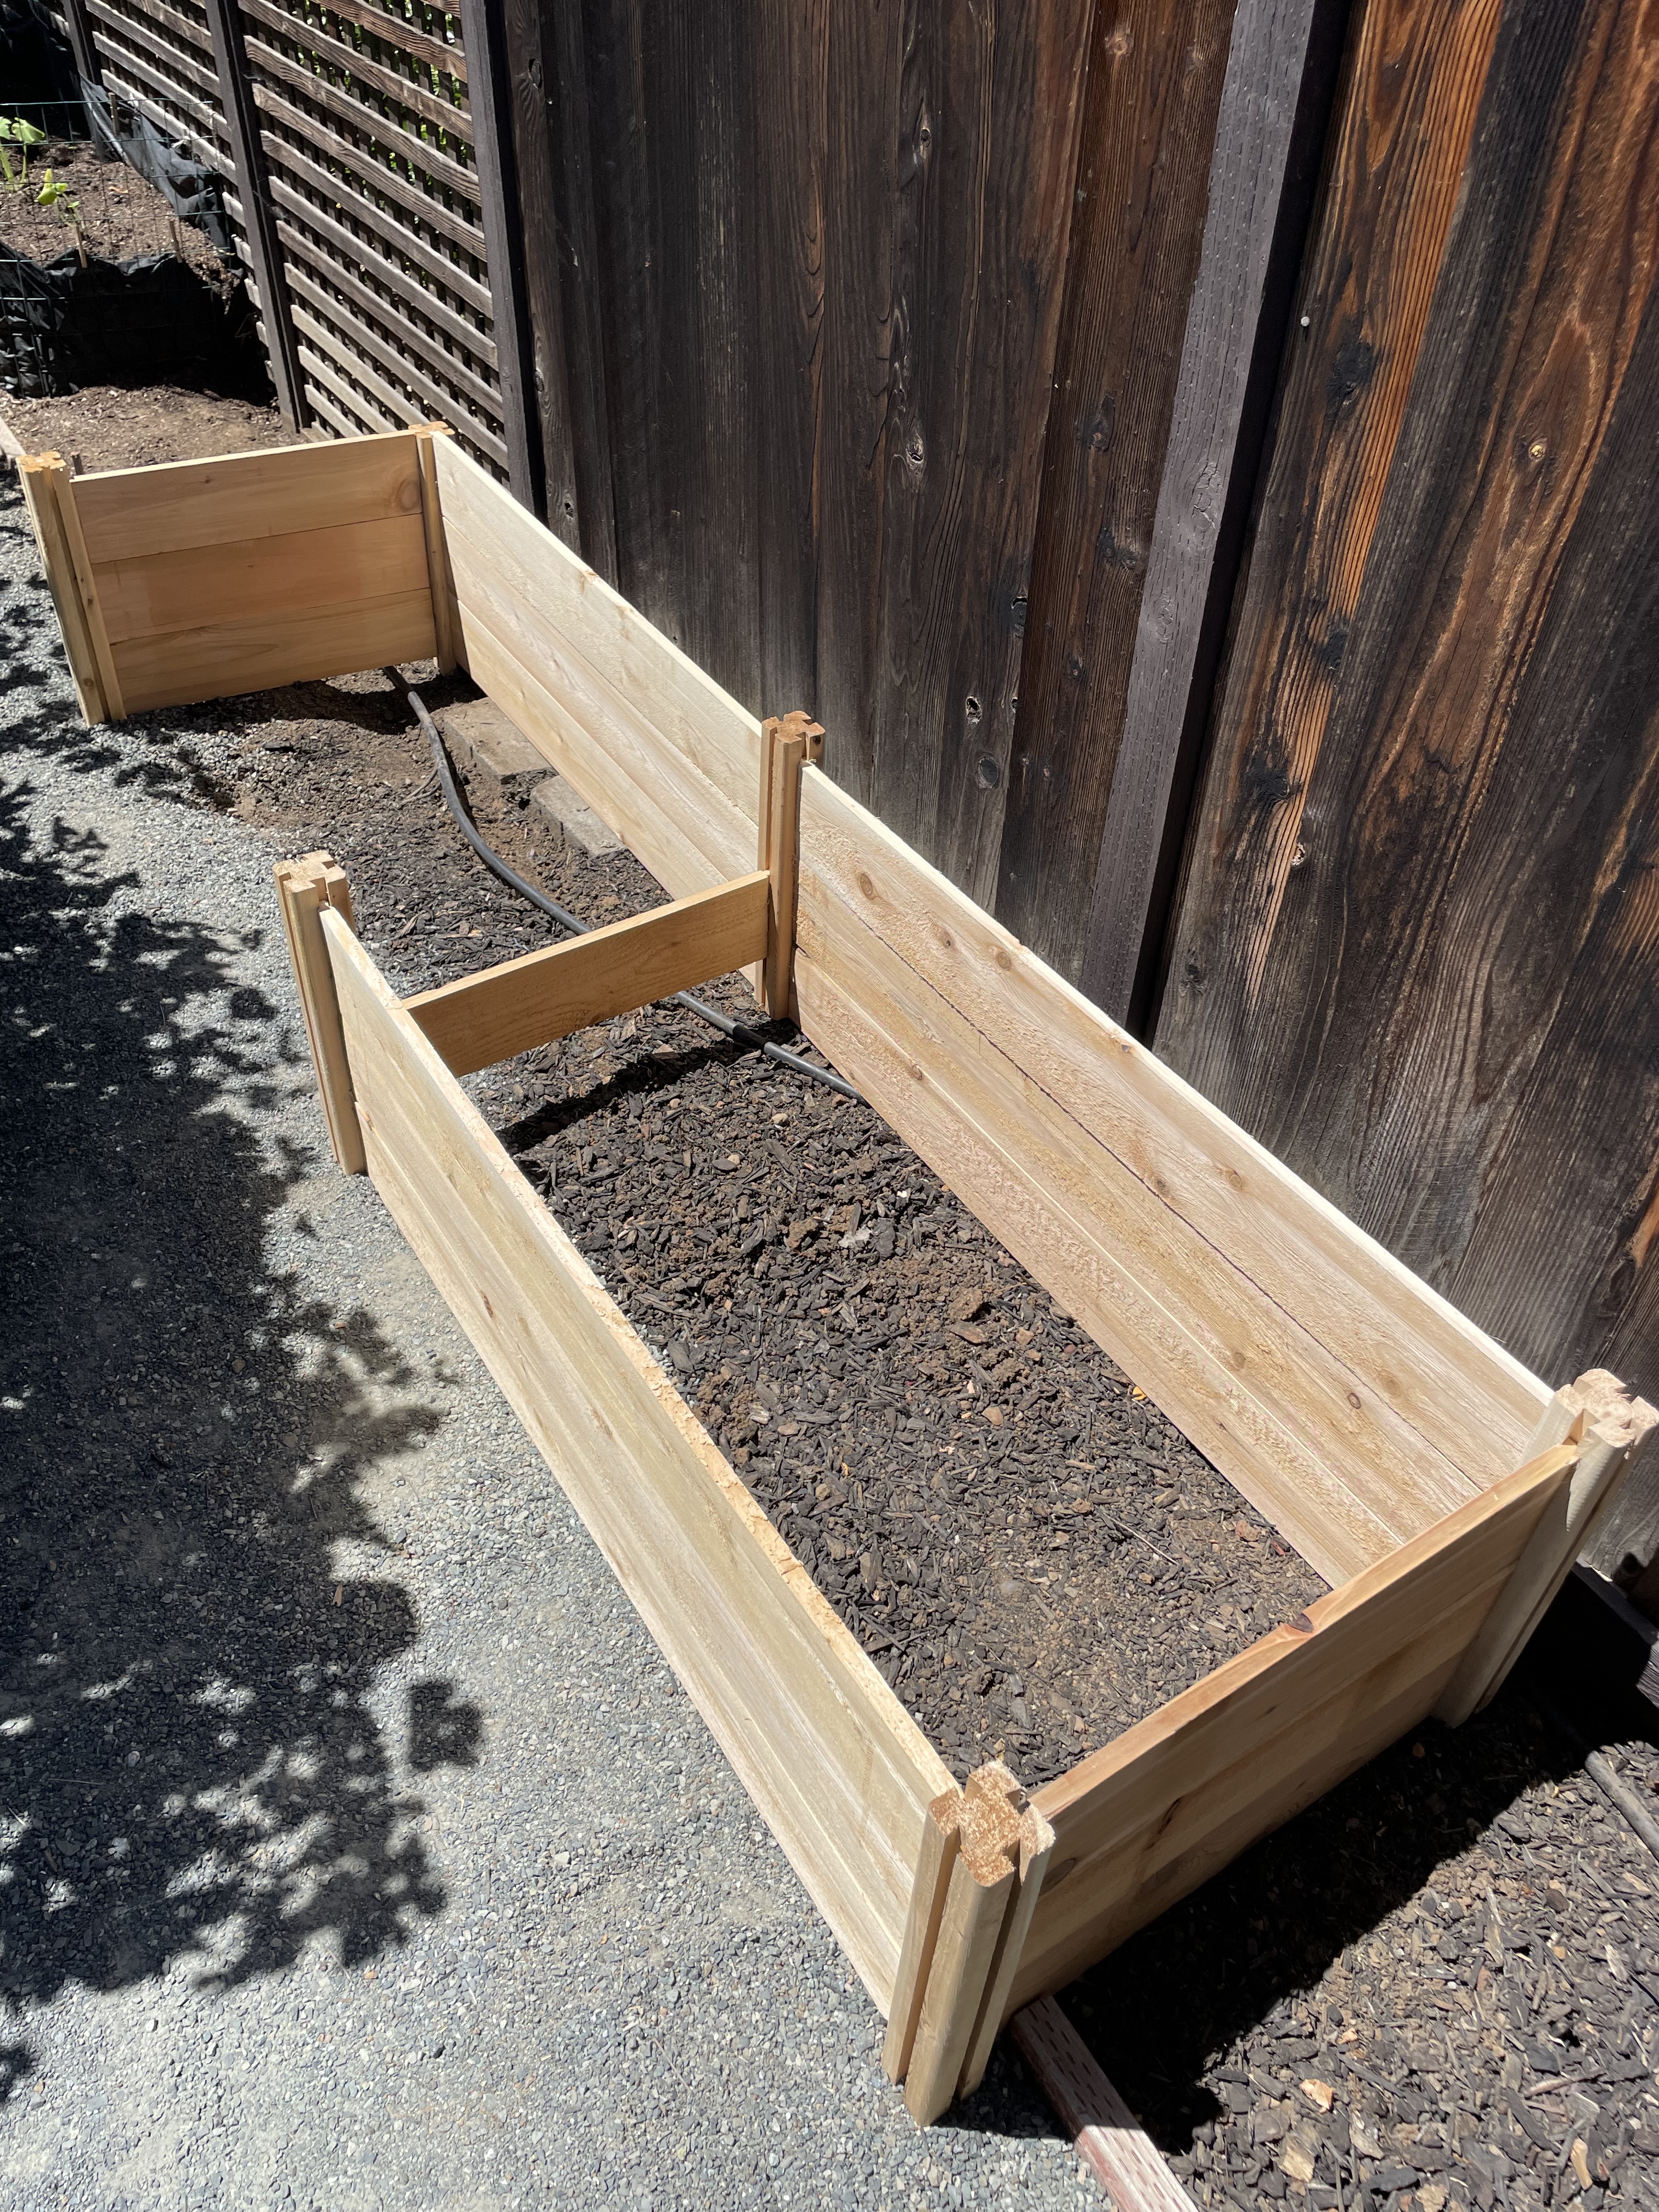
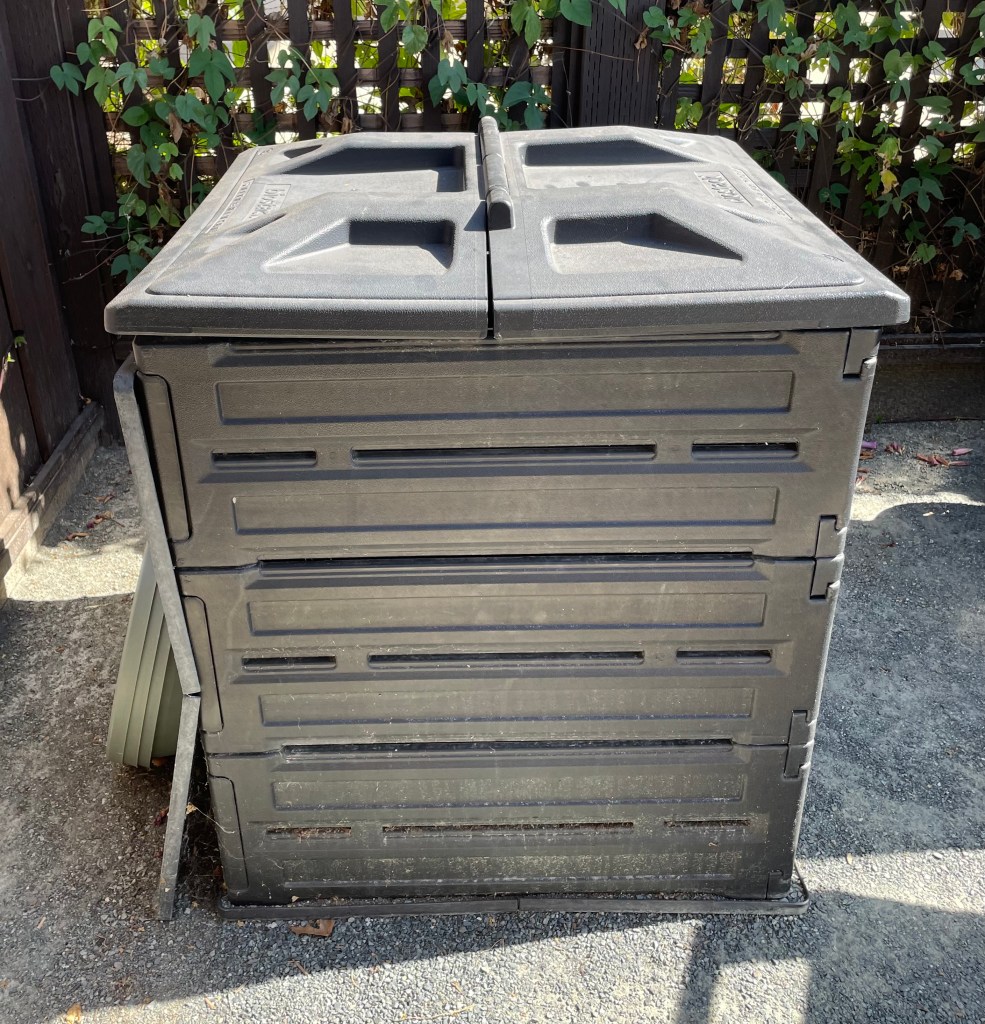
Since my last post was on garden boxes Garden Box Kits, I wanted to show you what I use for compost creation.
I’ve had this bin for more than a decade. If I recall, I paid 20 dollars for it through my local sanitation department. Before you buy, call your sanitation department. They might offer free bins. If you have a wood pile, look at plans on line to build your own.
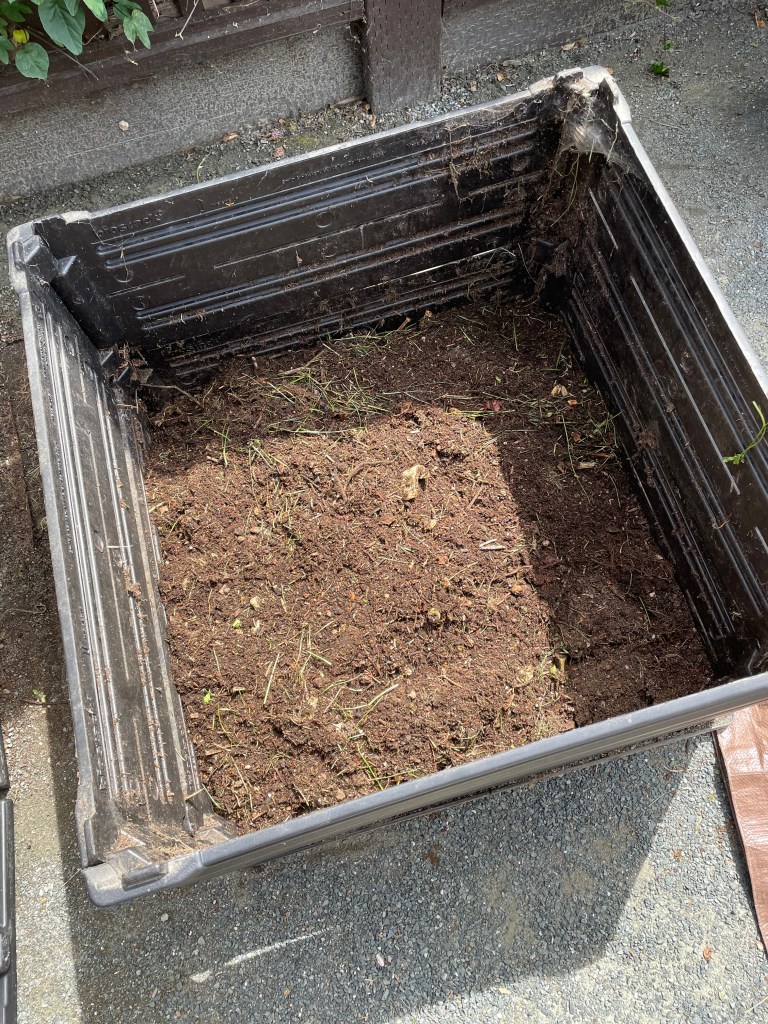
This is a stackable bin, meaning the that three rectangular segments stack on top of one another.
There are many different types of bins available today. If I were to purchase another it would be the barrel type, which sits on a stand and is turnable.
It’s a simple process really. You open the lid and place vegetable scraps into the bin. You can also add yard waste like leaves, grass cuttings, and plant cuttings. I try not to add too many ‘woody’ stalks, as they have a much longer breakdown cycle.
I do not add ‘other’ food waste scraps, as that encourages unwanted insects and rodents. I put the food scraps in the green waste bin, which is picked up weekly.
I add a spray of water once a week, and sometimes a bit of loose soil. I turn over the mixture every two weeks or whenever I think of it. It takes just a few minutes to maintain.

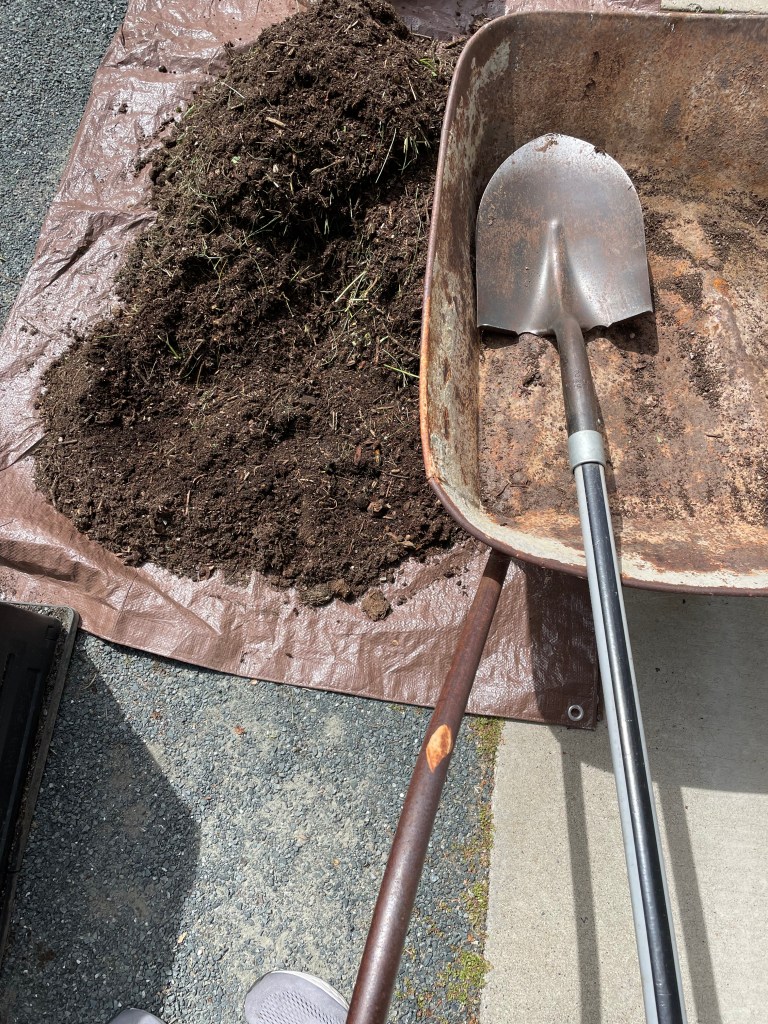
This is what it all breaks down to – a wonderful garden gold – full of healthy minerals for your veggie garden.
When needed, I just shovel it out and add it to the garden.
Compost bins are great for your garden and for Mother Earth!