Bubble Window

If you happened to read my post Cabana Skylight Project, you may have noticed a “bubble window” in the first picture.

In this post, I will show you the bubble window in more detail and how I installed it.

I bought the bubble window on the internet. They are designed to install on fences so that your dog can see outside. The kit comes with the needed hardware to install, however, you may need to make substitutions depending on your application.

I wanted a porthole window in my man shed. I first cut out an opening in the side wall, then framed up the opening.

I attached the bubble window to a piece of plywood. Then attached the plywood with bubble to the inside of the cutout opening with a piano hinge. You can see this in the next pictures.

Of course, my dog had to get into the act!

In this picture, you can see the frame that I put around the opening. You can just barely see the piano hinge on the top inside edge of the opening.

I cutout a couple of pieces of cedar shingles and glued them to the front of the plywood.

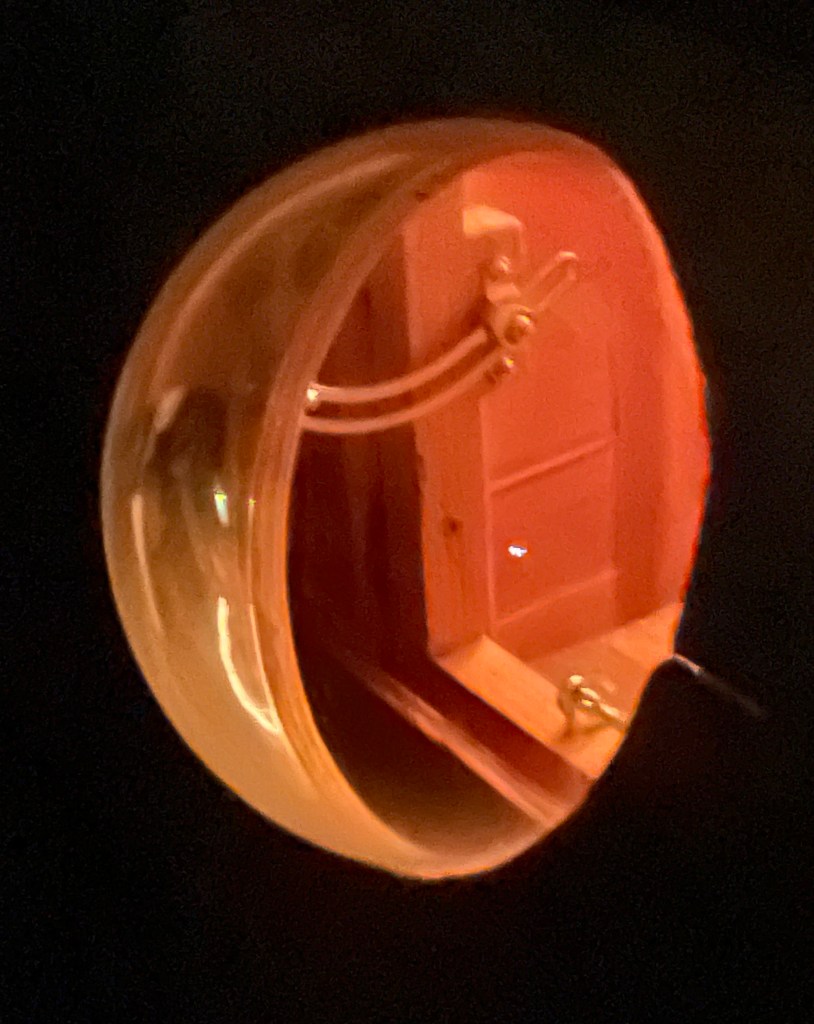
Finally, I installed a trunk hinge and screen door clasp. Now I can easily prop open the bubble window, and latch it on windy days.

A fun and simple way to add light and air circulation into your man cave.

What’s A Lighthouse Without Light?

A number of years ago, I was on a team of support engineers that won our company’s international vision award. A nice honor!

Part of the award, was a trophy that resembled a stylized lighthouse. As a vision company, we literally made products that helped people to “see the light.”

I fully expected that the lighthouse award would actually light up – but it did not. Well, the award went on the shelf and there it remained for years.

So, a lighthouse without light is simply a ‘dust catcher.’

Just before I left the company, I decided that the ‘dust catcher’ award needed to “light up.” I asked a friend if he could ‘mill out’ the bottom of the award, and drill a hole up through the center for me.

Here is the bottom of the award milled out, and you can see a hole in the center as well.

I assembled the needed tools and parts to bring a little more light into the world.

The only parts needed are an LED, a resistor, a switch, some wire and a battery. The LED is a Light Emitting Diode. The resistor limits the current from the battery, preventing the diode from burning out.

Below is the simple circuit with illuminated LED, and a bottom view showing the parts installed. It was a bit tricky feeding the LED and wires up through the center of the lighthouse, but I was able to get the job done.

Here is the lighthouse lit up, as it should have been the day it was presented.

Moral: Don’t sit around collecting dust – Go out and seek the light!