A few months ago, I was sitting outside in the shade, next to the patio fountain. It was very hot, and I started thinking about how nice it would be sitting next to a shimmering, cool, blue lake, with my bare feet and fishing pole in the water.
Suddenly, I saw a quick movement along the gray-block retaining wall. It was a young lizard, working its way towards a fly. We have a lot of lizards in our backyard, from mini (about 1″ long) to large (about 5″ long).
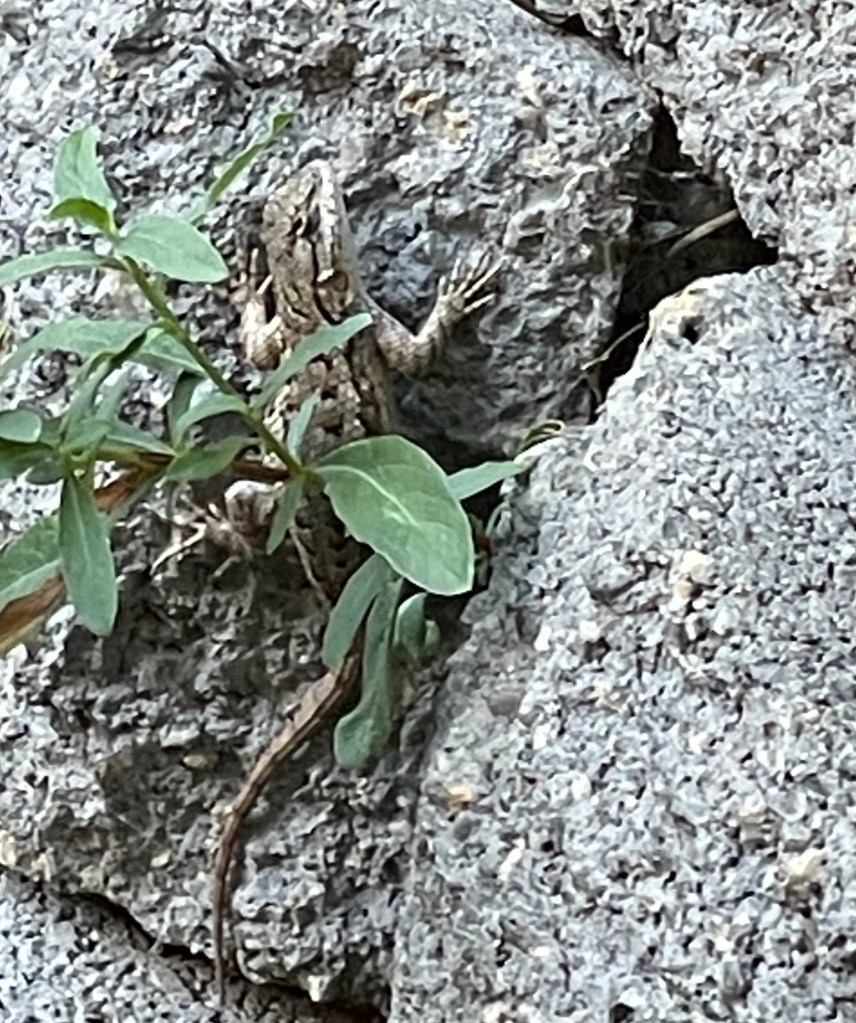
I watched that lizard for about 30 minutes. Out of about 8 attempts, he finally got a fly. I admired his determination. Of course, hunger is a major driving force in nature.
Then, one of my ‘crazy‘ ideas hit me. Back in college, I was hiking in the local hills looking for plant specimens for my biological illustration class. I sat down near a mossy rock, and a Blue Belly lizard appeared, not more than an arm’s length away from me.
He just stayed put, with an occasional blink, as he stared into my sole. It was as if I could hear him saying, “Feed me nature boy.”
I snagged a small gnat (don’t worry, there where 1000’s by the creek), and placed him on the end of a length of dry grass. I suppose it was about 10 inches long.
I very slowly moved it forward towards the lizards month. Then quickly, with a ninja’s strike, the gnat was gone. Unbelievable! He took it. Of course, I repeated this same feeding action three more times. Then he turned and took off. A full belly no doubt.
Remembering that life moment, I thought, “Why not go lizard fishing.” I could use the small section of my fishing pole, some line, a couple of weights, and of course a mealworm. Almost like actual fishing.
I’d dangle it near the next lizard I saw on the retaining wall and let him snag it. Of course, he’d always get away with the treat (no hooks are used), and hopefully come back for another mealworm. Just like catch and release fishing for me.
With the fountain babbling in the background, my lizard fishing was about to begin. Not the cool, blue lake, but heck… gotta make it work Mr. G.
I sat down on my pallet Adirondack chair (Adirondack Pallet Chairs), with a cold beer, and began fishing. It didn’t take long and a lizard appeared.
Watch the video below to see lizard fishin’ in action! Super Fun!
Now, if I just had a cool pool to dip my bare feet in – that would be heavenly!