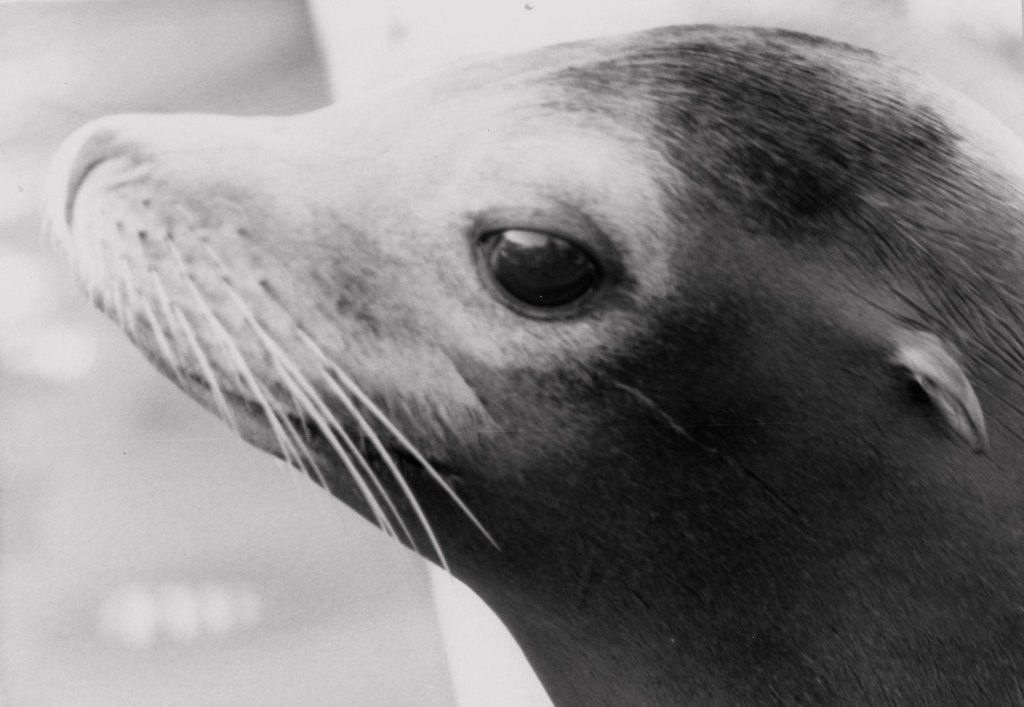
Communicating with animals is something that has interested me for quite some time. Whether it’s dolphins, chimps, seals, elephants, whales or wolves – I am interested in what they have to say.
Not an easy subject to study unless one happens to be an academic or a scientist. However, I have an idea to study animal communication from my garage to a local aquarium.
I plan to learn more about how the cuttlefish communicates. Cuttlefish belong to the class Cephalopoda – same as the octopus, squid, and nautilus.
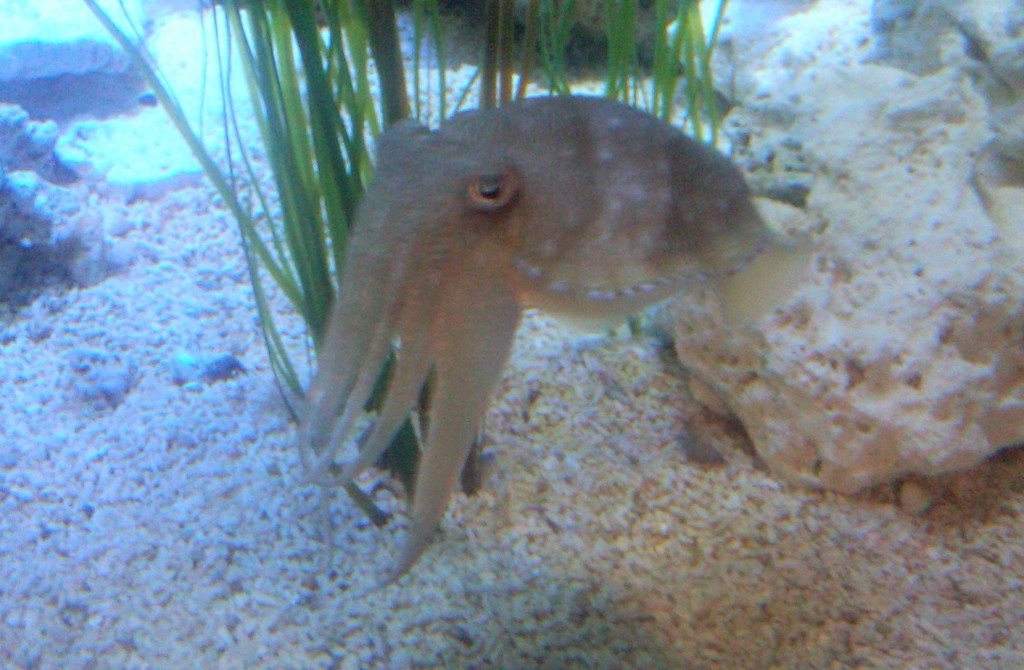
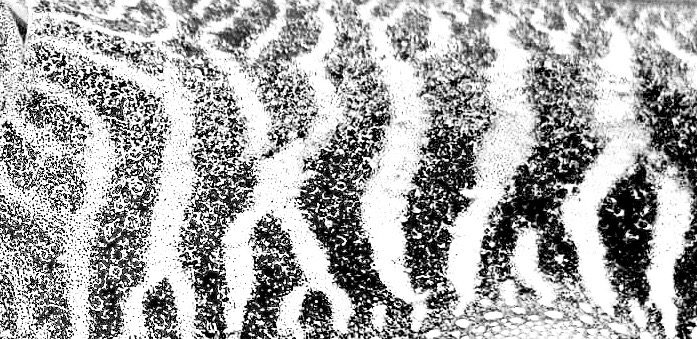
Cuttlefish communicate primarily with their skin cells. They have specially adapted cells (chromatophores) that can change color, pattern and shape. These displays communicate to other cuttlefish various behaviors – aggression, mating, territory, and more.
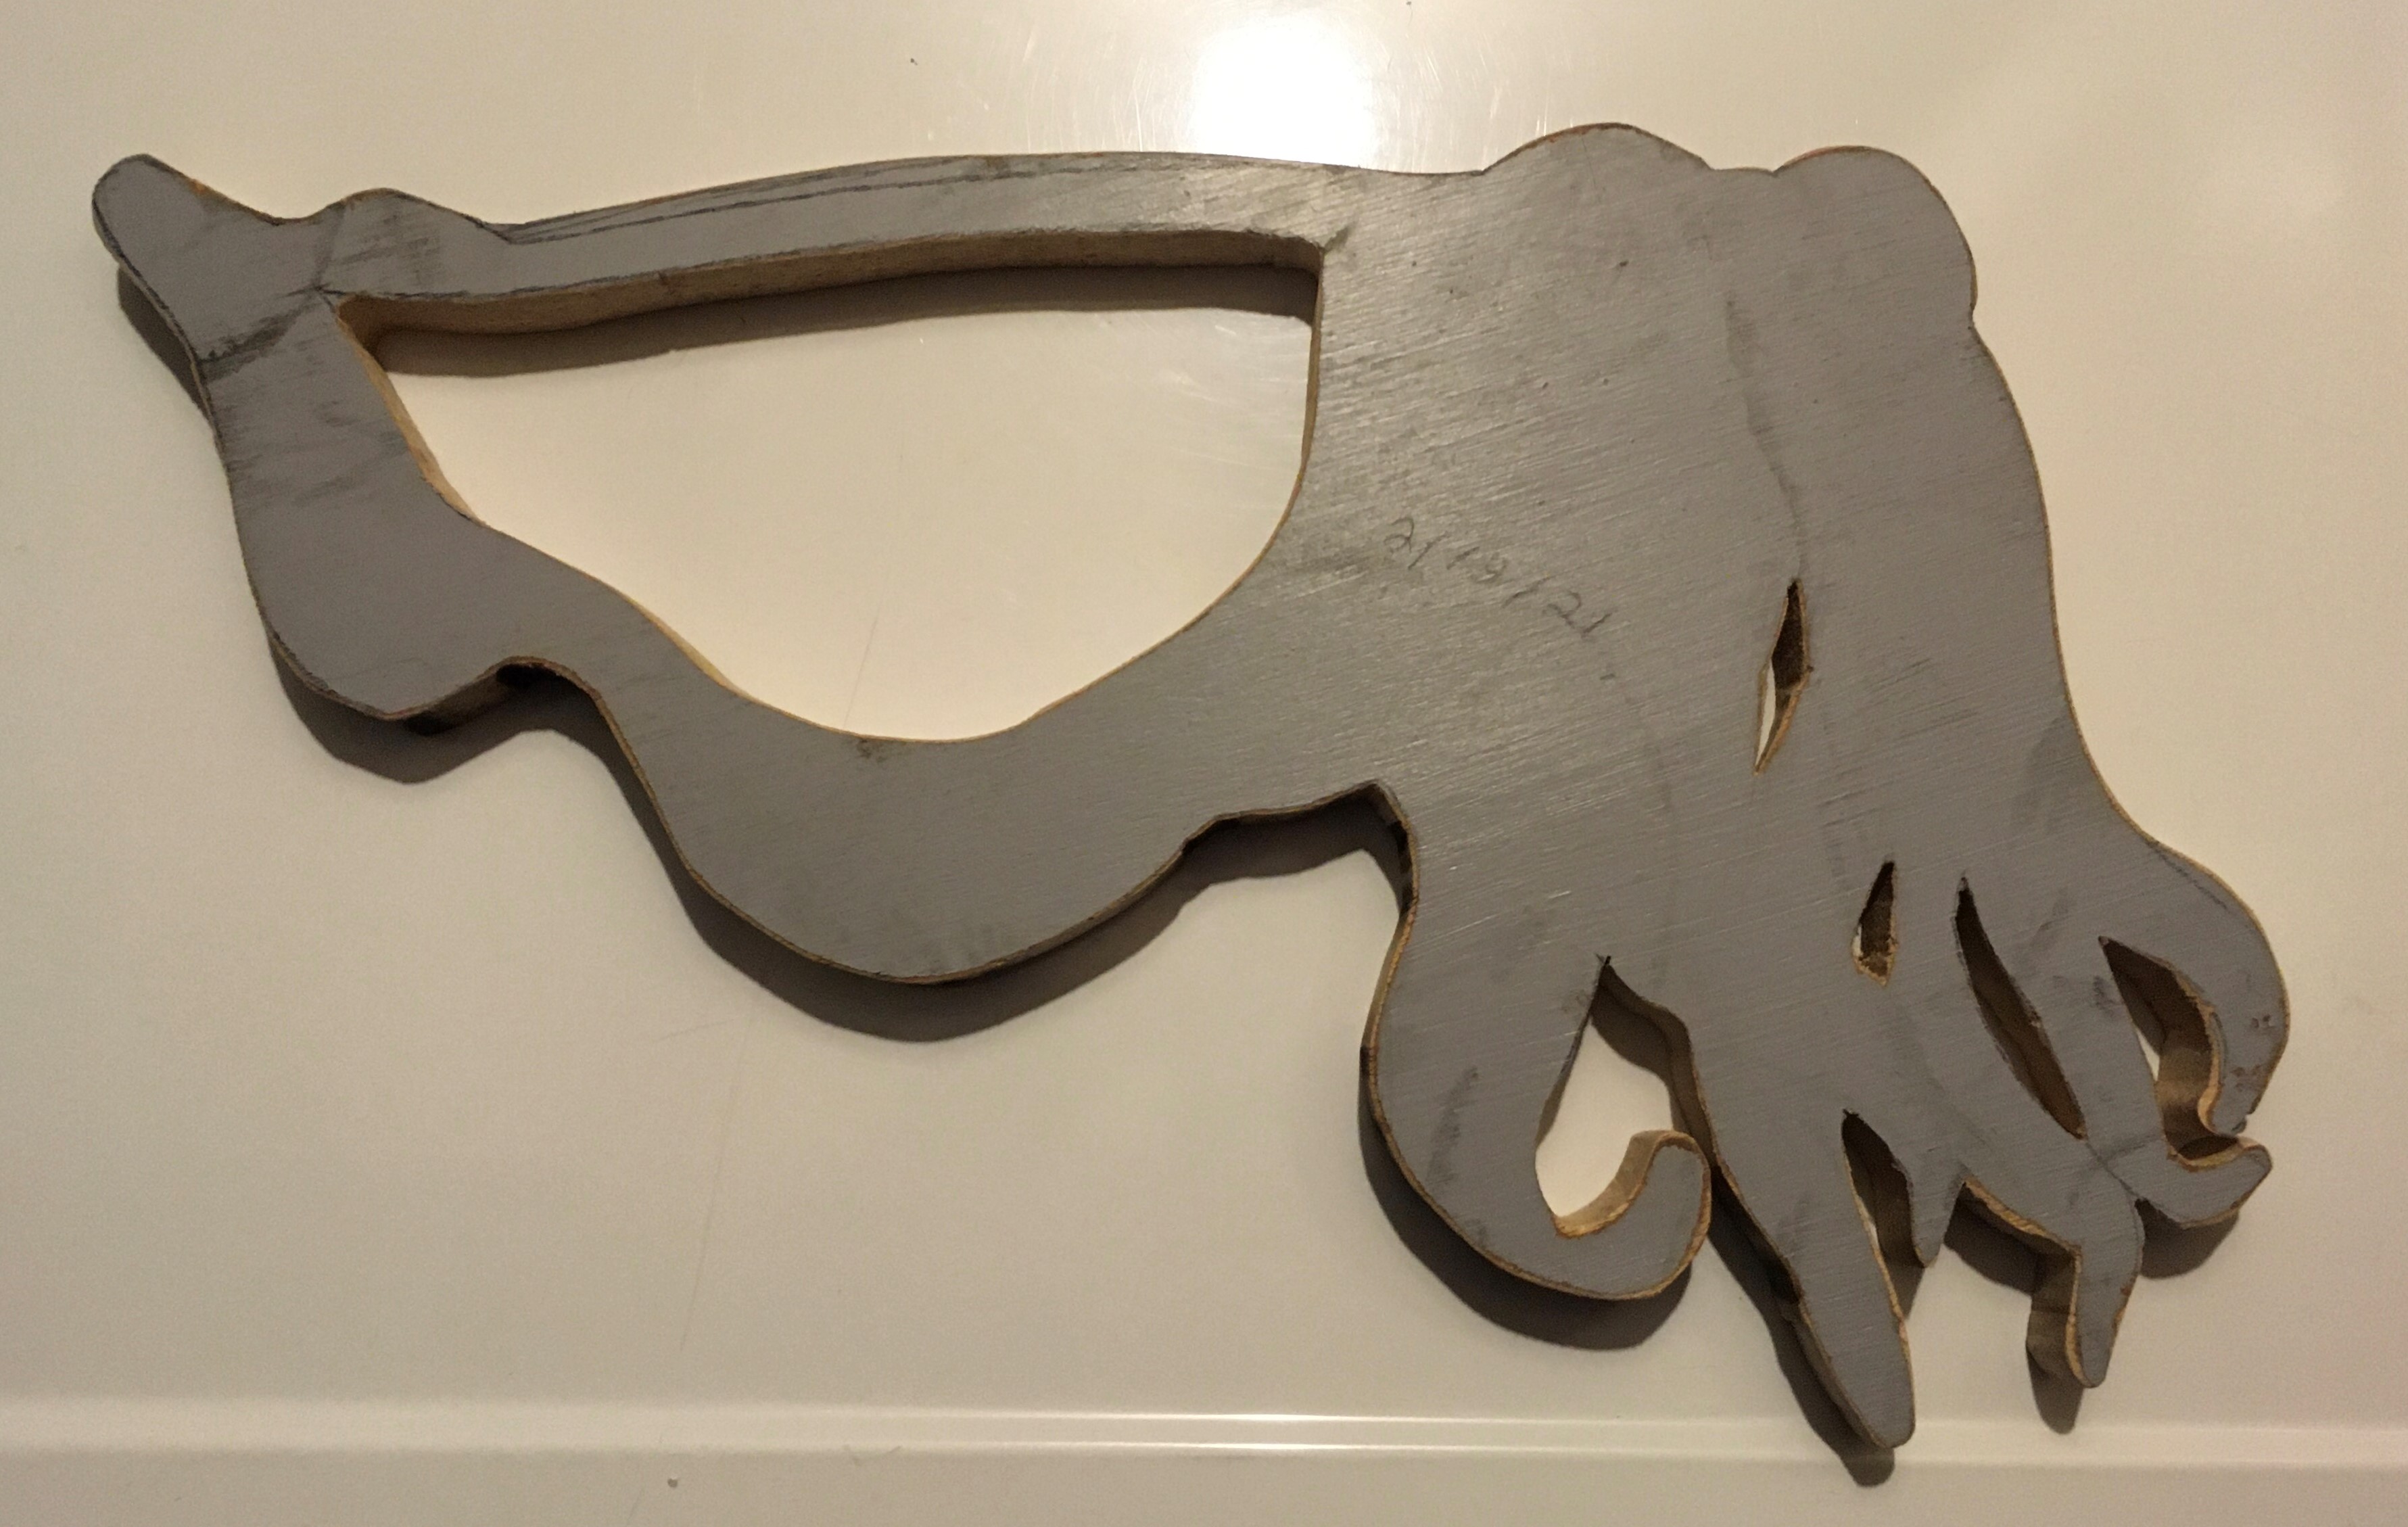
Here’s my idea: build a cuttlefish communication/display board that is equipped with a programmable LED display strip. The LED strip can be programmed to simulate known cuttlefish displays (very rudimentary), as well as present new ones to see how the cuttlefish behaves. I am not even sure if it will work?
Where would I test this – at an aquarium with cuttlefish of course. I’d have to obtain permission, but I would wear all dark clothing (less likely to be seen in the background) with the cuttlefish comm board hanging about chest high. The LEDs would be controlled via an app on my phone.
Okay, crazy, but so interesting to really try it.
This is a long-term project. At this time, I have the board cut out and the addressable LED strip.

I am working on obtaining an Arduino kit (microcontroller and software) so I can program using my PC (with help) the LEDs to display in specified colors, patterns, and rates. First, I will emulate known displays and then create some mixed displays.

Once I have a functional prototype, I will contact a couple of local aquariums to set up a demo.
I hope that I can clearly communicate to them what I am trying to do. Do you think that they will understand?