1947 TV Time Machine

The plan was to restore my 1947 Admiral TV, picked up at a garage sale. I did replace some capacitors, and although the TV did receive a picture, it was never really very good.

So a friend suggested that I gut the TV and put in a digital picture frame. I really liked the idea and set out to make the transformation.

I could sit and watch old family pictures through the decades – it would be like traveling back in time whenever I turned on the TV. My personal TV Time Machine.

In 1947, this TV was considered to be a portable. With the chassis and CRT removed, I hated to cut the case, but I’d never get it on my shelf if I did not.

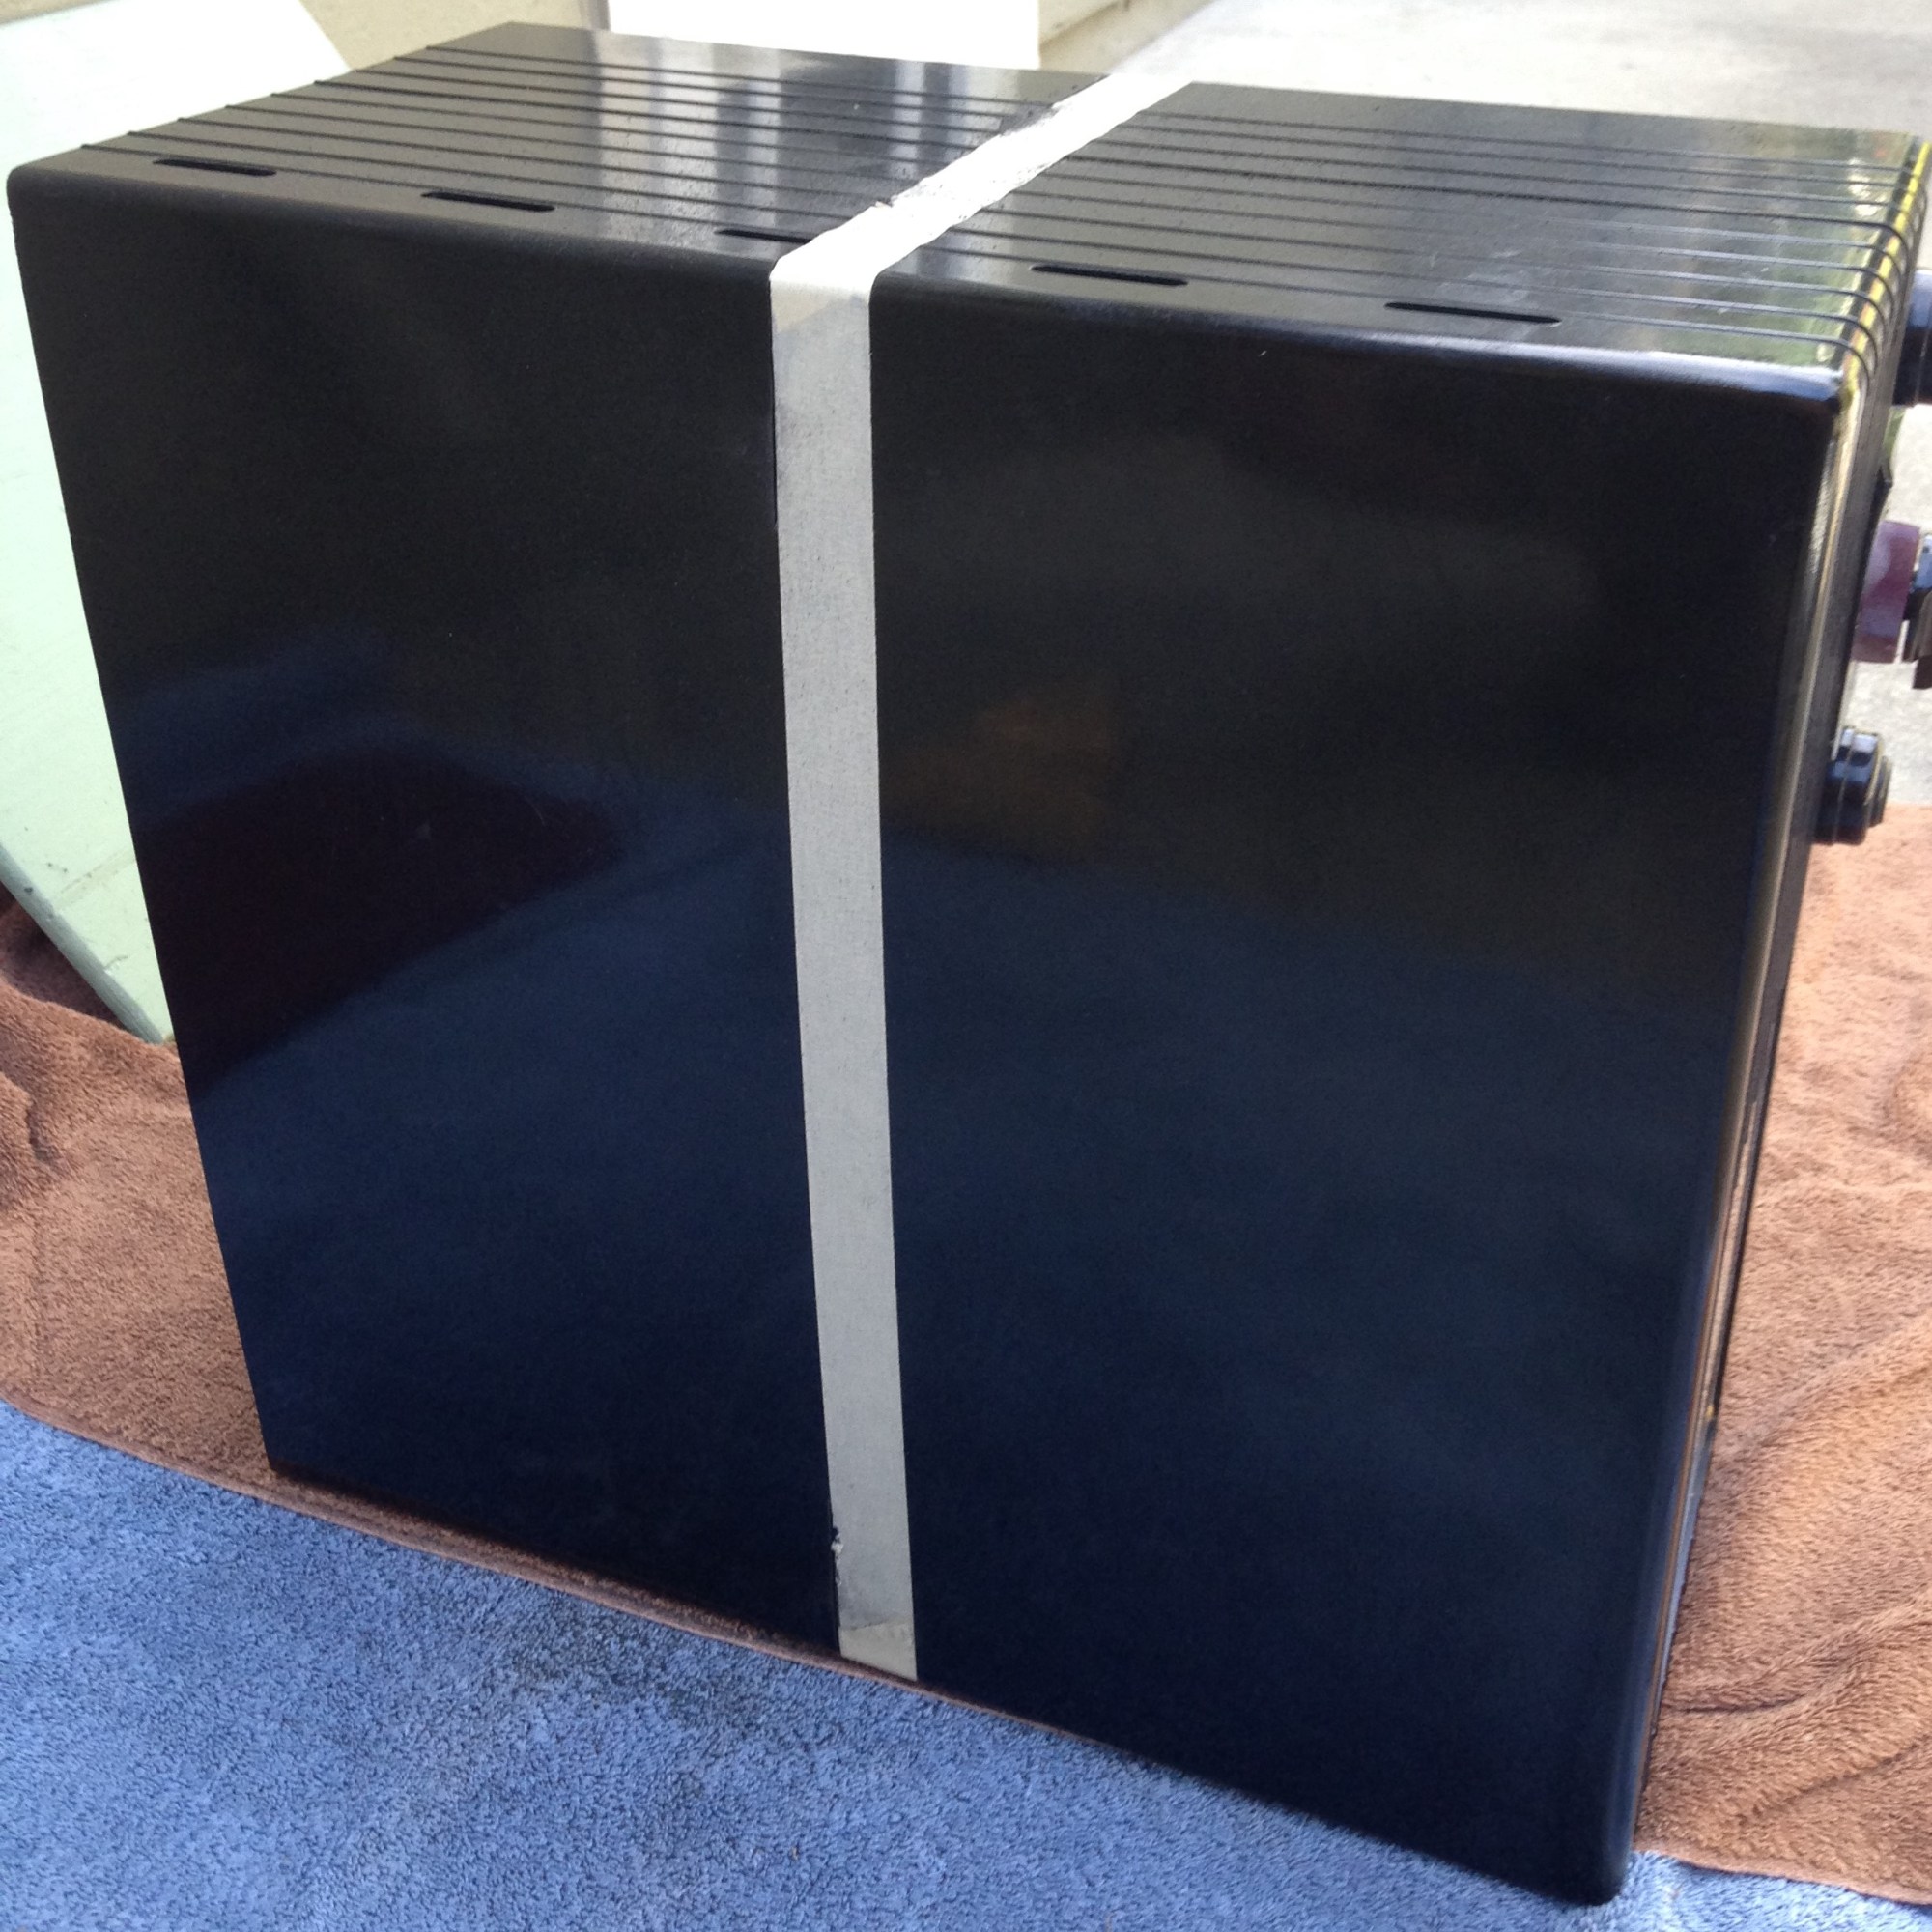
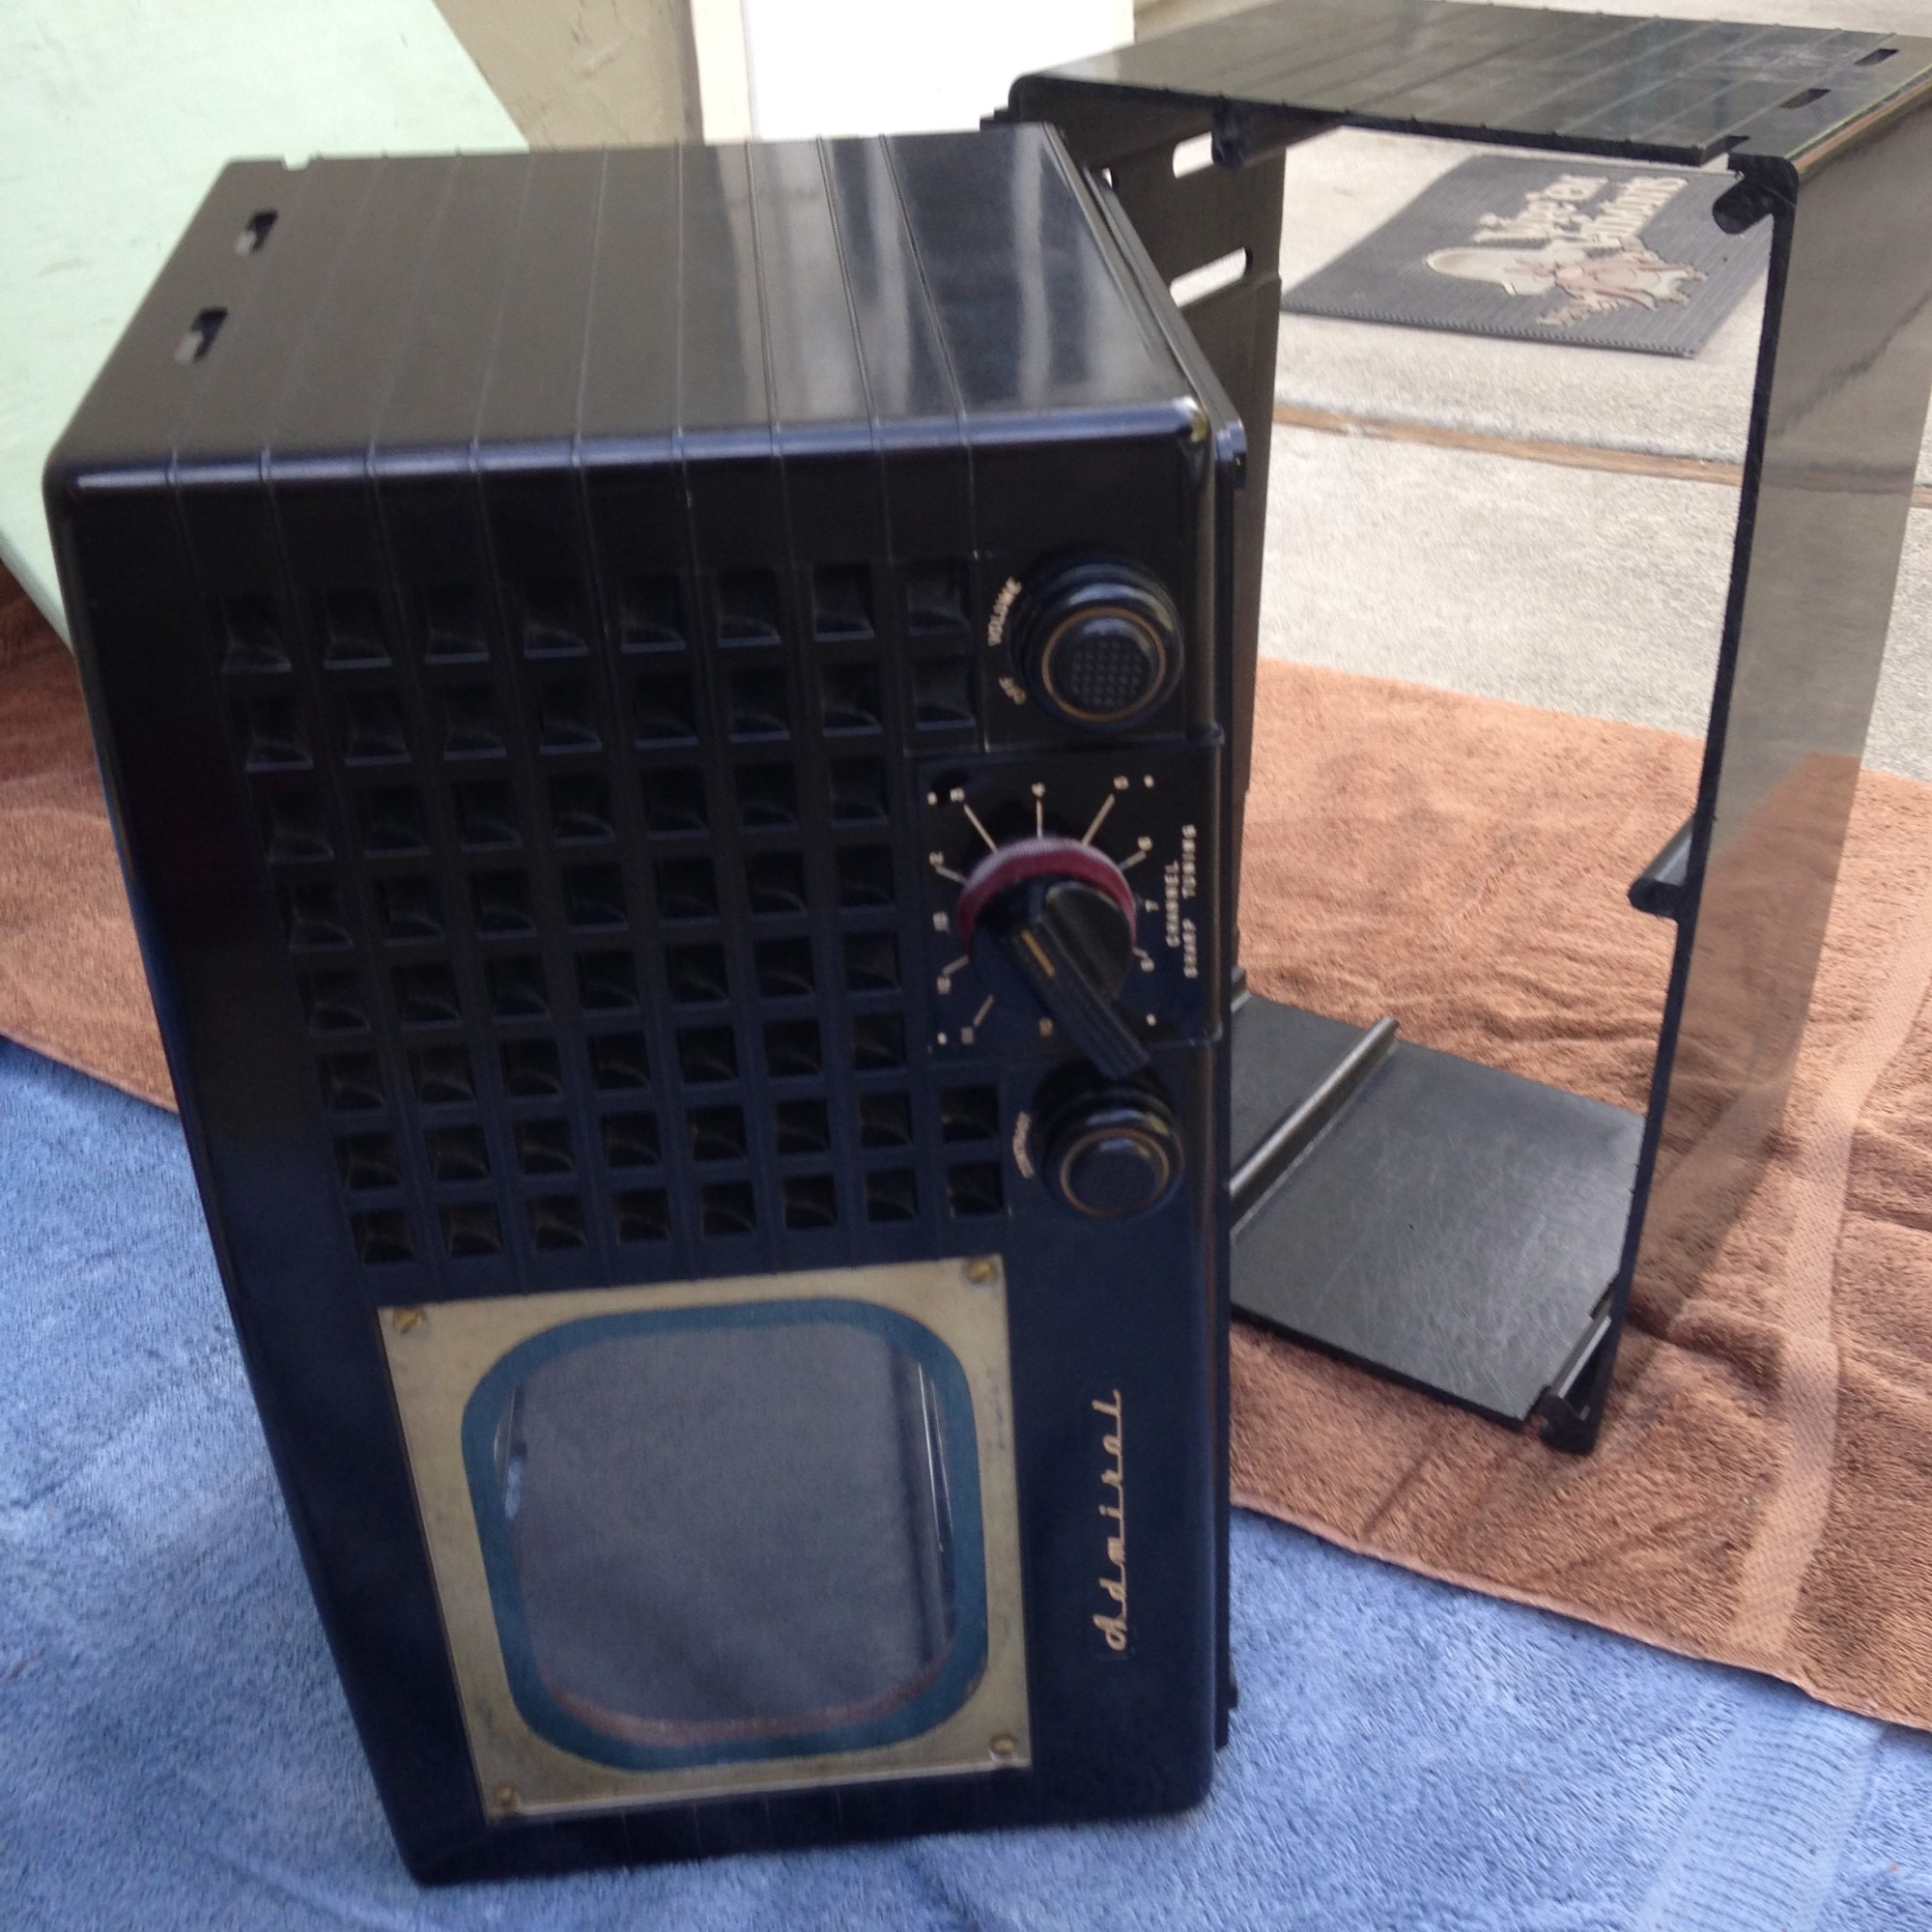
The case is empty, cut in half, and sits on the shelf very nicely. I secured the control knobs in place with clear silicon. They will no longer be functional.

The TV screen is 9″ across, so it’s pretty small. I did find a digital picture frame that also had an older looking color around the frame, as some of its frame will show through on the front of the TV.

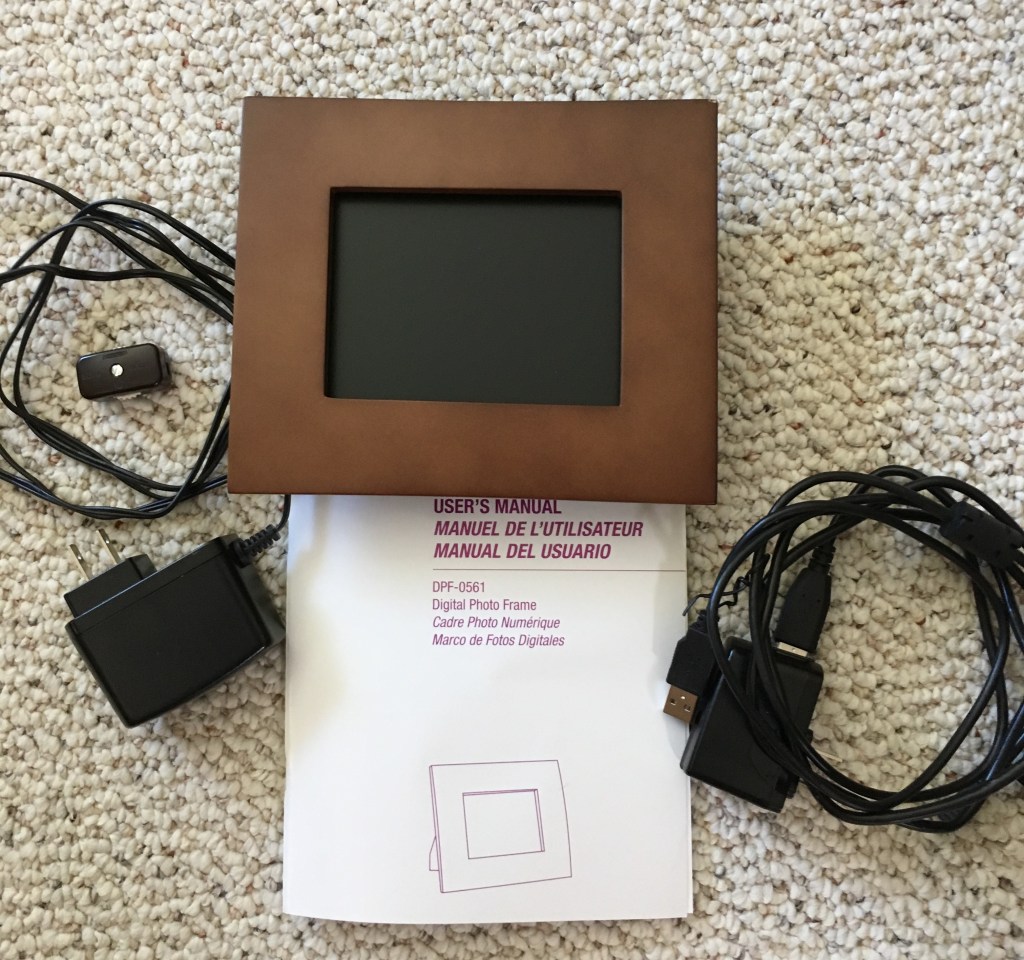
All the controls for the picture frame are located on the frame itself. Since I did not want to take the frame out of the TV each time I wanted to turn it on, I added a small in-line rotary switch.

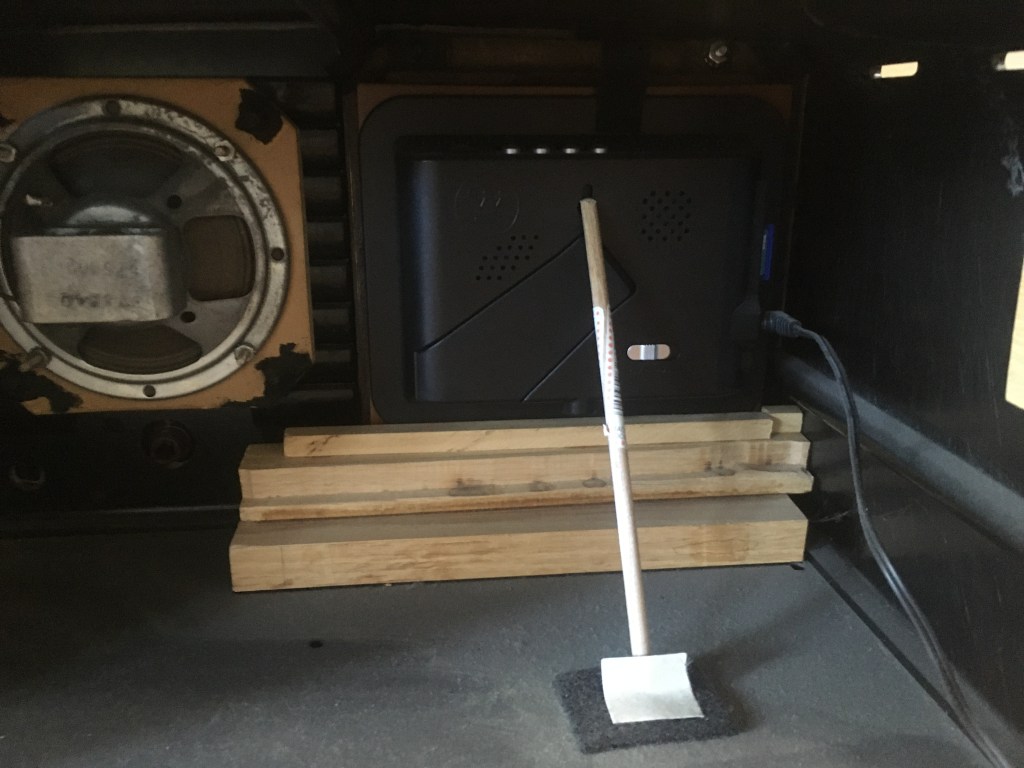
I mounted the digital frame very simply. Really, I just used some wood scraps, Velcro and a round stick to prop up the frame to the front of the TV. Nothing fancy here, but it works well.

As the old back panel no longer fit, I made a new one that completely covered the back of the case.

I loaded up some pictures and turned it on…

BAM… I am traveling through time! It’s not a Tardis, but still pretty cool.

Glass Insulator Pipe Lamp

At a recent visit to an antique store, something caught my eye. It was a lamp – a very different looking lamp. In fact I wanted to buy it, but at $150.00 it was out of my price range.

The lamp was made from galvanized pipe and an old telephone pole glass insulator. I decided to make one, and now I am on my third build. Here are the finished lamps.

Note: Believe it or not, the most expensive material was the galvanized (galvo) pipe. It was about $40.00 at a local hardware store. See if you can obtain it from a salvage yard. You may have to clean it up a bit, but your build will be much less expensive and you are recycling.

Special Tools:

  • Diamond Drill Bit – 1/2″ DIA
  • Soldering iron – 40W
  • Long Drill Bit – 3/8″ DIA x 10″
  • Plumber’s putty

Materials:

  • Old weathered wood – recycled
  • Glass telephone pole insulator – about $7.00 – $10.00 at an antique store
  • Galvo pipe – about $40.00 new
  • Dimmer switch – $5.00
  • Lamp wire – $3.00
  • Toggle switch – $6.00
  • Metal – recycled

Galvo Pipe List:

Note: All pipe is 1/2″ except where noted.

Tips on Building the Lamp

1) Drilling The Top Of The Insulator

I must admit, I was a bit of a skeptic, but what the guy told me at the hardware store worked perfectly.

Set up a test fixture as below.

Put some plumber’s putty around the hole on the insulator.

This image has an empty alt attribute; its file name is img_4861-3.jpg

Fill the area surrounded by plumber’s putty with water. Then insert your drill with diamond bit attached, at roughly a 45 degree angle and begin drilling.

Slowly position the drill until it is completely upright. Then drill all the way through the insulator. It takes about 15 seconds or so to cut through. This way, using water, the diamond bit will not be damaged. It’s a bit messy though, but awesome.

2) Toggle Switch or Dimmer Cable

In my build, I show a toggle switch. It is just for show. After my first build, I used a dimmer switch – much simpler. Either way, some wiring mods will be needed to pass the wire through the pipe.

Those are the essential tips. I did assemble the glass insulator pipe first. With insulator attached, I inserted the wire with lamp socket into the insulator. As I fed the wire through, I kept adding the pipe pieces, and then attached all to the base flange.

These lamps make a really unique gift. So go ahead and add some “light” into someone’s life!