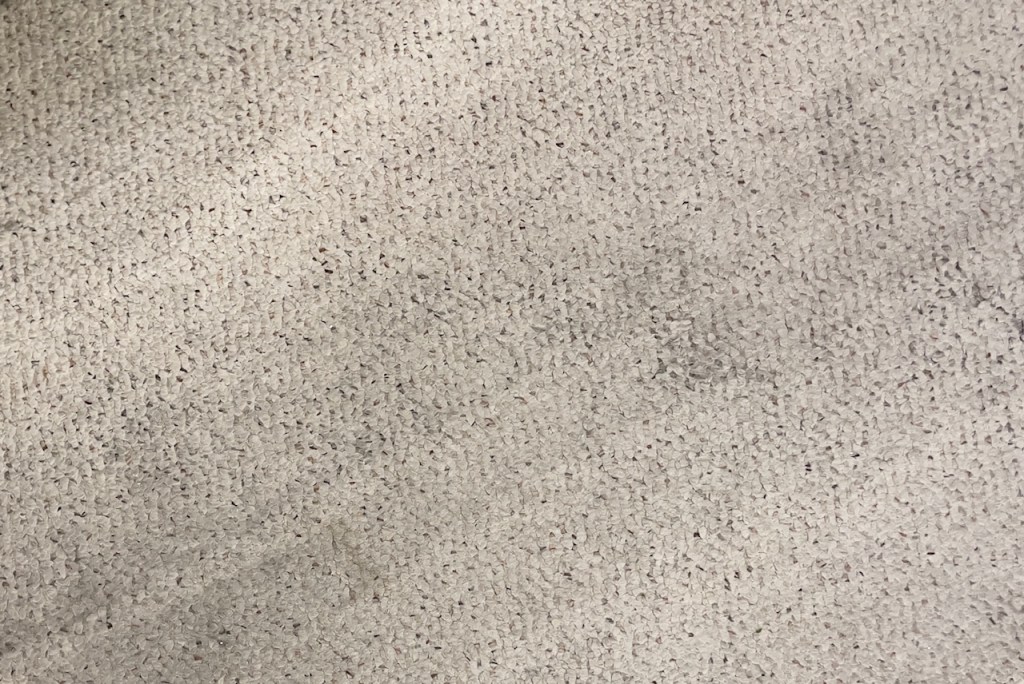
I am still trying to figure out why two adults with two dogs would choose white Berber carpet for their home? Well, it was white at one point.
I mean, really, ‘white carpet’ and two dogs, there is just no logic there. Ten years later, lots of dirt and stains, logic finally prevailed and the carpet is going to be history.
There already was some Pergo flooring present, so it was decided that we would replace the carpet with more Pergo. Here’s the catch – the carpet had to be removed and replaced in three bedrooms and the living room. Not big rooms by today’s standards, but still a significant job. It was estimated that it would cost between $16,000 to $18,000 dollars! WOW, that’s big bucks to me!
I started checking out videos on the web, and determined that this was a job I could do over several months. A little each day. I figured I’d save at least $12,000 or more dollars.
We matched the new Pergo to the old as close as possible. Purchase Pergo that already has an underlayment (backing pad). If you have a concrete floor, a vapor barrier sheet will also be needed. Ask a lot of questions when purchasing materials, and of course, watch videos.
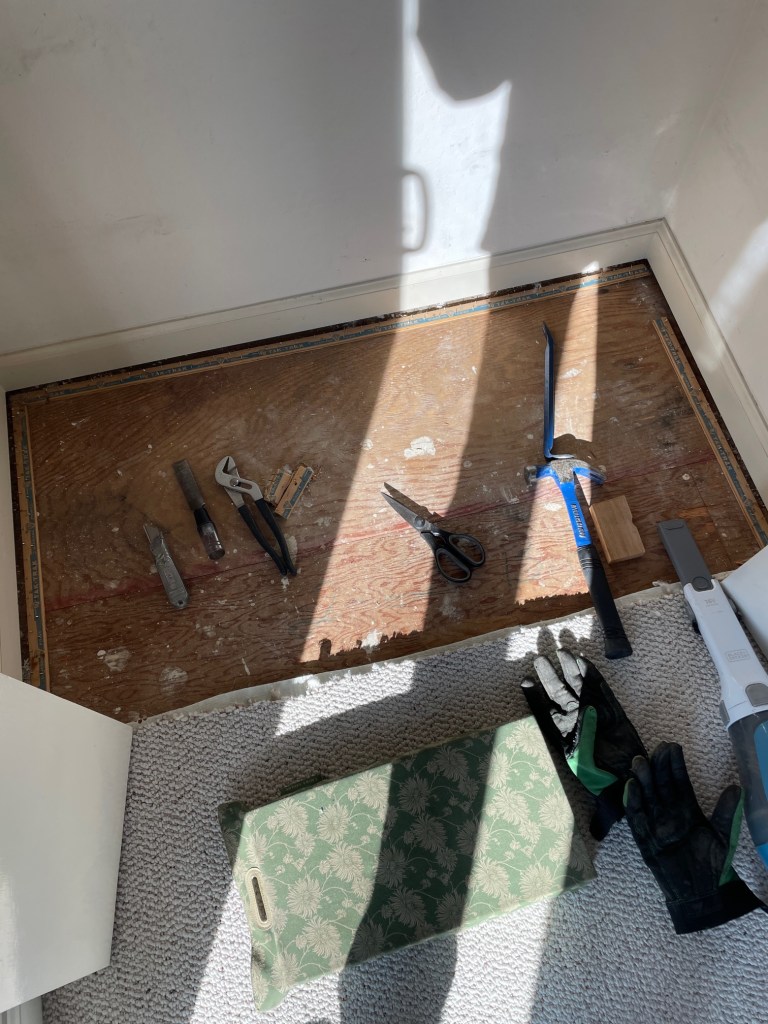
I picked the smallest room first, as my ‘learning room.’ I began by tearing out the carpet and tack strips in the closet.
Tips: Wear heavy leather gloves; Use a very sharp linoleum knife; Stay focused – always know where that blade is cutting. Carpet is tough stuff!
Once all the carpet and tack strips have been removed, fully inspect the flooring for tacks, staples and loose nails.
Tips: Remove any staples or tacks, and fill in any larger holes; Clean the floor very well of debris; Pound in any nail heads; Check to ensure the floor is as level as possible; Use leveling compound to raise up any low spots.
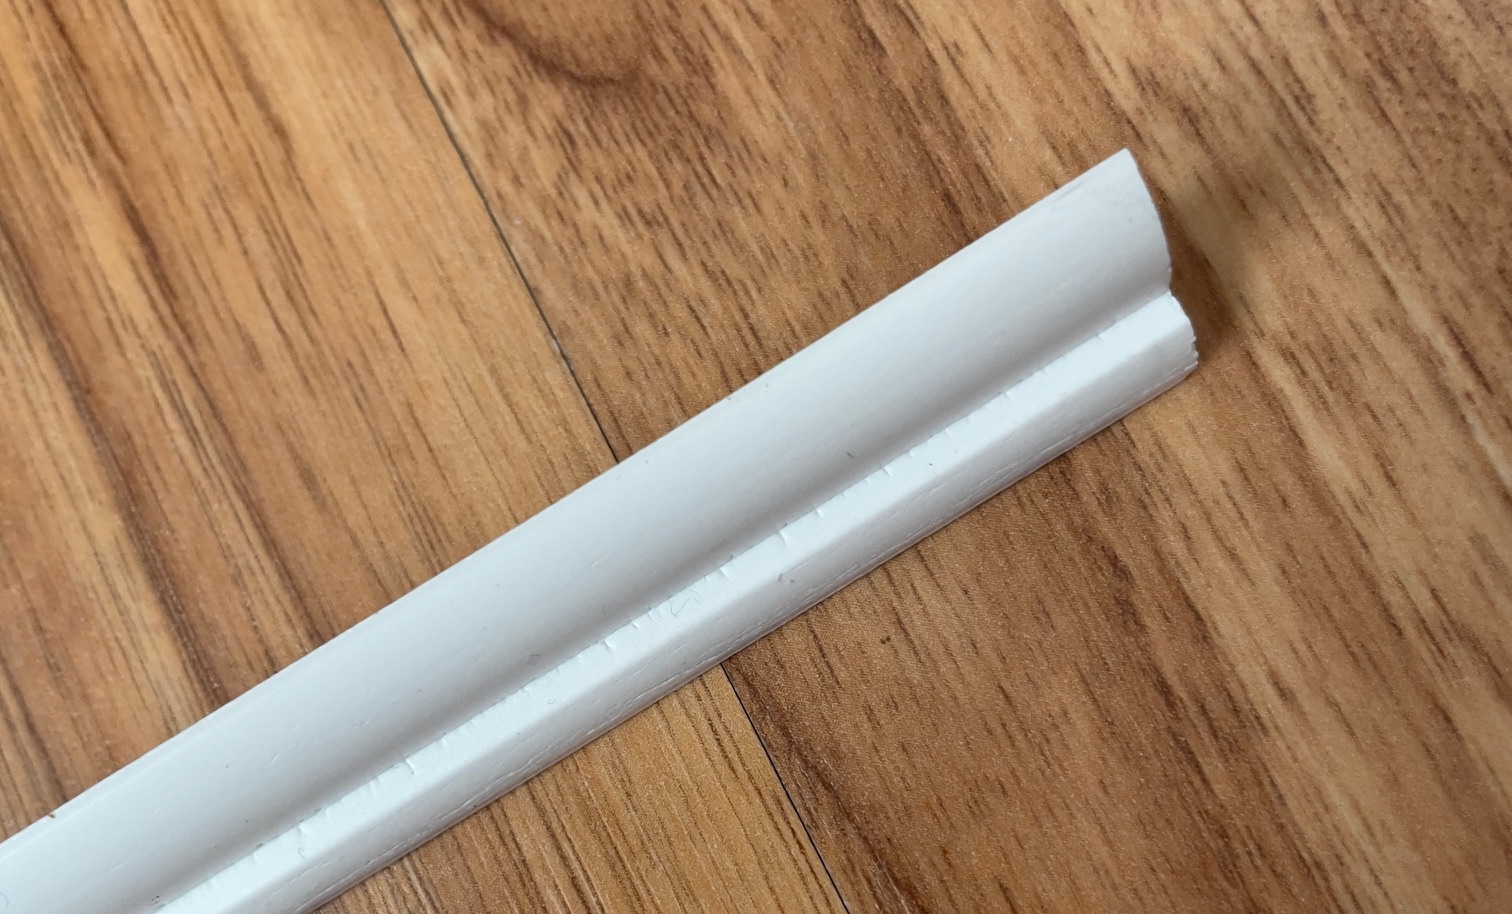
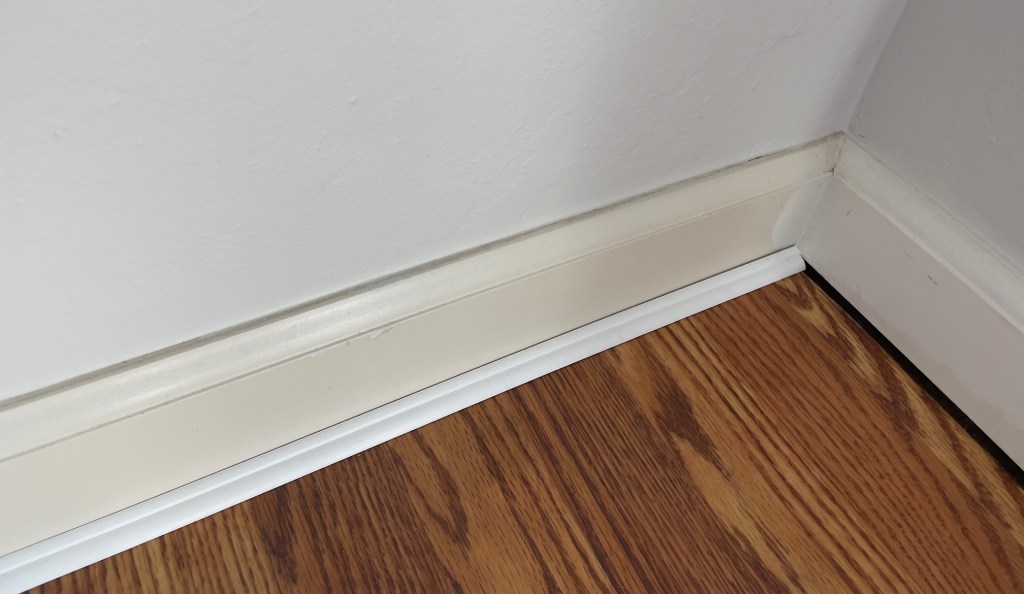
This room already had baseboard, and I did not want to remove that. A lot of videos will tell you to remove it, but you don’t have to. Simply place the Pergo board spacers against the baseboard, so that you have 1/4″ space between the baseboard and the Pergo. Once the floor is installed, use small molding to cover the gap.
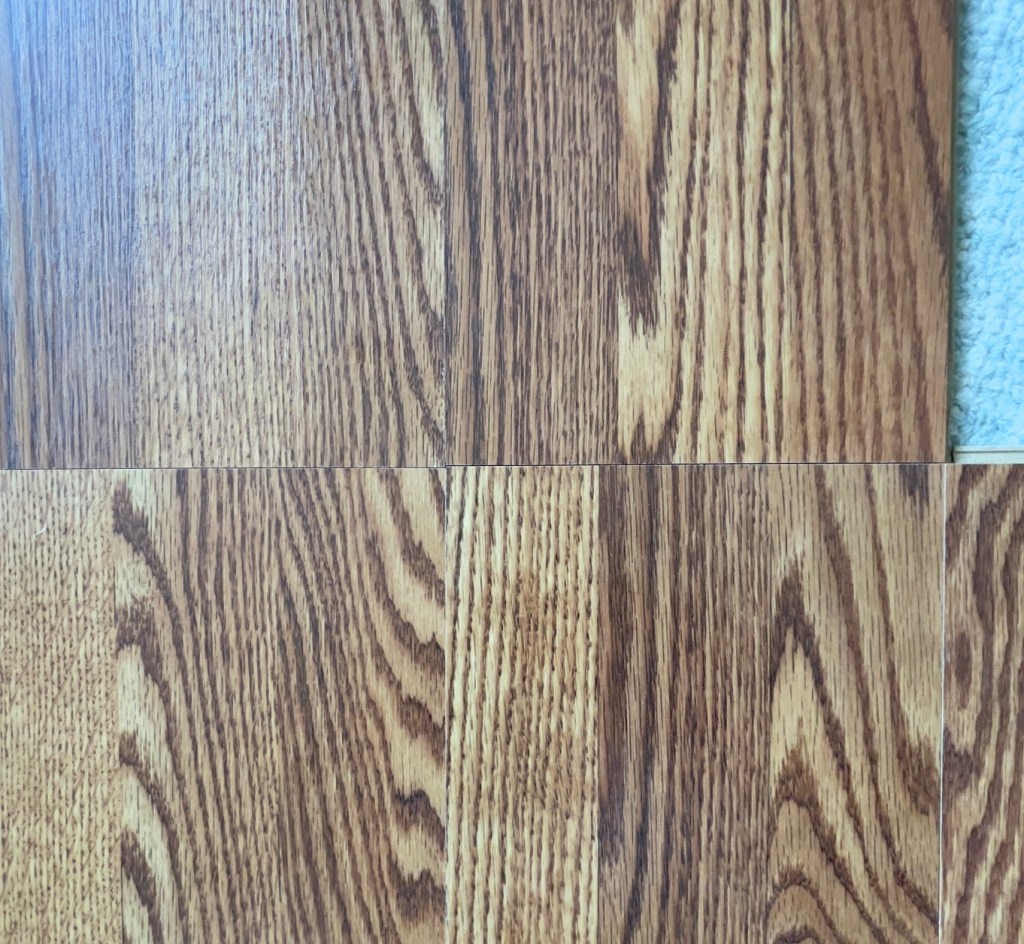
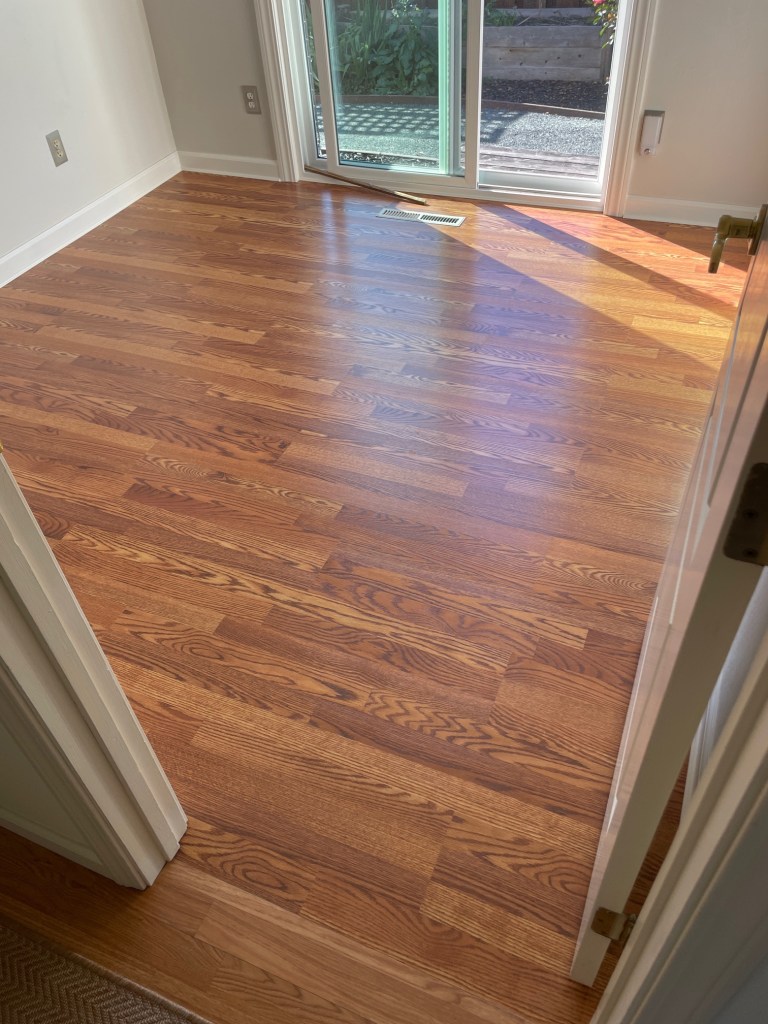
When installing the Pergo, make sure that you stagger the flooring boards, so that the seams don’t line up forming straight lines, as shown below. You want the board seams to be random. Yes, that means boards have to be cut.
Tips: Use a chop saw or jigsaw to cut the boards; Save the drop off pieces as they can likely be used later; Take your time and layout the boards before cutting; Use full packs of Pergo to weight down the first area you install. It will move as you install more boards; Check the spacers frequently to insure that they have not moved.
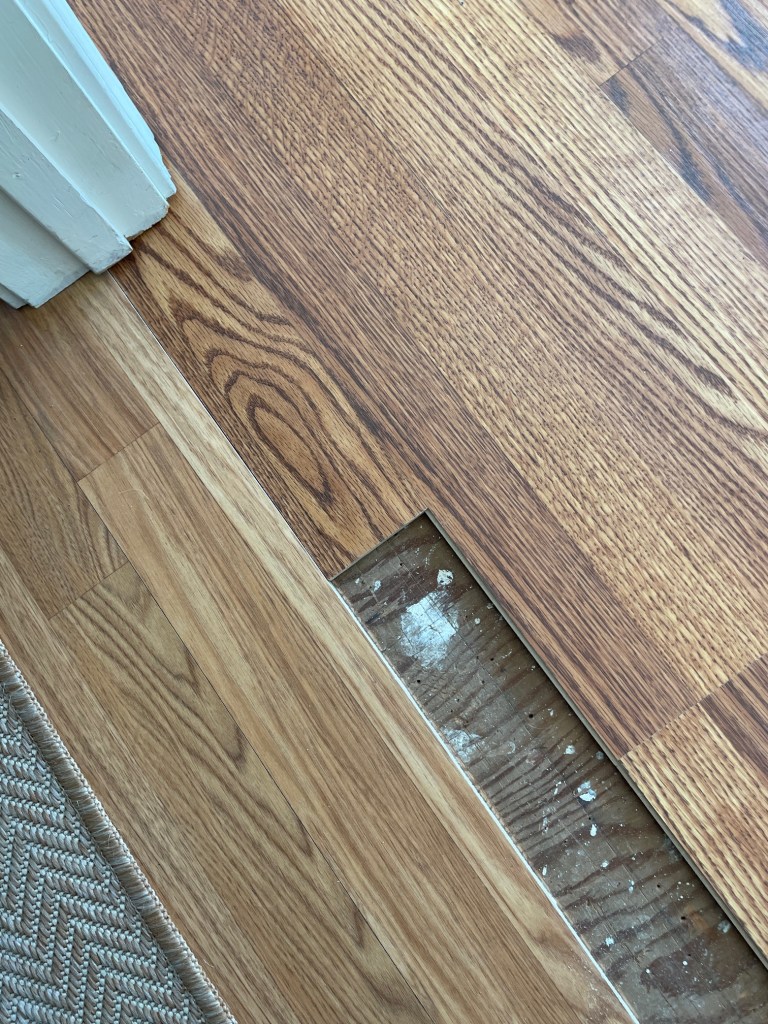
If you are joining one room’s Pergo with another, work that area first. For example, I had to join older Pergo in the hallway, with the new Pergo in the bedroom at the room’s door threshold.
Tip: DO NOT wait to do that last as I did! I figured I could do this at the end. It became a nightmare trying to precisely cut and fit the Pergo. I was successful after much trial and error, but save yourself that headache. Work from the door end first.
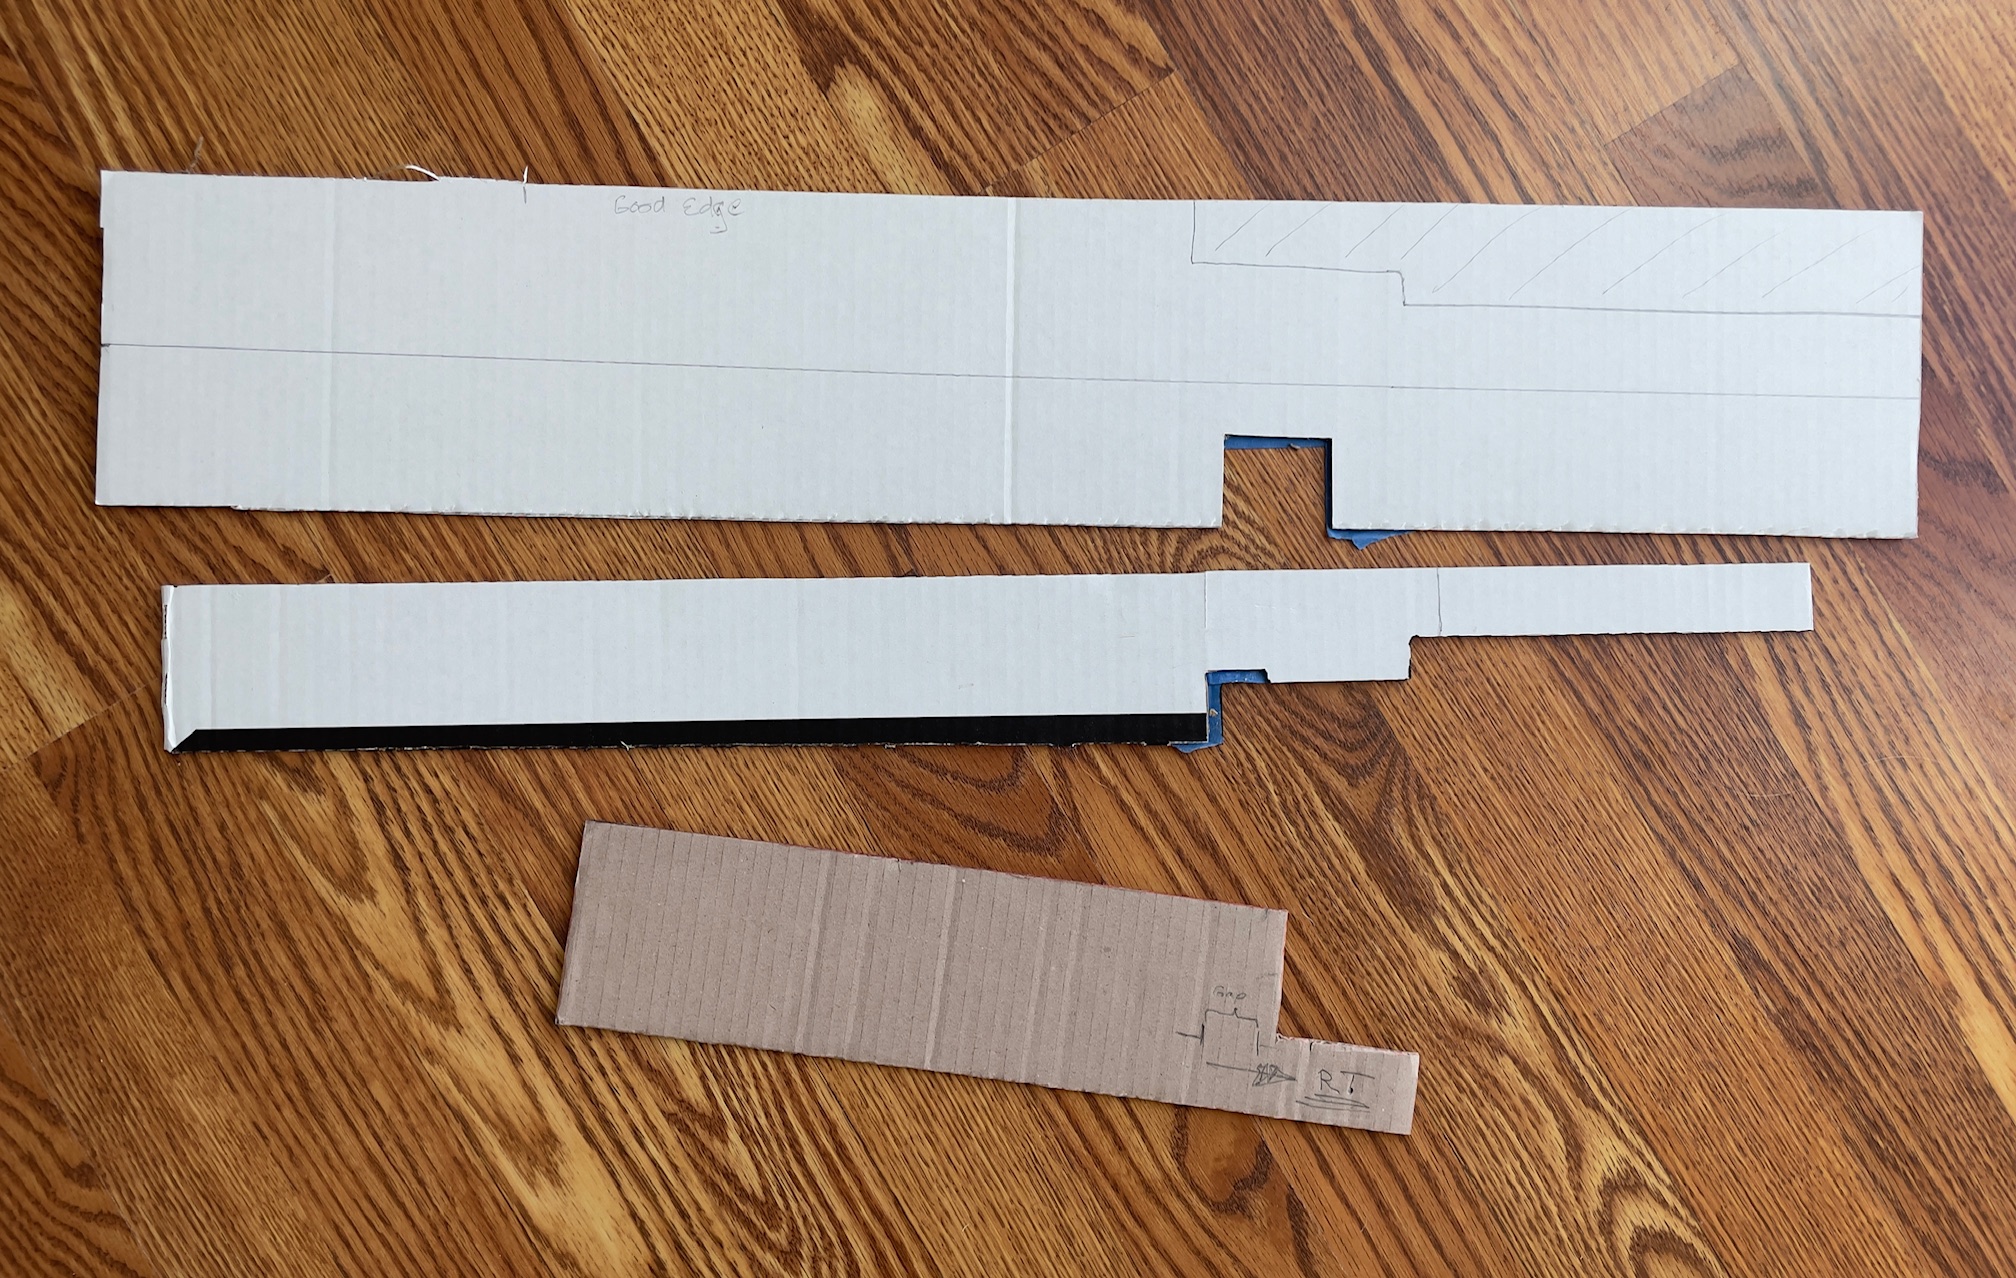
Use a jigsaw to cut Pergo to fit around sliding door jams and closet door floor hardware.
Tips: Make cardboard templates first. This helps prevent mistakes; Fill in gaps with Quick-Repair Putty. It comes in various colors to match the Pergo.
If you left your baseboard up, paint it and the small molding first, then install the molding.
It took me a lot longer to complete the first room, it was challenging, but the results were rewarding. The materials cost approximately $450 dollars. To hire someone for that one room, would have cost at least $3,500 dollars.
If you do not want to take on laying the Pergo, ask your contractor what the cost would be if you did the carpet removal. That should be quite a savings.
Only three more rooms to go!