With Fall just around the corner, I thought that I would share a few images of my liquid amber bonsai.
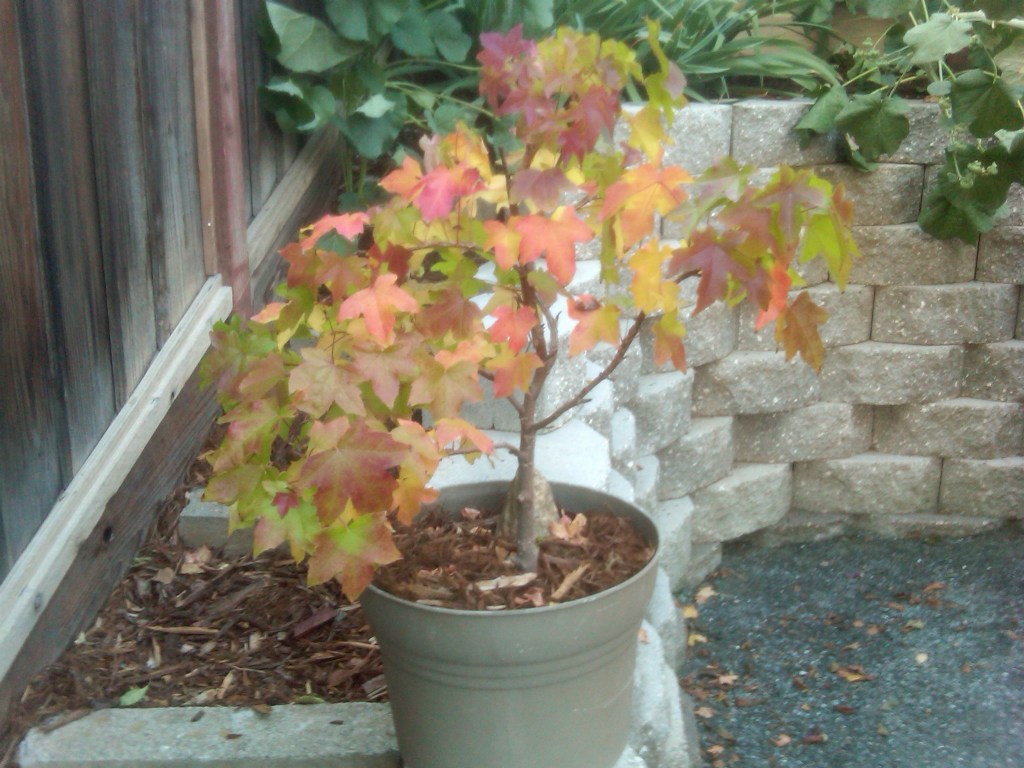
I once had a massive liquid amber tree in the front yard. One year, one of its seeds found its way into a pot with only dirt in it. This is what it looked like in Fall 2011. I did absolutely nothing – it was all voluntary.
Keep in mind that a liquid amber tree will grow like mad. If you want to keep it like a bonsai tree, trimming and re-potting will be required.
Here’s the tree in Fall 2012. I had to do a bit of shaping of the branches during the Winter. Fortunately for me, my father was a bonsai enthusiast for more than 35 years, so I picked up a few tips.

This is the tree in Fall 2016. The trunk has gotten bigger and I did transplant it into a new ceramic pot. I will show you how that is done in a future post.
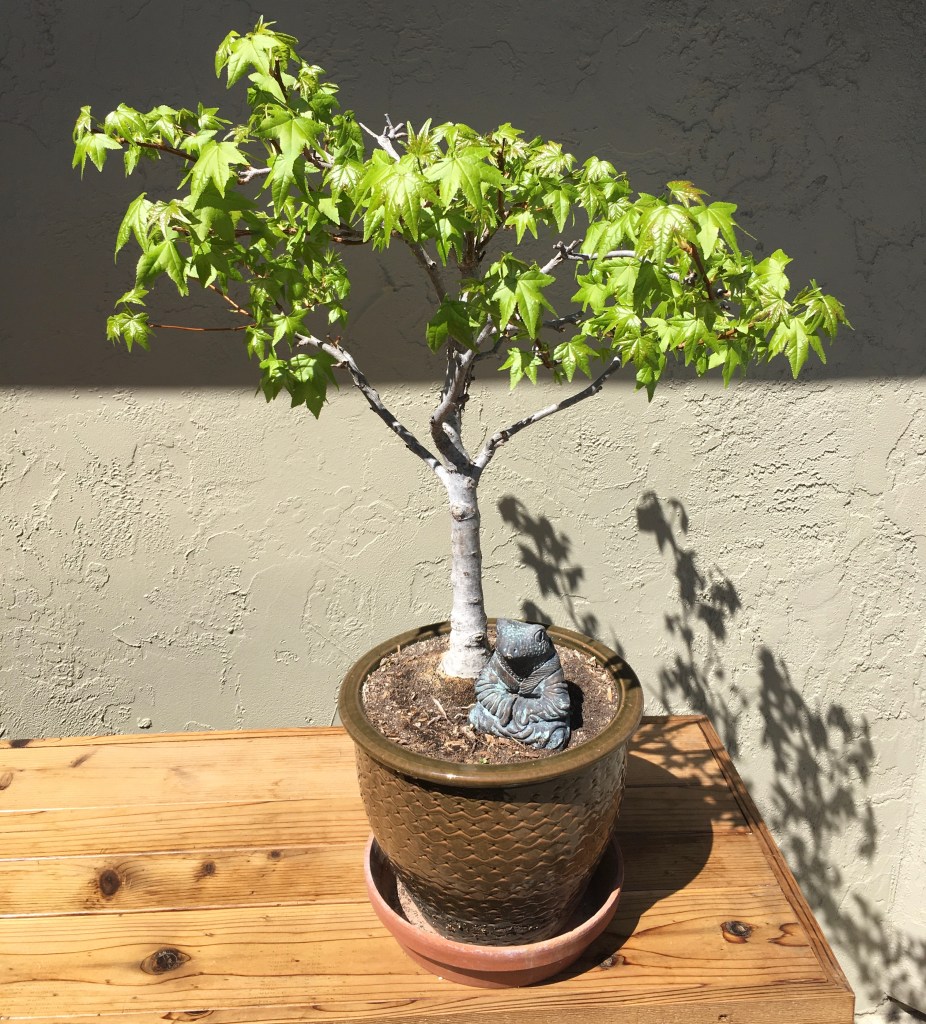
Let’s jump to Spring 2021. The tree was just beginning to really leaf out.
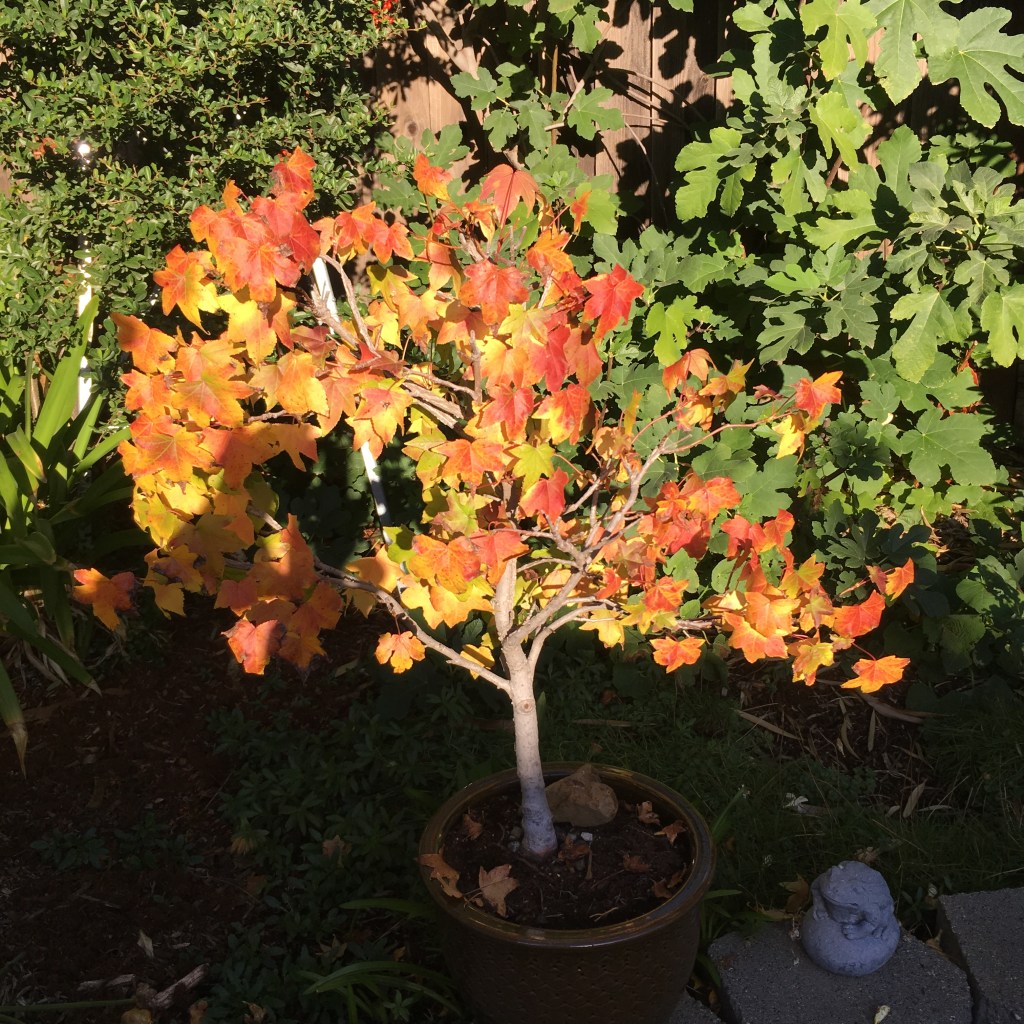
It’s really full with leaves this year, so the Fall colors should be amazing. I am going to have to wait another month to find out.
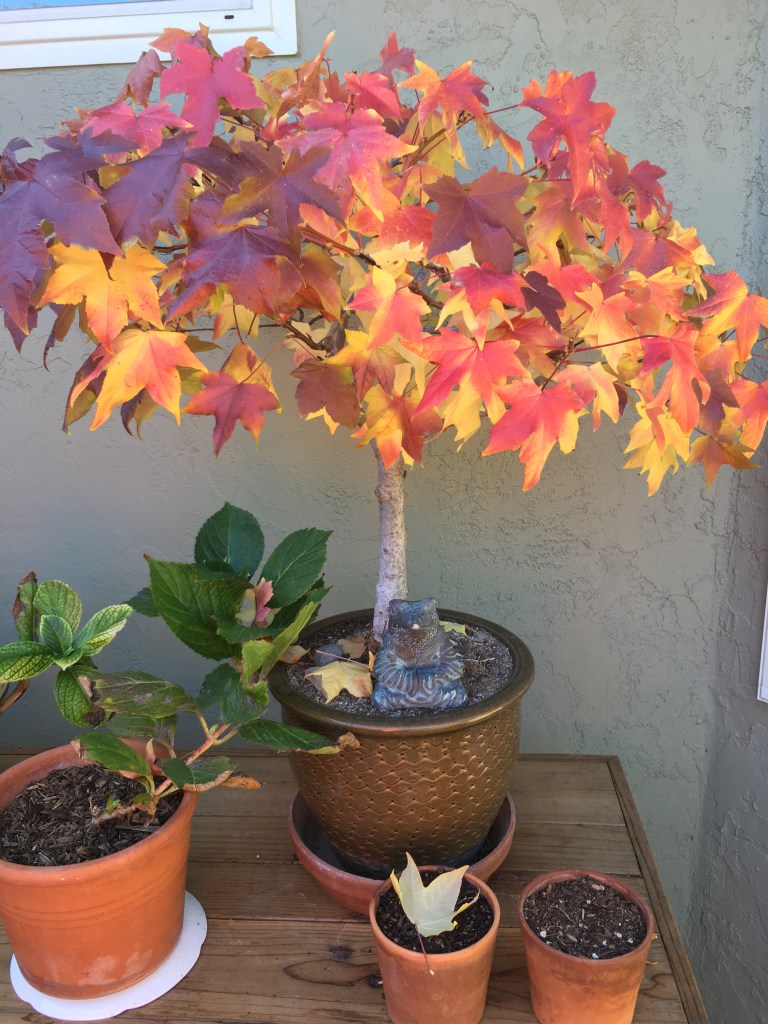
Here’s the tree later in the Fall – so beautiful!
I always look forward to Fall. For me, it’s the best season of the year!