I’ve always liked the way narrow teak decking looks on a sailboat. I do not own a sailboat, but on a recent project I decided to try to emulate that look.
My curious friend, often has her nose in a book or a magazine. As a result, she is always coming up with new project ideas.
One such new project was an outdoor shoe mat for cleaning and placing shoes on, prior to coming indoors. She showed me the piece from the magazine and the next thing I knew it was on my list of projects to make.
So, in my usual fashion, I had to figure out a way to make it with as many ‘on hand’ materials as possible. This always means a bit of redesign on my part. Of course, that is the ‘fun’ part.
I decided to utilize some ABS irrigation pipe and some 1″ redwood slats that I had as leftovers from previous projects.
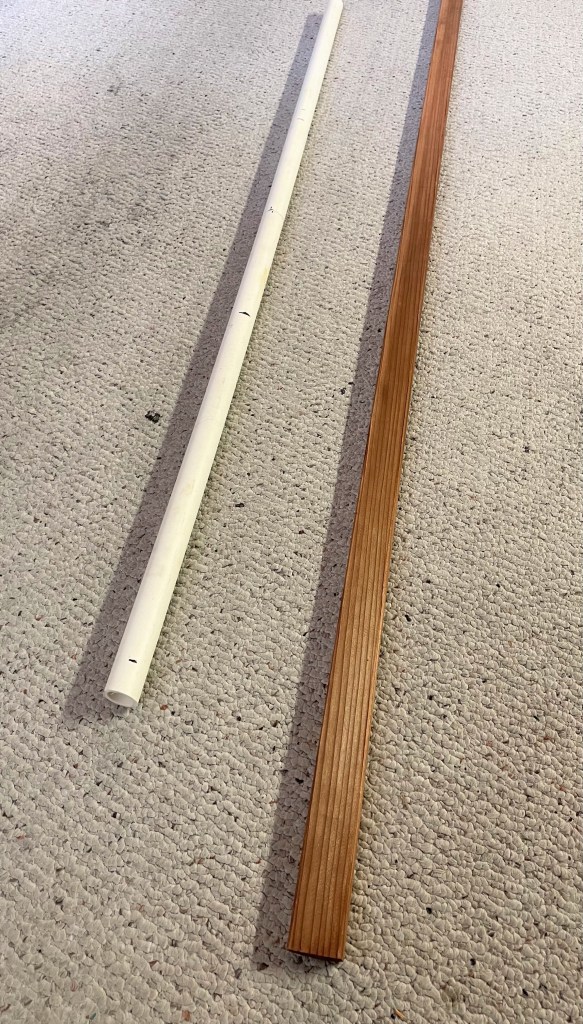
I cut the ABS pipe into two 24.5″ pieces.
Next, I cut several of the redwood slats at 14.0″ and laid them out on the ABS runners to see how it was going to look.
I was content with the outcome, and secured a slat at each end with screws. I made sure that everything was square.

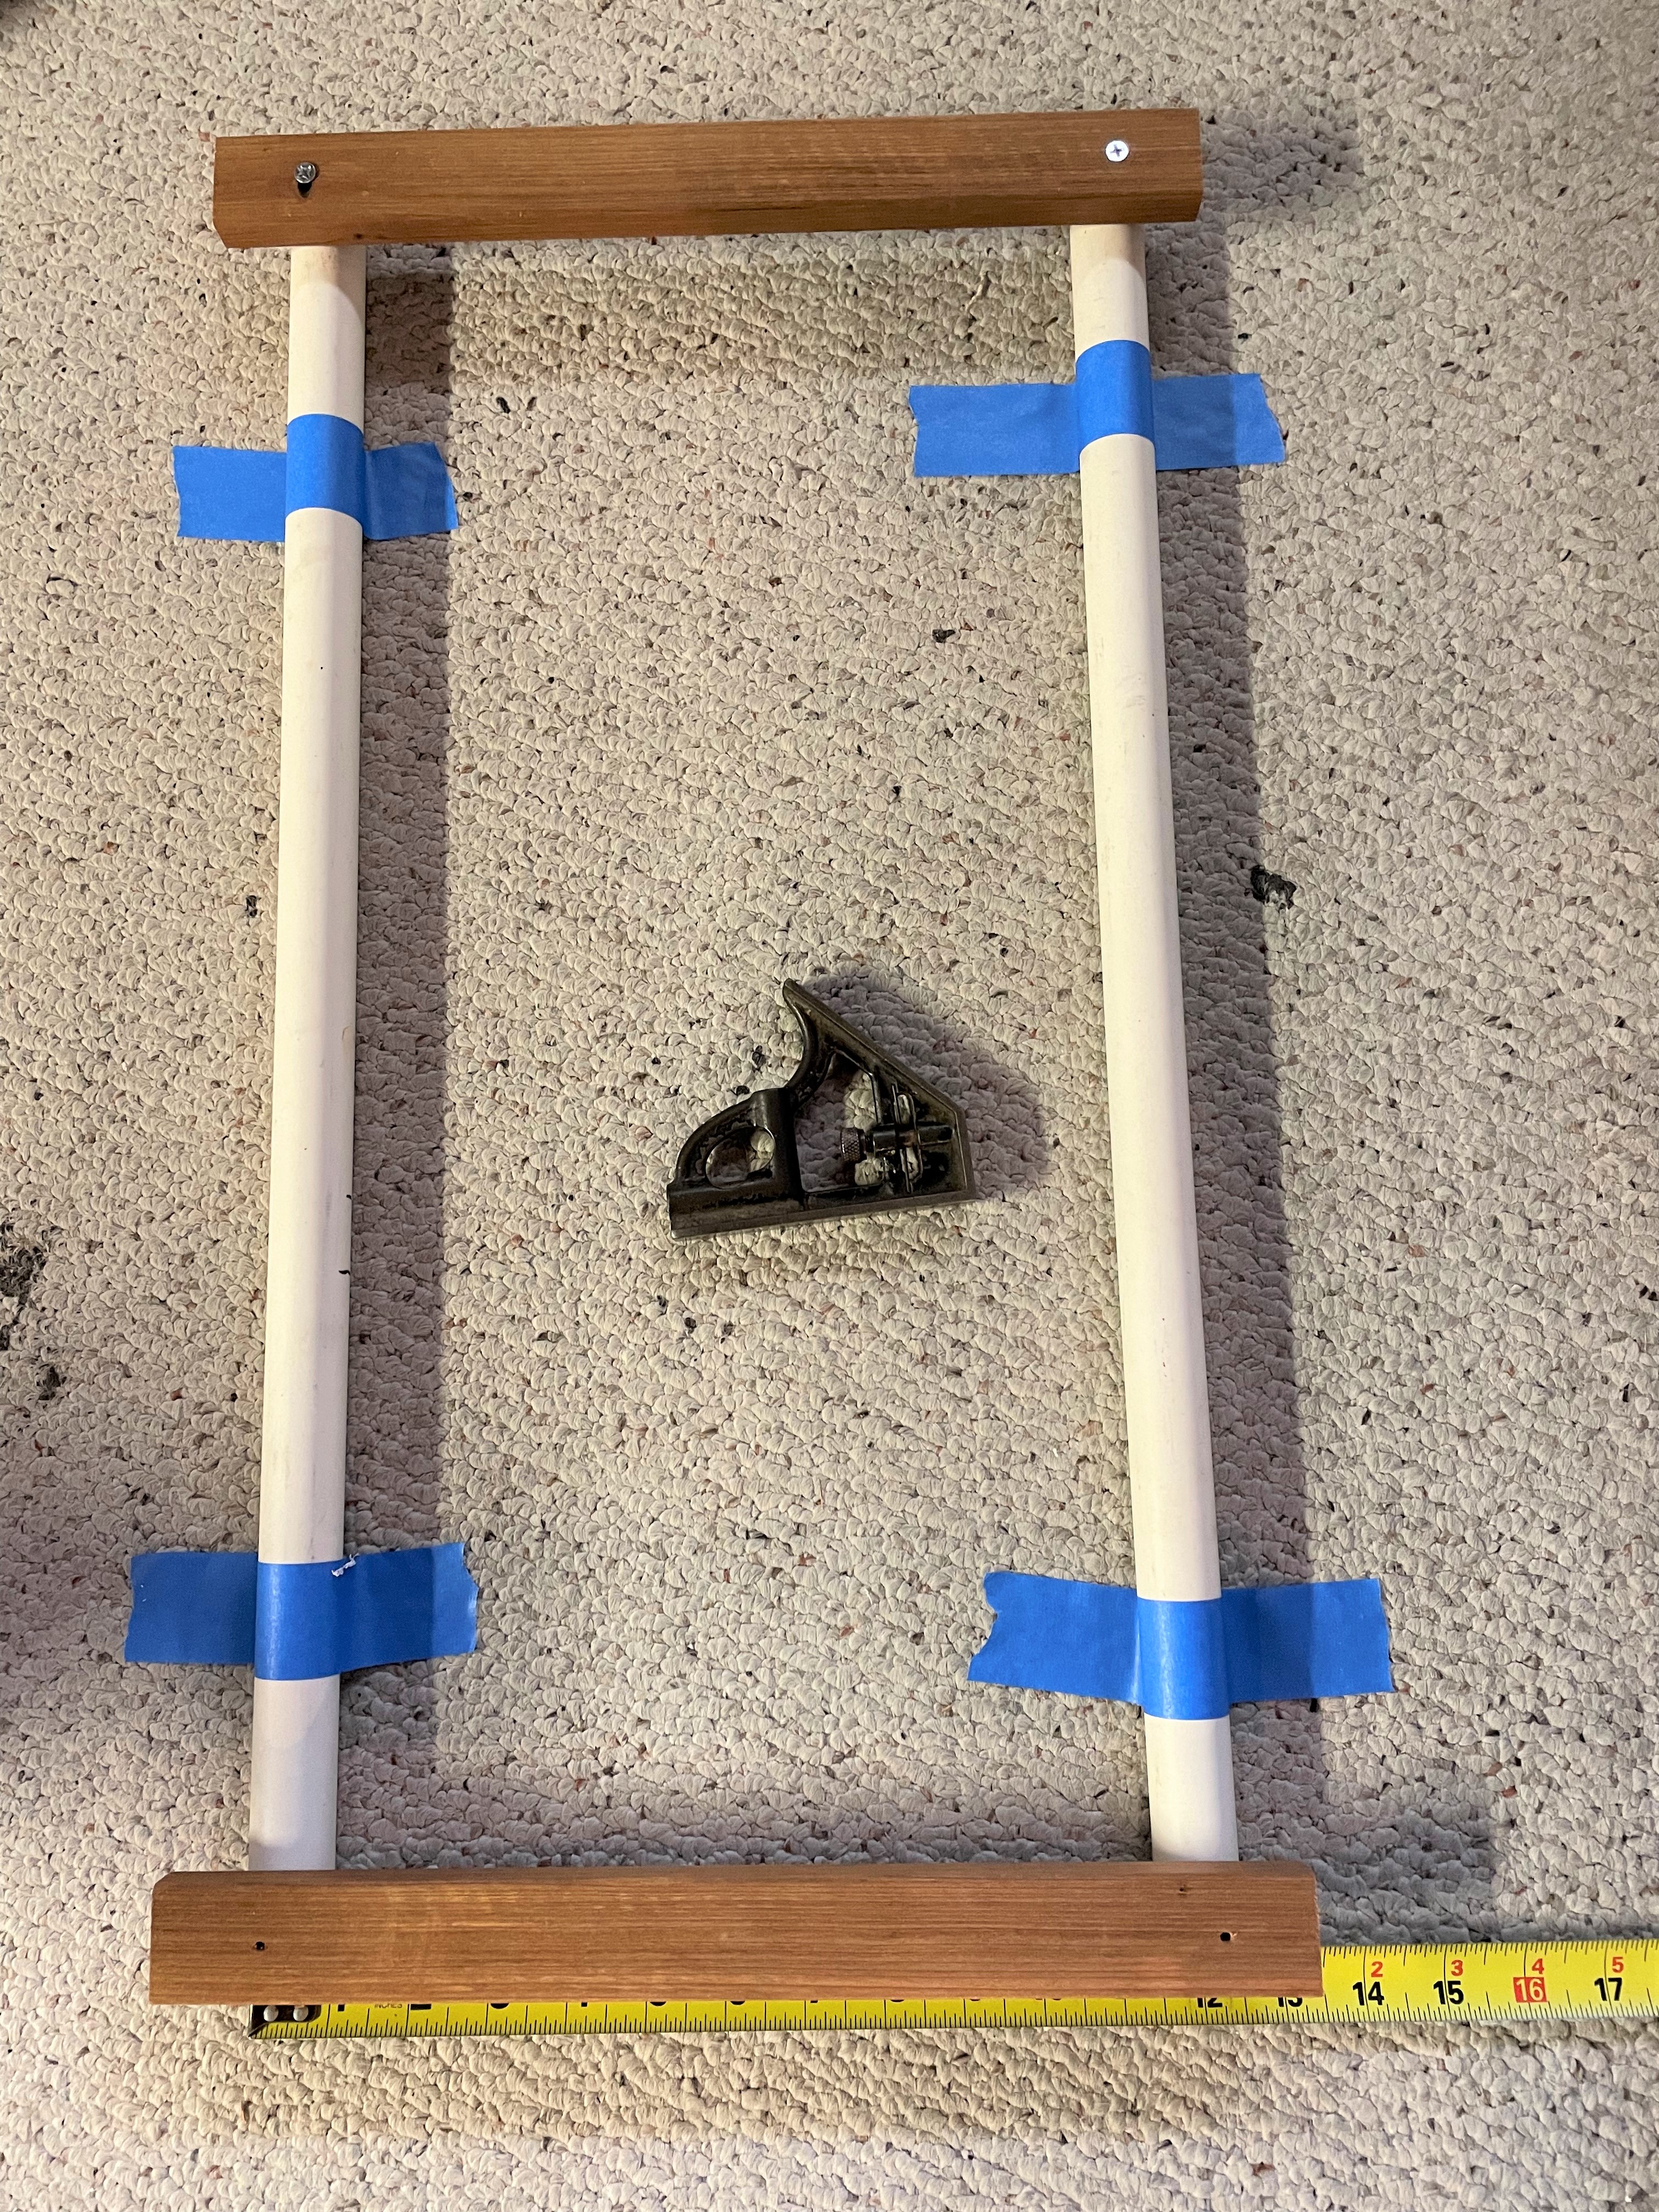
Now began the slow job of drilling and screwing down each slat. I used a paint stir stick between each slat (as a width guide) to ensure the spacing was identical.

Once all the slats were in place, it was time to add the brushes (for shoe cleaning).
I simply screwed them to the decking from the underside.
I brushed on a coat of Tung oil for weather protection, and to give it that ‘wet sailboat deck’ look.
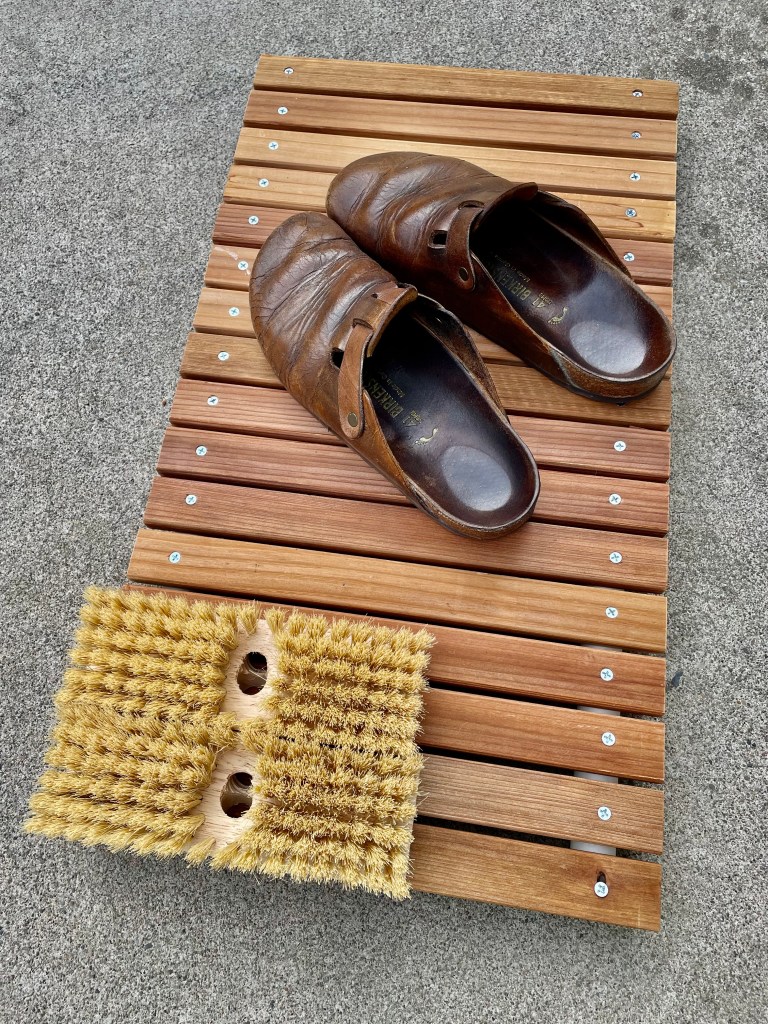
Ahoy mate, your shoes look great!