Garden Tank Set Up

Spring is really just around the corner, so it’s time to get your garden prepared. Last year I set up this garden tank for veggies. I’ll show you what I did.

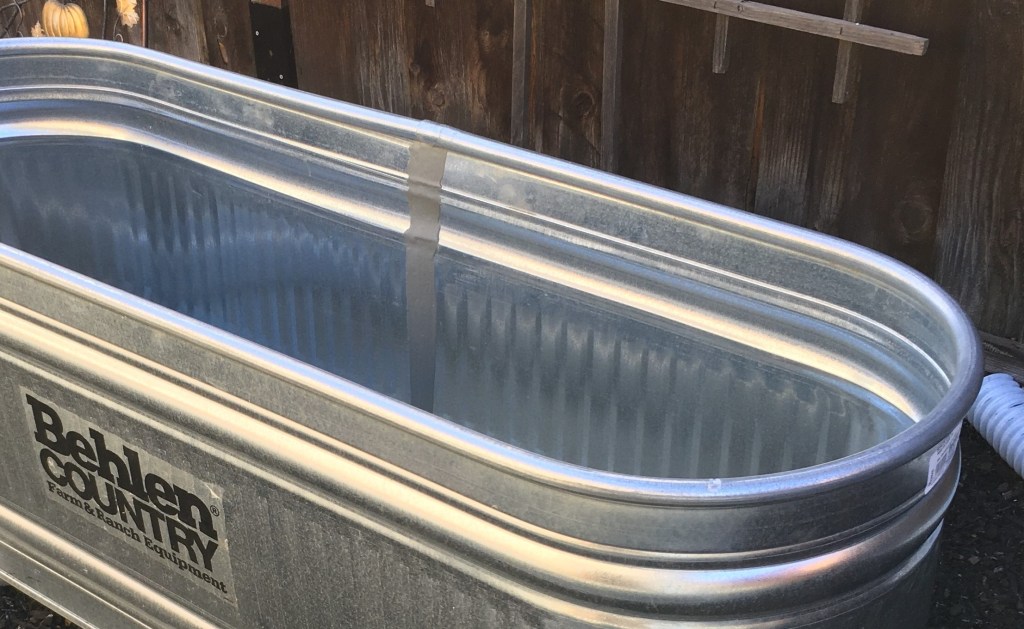
I purchased a large stock tank. They were on sale for $99.00.

I positioned and leveled six left over blocks to place the tank on.

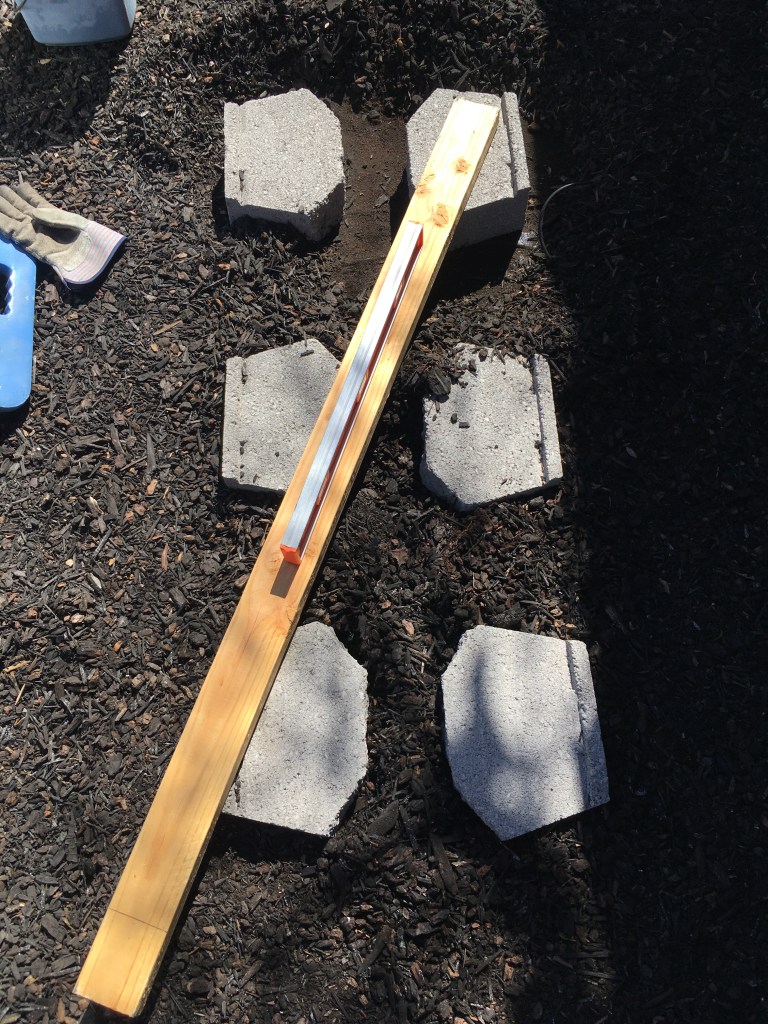
I had to place the tank on the blocks a couple of times to ensure I really did get it level.

I drilled 1″ holes throughout the bottom of the tank to ensure that there would be proper drainage. I purchased the metal drill bit at the same time as the stock tank.

I placed a 2″ layer of gravel on the bottom, followed by the soil. I selected a soil mix specifically for veggie gardens. It took less than a 1/4 yard of soil. Keep the soil about 2″ below the top of the tank.

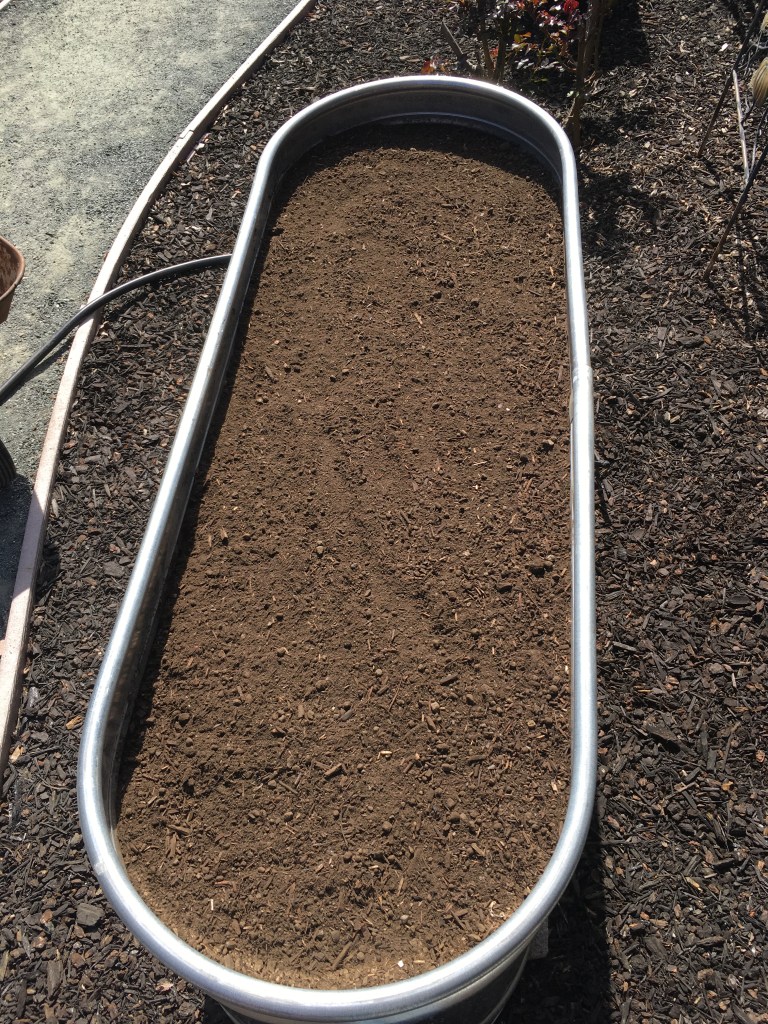
Here I have butter lettuce planted and added flexible tubing. This enables you to easily cover the garden on frosty nights or on those hot summer days. Looks a little like a covered wagon. I can hear John Wayne now, “Get the garden tanks in a circle, the deer are commin’.”

Here’s the garden in late summer. I grew peppers and tomatoes after the butter lettuce harvest. Depending on the season, you can really grow any type of veggie in the tank that you’d like.

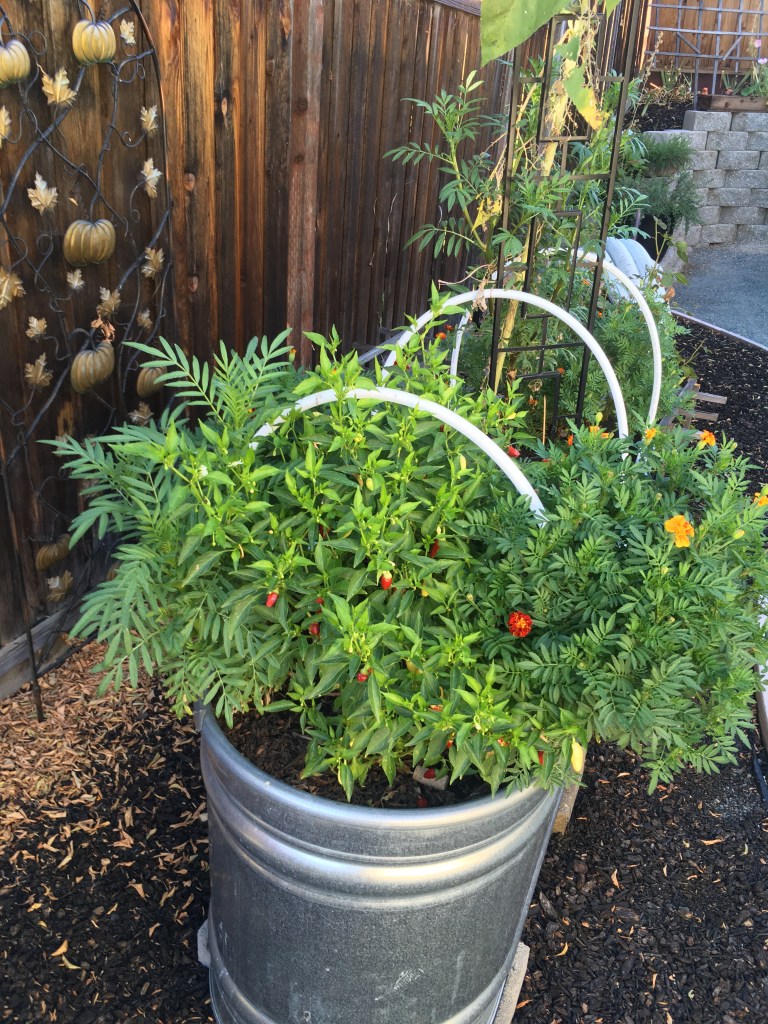
A simple set up for “good eats” all year long!

Adding Glass to Kitchen Cabinets

Renovating a 1970’s kitchen on a small budget is not easy to do. However, that is what a friend asked me to help her accomplish.

The kitchen was extremely small and dark. Of course, my first thought was to paint the kitchen cabinets a light color. She didn’t want white, and decided that a nice blue-gray would do the trick.

Since the kitchen was so small, I suggested that some of the cabinet door centers be cut out and glass added. This would make the opening of the kitchen appear wider and add some depth as well.

I began by removing and cleaning up the cabinet doors. Next, I laid out the cut lines and drilled a hole in one corner so that the saber saw blade could be inserted.

After about 15 minutes of cutting, the door center could be removed. I saved the center piece of wood for a future project.

How to install the glass? That was my new issue. I figured that I would route out the back side of the door – only one problem, I don’t own a router. My friend had a great suggestion to just add a small edge of wood to the cutout, leaving space to support the glass.

I used some 3/8″ square pine to frame-up the cutout. I secured each piece in place with glue and small finishing nails. It actually added a nice detail to the front of the door and – no routing required!

I took the first two doors to a glass shop. My friend selected a glass pattern that she had seen years ago while visiting Ireland.

They cut and installed the glass, and interestingly, they used clear silicon to secure the glass in place. It cost about $70.00/door for the glass and labor.

Prior to hanging the doors, I refurbished the old hinges, a subject of a future post. I also installed new pull knobs, which she had previously selected.

I painted the upper cabinets 50% lighter than the bottom. I simply mixed 50/50 blue-gray with white paint. This optically makes the upper cabinets appear a little further back, making the kitchen seem larger. When you have a small space, these tricks add up!

I completed four doors in total and as you can see, it really updated the kitchen! The original estimate for new cabinets and installation was $10,000. So far, the kitchen has cost $450.00. That’s paint, knobs and glass. Of course, she got a great deal on labor!

With the money she saved, she purchased a new counter-depth refrigerator, keeping the kitchen opening as wide as possible. I think it really added to the “new” look.

Now the old countertops are next on her list. Did you know that they can be painted? A new project has been born!