Flying on a Hammerhead Shark

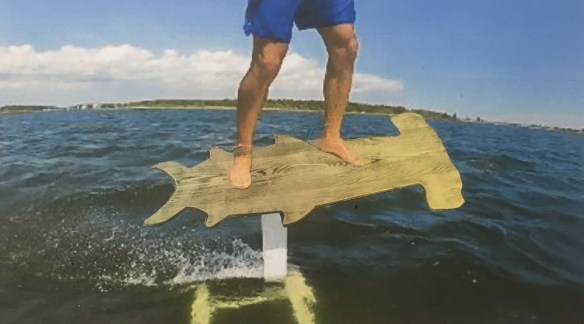
Every once in a while a project morphs or leads into several different projects. An example is my hammerhead shark balance board Hammerhead Balance Board.

It’s made from a recycled desktop. I really wanted something different than a standard skateboard/surfboard shape, so I went with this design idea.

A balance board is like a skateboard but with a roller and track on its underside, instead of wheels. The board is 40″ long.

Just imagine a board that you stand on, with a movable fulcrum centered underneath. I decided that I would be less likely to break bones on this, as opposed to a skateboard – right!

Additionally, I thought once I improved my balance, I could add wheels to the balance board and it would morph into a skateboard.

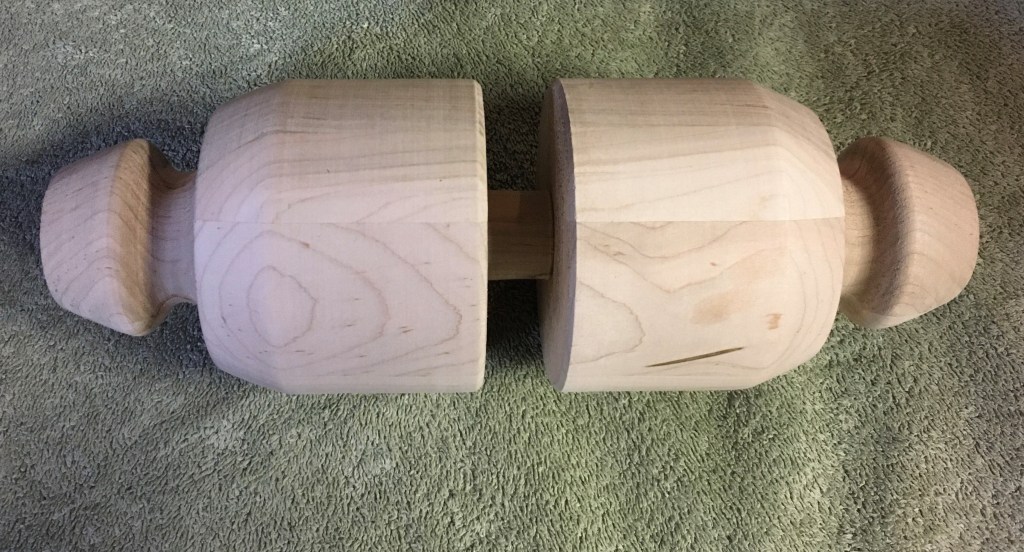
Here is the roller that I will be using. I ordered this one from Vew-Do.

While building the board, I decided that I needed a balance paddle. So begins another project. I felt that I needed a safety stick (like a cane), so that I would not tip over while on the board.

Here is the balance paddle under construction. It’s made with 4 old ceiling fan blades glued together (a fan blade pair on each end) and laminated pallet wood for the paddle shaft.

I’ll show you how to build the paddle in a future post as well.

The balance board is not even complete, and now I am making a paddle too. But wait, there is more!

One morning I awoke from a dream and realized that I had been flying on the back of a hammerhead shark. So very cool I thought, “How could I do this – I mean really do this.”

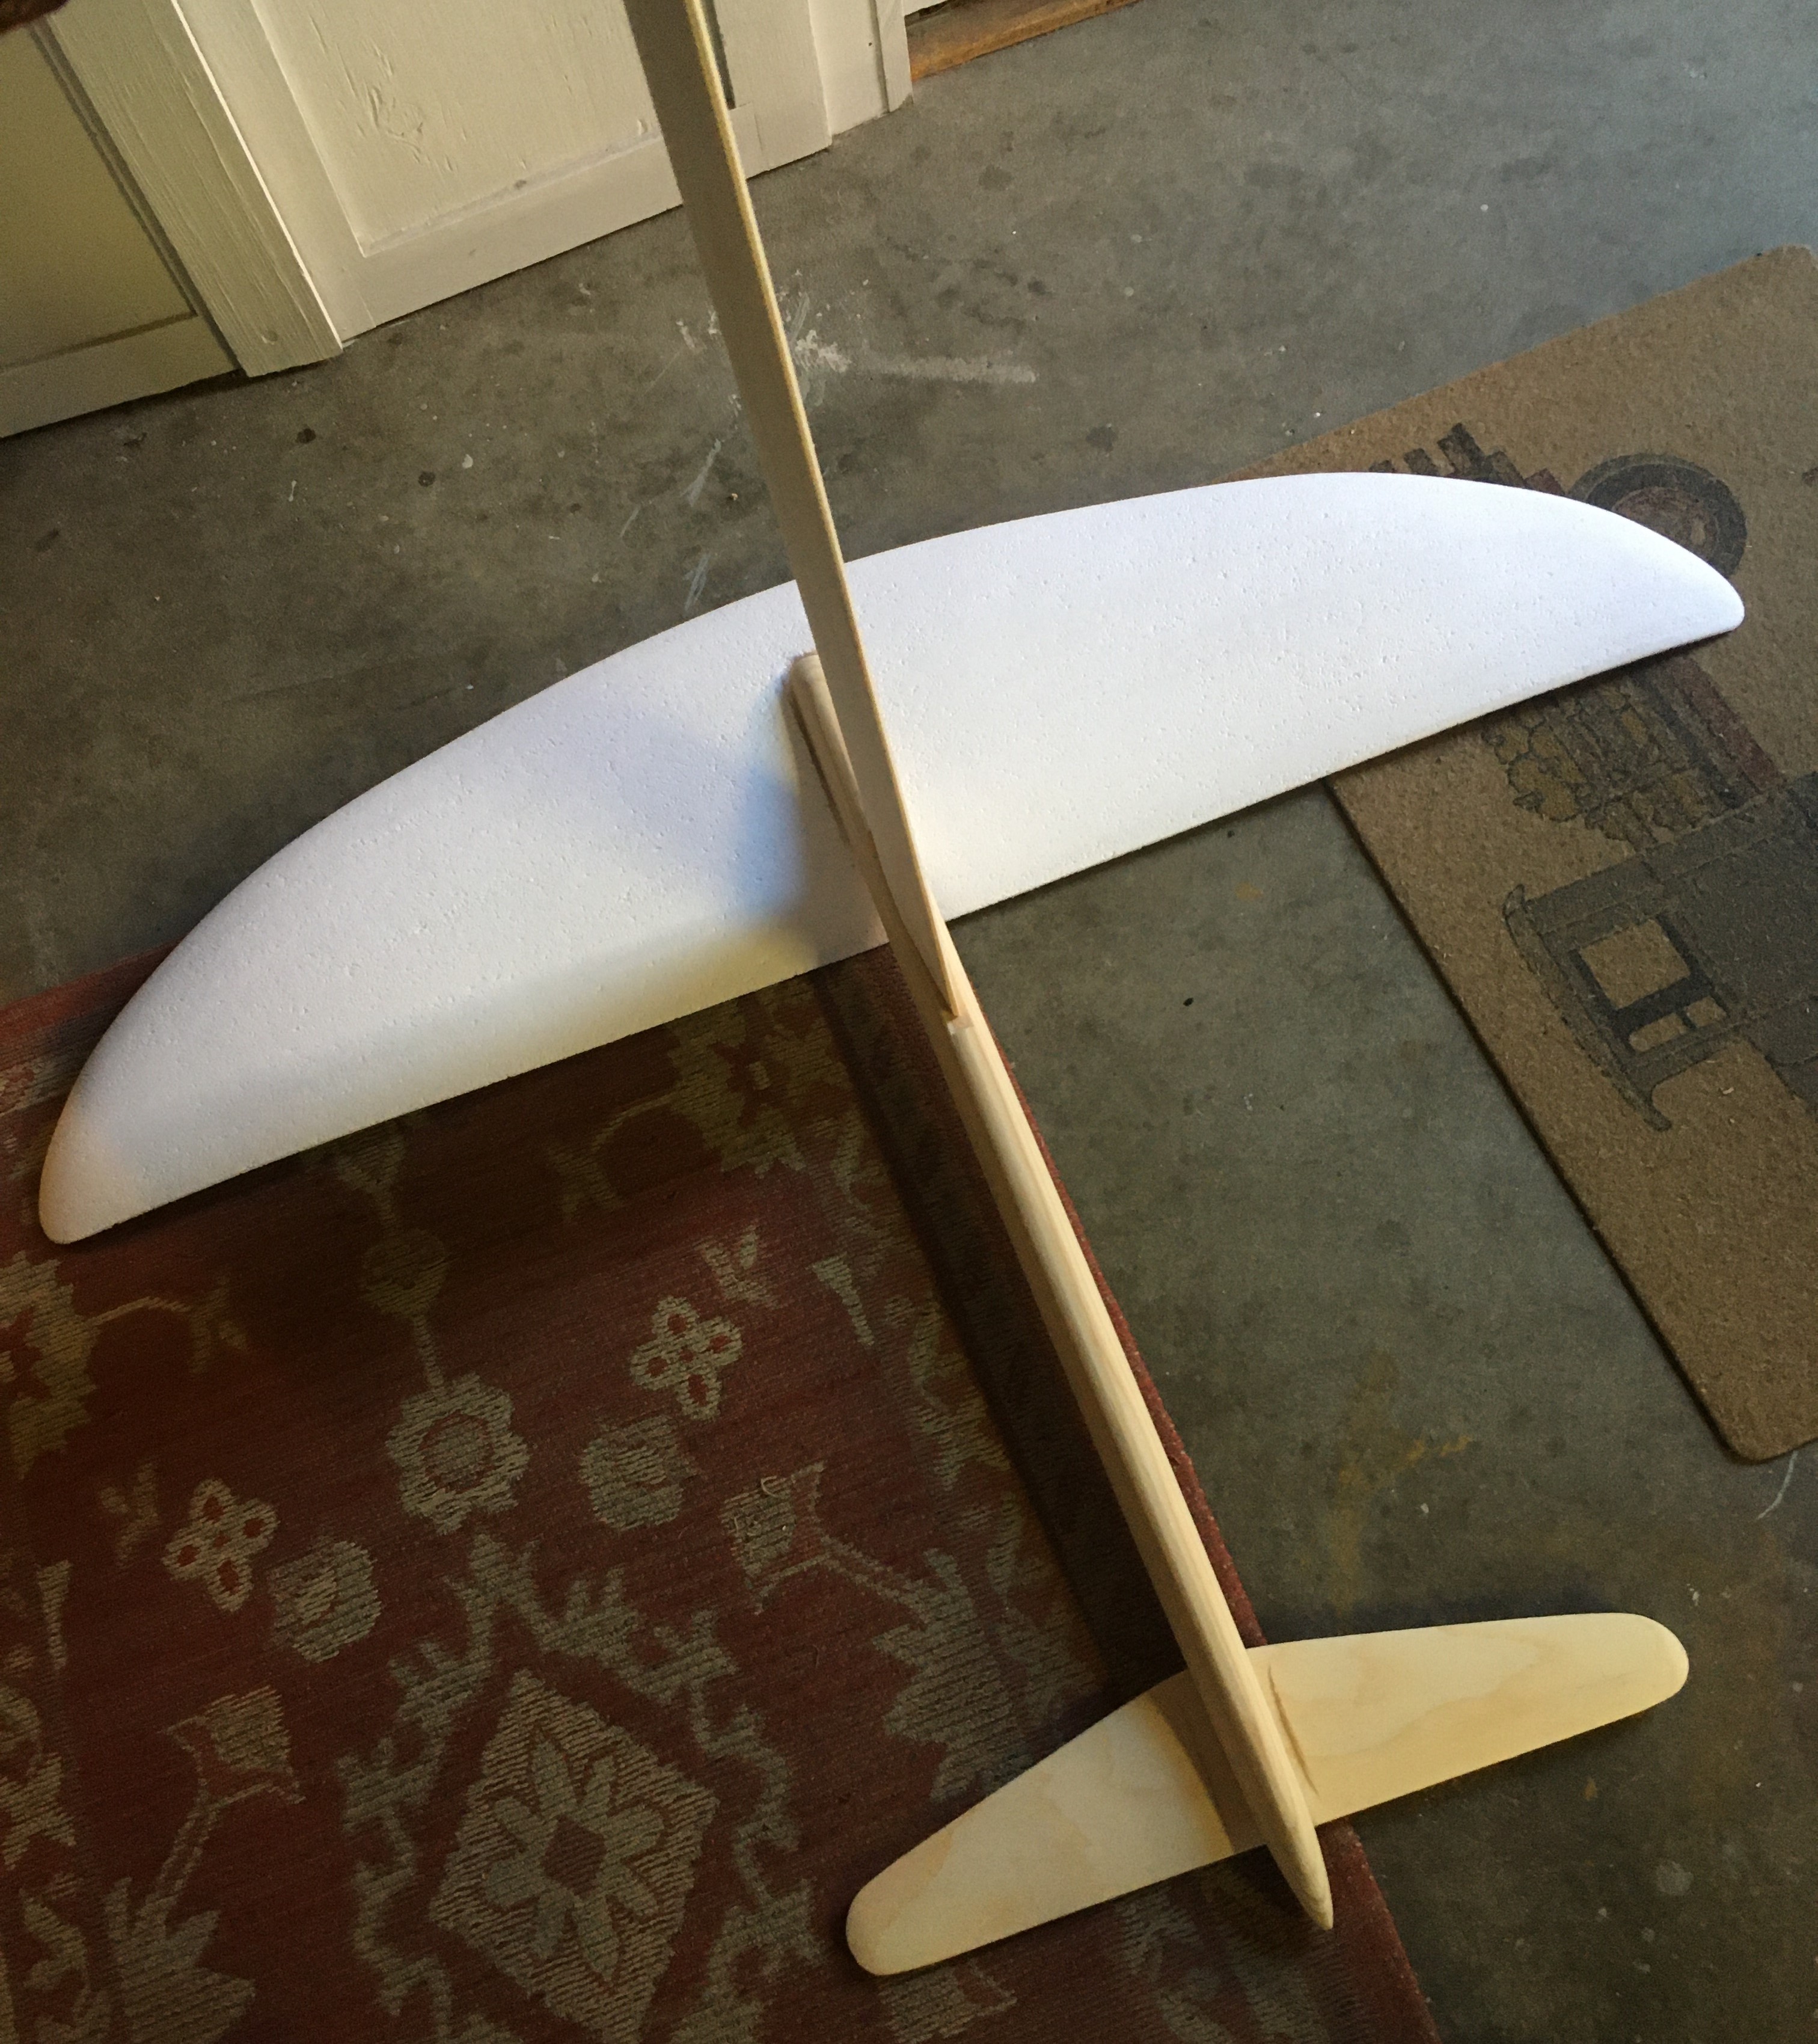
Then it hit me, add a hydrofoil wing to the bottom of the board. If I could add the wing, I could literally fly above the water on the back of a hammerhead shark – a dream come true!

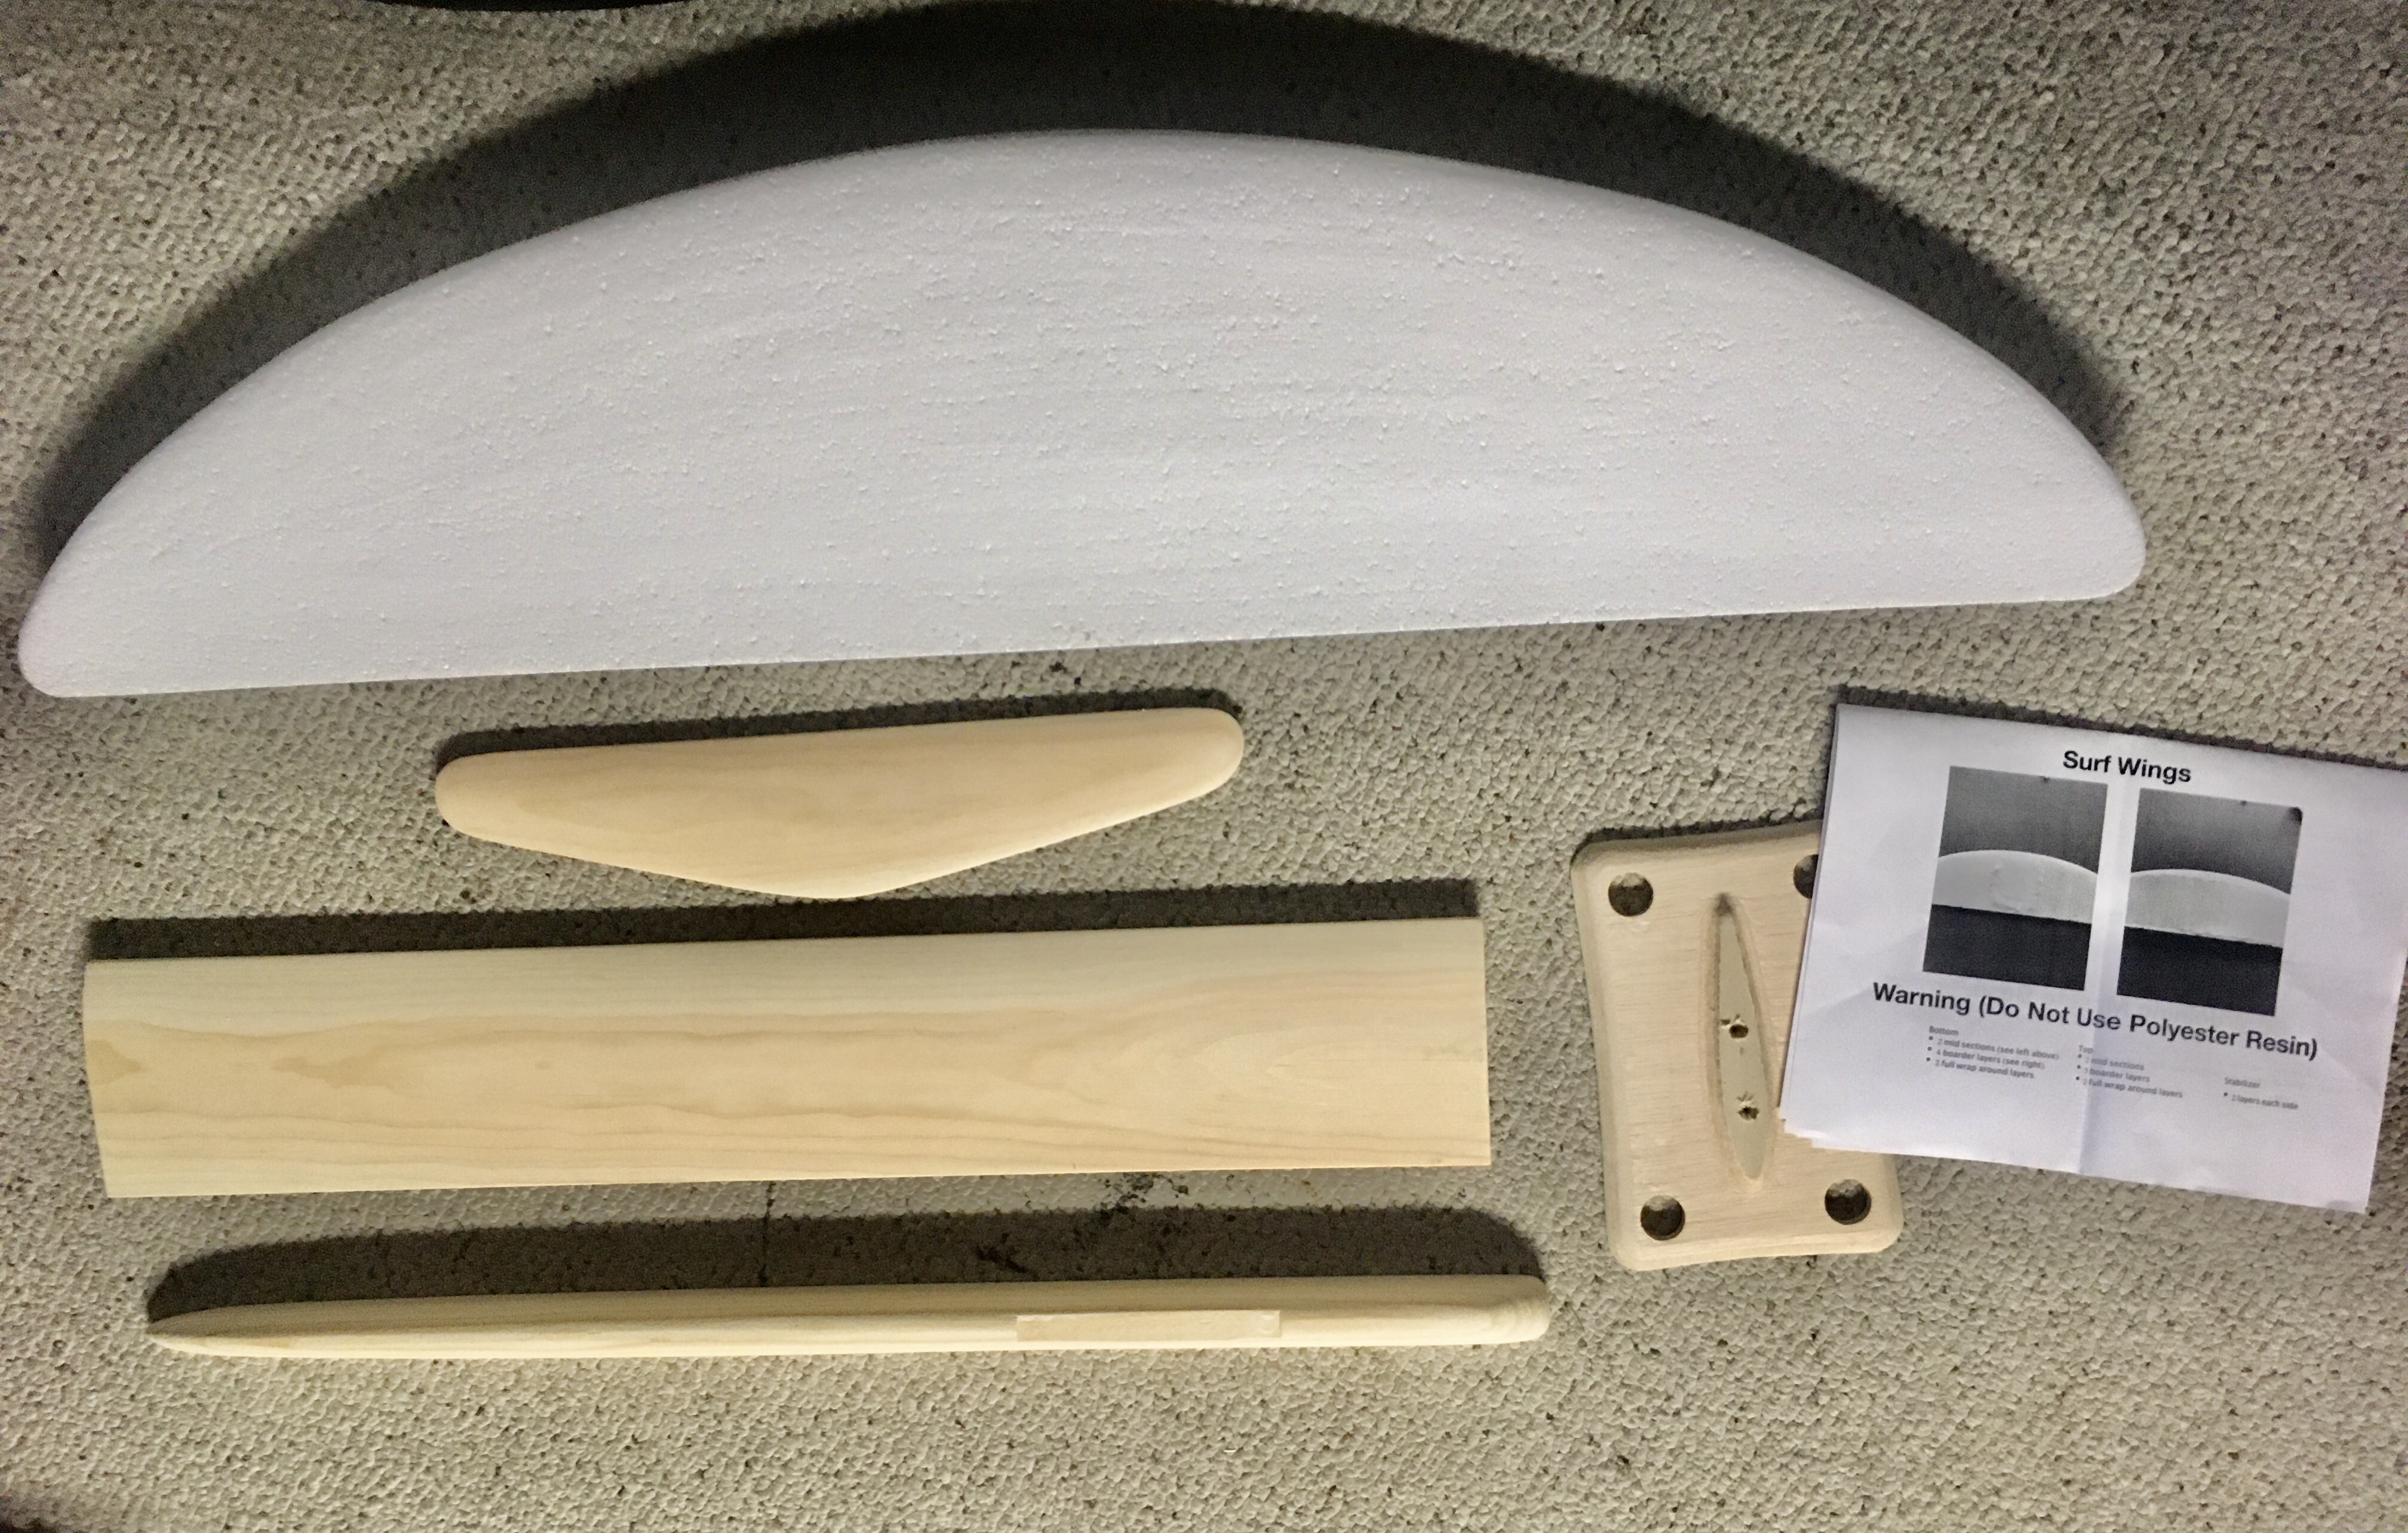
Hey, guess what? I am building a hydrofoil wing. I ordered this cool kit from Clearwater Hydrofoils. Of course it has to be fiberglassed, but I will learn a new skill. One post soon, I’ll show you that process too.

So, one project often morphs and/or leads to many others. The project fun never ends! What would life be without projects?

eBike Build

I’ve had a mountain bike for quite some time and have not ridden it in years. It just sits in the garage collecting dust.

eBikes (electric bikes) have become so popular, I thought that I might buy one. My thought was that the battery powered option would get me back on the road. Yes, I would pedal the bike sometimes.

Then I saw the prices. I’d have to spend about $1500.00 to get what I wanted – that’s the low end.

What about a kit to convert my old bike? I like kits. Well, I found some kits on eBay and purchased one. It cost $219.00. I have since seen the kits under $200.00, so look around if you plan to convert your bike.

This is the kit that I received. It contains everything needed except the battery

The first step was to get the tube and tire on the rim. This is not so easy if you do not have experience and a special tool to assist. I did get it on, put the air in, only to find out the next day it was flat. I likely pinched the tube during installation.

I decided to take it to a bike shop – new tube $12.00 and installation $8.00 = Worth doing it.

Next I put all the simple parts on: handle bar grips, throttle, and brake levers. Cables were dangling down the front of the bike. Make sure you know how to remove brake cables. Watch some videos first – then do the work – not the other way around.

Then I mounted the tire with hub motor to the front forks. You can purchase a rear hub motor kit, but that installation process is more involved. Again, watch videos before you purchase a kit so you know what is involved.

Following the instructions that came with the kit (they were okay, but not great), I began routing and wrapping the cables on the bike frame.

All the cables connect to the motor controller, which sits in a bike bag that hangs on the frame. The bag they provided is too small. I ordered a new one – cost: $11.00.

I connected everything I could, except the main power connectors to the battery. I still had not ordered one. More research, and where to place it on the bike also needed to be figured out.

I found a battery that I liked based on the kit providers recommendation for voltage and ampere hours – cost: $150.00. Batteries are not cheap but should last 6 years.

Now, how to mount it? I decided to use the water bottle bracket already on my bike. My solution was to mount the battery in 4″ diameter ABS pipe with hose clamps. I also added side blocks to prevent the battery from moving while on the road. Here is how it turned out.

I connected everything up and tested. Yes, we have power! I road tested the bike at about 20mph – that seemed pretty fast to me.

Here is the finished bike. I added a Flux Capacitor label to the battery tube and a “Bike to the Future” image in the bike bag pocket. – just for some fun!

It was not a simple project, so it may not be for you. There are people who will convert your bike or of course you can buy a new one.

I very much enjoyed this project and would do it again. Total cost: $410.00.

By the way, hills are a piece of cake now! The eBike is really a blast to ride!