A few years back, I was hanging out in Laguna Beach, CA. I went into a surf shop and saw some beautifully laminated-wooden stand up surf board paddles. I’d love to have one, but man they were expensive. So I figured that I’d try making one when I got back home.
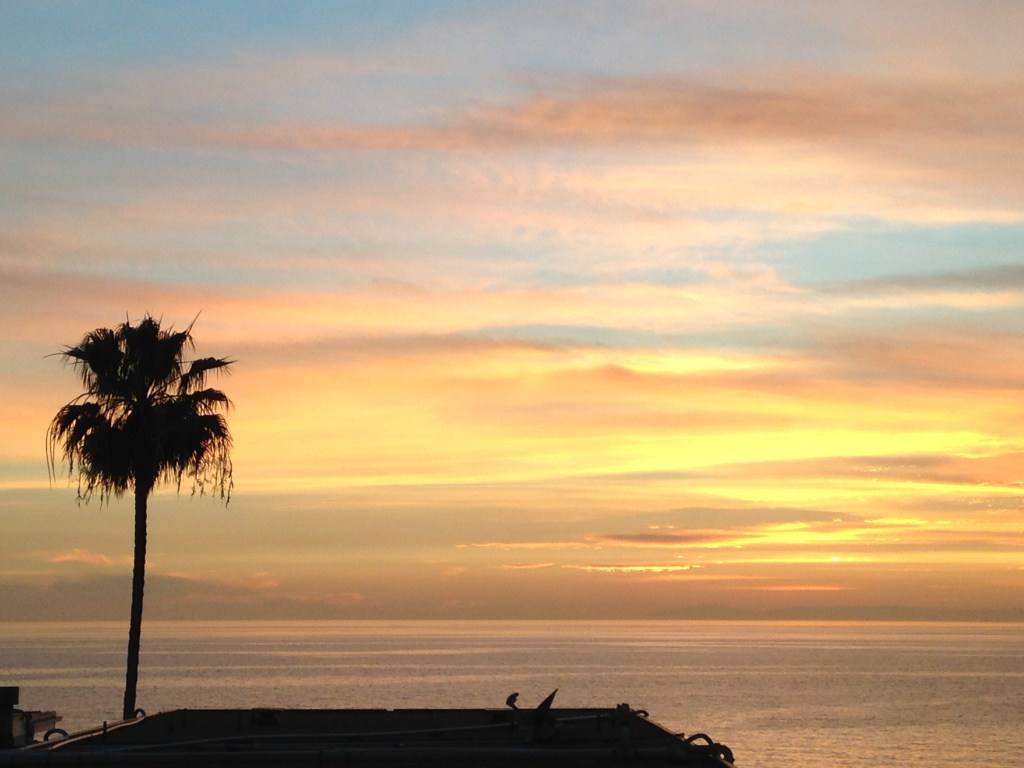
I hated to leave this view from my room, but I had to go back to work to pay for vacations like this one.
I’d never done any wood lamination work before, so as I always do I went to the web for knowledge. I found a set of instructions on how to build and finish all kinds of paddles. The instructions also included templates. I think I paid $20.00 for the downloadable set, but if you look around you can likely find some for free on the web.
After reviewing the instructions, I started digging through my wood pile. I didn’t have any really nice lumber, but I figured for my first attempt I should just use what I have.
Also, since I did not own a paddle board, I decided to make it as a gift for a wonderful friend who does own one.
I began by laying out and gluing up the paddle, paddle shaft, and paddle shaft angle. As I always say, you can never have too many clamps!
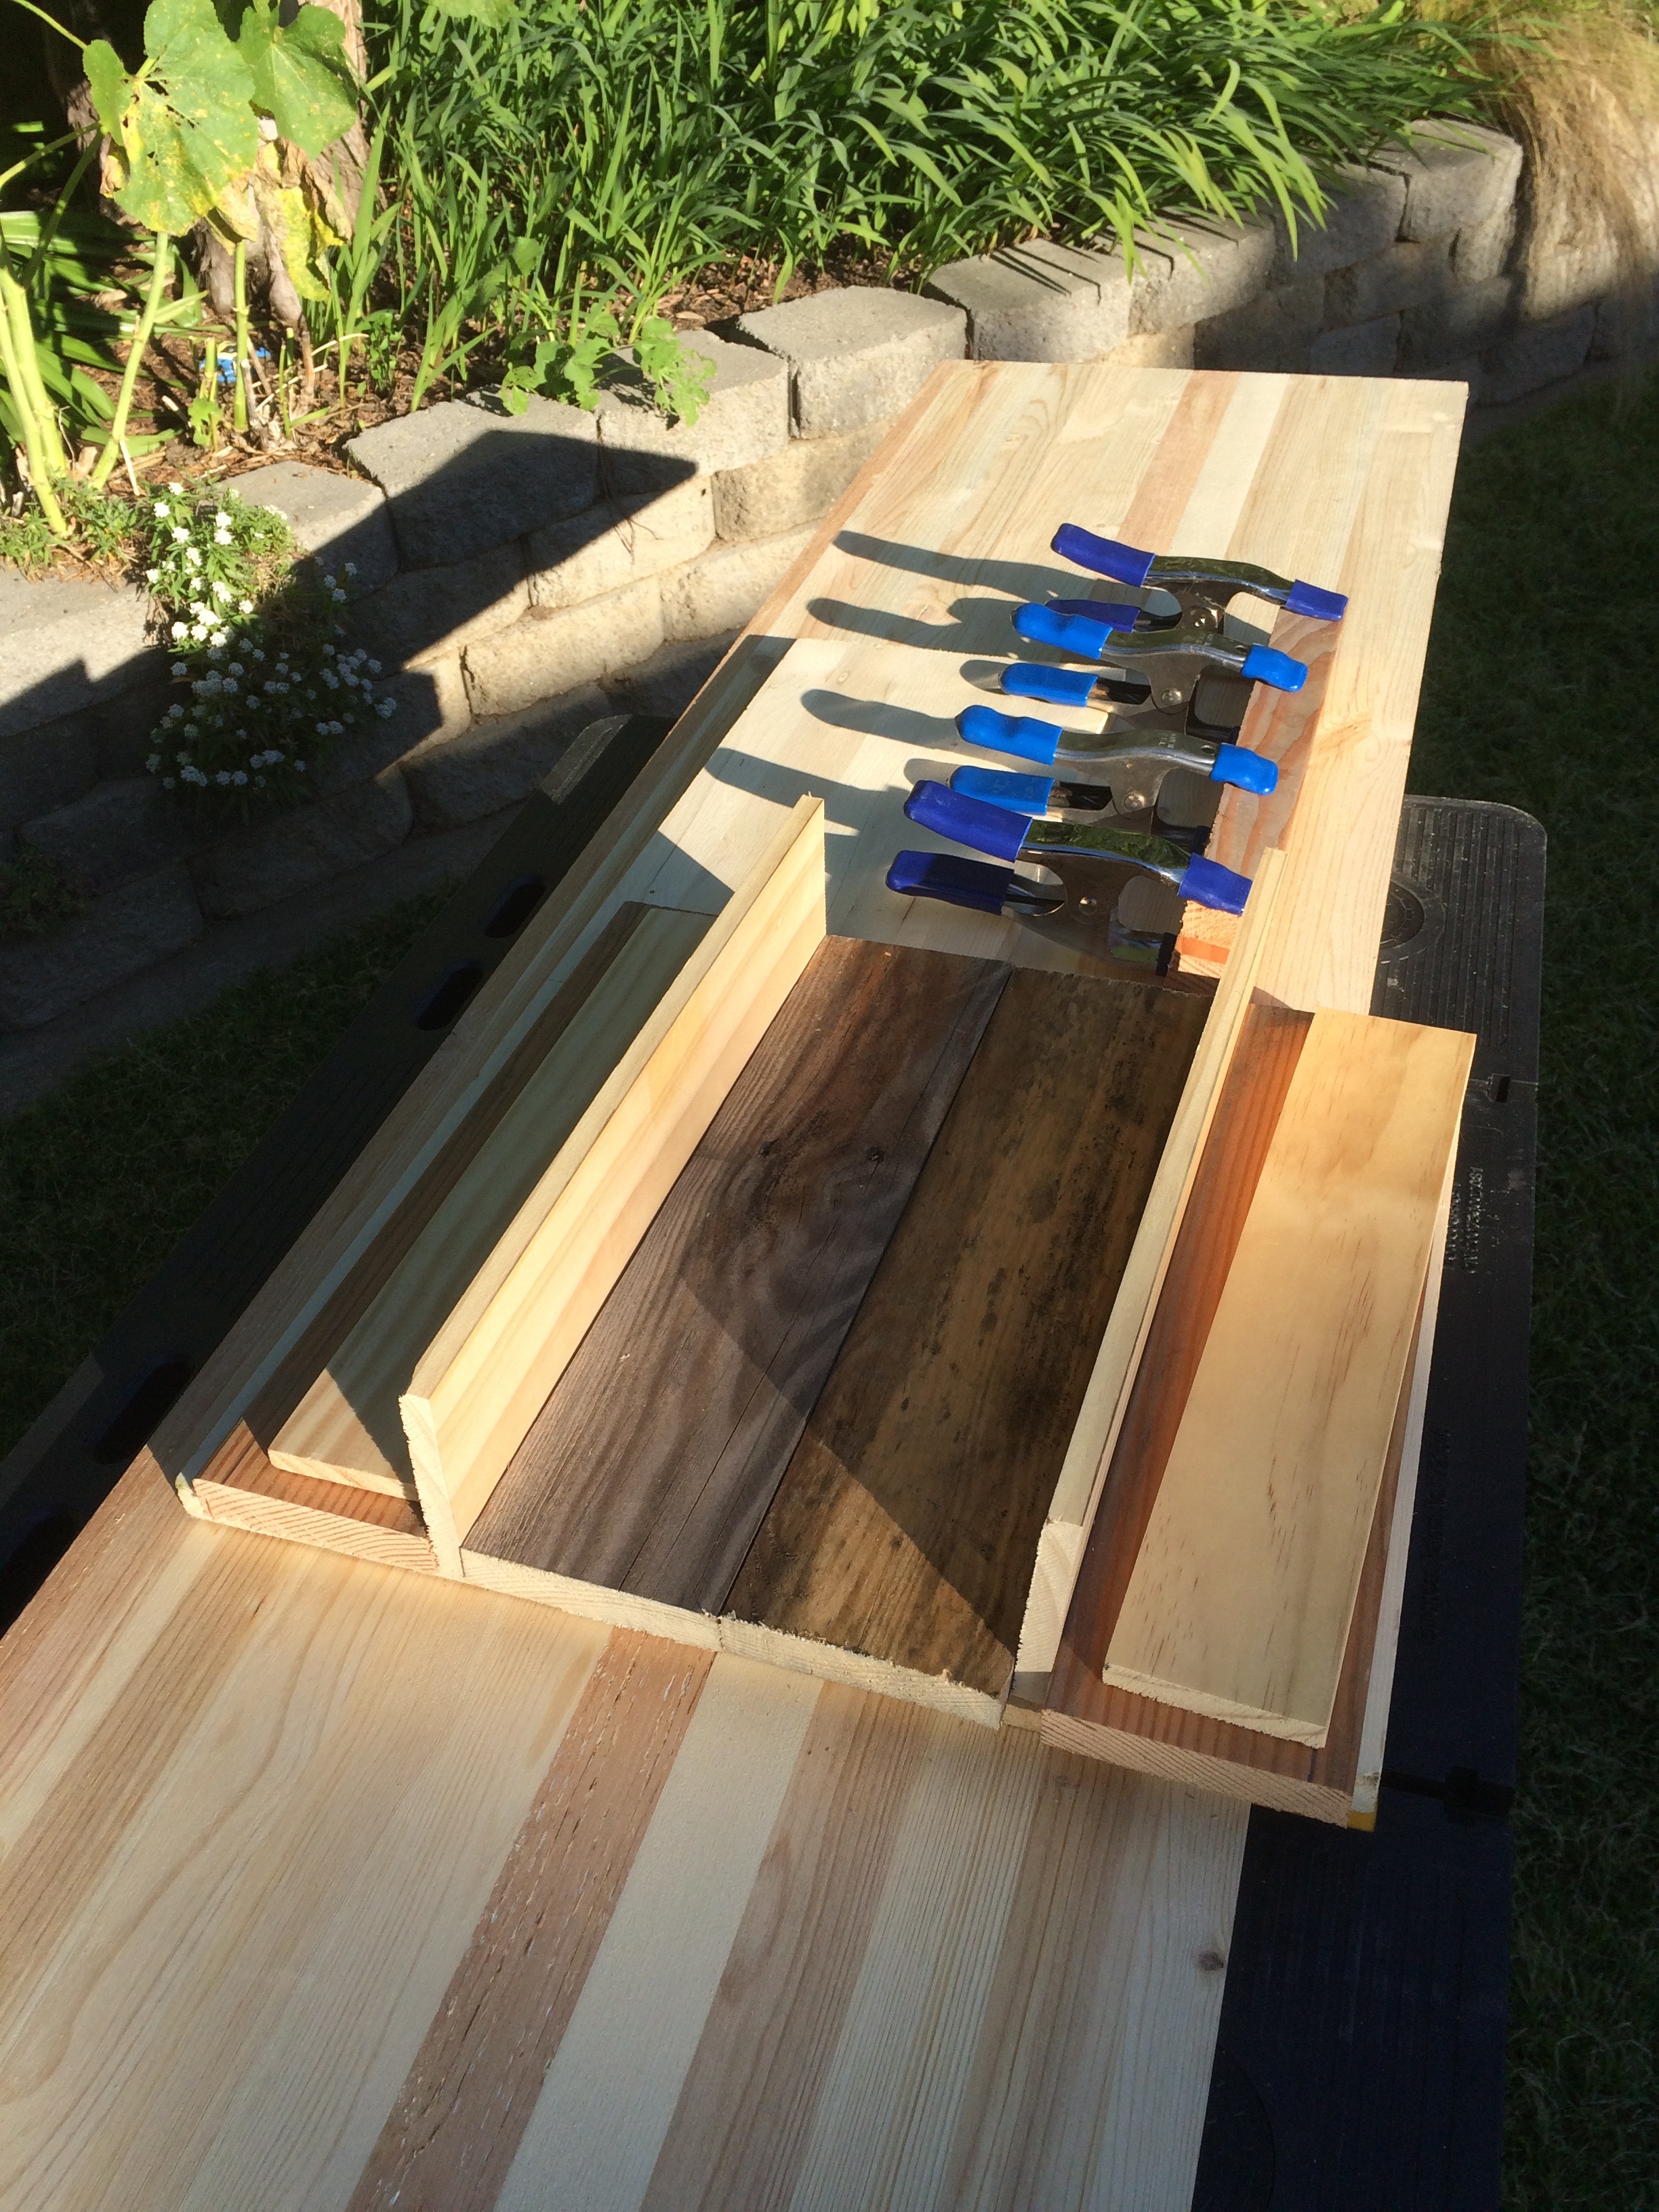
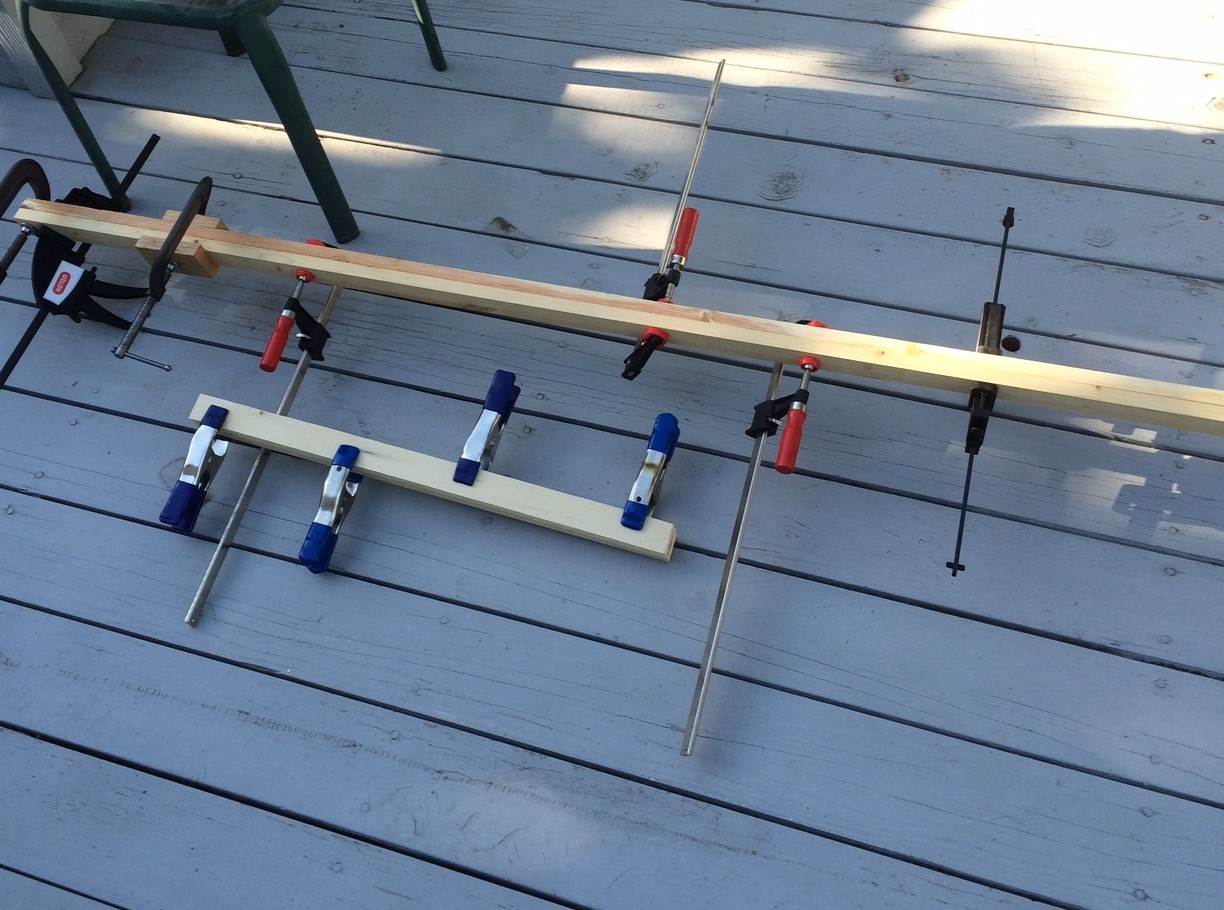
I don’t have many power tools, but I do have a biscuit joiner. This is very helpful in joining pieces of wood together. The tool makes a semi-circle cut in the edge of the wood. You then do the same to the piece of wood you want to join. An oblong wooden piece (biscuit) fits into the two semicircle cuts. All you need is to glue up the cuts with the biscuit in place and clamp together. Works great.
In the second picture (on the right), I have glued up the shaft, shaft angle, and the paddle. I put weight on the paddle so that it would not bow under the pressure of the clamps.
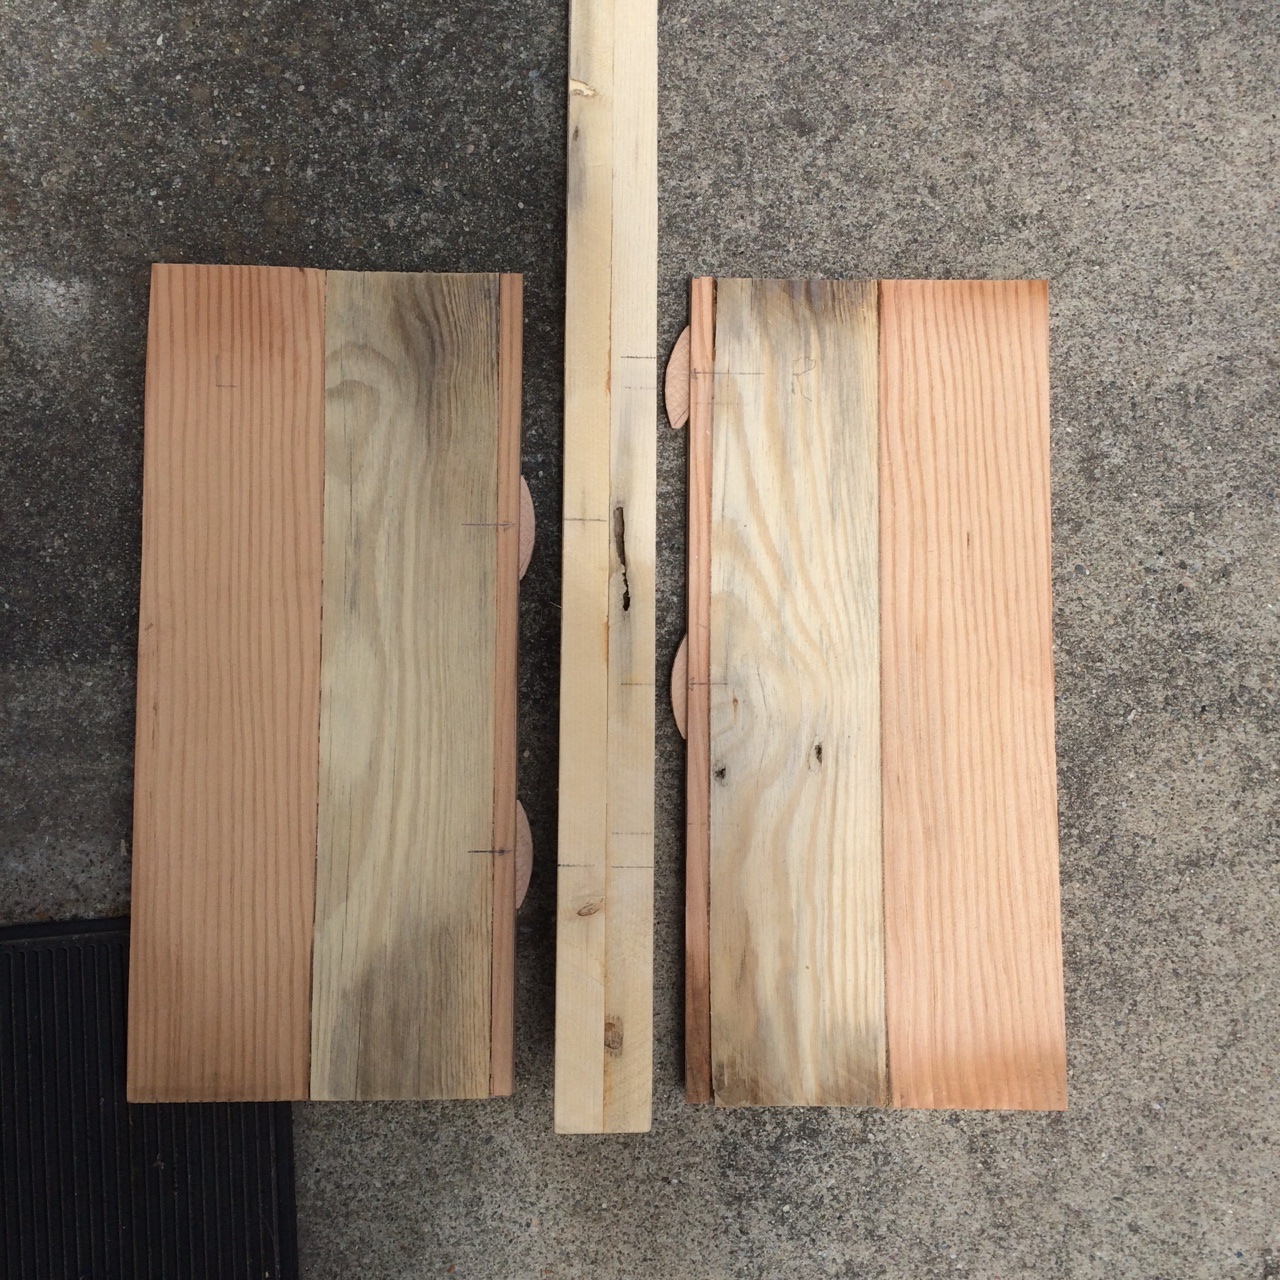
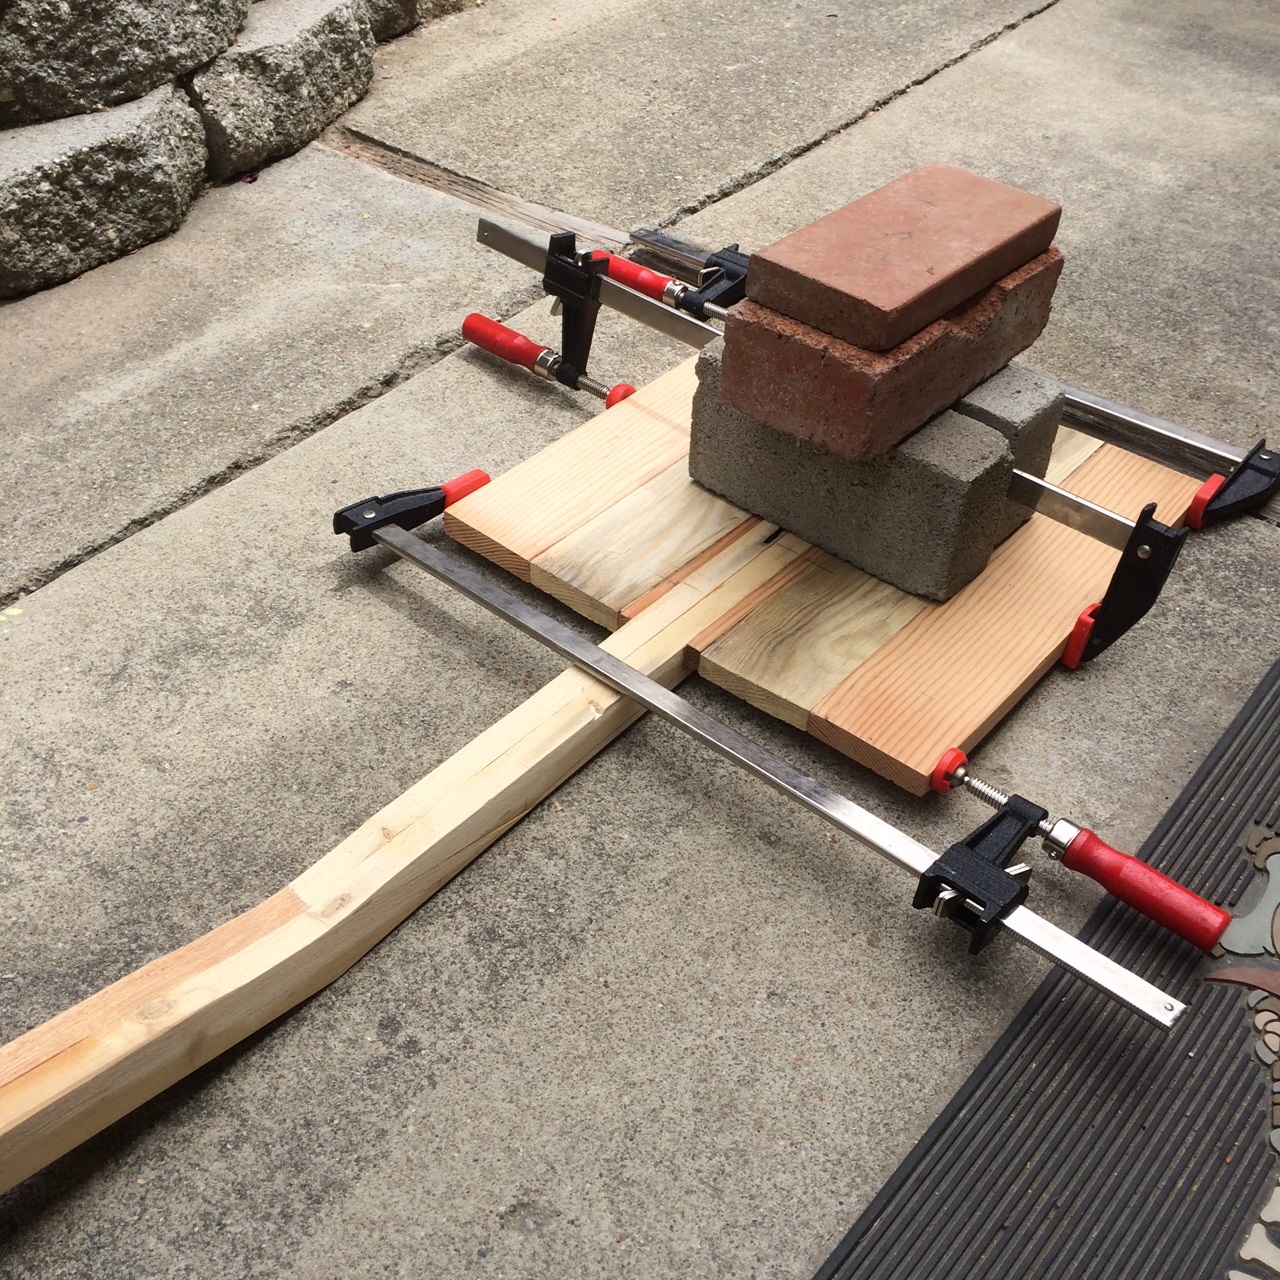
Here I have rough cut the paddle end and the shaft handle.


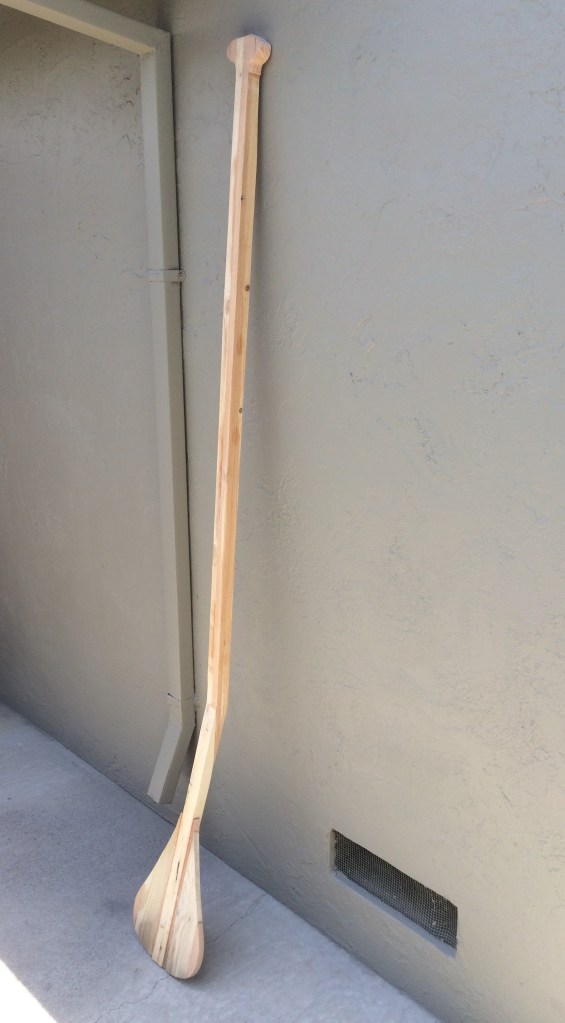
Next I used a power sander to shape the entire paddle. The paddle is very long as it is a stand up paddle. Note the lower shaft has about a 30 degree angle and was attached to the upper shaft using the biscuit method as well.
The angle gives the paddler more power per stroke.
Finally, I stained the paddle and gave it four coats of marine Varathane. That gave it a deep, glossy look and waterproofed it too.
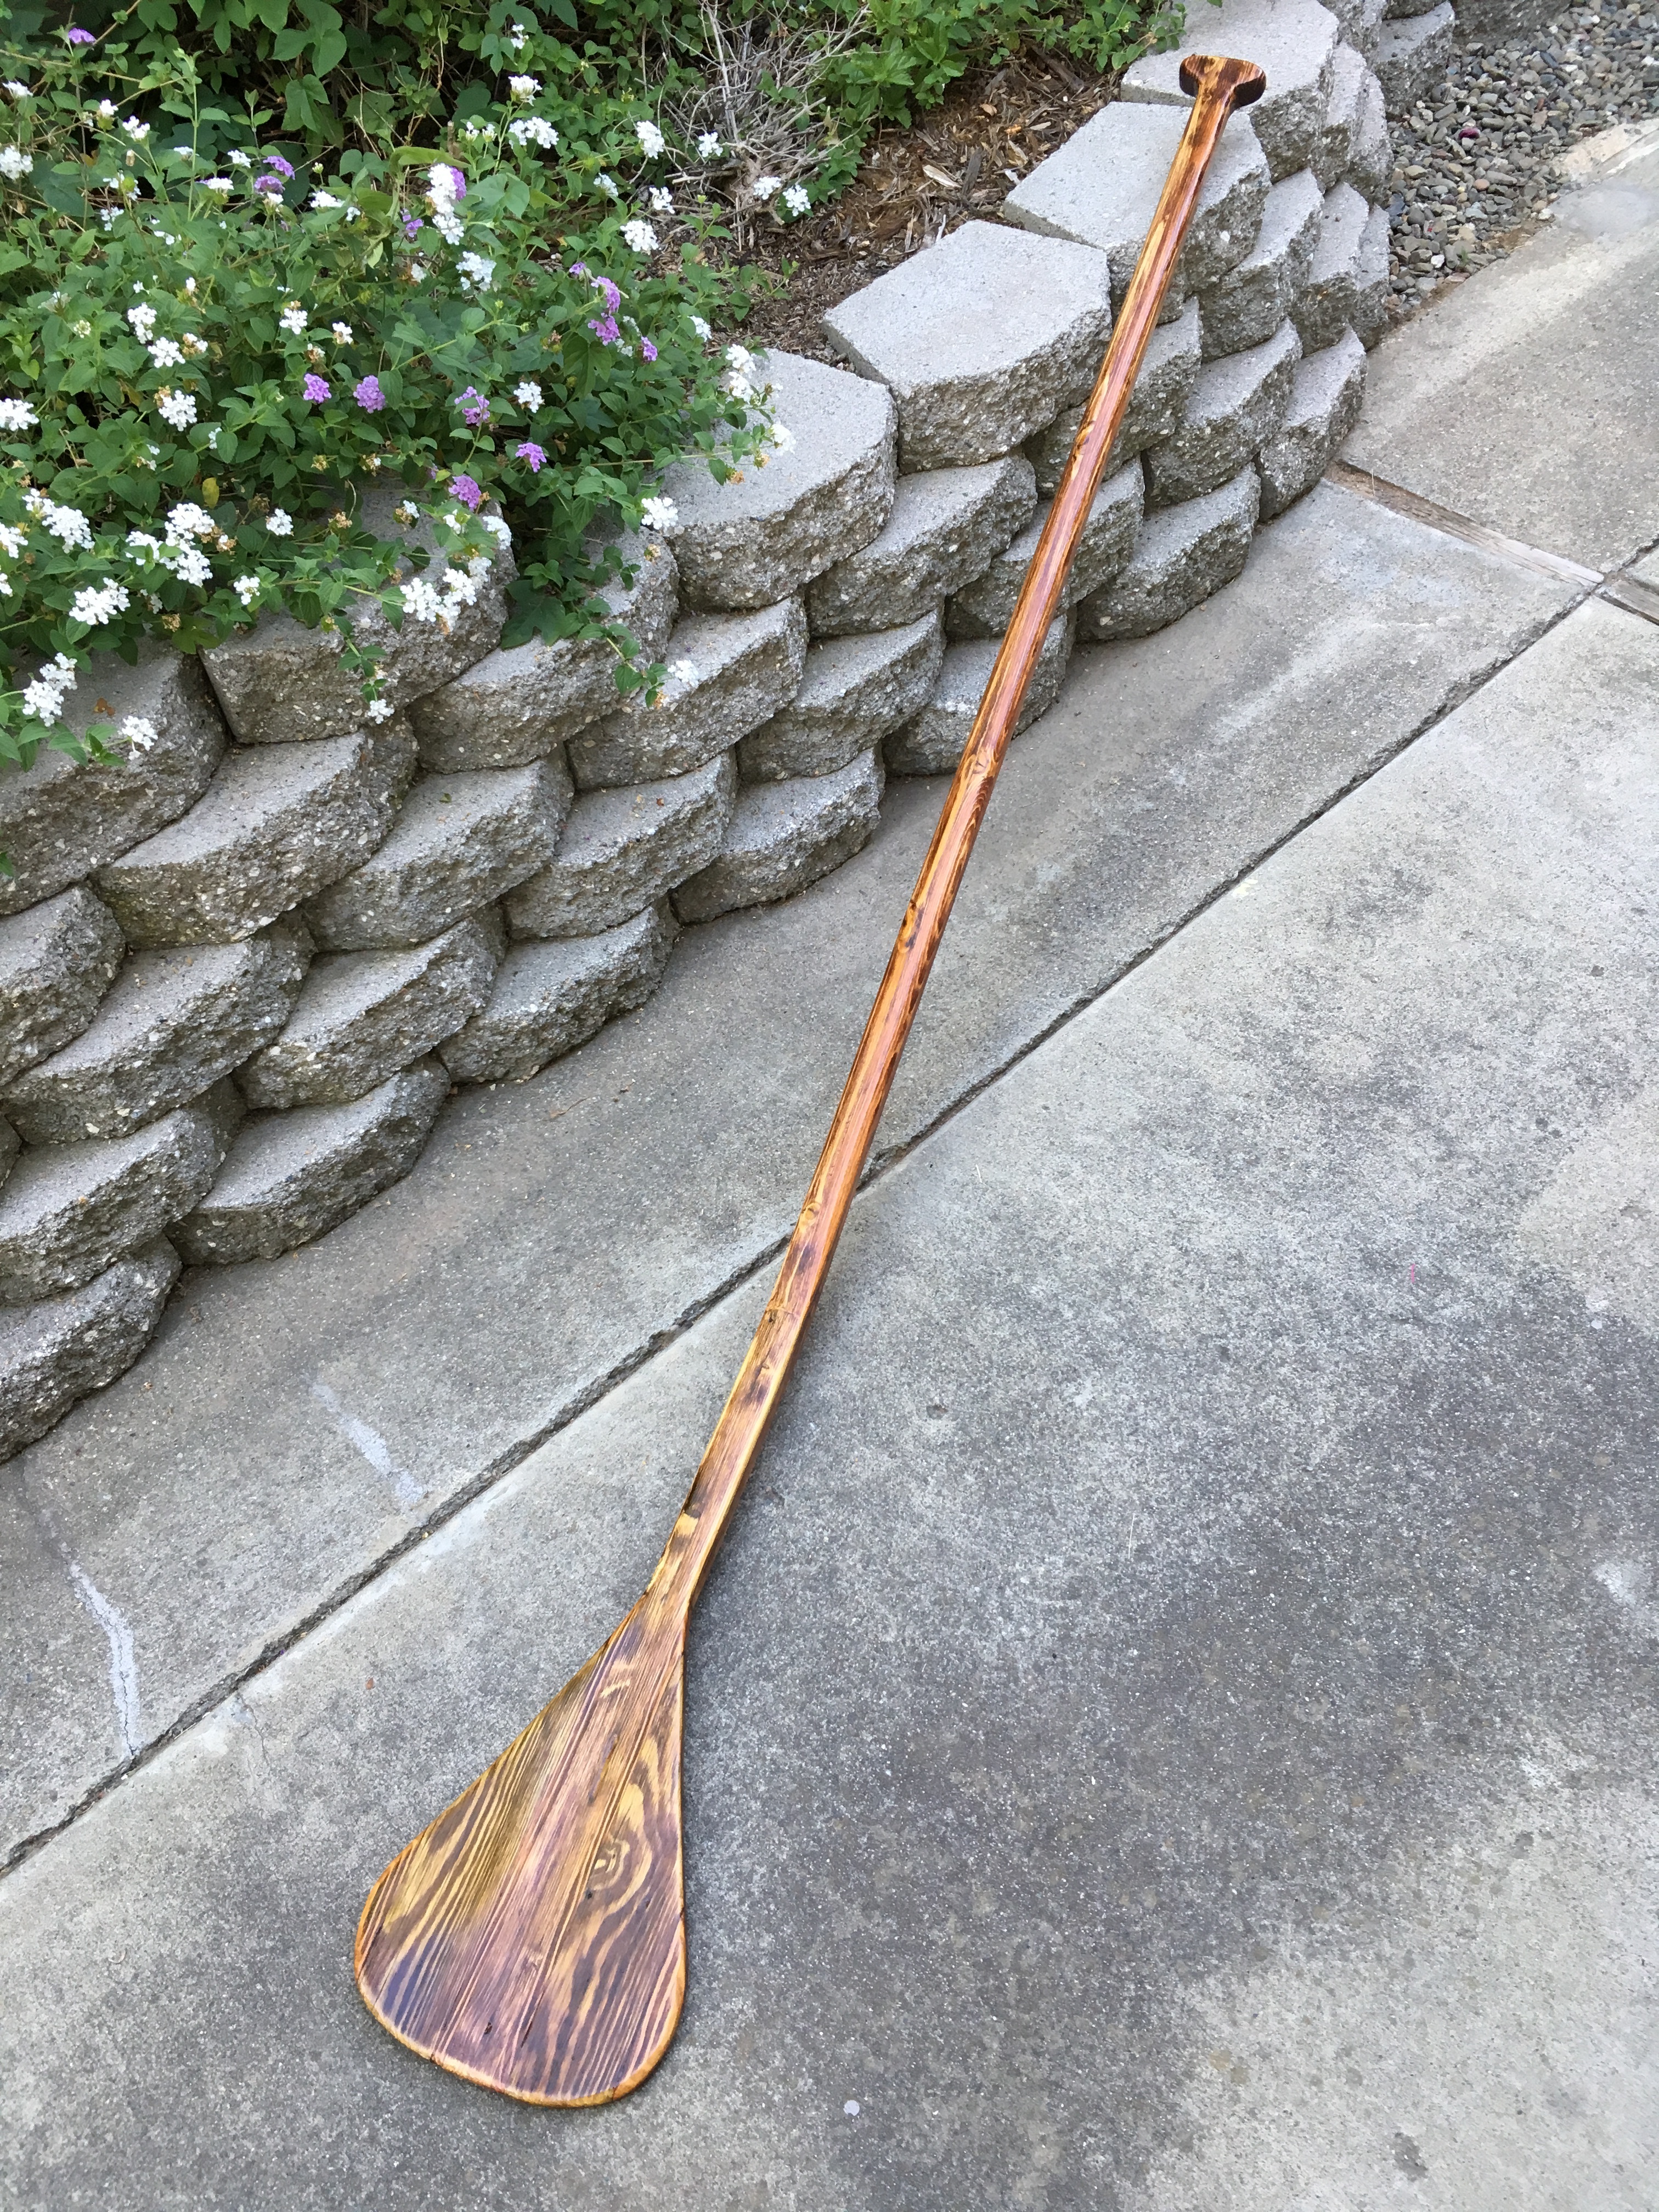
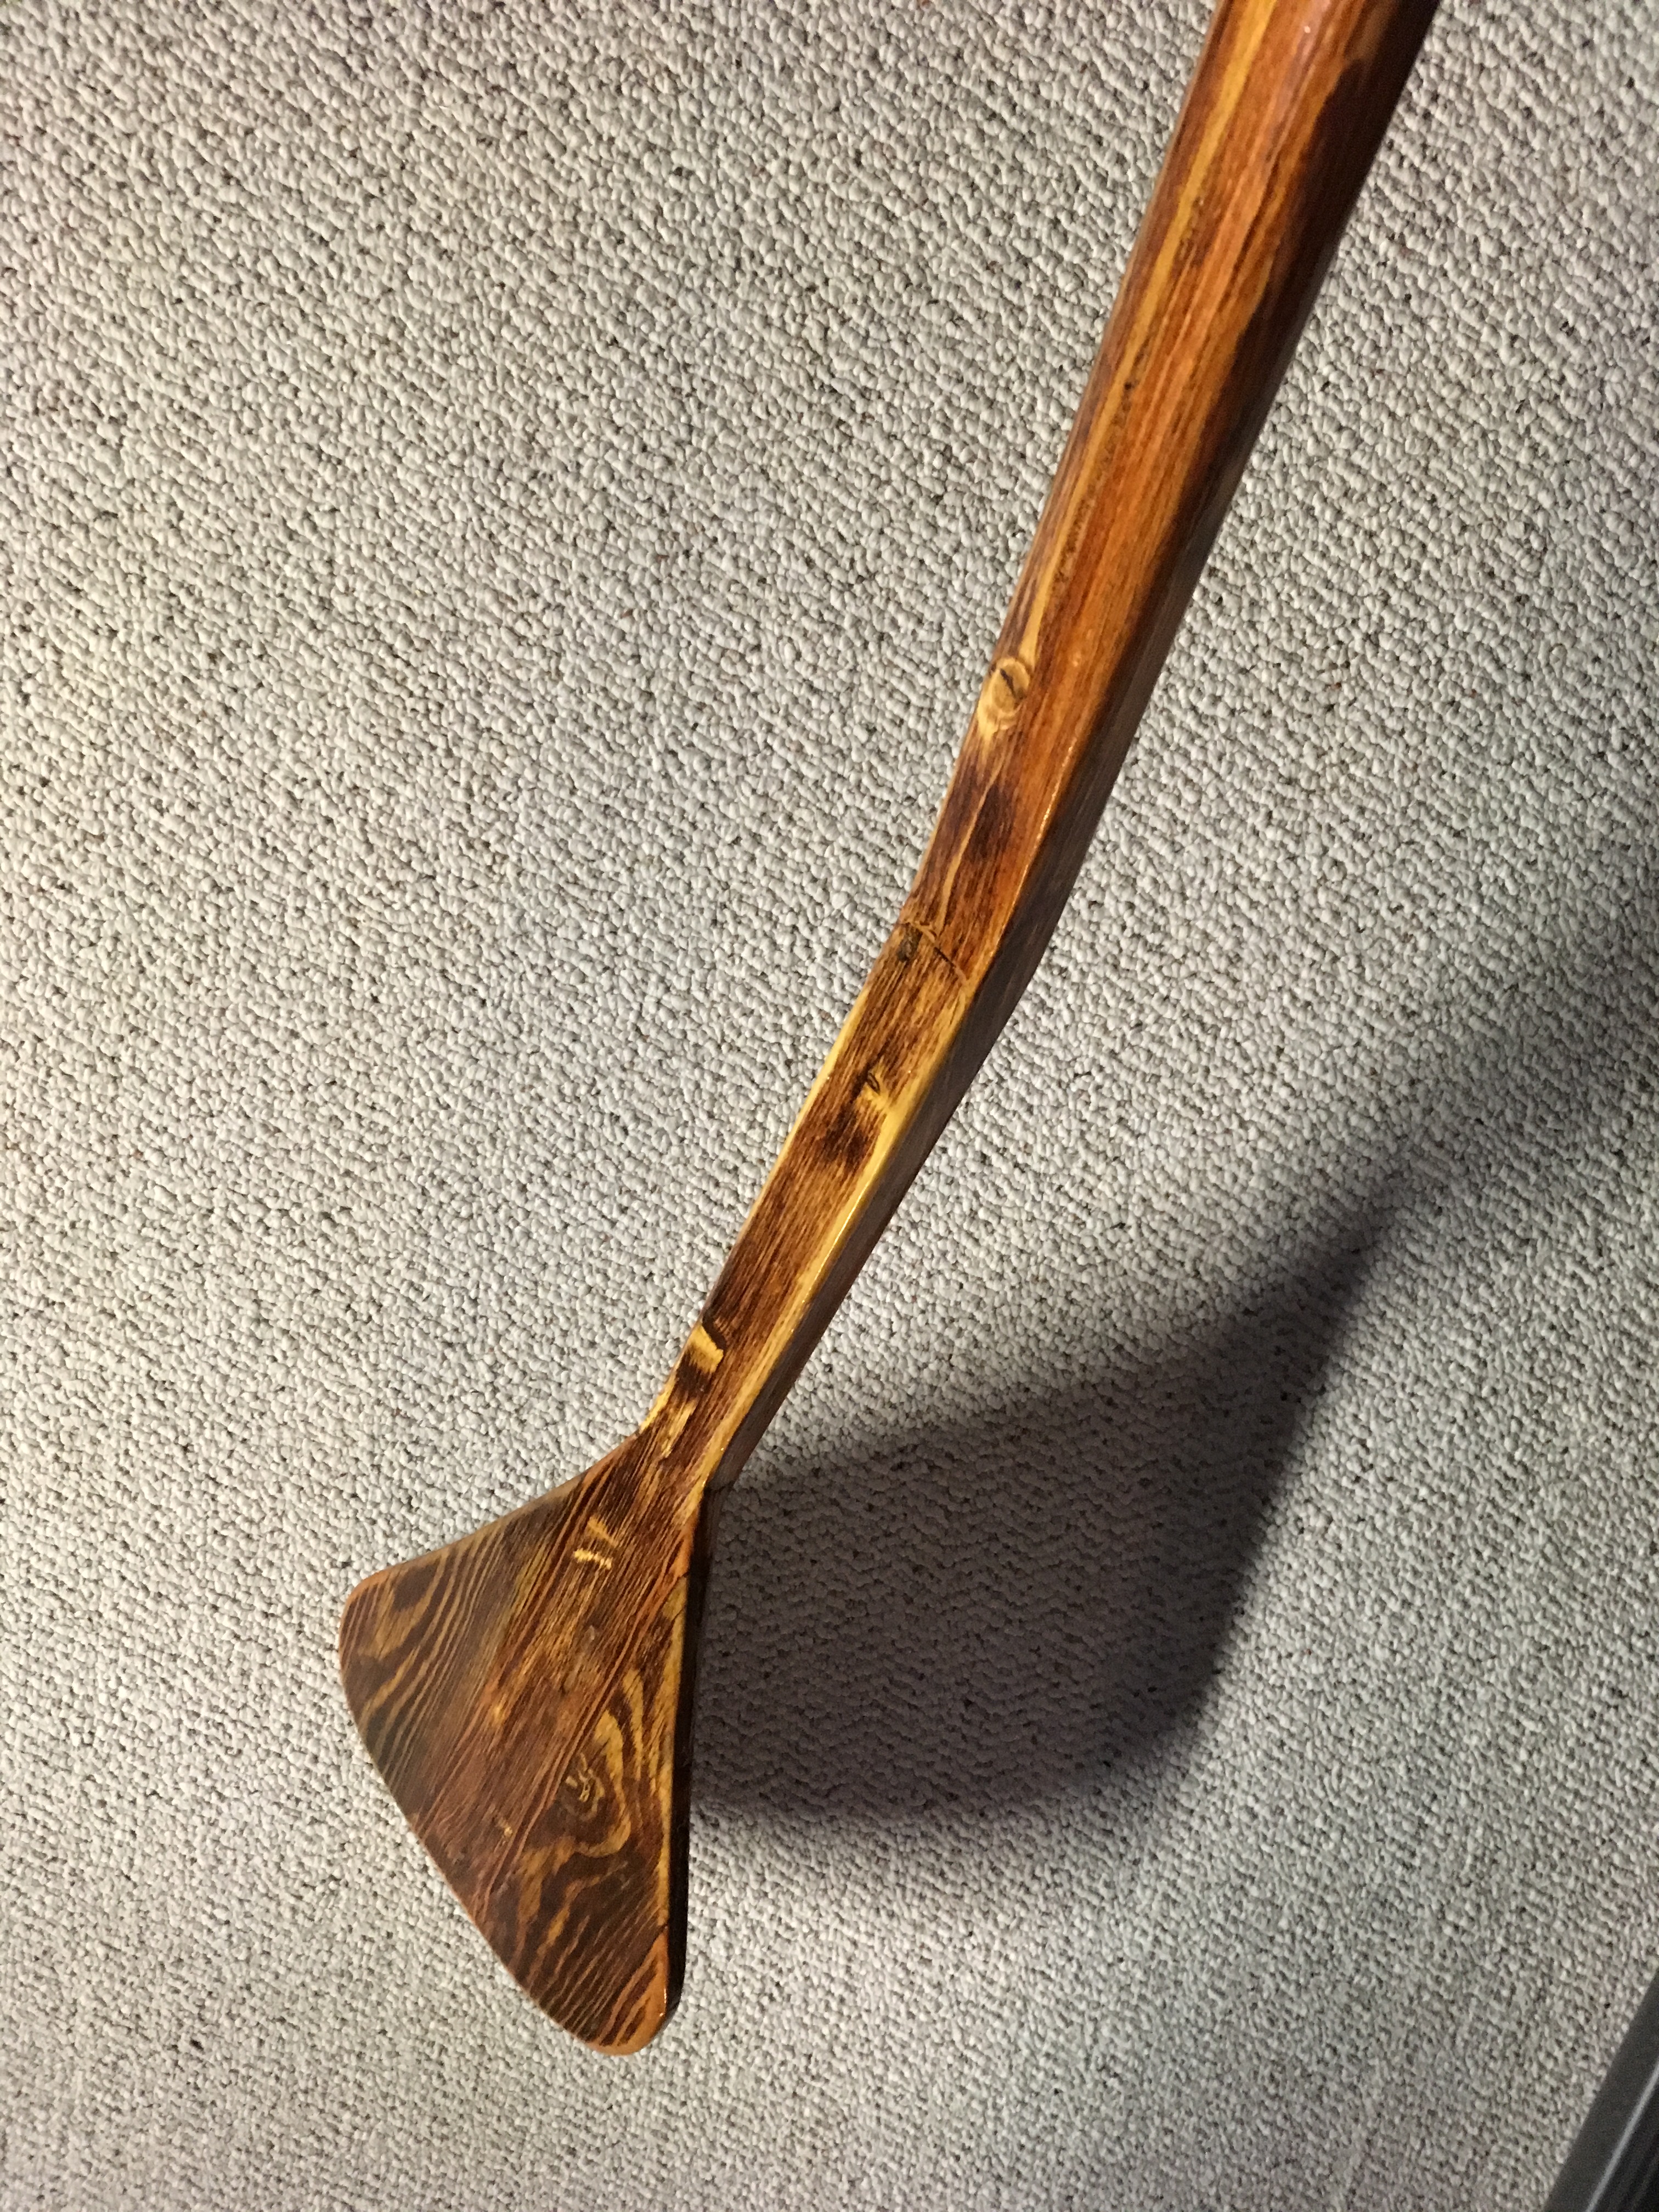
For my first attempt, the paddle turned out pretty well. My friend loved it! I will be making more paddles in the future.